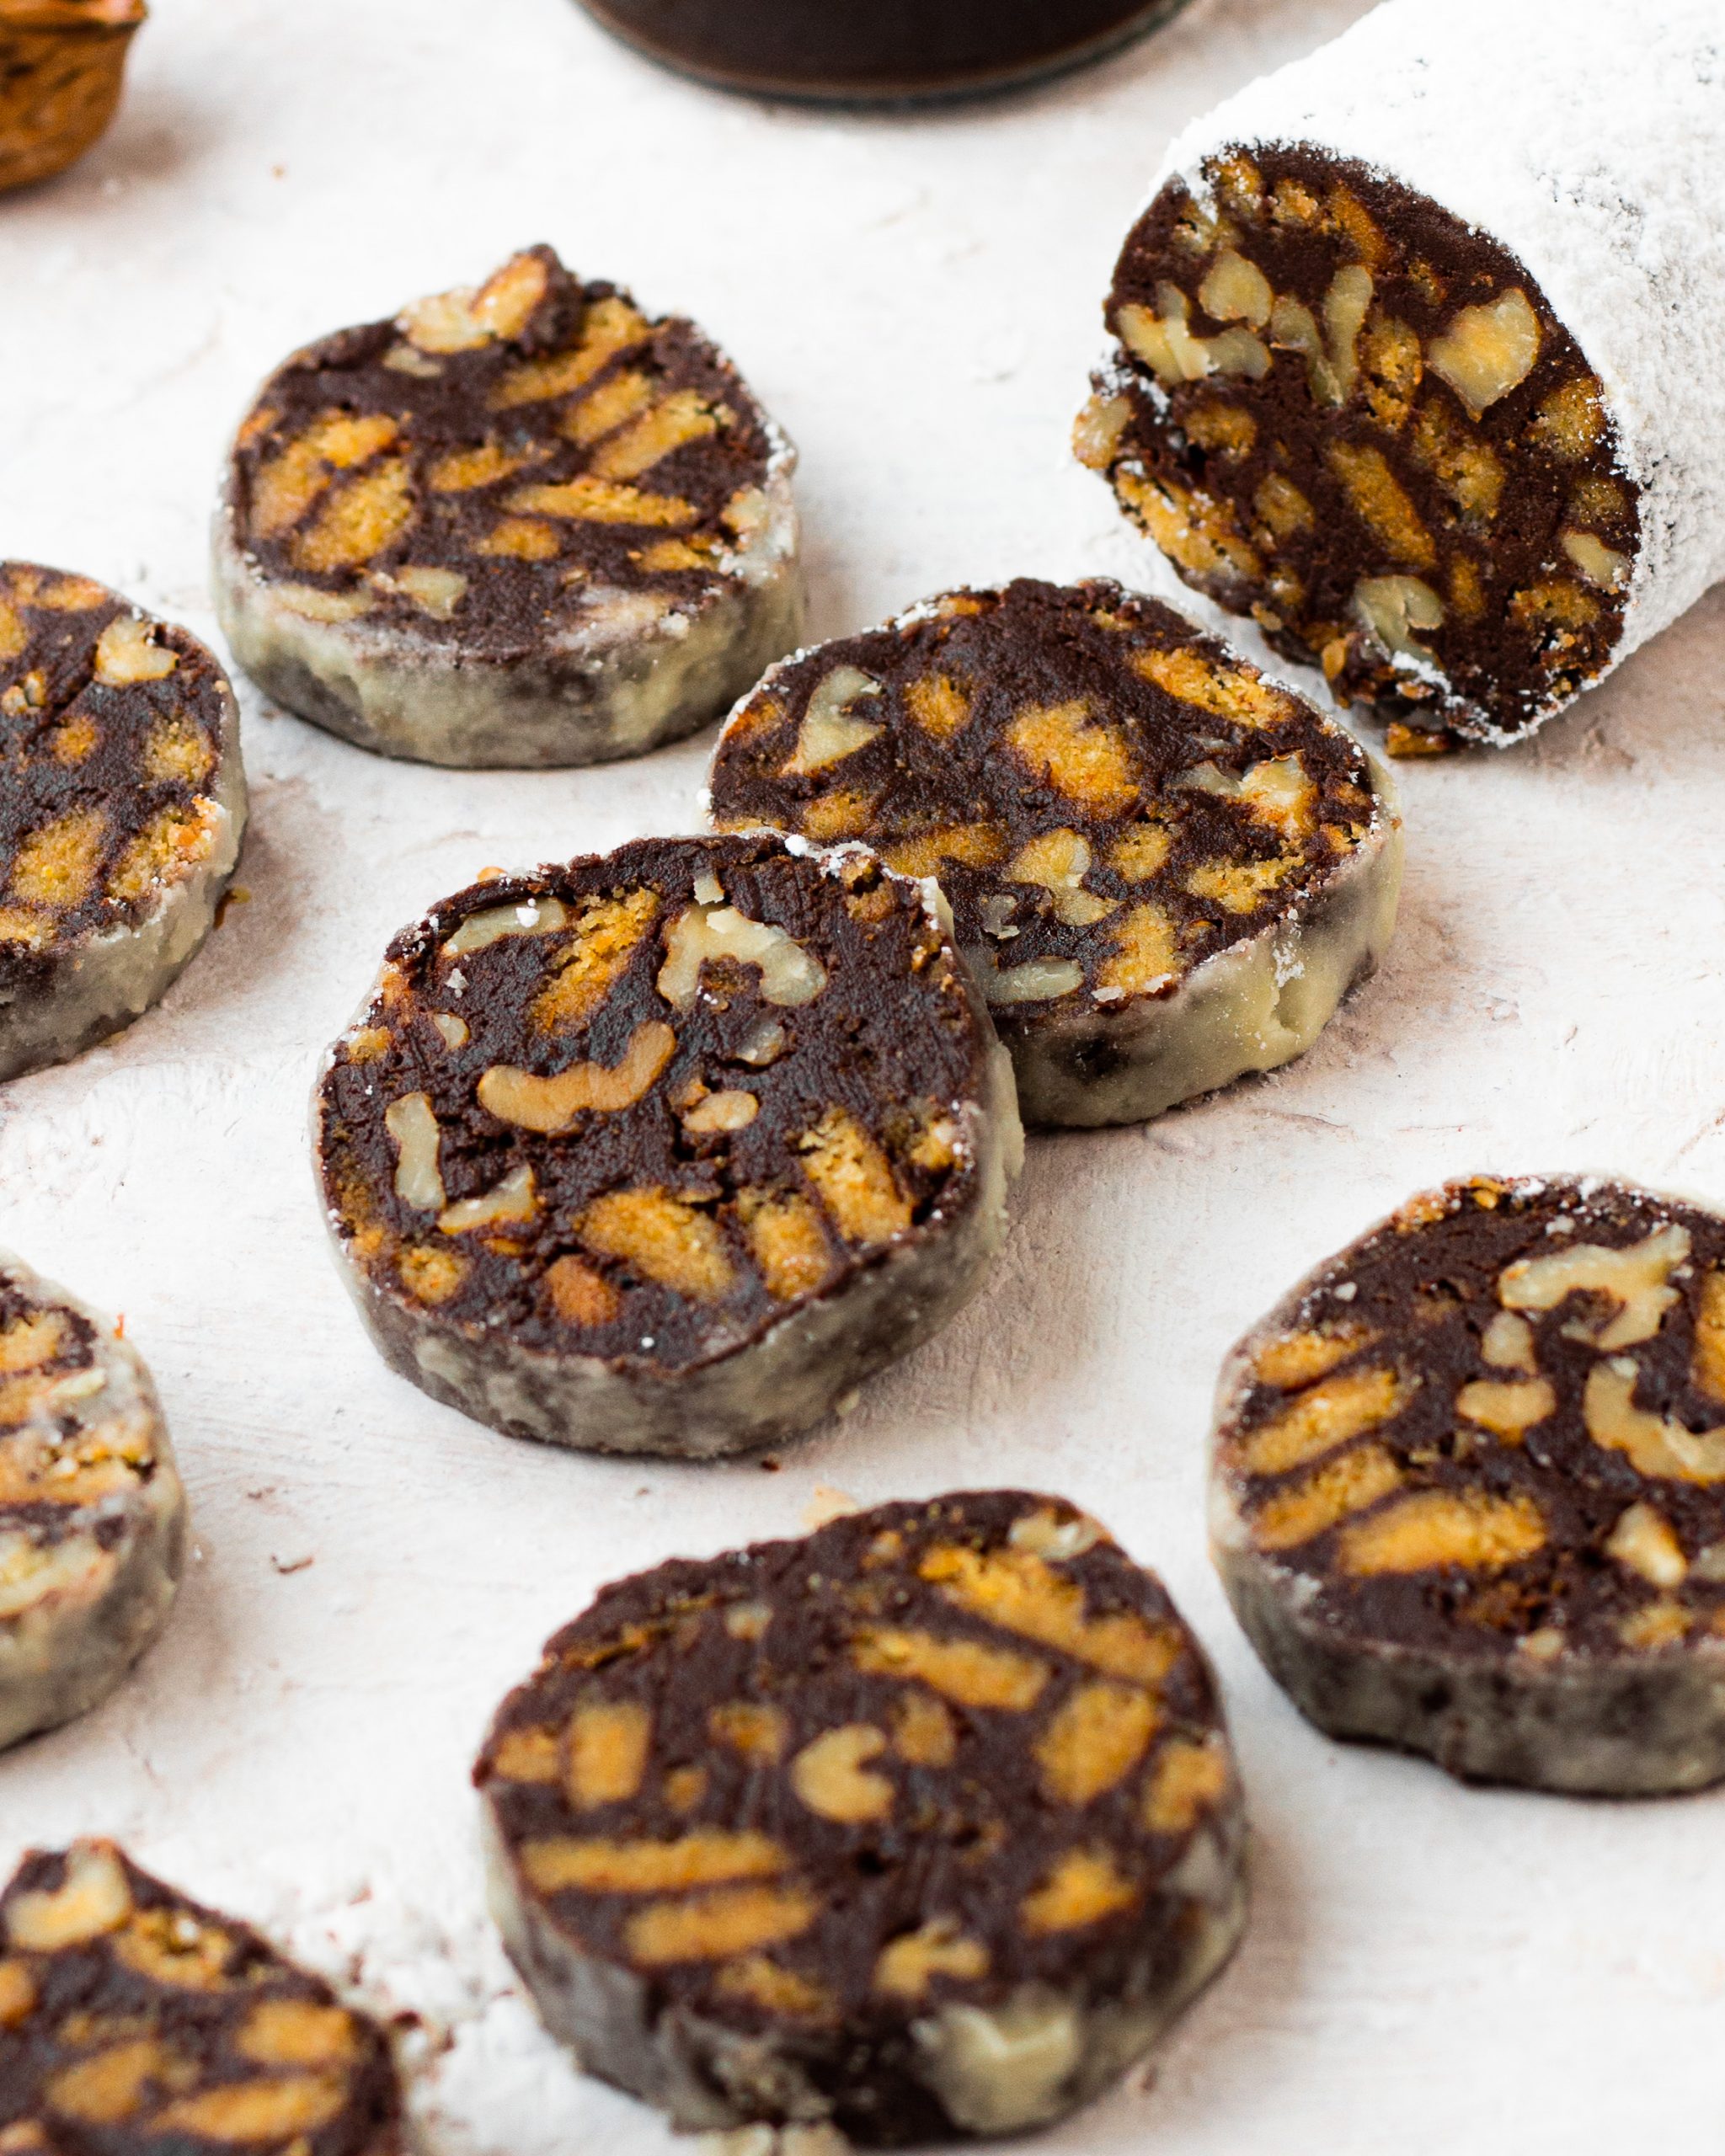
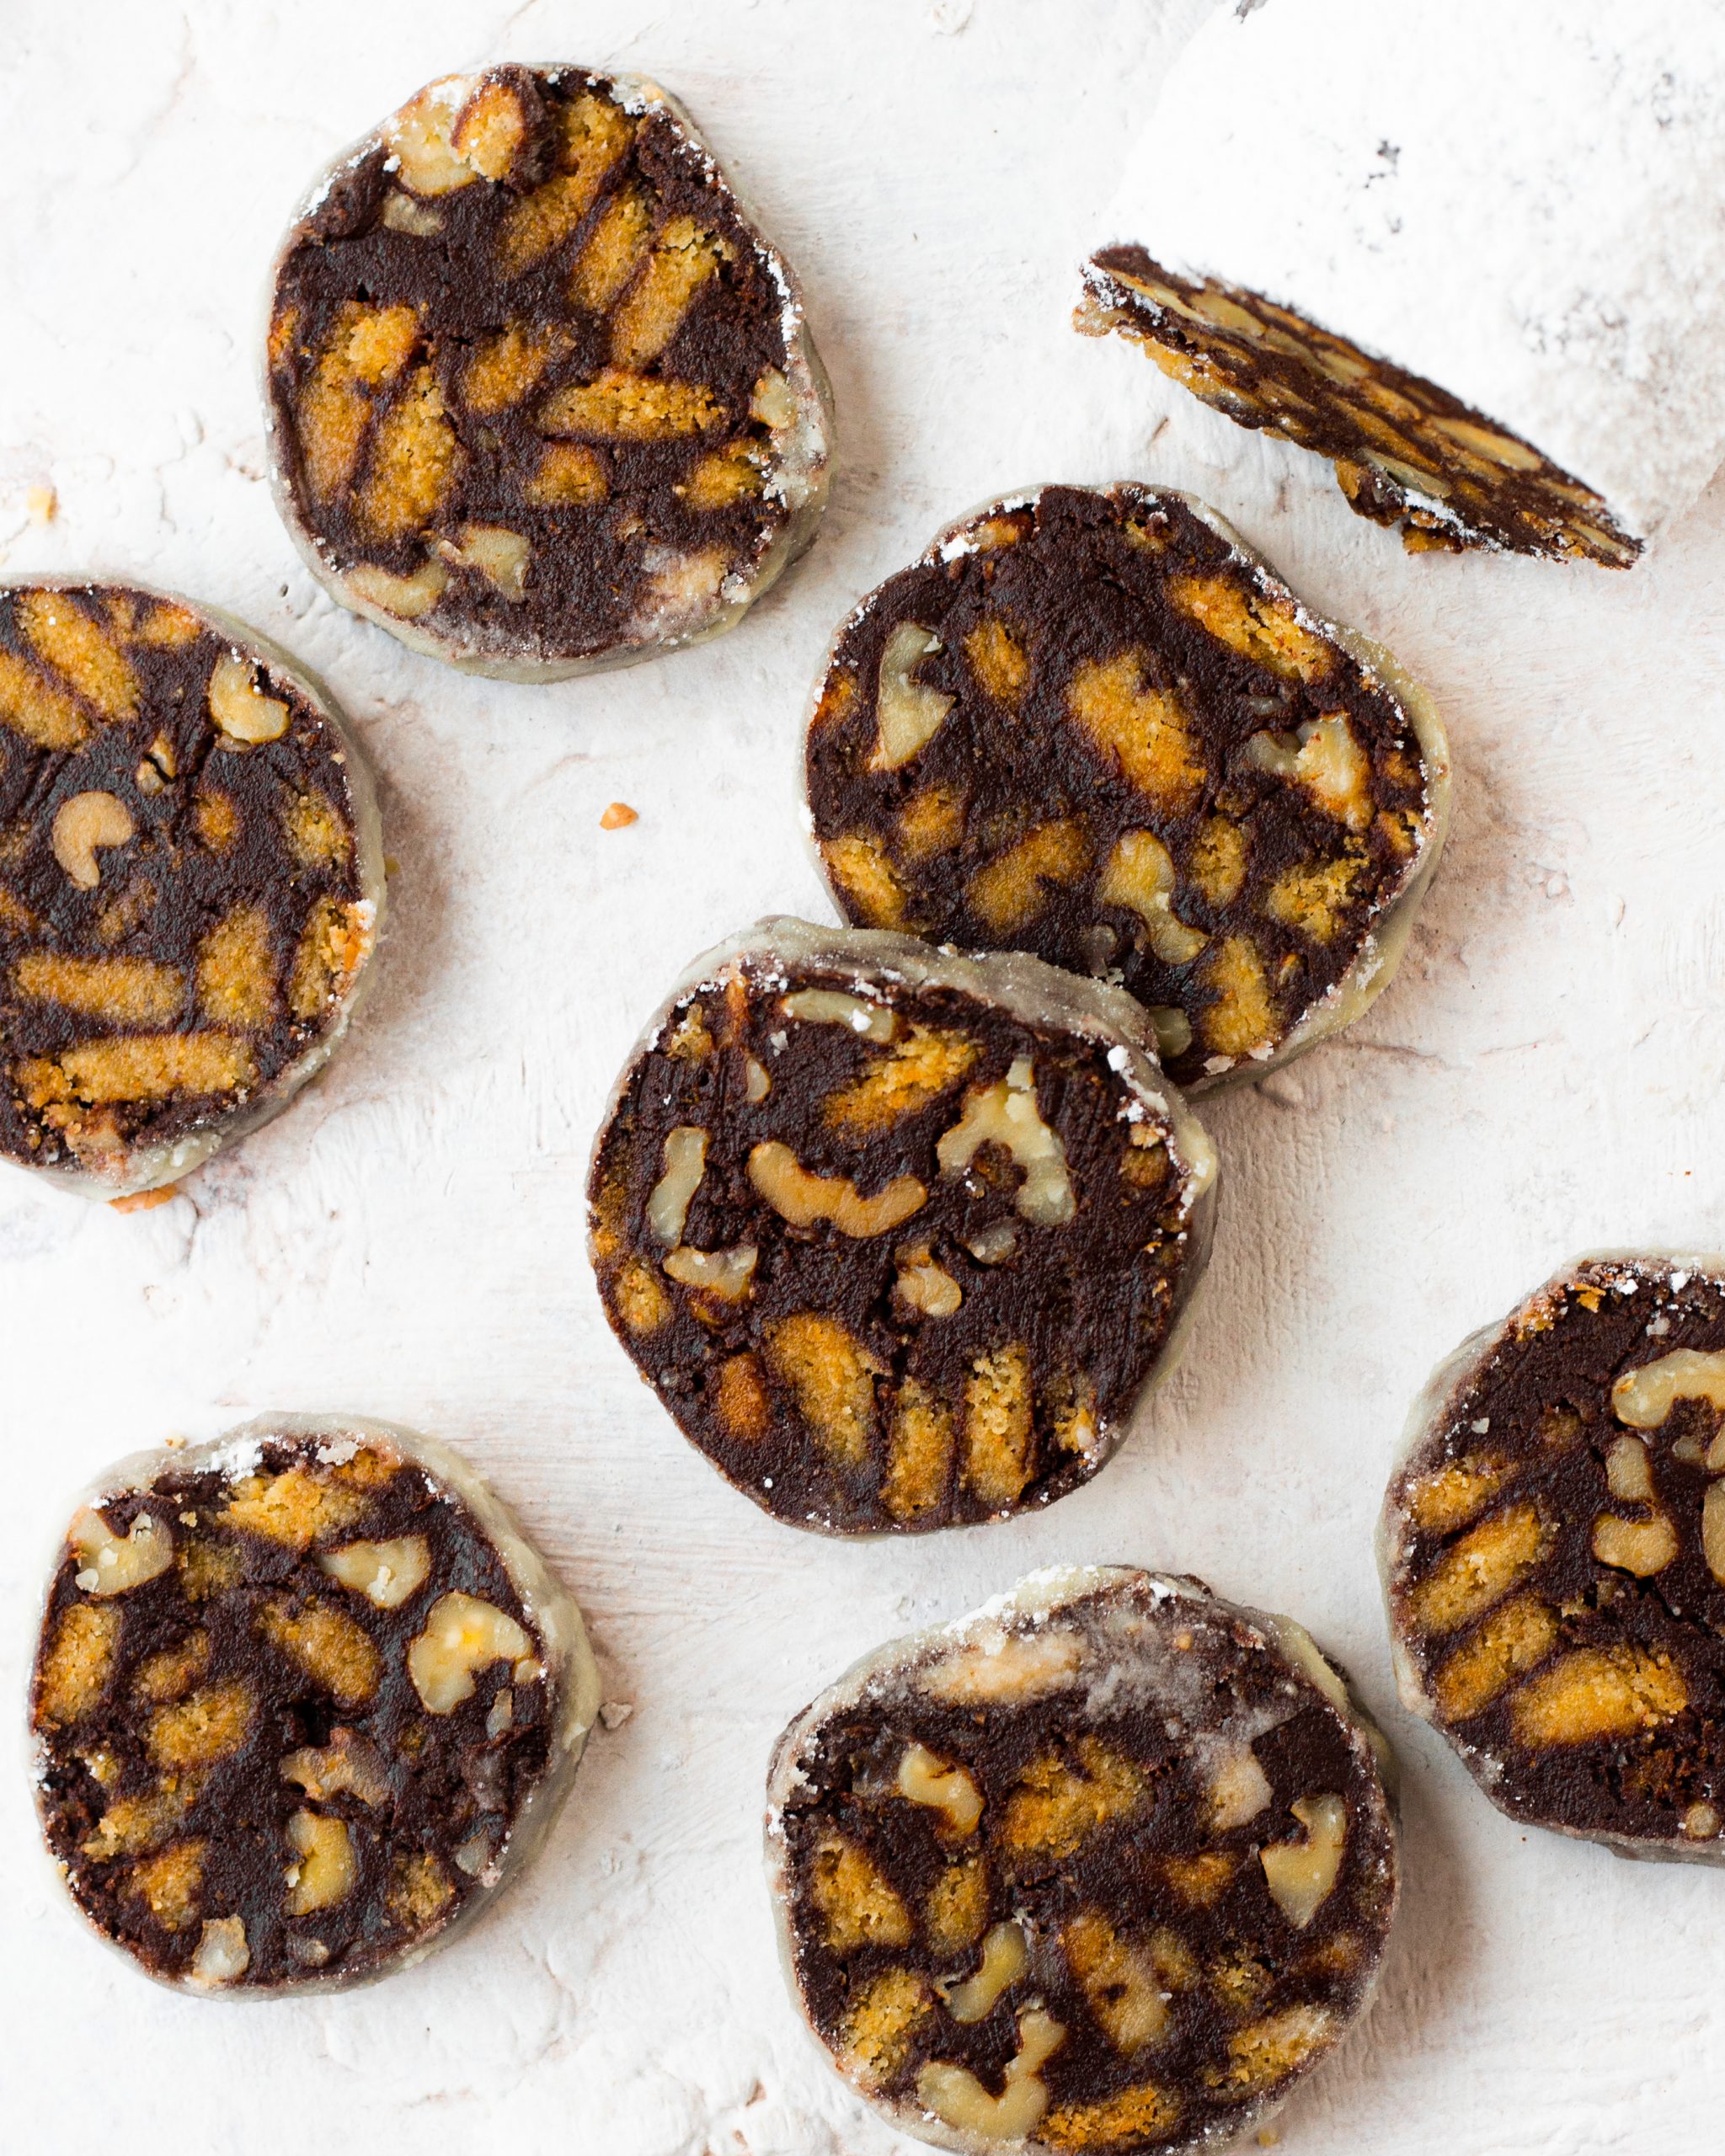
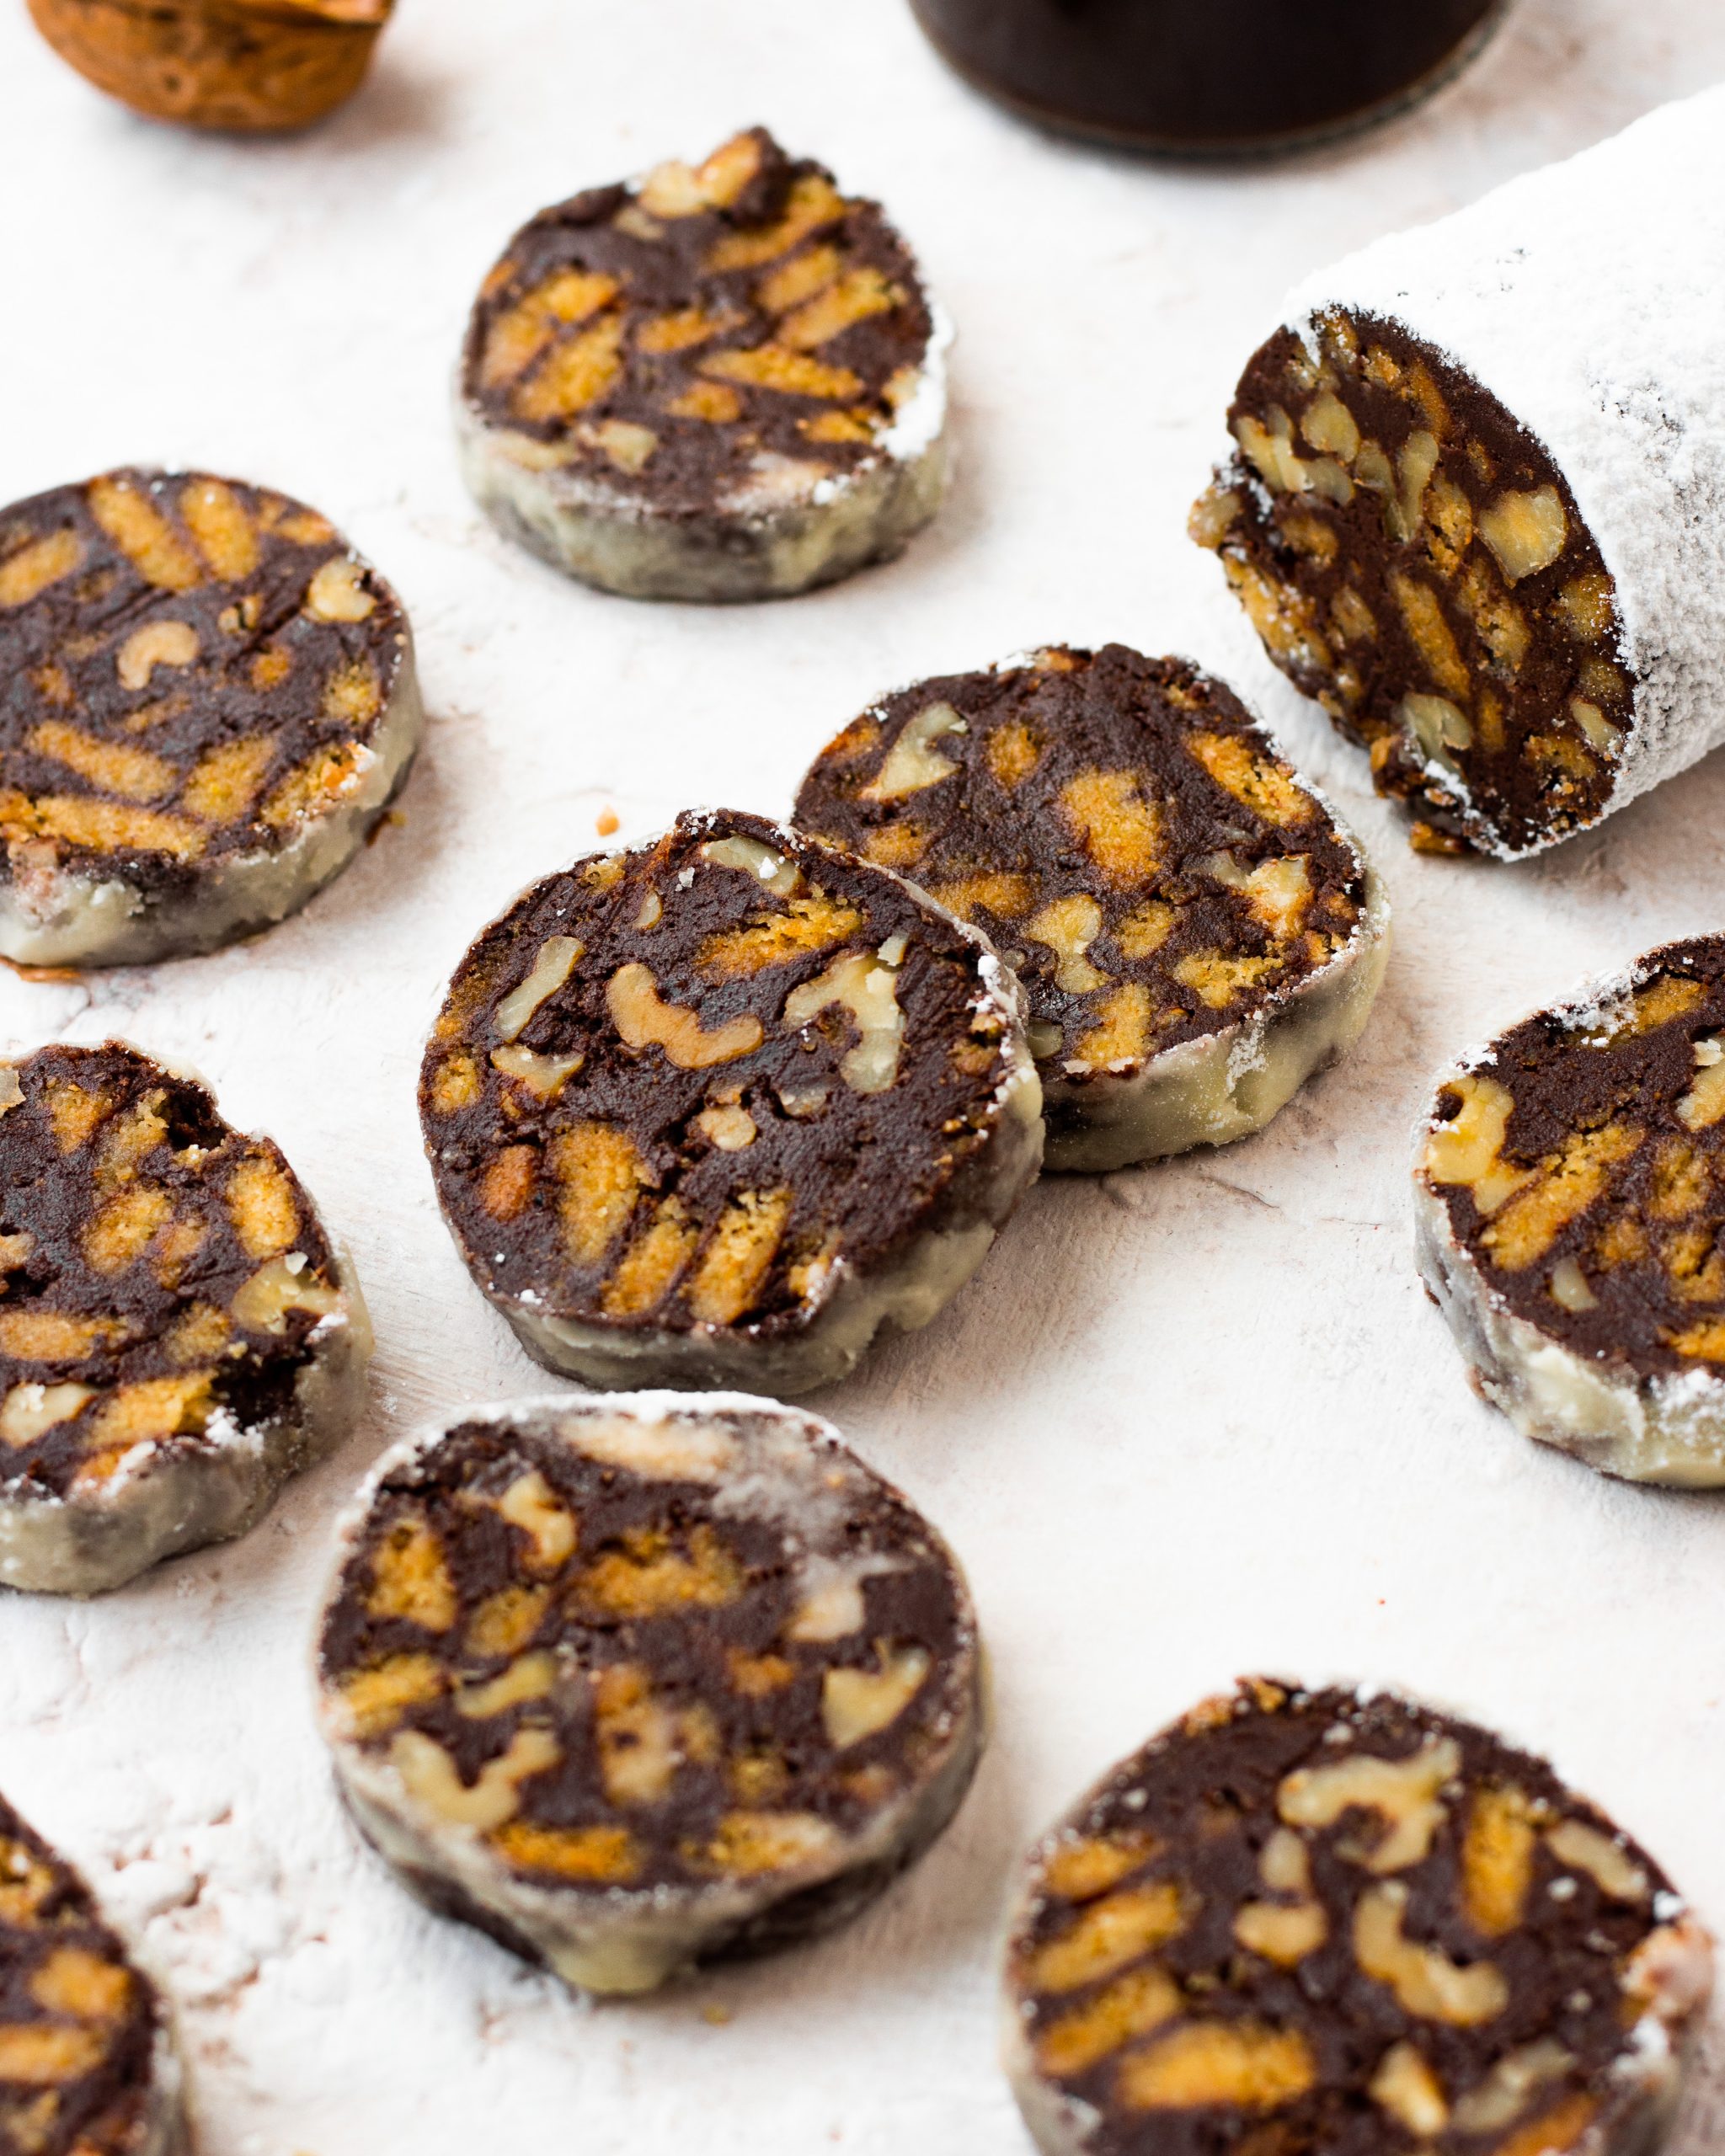
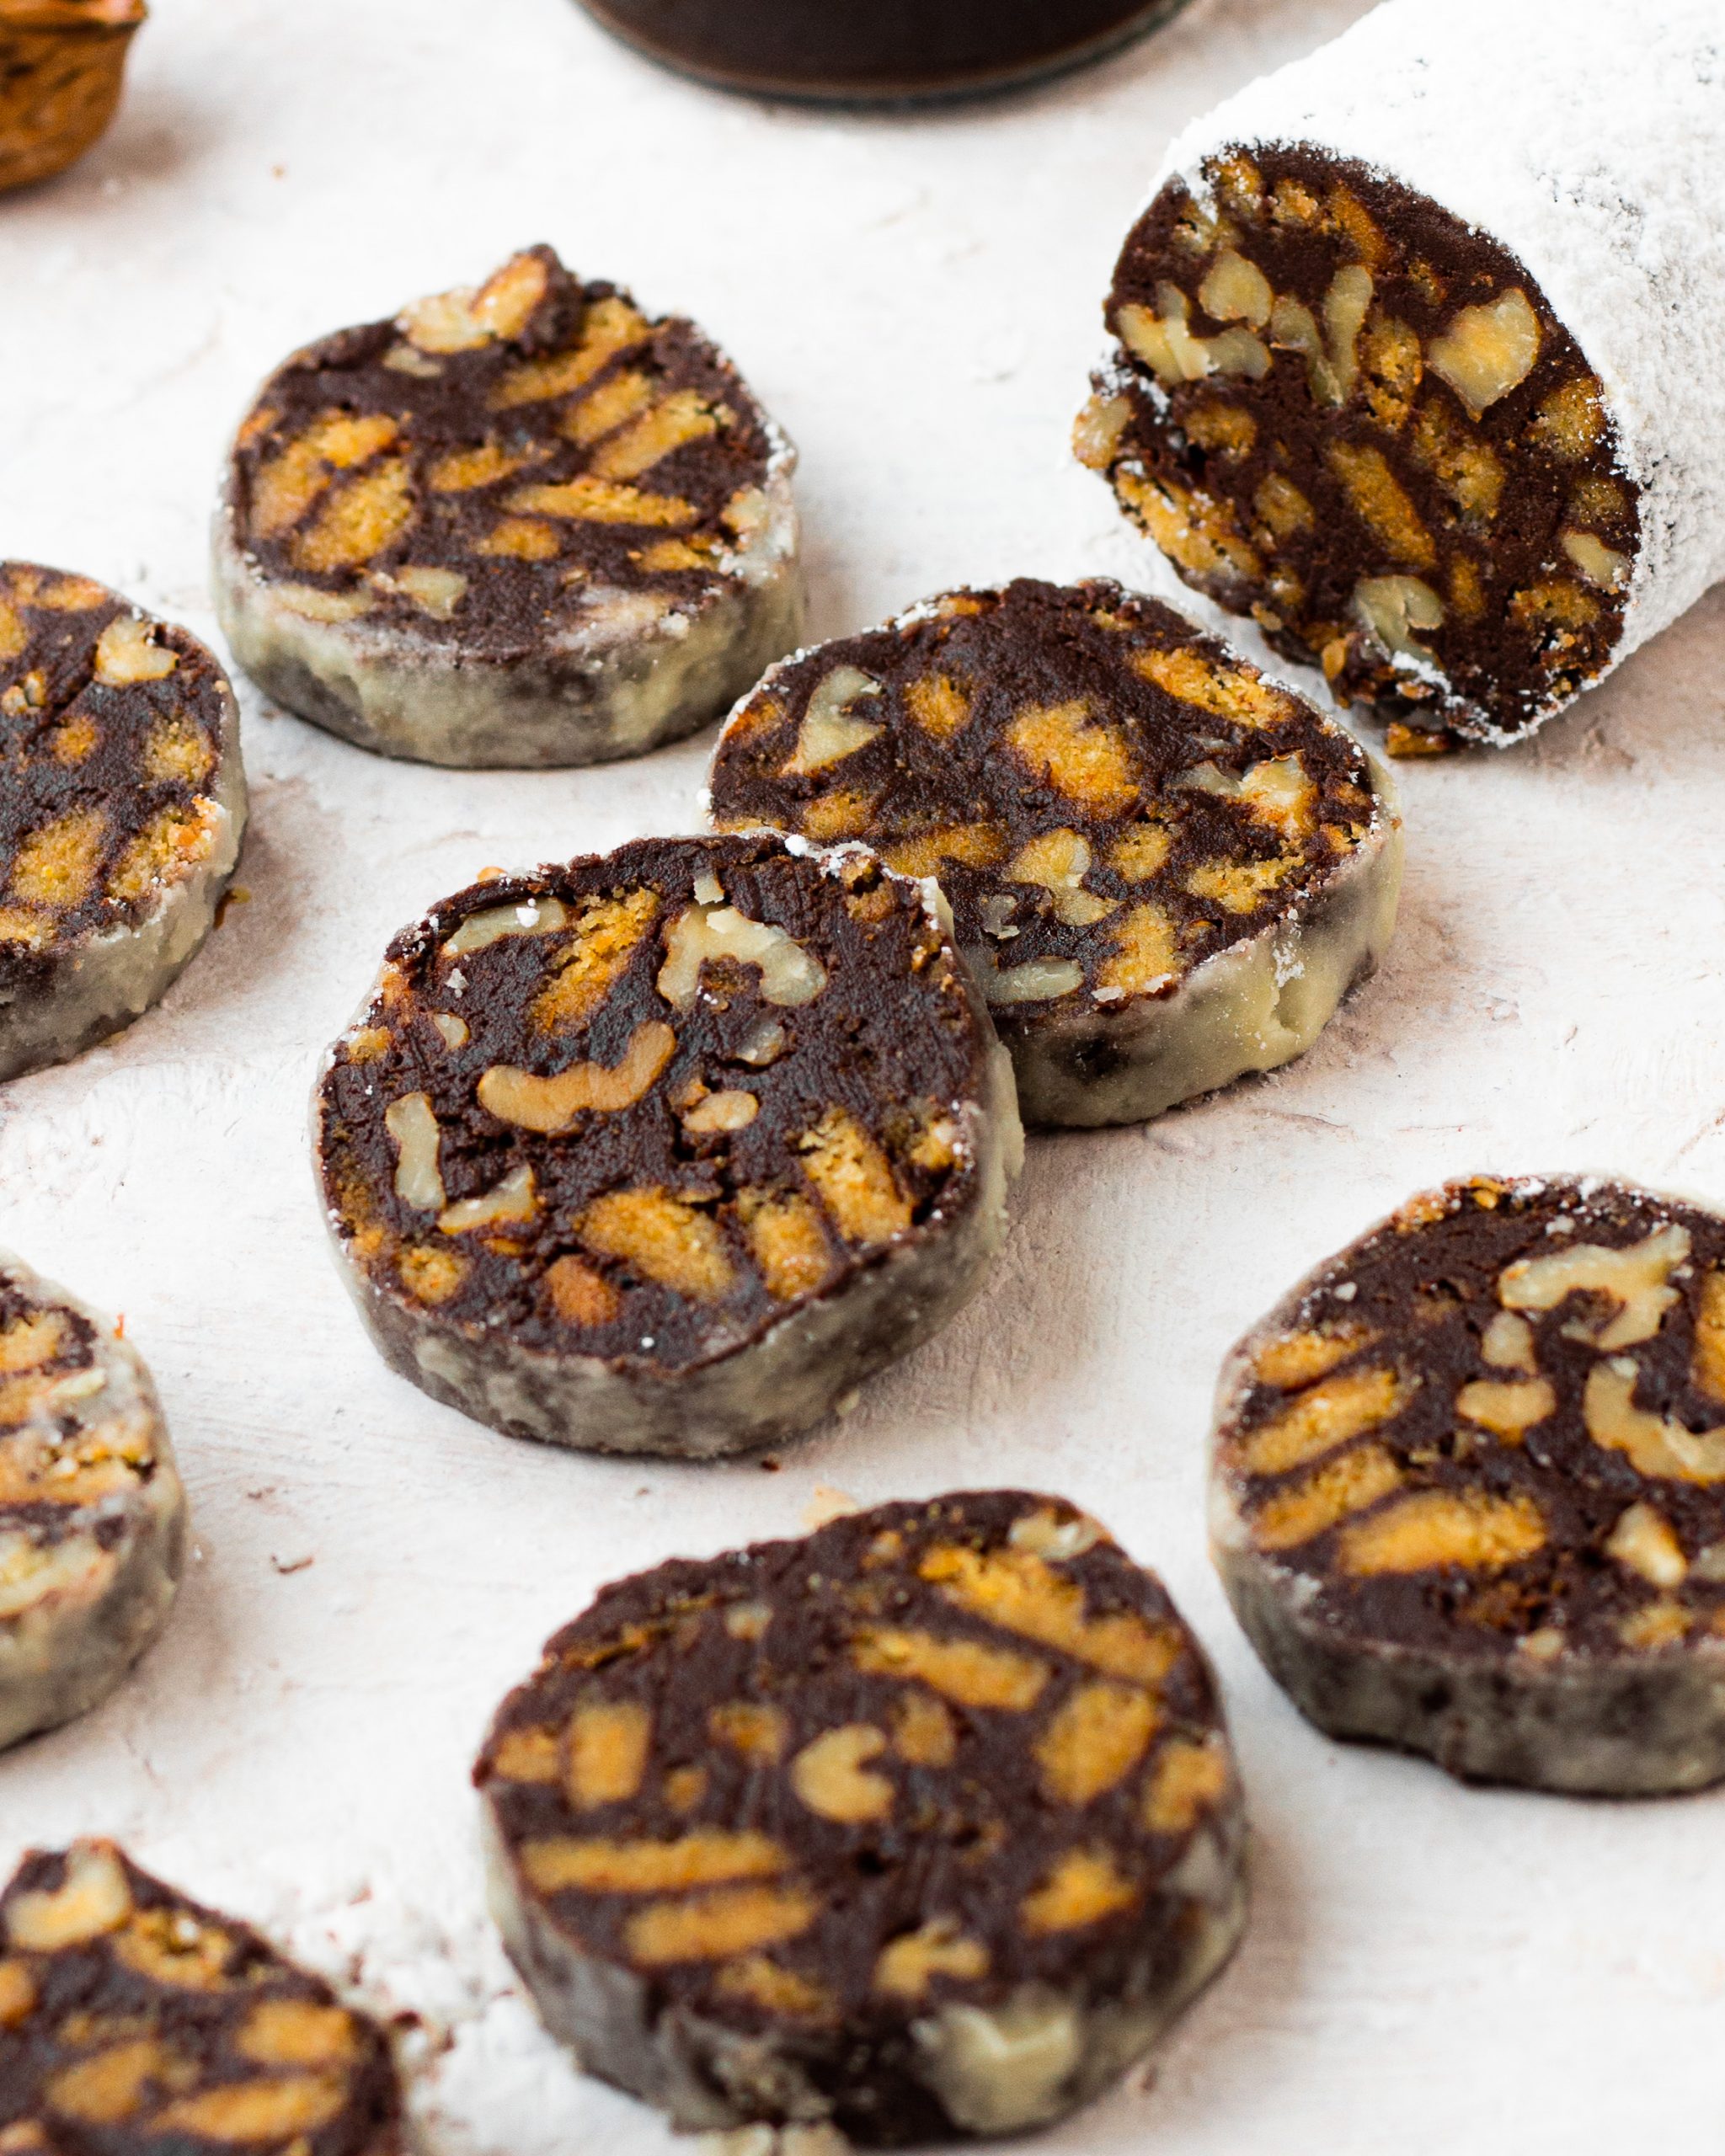
I think there is no other childhood combination I miss more than when craving dessert. I would melt some chocolate and dunk biscuits in it. It would make me feel so fancy when I was younger to be making my own so-called dessert. Only to realise years later that there is a thing called chocolate biscuit roll. A biscuit roll is just an amalgamation of 5 simple ingredients like biscuits, walnuts, chocolate, butter and milk. Super easy to make and easier to devour.
This dessert is wildly famous across all of Europe and is also commonly called chocolate salami. I know that name can turn you into thinking that this might have some type of meat involvement. But leave alone meat, it doesn’t even have eggs. Plus it is a no bake dessert and super fun to put together and easily convertible into a family activity.

Ingredients for the no bake chocolate biscuit roll
1. Biscuits
Biscuits are the base of the recipe as the name suggests, so we have to choose wisely. I have used digestive biscuits here. Digestive biscuits have a neutral taste that is not too overpowering. They have a great crunchy texture and the warmth of flavour it adds is simply amazing. Now you don’t like the taste of digestive biscuits you can simply opt for Marie biscuits, lotus biscuits, or any other plain flavored biscuits that will compliment chocolate really well.
2. Walnuts
To add some crunchiness and texture to our no-bake chocolate biscuit roll, nuts are a must. I have used walnuts here that add a good bite, and the slight bitter feel balances out the sweetness of the chocolate really well. If you want to use something else apart from walnuts, you can choose other nuts like almonds, cashew nuts, pistachios or even seeds like pumpkin seeds, sunflower seeds or melon seeds. The whole idea is to add texture which nuts and seeds do beautifully.
3. Chocolate
Chocolate is another very important element of this chocolate biscuit roll. The everlasting tiff between compound and coverture might surface for this recipe as well. So let me solve it here using couverture chocolate is what will make the recipe recipe. Since we are also allowing the recipe to set in the fridge for multiple hours, the use of compound chocolate will make our chocolate biscuit roll bloom and look absolutely devastating. My recommended chocolates would be callebaut, van houten or even amul chocolate does the job. If using morde look for the packaging that says chocolate and not compound.
4. Butter
Just like most of my recipes, I love using salted butter. Salt adds a perfect balance between sweet dessert elements and rounds up the dessert really well. I have used amul salted butter. If you are using unsalted butter, you can simply add in a pinch of salt and that will do the same thing.
5. Milk
Adding milk to the chocolate butter mixture will help fix the consistency of the wet ingredients and make the mixture smoother. But don’t worry about the batter being slightly liquidy because all the biscuits will absorb the liquid and make the mixture perfect for rolling.

Shaping the chocolate biscuit roll
Now this is where all the fun parts of this recipe is. The rolling and shaping can kind of get messy but it is so fun to do especially with family or friends. It is important to use cling film to roll the mixture into a perfect sized log, however you can use parchment paper also.
What you are going to do is spread the mixture in the middle of the ling film. Then end and wrap it over the mixture and do the same with the opposite end. Now just take the ends and twist it as how you do it to a salami.
Few key points to remember:
- Make sure to give the mixture a good mix so that all the biscuits and walnuts get coated really well before rolling.
- Use a bigger piece of cling film than you think you need, trust me on this. You don’t want the mixture oozing out everywhere, telling from personal experience. Haha!
- Make sure to roll it tight and twist the ends really well so there is no way for the roll to lose its shape.

Setting process
Patience is key when it comes to this no bake chocolate biscuit roll. You will need to refrigerate this for a minimum of 4 hours before we can unwrap it and dress it properly. Make sure you let the roll lay flat onto a plate so that it keeps straight and sets in the same position. To help you get clean slices you can also freeze it for an additional 30 minutes before slicing. Especially since it is so hot, freezing for an additional 30 minutes might be your saving grace.
Final touches of icing sugar really makes our no bake chocolate biscuit roll look like a Christmas miracle, which makes me really miss Christmas and icy cold weather. You can simply fill a sieve with icing sugar and generously dust both the top and the sides of the biscuit roll. If you are not the one for contrast simply dusting with cocoa powder also can be a good idea.
Slicing the chocolate biscuit roll
This is a crucial step that can make or break the look of the final dessert. My two tips that always work:
- Always use a sharp knife to cut the slices. Using a blunt knife will put pressure on the roll and result in disrupting the shape of it.
- Always clean your knife in between cuts so that every cut is nice and clean.
You can also check out my other biscuit recipes like, biscuit pudding, no bake cheesecake that have the similar biscuit flavour and am sure will make you appreciate the simple flavours. If you do recreate any of my recipes, tag me on instagram @shivesh17 / facebook.
Other chocolate desserts on the blog

Chocolate Biscuit Roll
- 30 (180gm) digestive biscuits
- ¾ cup (75 gm) walnuts
- 1 + ¼ cup (200gm) chocolate
- ¾ (185 gm) cup butter
- 6 tbsp (90 gm) milk
- In a large bowl add roughly broken biscuits and chopped walnuts.
- In a sauce pan set over low hea, add chopped chocolate and butter. Melt everything and turn the heat off. Add in the milk and mix well.
- Pour the chocolate mixture over the biscuits and walnuts. Mix really well until all the biscuits and walnuts are well coated.
- Spread a layer of cling film on your work surface and transfer the mixture over the cling film mostly in the centre.
- Take the ends that are in front of you and set it over the mixture. Do the same with the ends away from you and make this into a log.
- Take the ends of the log and twist it continuously to make the roll tighter and firmer.
- Set it to refrigerate for a minimum of 4 hours.
- Once chilled, dust with a generous amount of icing sugar and slice to enjoy!

 Hello. I'm Shivesh Bhatia, a food blogger and food stylist from Delhi, India. Welcome to Bake With Shivesh, where I'll help you create magic in your kitchens with my simple recipes.
Leave a Reply