http://https://www.youtube.com/watch?v=9eig7qbDdcI
If mangoes are not the best thing about summer then I don’t know what is! It is mango season and you know I am going to be making the best of it. Just like during strawberry season, I go gaga during the mango season as well. I mean it’s called the king of fruits for a reason, right? What’s better than a mango dessert? A no-bake mango dessert! So here is a very simple recipe for a no bake mango custard tart that you all can easily make at home.
I know tarts can be intimidating for some of us but trust me when I say that tarts only look complicated. They are actually really easy to bake and super fun to eat. Tarts with a biscuit base are one of my favorites simply because the ingredients involved are so basic and the process of making a biscuit base tart is so much faster. If you are a fruit tart lover then you need to check out these fruit tart recipes from my blog: Maple & Apple Tart, Strawberry Custard Tart, Apple & Pear Puff Pastry Tart
It’s getting really hot and operating an oven right now will definitely not help us with the heat. This is why I wanted to share a no bake summer recipe. And don’t worry, I know all kinds of ingredients are not easily available right now. I have used very simple ingredients that can easily be found.
Tips for making the perfect no bake tart:
Blitz the biscuits
Since this tart has a biscuit base, make sure you crush your biscuits to a fine consistency. Medium chunks or even small chunks of biscuit will hinder the structure. The finer the biscuit, the easier it will be for it to come together once you add melted butter.
Refrigerate all elements
For a no bake tart, refrigeration is always very important. Once your biscuit base is ready, you need to keep it in the fridge for an hour or so so that the butter can set and form a durable base. If you rush this step then your tart can easily fall apart once you add the filing. In addition to the base, you also need to make sure to pour in the filling and let it set in time in the fridge. Always cover your tart with cling wrap or a plate to make sure the taste of the tart is not compromised while it’s getting set.
Use a thick filling
Whenever you are making a no bake tart, filling it with a thick and a stable filling is always a good idea instead of using an extremely liquid filling. This is simply because a thicker filling will always set much better on the fridge.
The best thing about a no bake tart is that you can totally make a deconstructed version of it! This means that you do not need a tart mould. You can just set your tart in a bowl or a glass and layer it up. Check out my recipe of the Deconstructed Lemon Tart to see what I mean.
Components of the mango custard tart
No bake tart shell
This eggless no bake mango tart uses a very easy tart shell recipe- only crushed digestive biscuits and melted butter. You can crush the digestive biscuits in a food processor. But make sure the chunks aren’t too big because the tart shell won’t hold shape otherwise. Sandy texture is perfect. Once you have crushed your digestive biscuits, all you have to do is add the melted butter. It is very important to make sure all the crushed biscuit crumbs are coated with melted butter. The melted butter that will hold the tart shell together.
Eggless custard tart filling
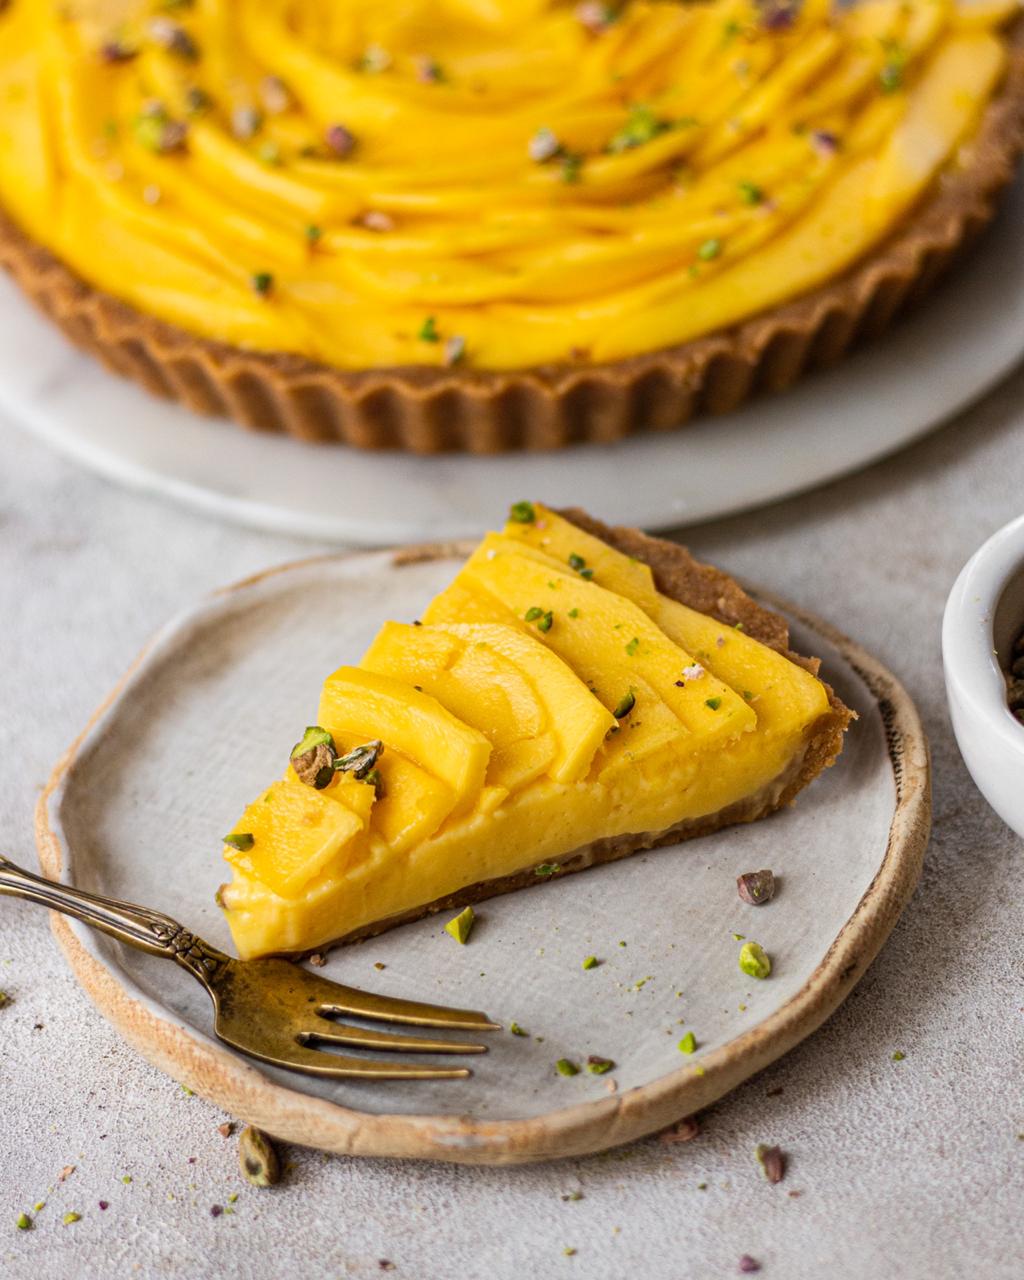
This eggless custard filling for the tart is a breeze to make. You only need three ingredients and five minutes to prepare this easy filling for the no bake strawberry tart. This custard is made by thickening the milk using custard powder. You can also flavor the milk by throwing in some vanilla beans while it is boiling. You can make a tea-based custard by using some tea bags to infuse flavor while you are boiling the milk. The possibilities to play around with this simple custard filling are endless and you can make this no bake mango tart more fun by bringing in your twist!
The topping
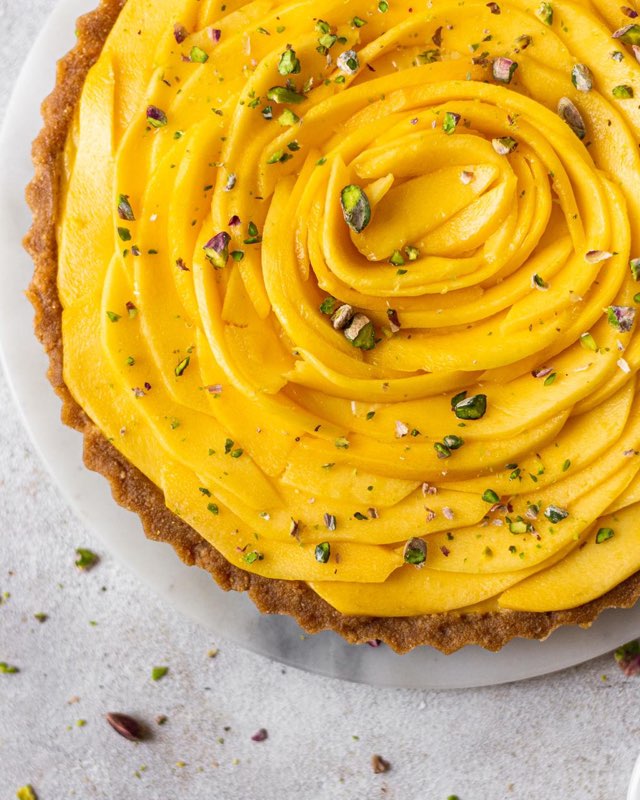
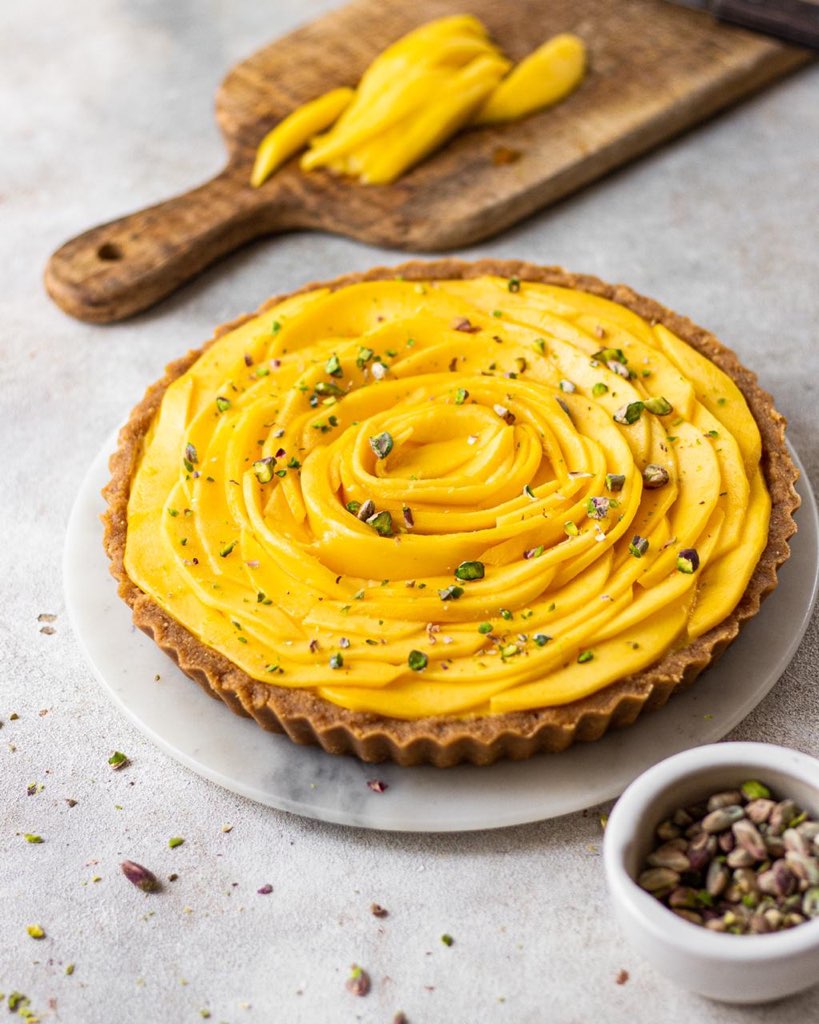
I decided to be a little extra and make a big mango rose on top of my no bake mango custard tart. Check out my youtube video on my channel bake with shivesh to see how I did that!
If you want to see other tart recipes from my blog, then make sure to check these out! Eggless Gluten Free Chocolate Pecan Tart, Eggless No Bake Nutella Tart, Vegan Gluten Free Chocolate Tart.
The mango custard tart has to be one of my recent favorites in the baking list. I had so much fun making it and I hope you all will too! If you recreate my recipes don’t forget to share pictures with me on my Instagram @shivesh17.
- 2 cups biscuit crumbs ( about 260gm ParleG biscuits)
- 1 cup melted butter
- ½ liter milk
- ¼ cup milk + 3 tbsp custard powder
- 4 tbsp powdered sugar
- 4-5 mangoes, thinly sliced
- chopped pistachios
- In a bowl add in your crushed biscuits and melted butter. Mix this well so that the butter is coated on each biscuit crumb.
- Take your tart mould and spread the biscuit and butter mixture evenly, while pressing upwards on the sides of the tart mould. Make sure to cover all the surface area and edges of the tart pan for a perfect tart shell.
- Once your tart mould is evenly covered, keep this in the refrigerator for at least 30 minutes.
- In a saucepan add in ½ litre of milk and bring it to a boil. Meanwhile, in another small bowl add in ¼ cup of milk the custard powder. Mix this really well till the custard powder is completely dissolved.
- Add the custard powder and milk mixture to the saucepan with the boiling milk. Stir constantly and bring this to a boil. Then add in the powdered sugar as well and combine everything
- Once combined, transfer the filling to a bowl and cover it with cling wrap. Make sure the cling wrap is touching the surface of the custard so that no skin is formed on top.
- Refrigerate the filling for 40 minutes and let it set.
- Once both the tart shell and the filling are ready, assemble the tart.
- Pour the filling into the tart shell and spread it evenly.
- For the topping, slice some mangoes lengthwise and make sure they are thin slices. Assemble these around the circumference, while going closer to the the centre of the shell. This will make a mango rose. Top it off with some chopped pistachios and your tart is ready to be served!

 Hello. I'm Shivesh Bhatia, a food blogger and food stylist from Delhi, India. Welcome to Bake With Shivesh, where I'll help you create magic in your kitchens with my simple recipes.
Leave a Reply