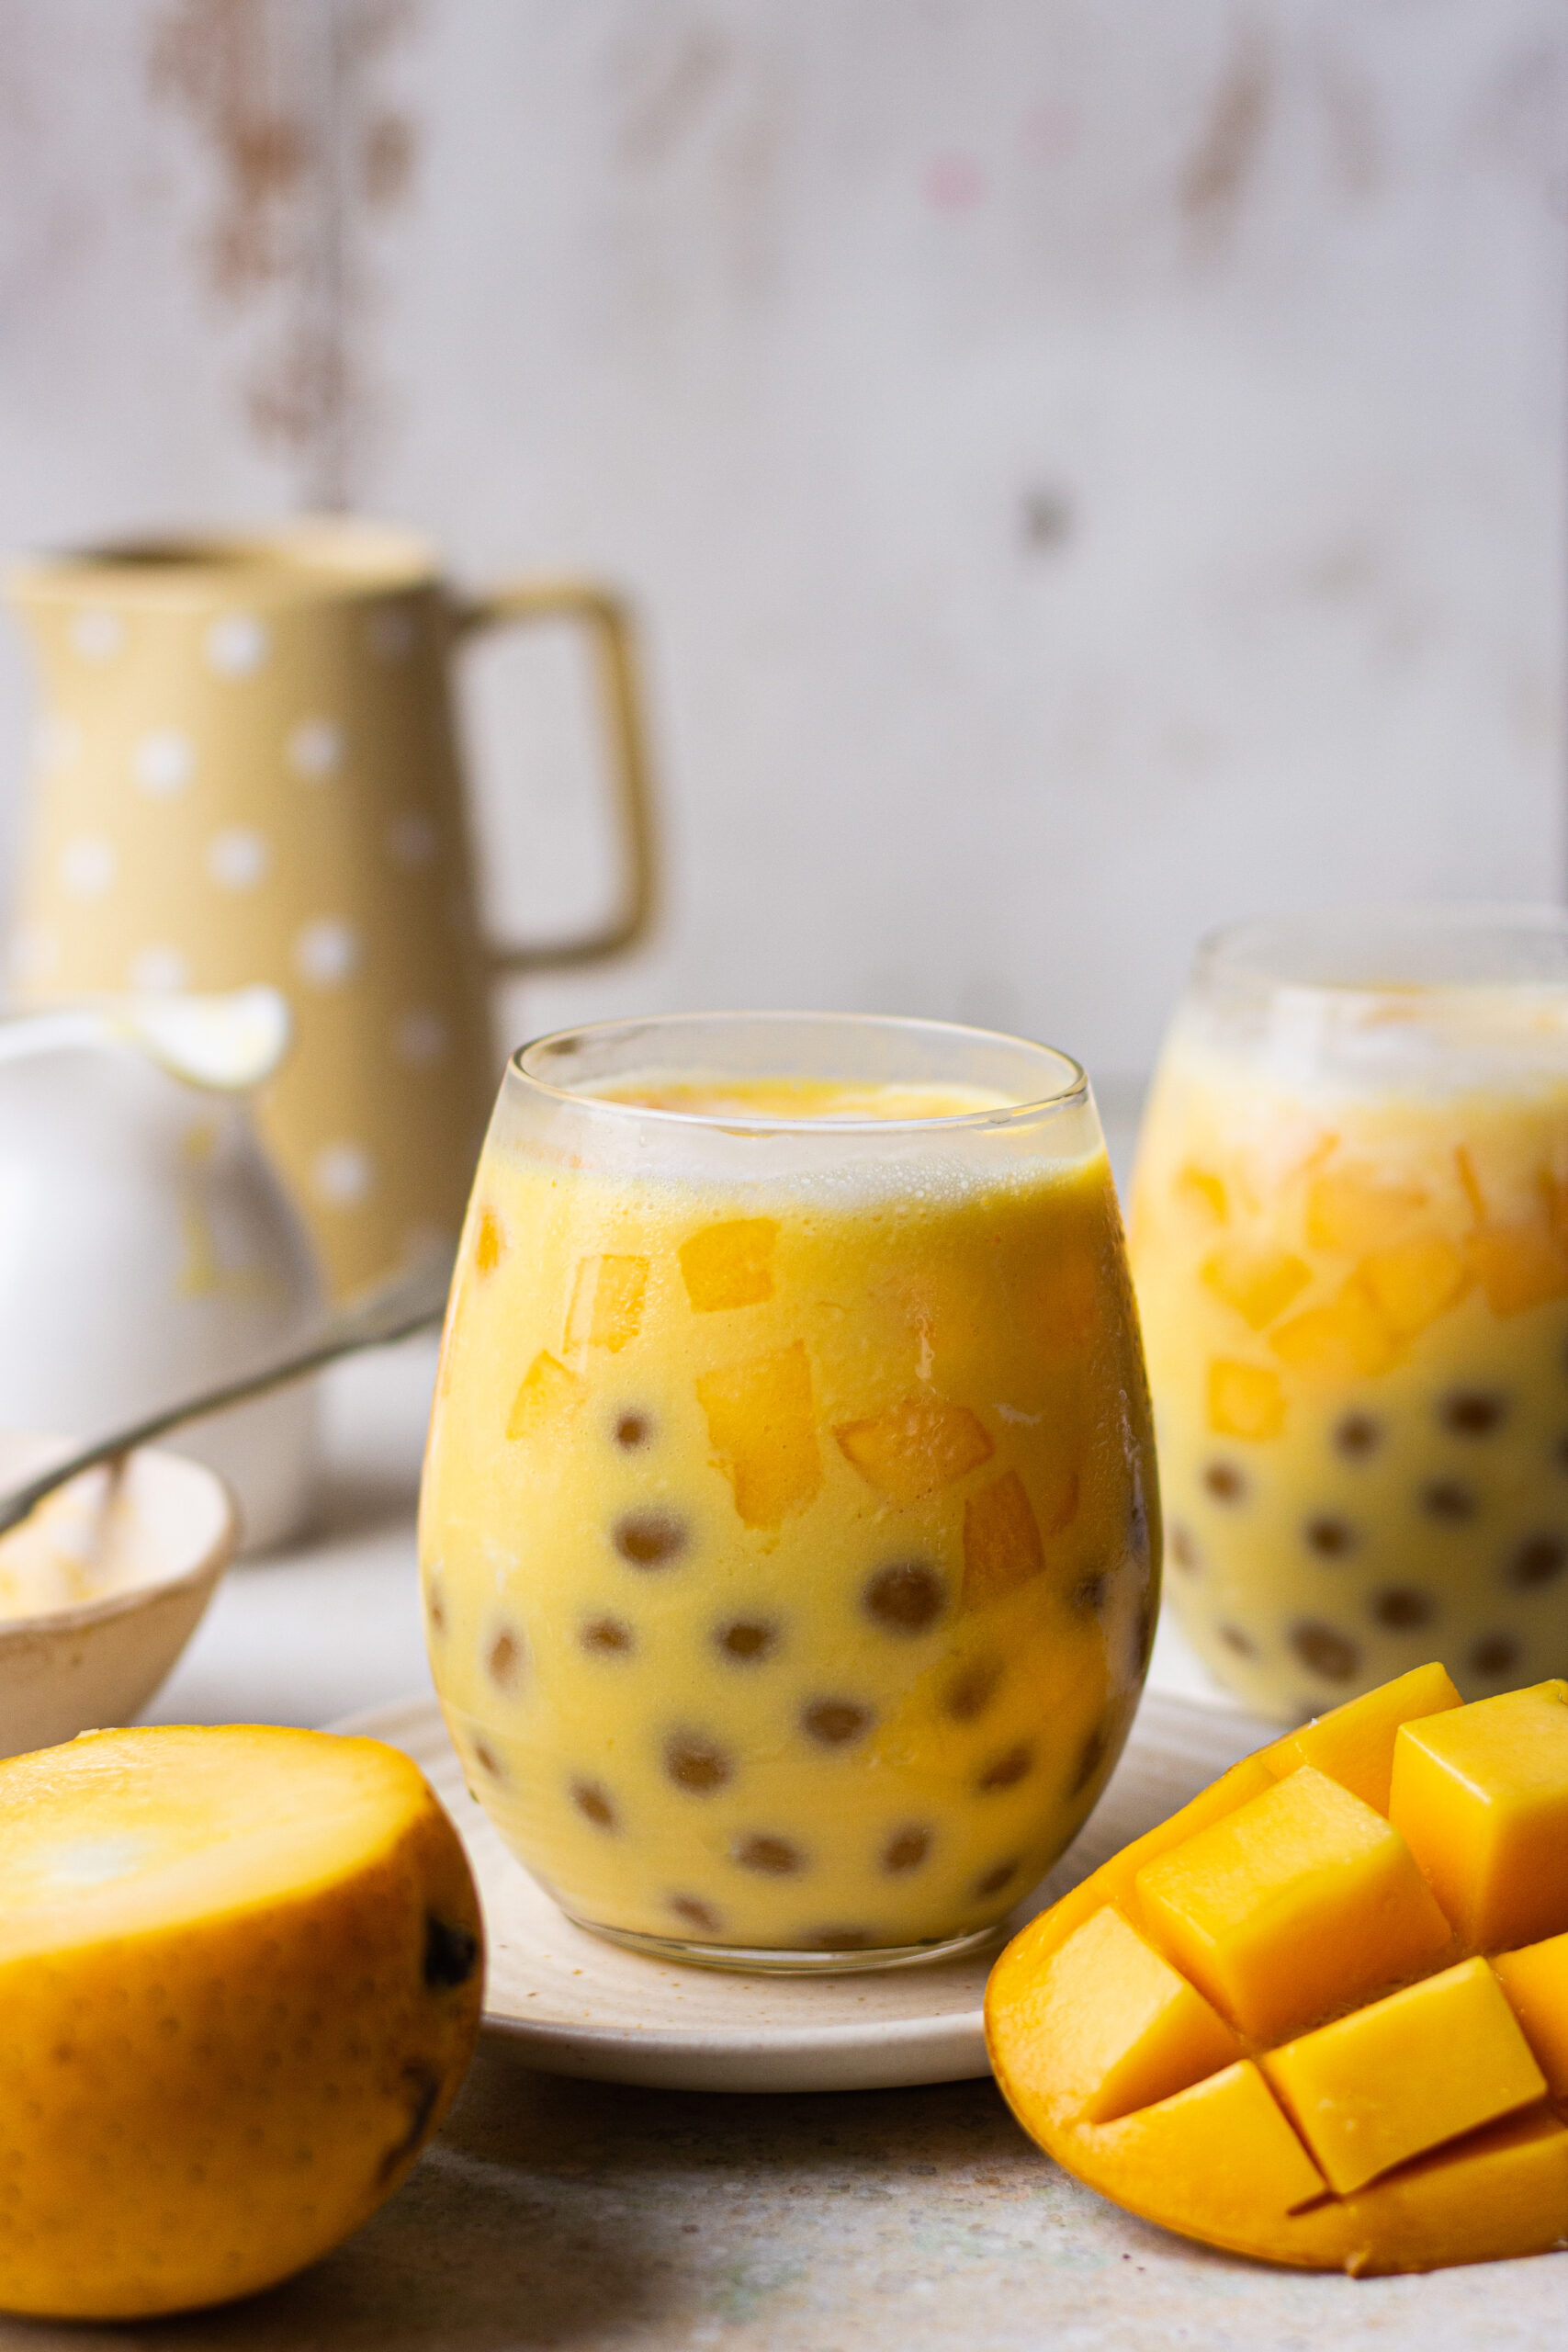
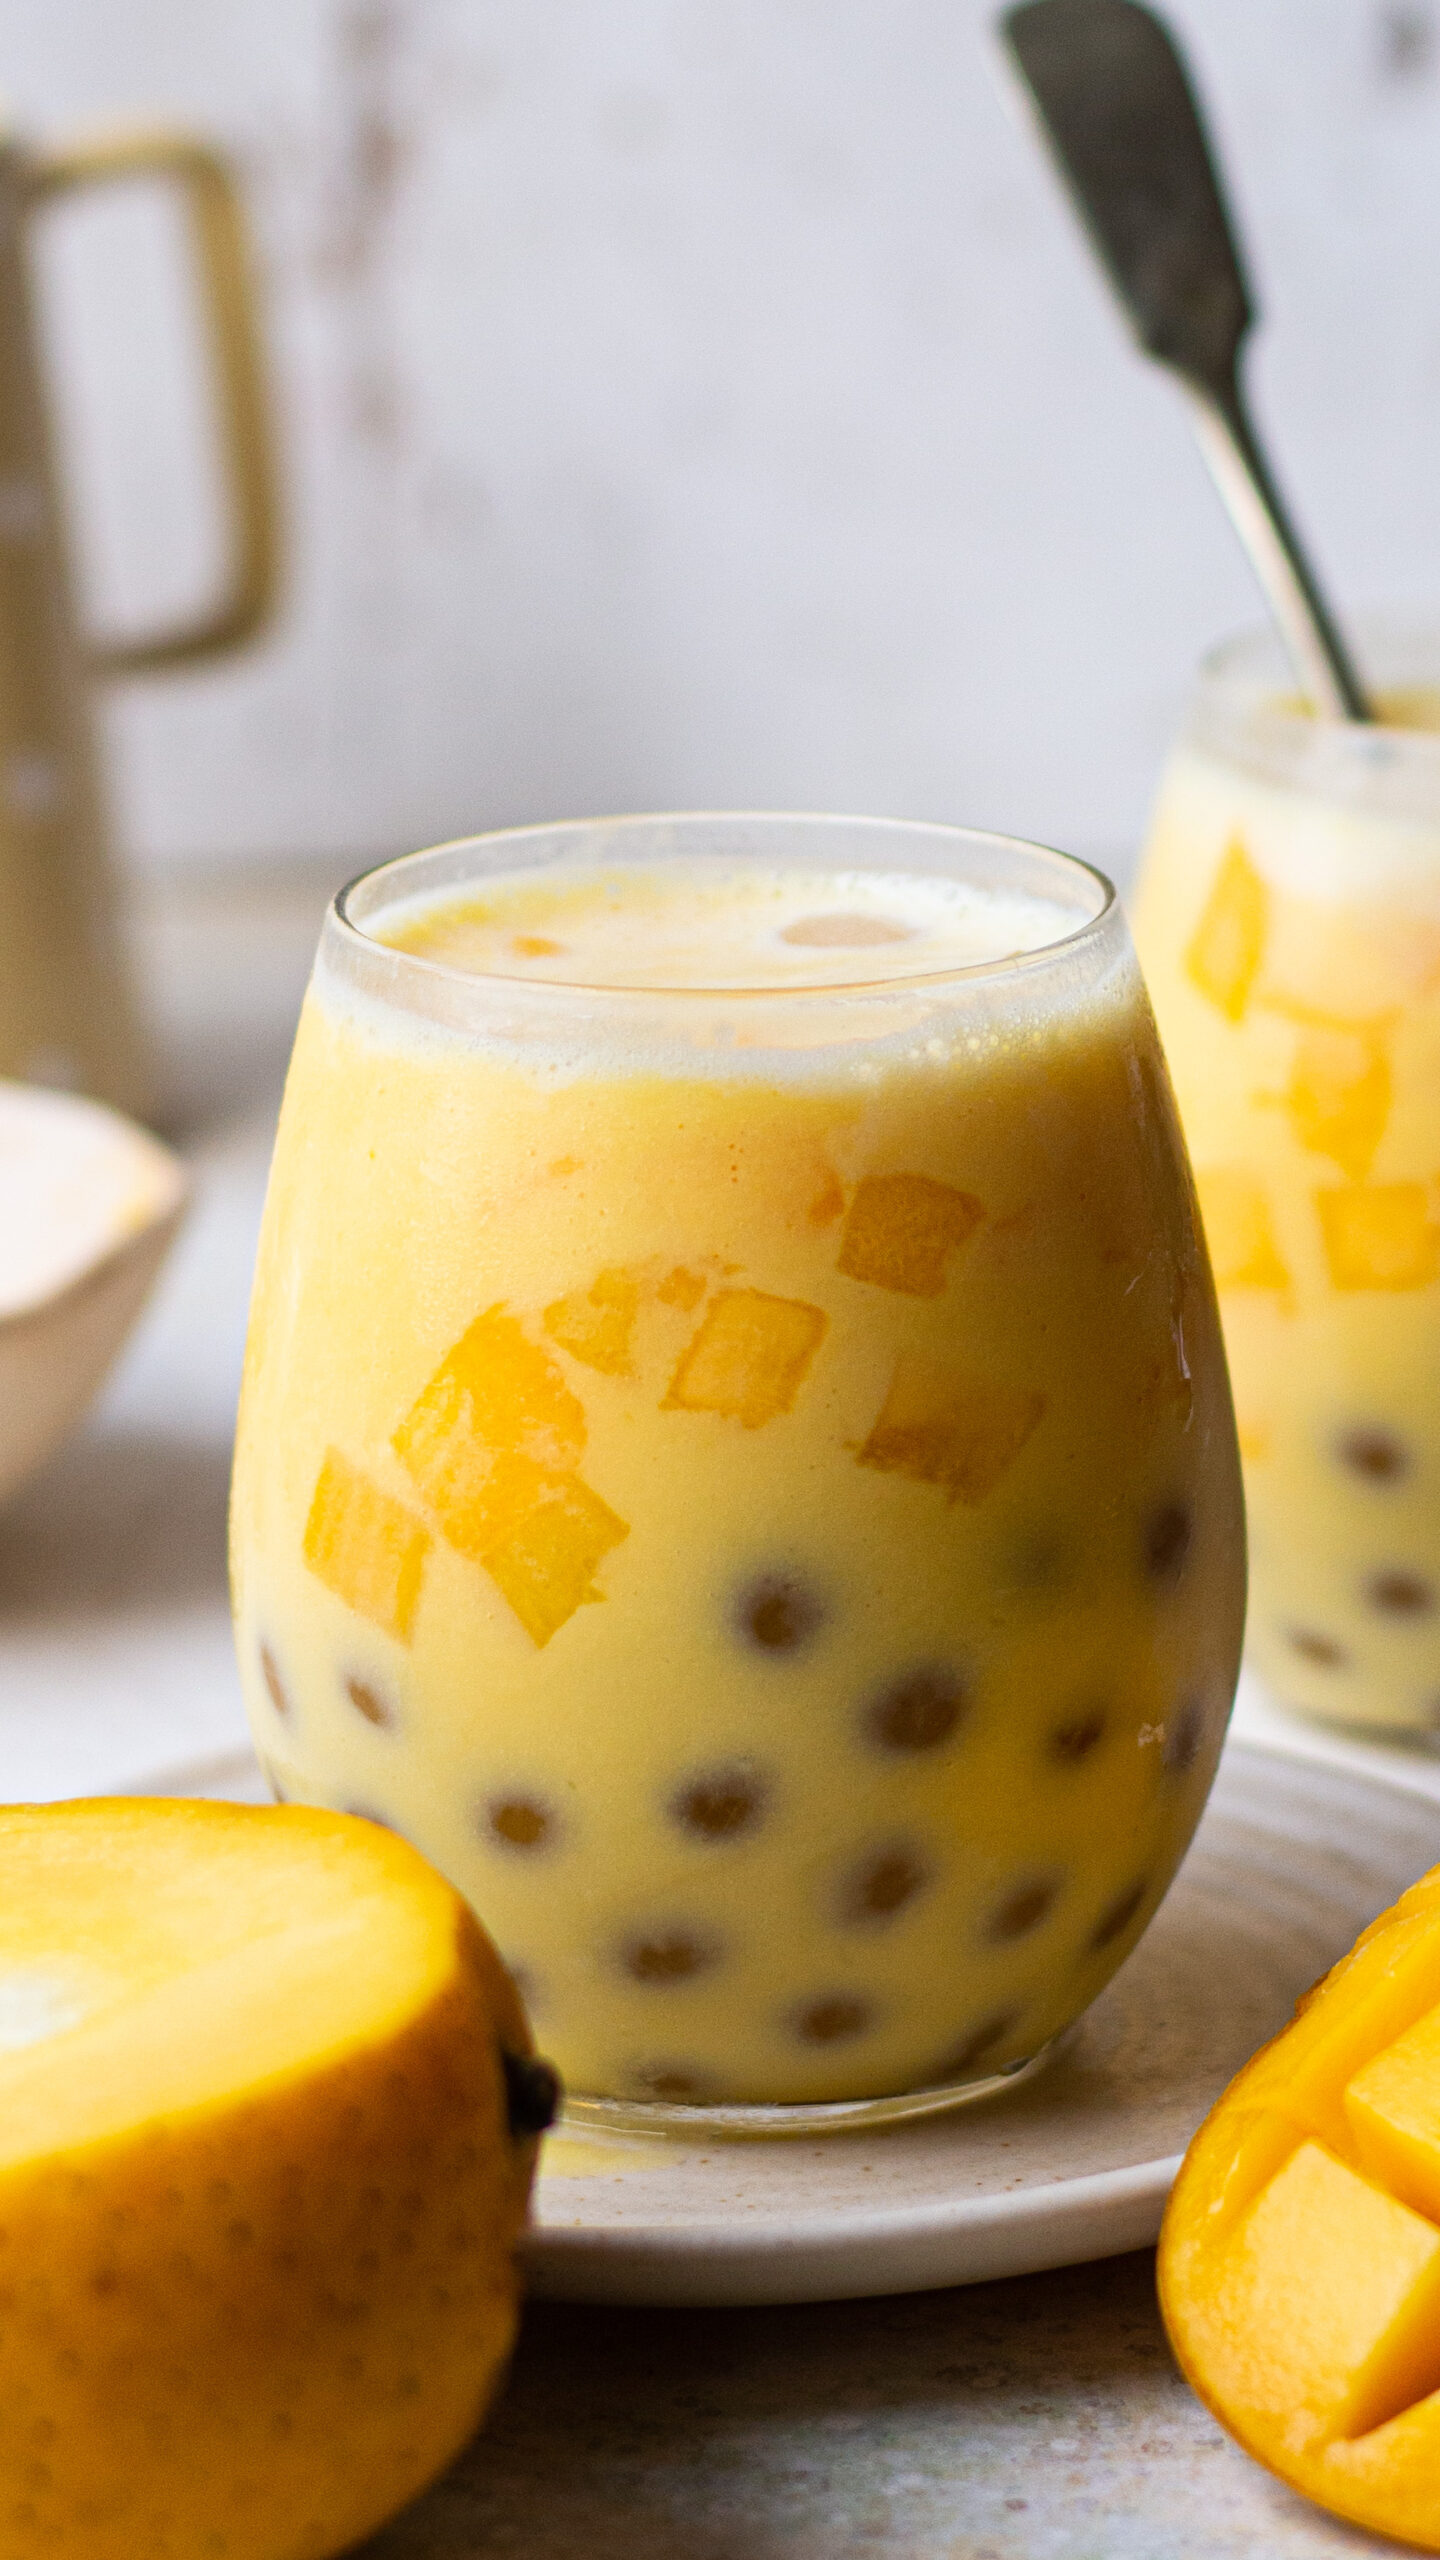
I am very particular when it comes to food and desserts, and experimenting with different flavour pairings is what I love the most in my work. In the last strawberry season, I tried making strawberry boba pearls, so I thought of giving a try to do it with mangoes as it is the mango season. Why to have plain boring black and brown boba pearls when you can make mango boba pearls and level up your bubble tea game. With only four ingredients, you can make these mango boba pearls at home which are fruity, and you can never stop having them. They are a bit tricky to make and can consume 1-2 hours of your day but at the end its totally worth it. These mango tapioca pearls are chewy like traditional tapioca but have fresh mango for flavouring.

INGREDIENTS USED IN THIS MANGO BOBA MILK
Tapioca flour
The boba pearls used in the Bubble tea are traditionally made with tapioca flour or tapioca starch. The starch gives the pearls a chewy texture upon cooking and boiling them gives it the sheen of the pearls. It is the hero ingredient in making of these boba pearls.
Mango
As mango season is around, so you can get the best and ripe mangoes. Try to make these boba pearls with the darker mangoes available for the colour.
Milk
A full cream milk will obviously make it more delicious, but you can just use any milk that you use regularly.
Castor sugar
We need a little to sweeten the mango and enhance the flavour. Don’t use a liquid sweetener.
THINGS TO NOTE
- This mango boba don’t have the same 6-month shelf-life as plain tapioca pearls because the tapioca balls contain mango instead. Instead, you can keep them for up to a week in the refrigerator in an airtight container. These may become a little firmer in the refrigerator, but they are still perfectly usable!
- The uncooked mango boba balls work best when kept in the freezer for two to three months in an airtight container (to prevent drying out). Then, there is no need to let them thaw; you may cook them straight from frozen.
EQUIPMENTS USED TO MAKE MANGO BOBA PEARLS
To make mango puree, I have used my Nutrifresh Blender.
For milk foam, I have used Milk Frother which I have recently ordered from amazon and it has made my work so hassle-free and quick.
Measuring Cups and Measuring Spoons. are an integral part of any baker’s kitchen and its very important to measure ingredients with precision.
Boba Milk requires a special Boba Straw and you can purchase yours from here . It is reusable and hence environment friendly

OTHER MANGO RECIPES ON THE BLOG:
- 1 + ½ mango
- 2 tbsp sugar
- 3 tbsp water
- ¼ + ¾ cup tapioca flour
- ½ cup mango milk
- Milk froth (optional)
- 1-2 drops of yellow food colour (optional)
- Cut one mango into chunks, throw it into the blender with sugar and water and blend into a puree. We need ¼ cup mango puree.
- Transfer this puree in a bowl and add ¼ cup tapioca flour to it.
- Mix well.
- Once the tapioca flour is completely incorporated, heat this mixture in a microwave for 1 minute at 15 seconds intervals. You will see that the mixture will thicken. At this stage, if you want, you could add 1-2 drops of yellow food colour.
- Add the rest of the tapioca flour and knead it well for a few minutes so that the whole thing comes together to form a smooth dough.
- Roll the dough into long logs and cut them into small portions. Make small boba pearls from each portion by rolling the dough between your palms.
- Now, boil them in boiling water till they become shiny and somewhat translucent. This will take around 15 mins.
- Strain them and transfer into an ice bath. Let them sit in the ice bath for 5-10 mins. It helps to enhance the colour of the boba pearls.
- Strain the boba pearls again and coat them with some honey so they don’t stick to each other.
- In a glass, layer the boba pearls with some ice cubes, mango chunks from the remaining ½ mango, mango milk and milk froth. Enjoy your mango boba milk chilled
If you like this MANGO BOBA PEARL RECIPE and happen to make it in your kitchen, do tag me on Instagram and share pictures with me using #Bakewithshivesh. Happy Baking!

 Hello. I'm Shivesh Bhatia, a food blogger and food stylist from Delhi, India. Welcome to Bake With Shivesh, where I'll help you create magic in your kitchens with my simple recipes.
Leave a Reply