Have you ever followed a pie or tart recipe down to the very last crumb, only to pull it out of the oven and find a soggy bottom or a shrunken crust? If you’ve been there, you’re definitely not alone. That’s where the magic of blind baking comes in. It may sound like something mysterious or even risky, but it’s actually a simple and essential technique every baker should have up their sleeve.
WHAT IS BLIND BAKING?
Blind baking (also called pre-baking) is the process of partially or fully baking a pie or tart crust before adding the filling. Yes, it means popping the crust in the oven solo—no fruit, no custard, no filling at all.
The main goal? To set the structure of the crust so that it doesn’t puff up, shrink, or go soggy once the filling is added. It ensures your base is crisp, firm, and ready to hold even the wettest of fillings without collapsing into a pastry puddle.
Blind baking can seem intimidating at first, especially if you’re a beginner, but once you understand the reasons behind it and how it improves the quality of your baked goods, it becomes second nature. It’s one of those secret weapons that quietly makes everything better.
WHEN SHOULD YOU BLIND BAKE ?
Blind baking is not required for every pie, but there are a few situations where it’s absolutely necessary:
1. When the Filling is No-Bake
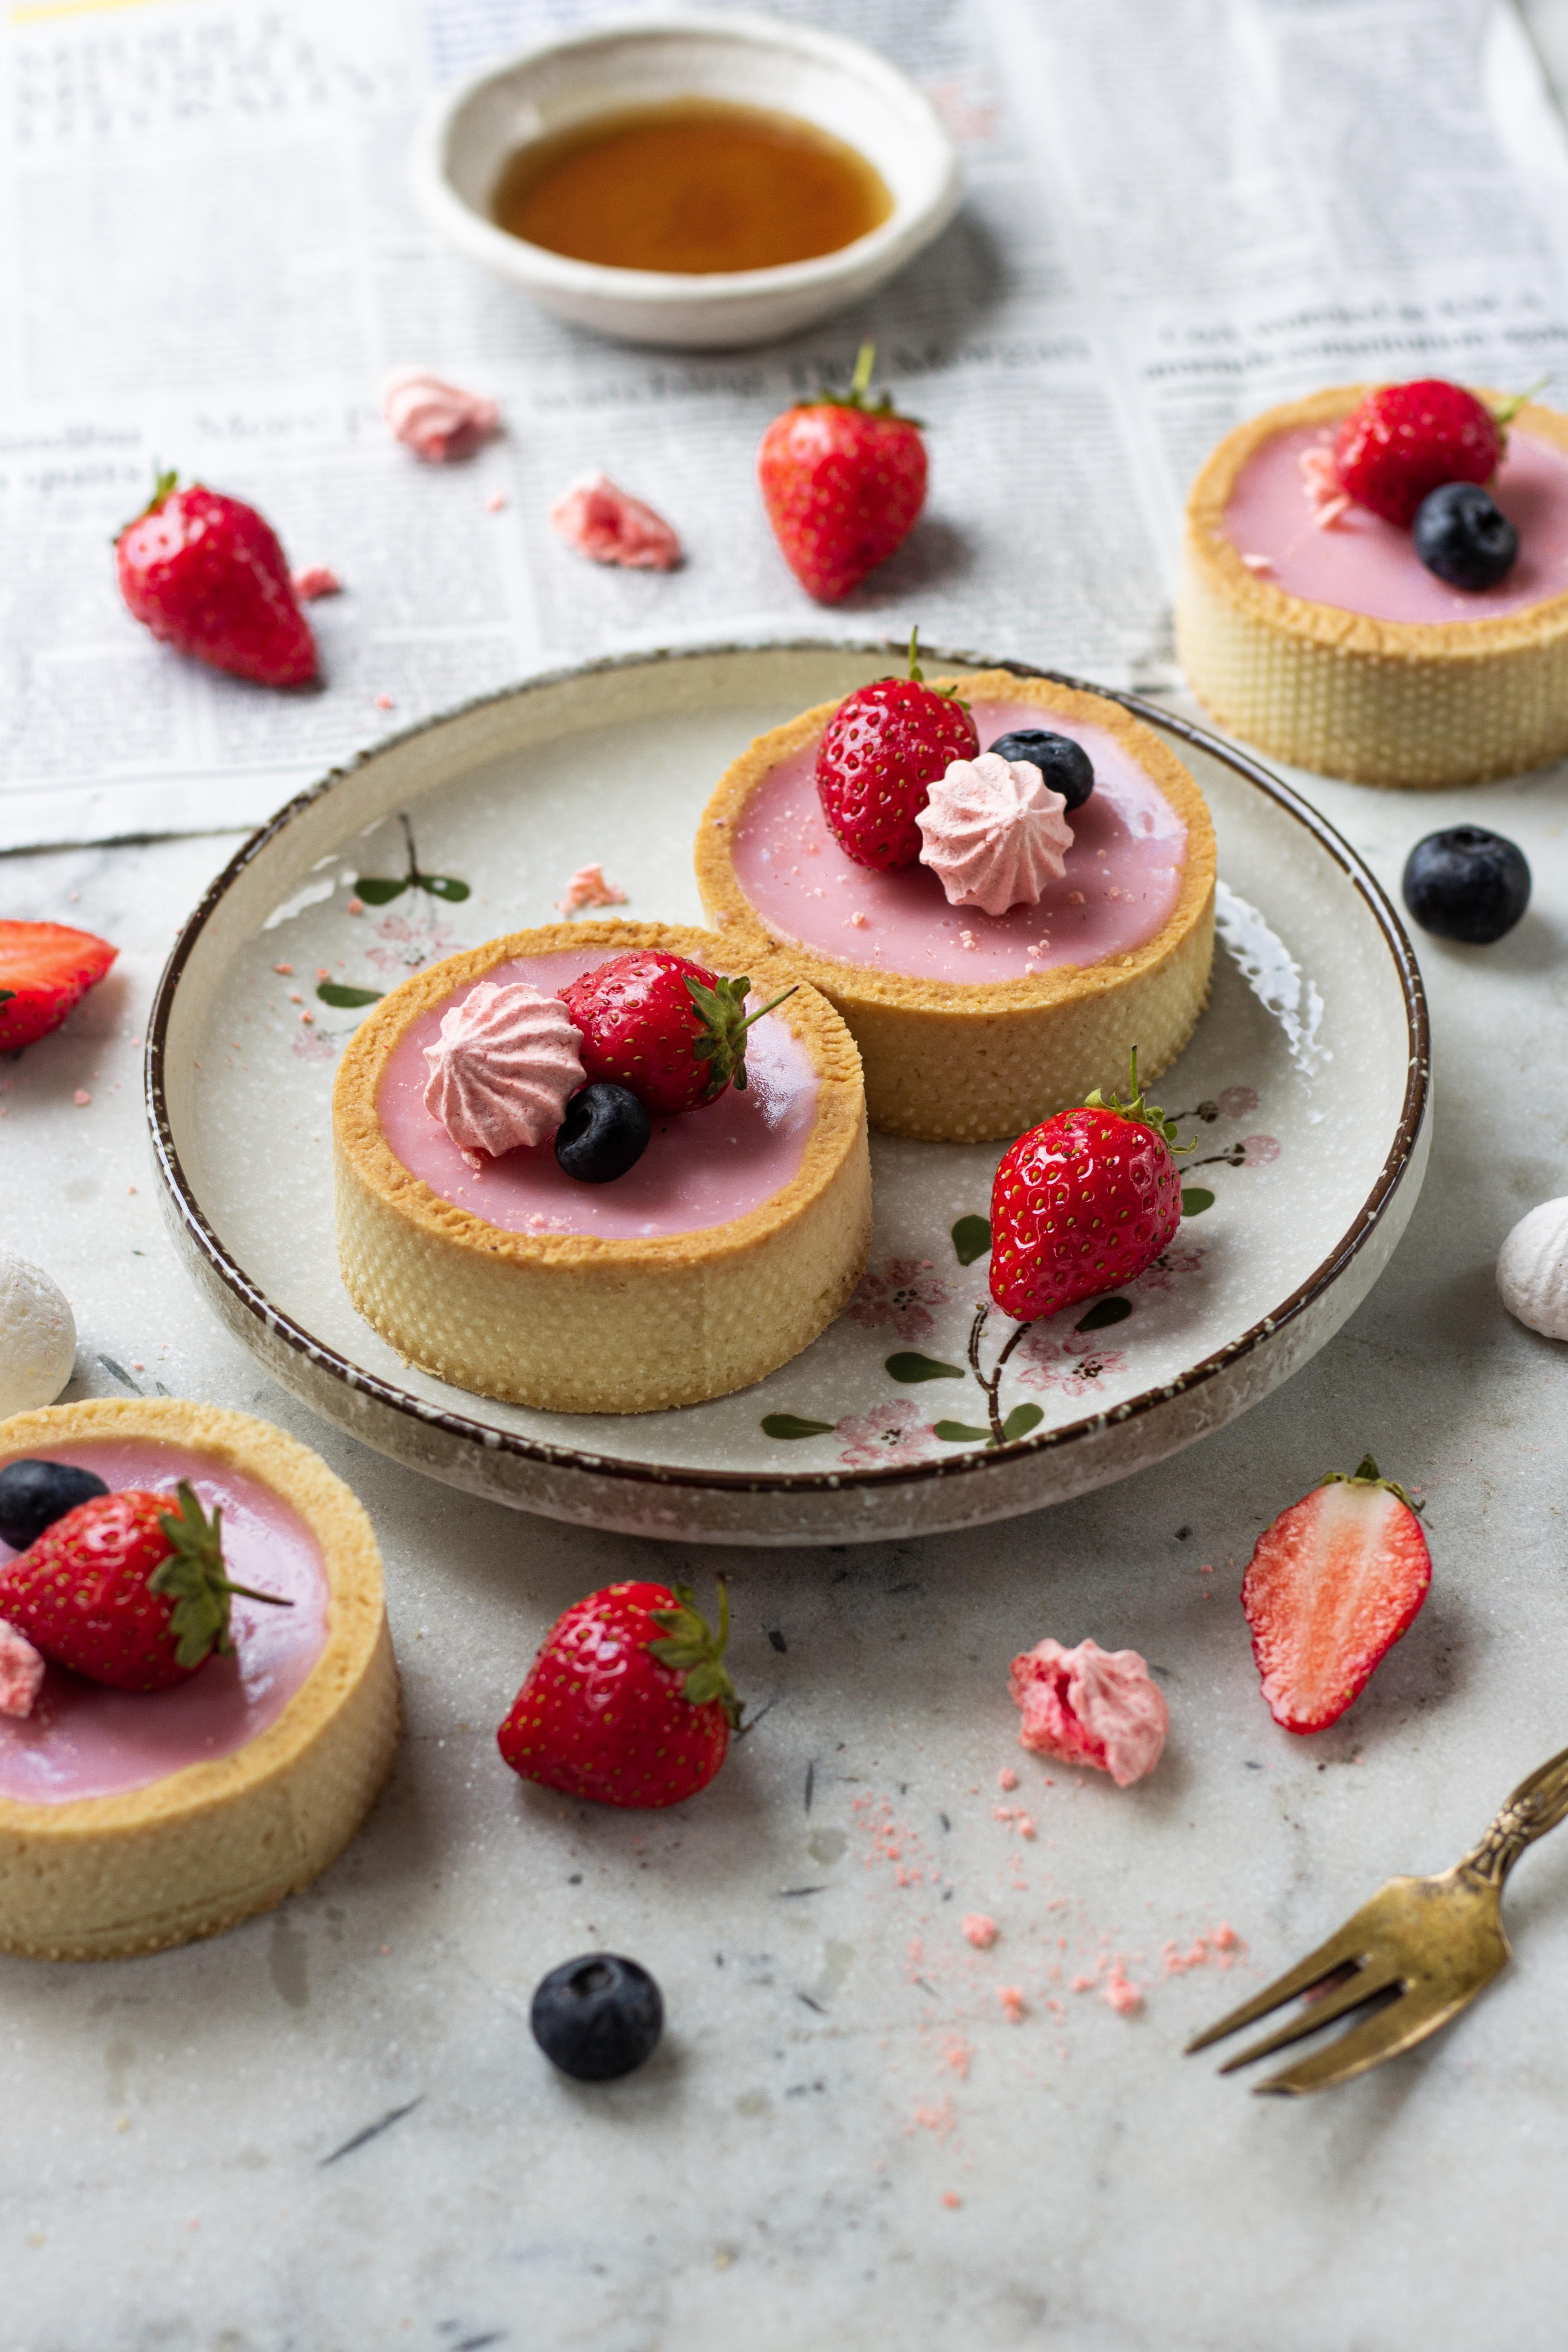
Think of classic cream pies, chocolate ganache tarts, lemon meringue, or mousse-based desserts. The filling doesn’t go into the oven—so the crust needs to be fully baked in advance. You don’t want raw pastry under a perfectly smooth and creamy chocolate filling, right?
2. When the Filling Bakes Faster Than the Crust
Some fillings take just 10–15 minutes to cook (like delicate custards or quiches). Without blind baking, the crust would still be raw or underdone while the filling is ready to go. Partially blind baking helps balance the cook time so that everything finishes together beautifully.
3. When You Want a Crisp Bottom
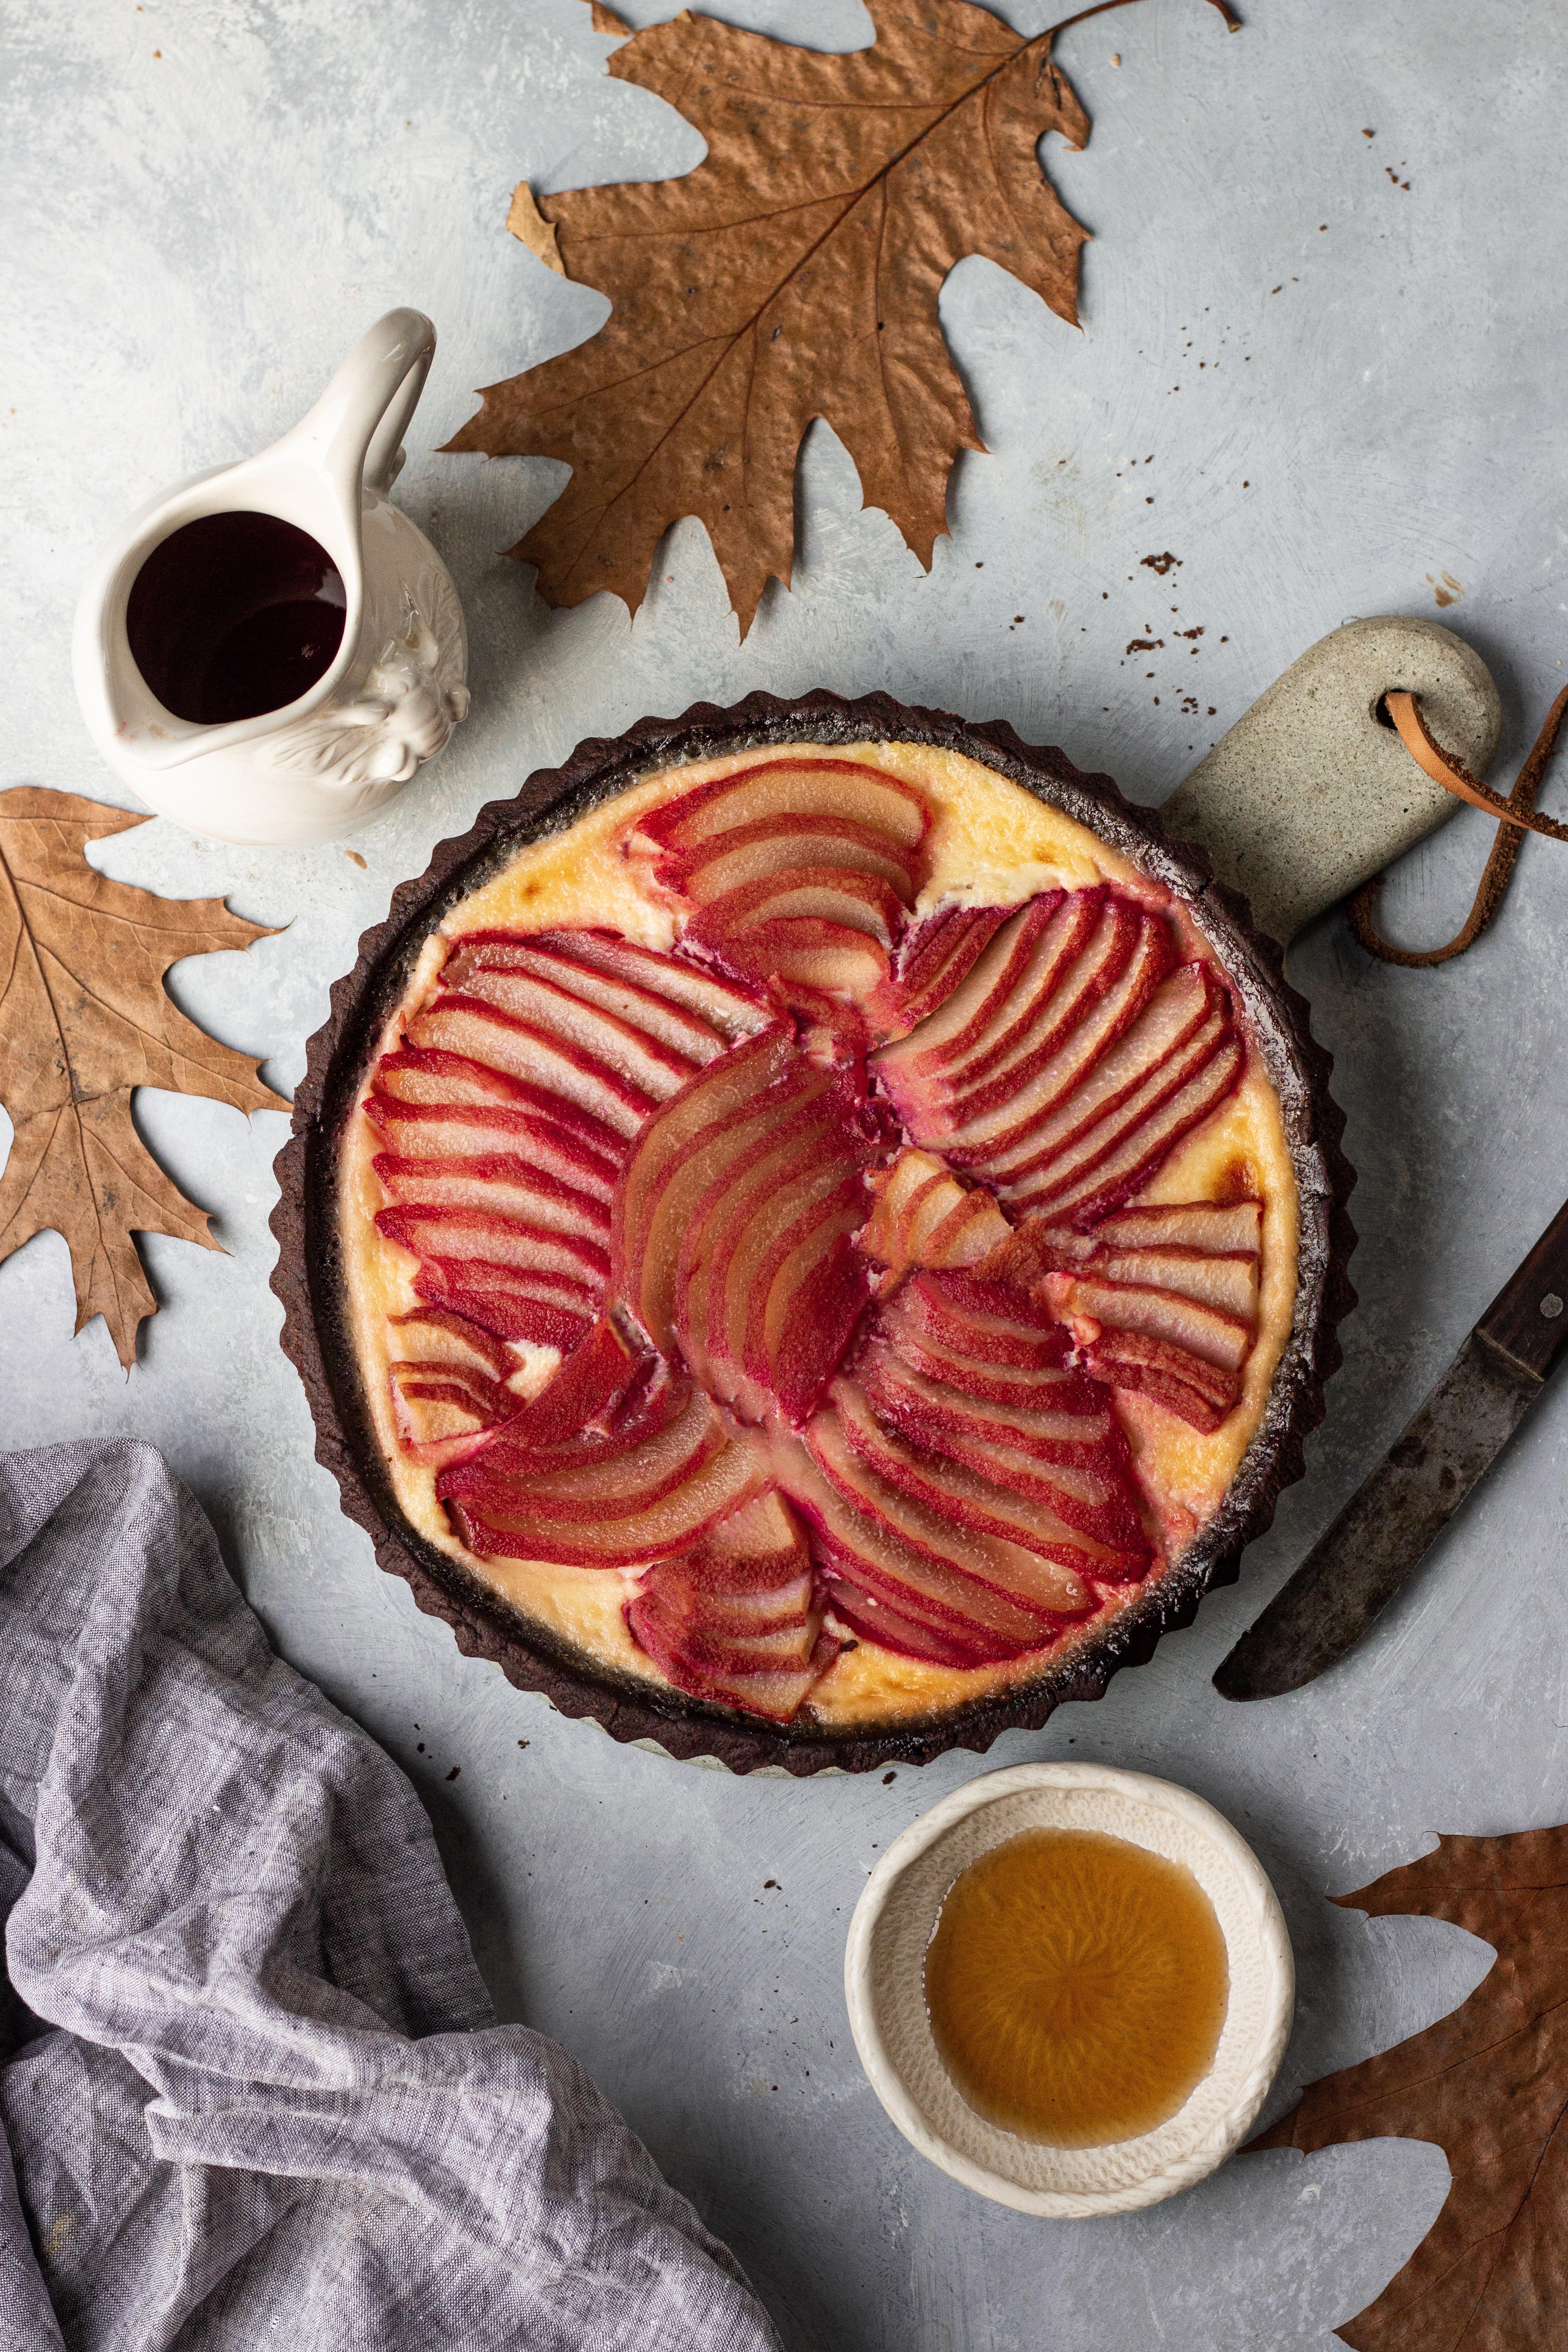
Even for fruit pies that bake with their filling, pre-baking can help avoid the dreaded soggy bottom. Especially when using juicy fruits like berries, peaches, or plums, blind baking gives the crust a head start and helps keep it from turning to mush.
4. For Better Texture and Flavor
A fully baked crust has a delicious toasty flavor that complements both sweet and savory fillings. Think buttery, flaky goodness that adds depth to each bite—something you won’t get from an under baked shell.
THE STEPS TO BLIND BAKING
Now let’s break it down. Here’s how to blind bake like a pro:
Step 1: Chill the Dough
After rolling out your pie crust and fitting it into your tart or pie pan, chill it in the fridge for at least 30 minutes (or the freezer for 15). Cold dough helps prevent shrinking and holds its shape better during baking. If you’re short on time, even a quick chill makes a noticeable difference.
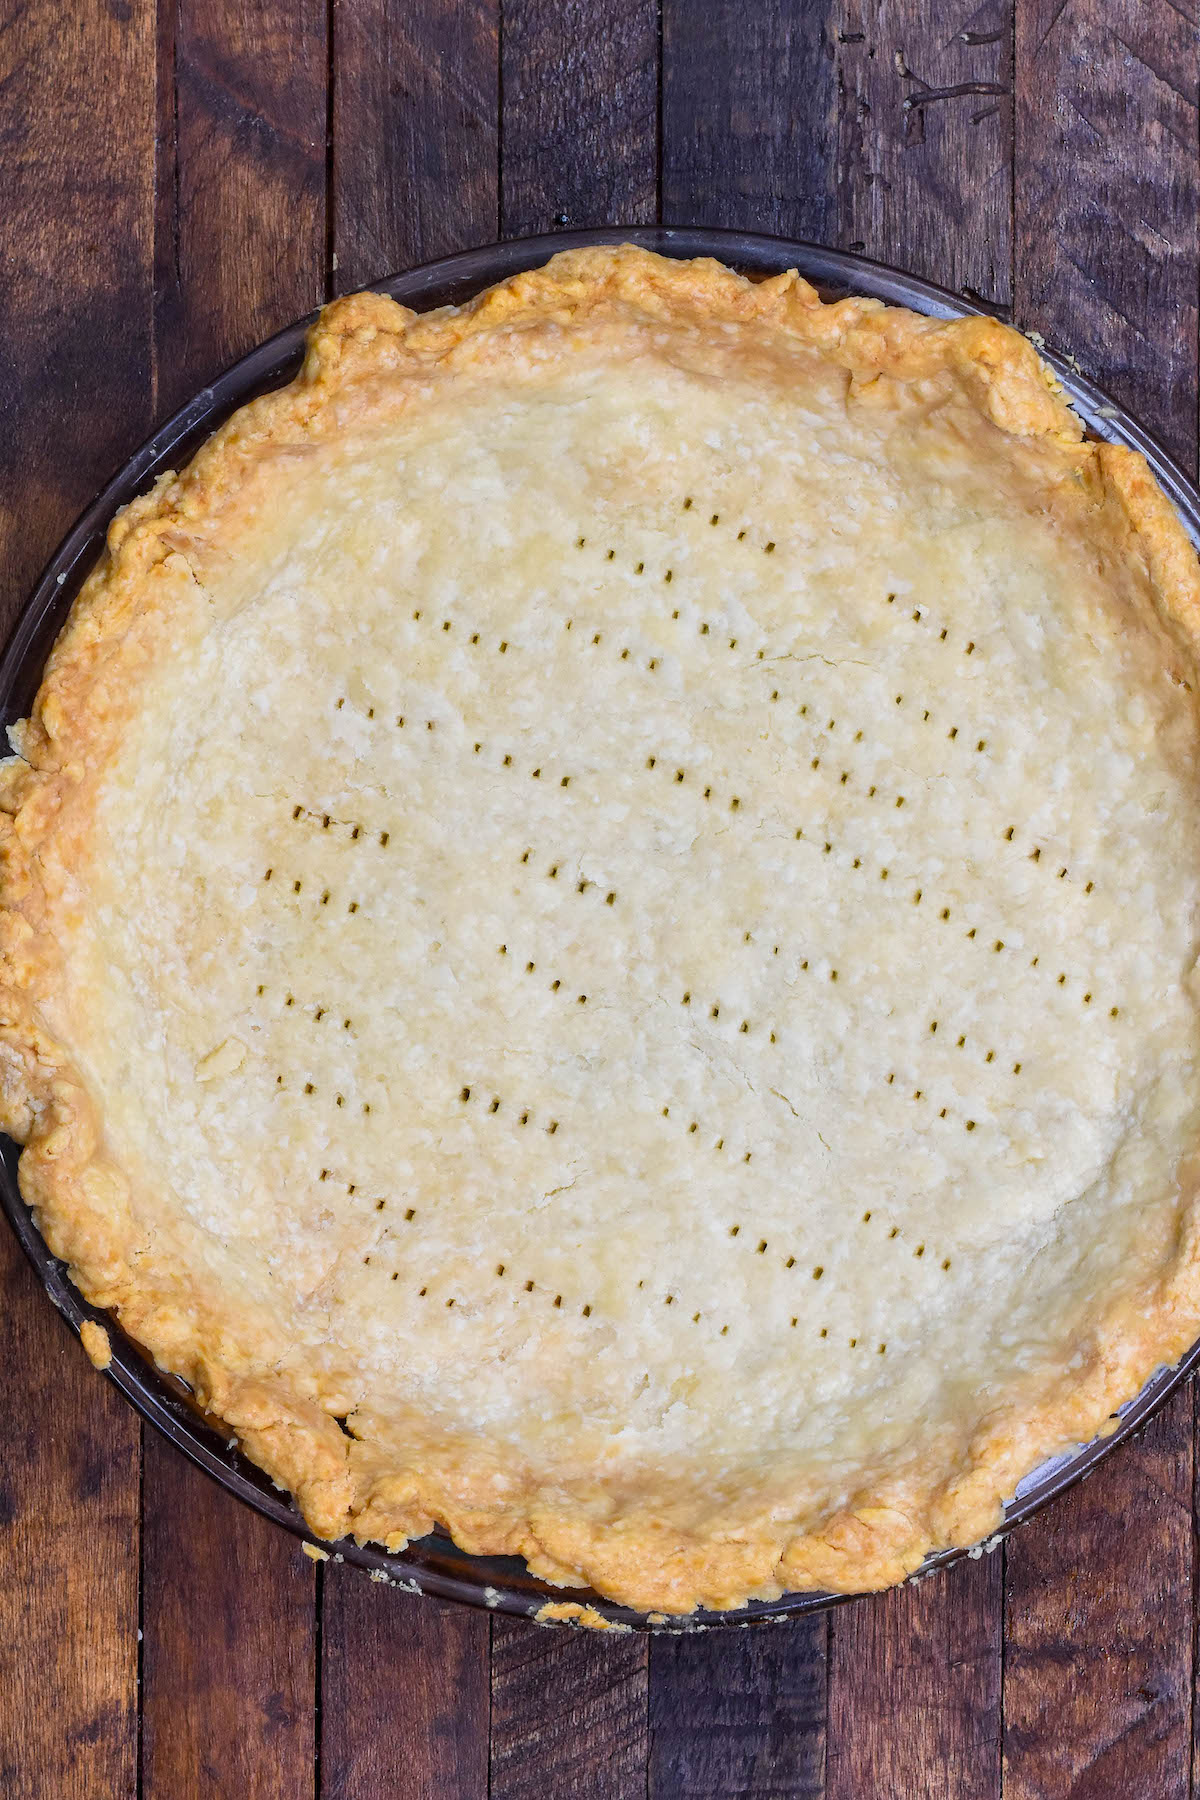
Step 2: Prick the Base (Docking)
Use a fork to gently prick the base of the crust. This helps steam escape during baking and keeps the crust from puffing up like a balloon. Some bakers skip this step if they’re using weights, but I find it adds an extra layer of insurance.
Step 3: Line with Paper and Weights
Place a sheet of parchment paper or foil over the crust and fill it with pie weights, dried beans, rice, or even sugar. This holds the dough down and keeps the sides from slumping. Make sure the weights reach all the way to the edge of the pan.

Step 4: Bake it
- For a partially baked crust, bake at 180°C (350°F) for 15–20 minutes, then remove the weights and paper, and bake for another 5–7 minutes until lightly golden.
- For a fully baked crust, bake with the weights for 15–20 minutes, then without them for an additional 10–15 minutes until golden brown and crisp.
Step 5: Cool Before Filling
Let the crust cool completely before adding any no-bake filling. For baked fillings, you can add them while the crust is still warm.

TIPS TO NAIL BLIND BAKING EVERYTIME
- Don’t skip chilling. Cold dough = less shrinkage and better texture.
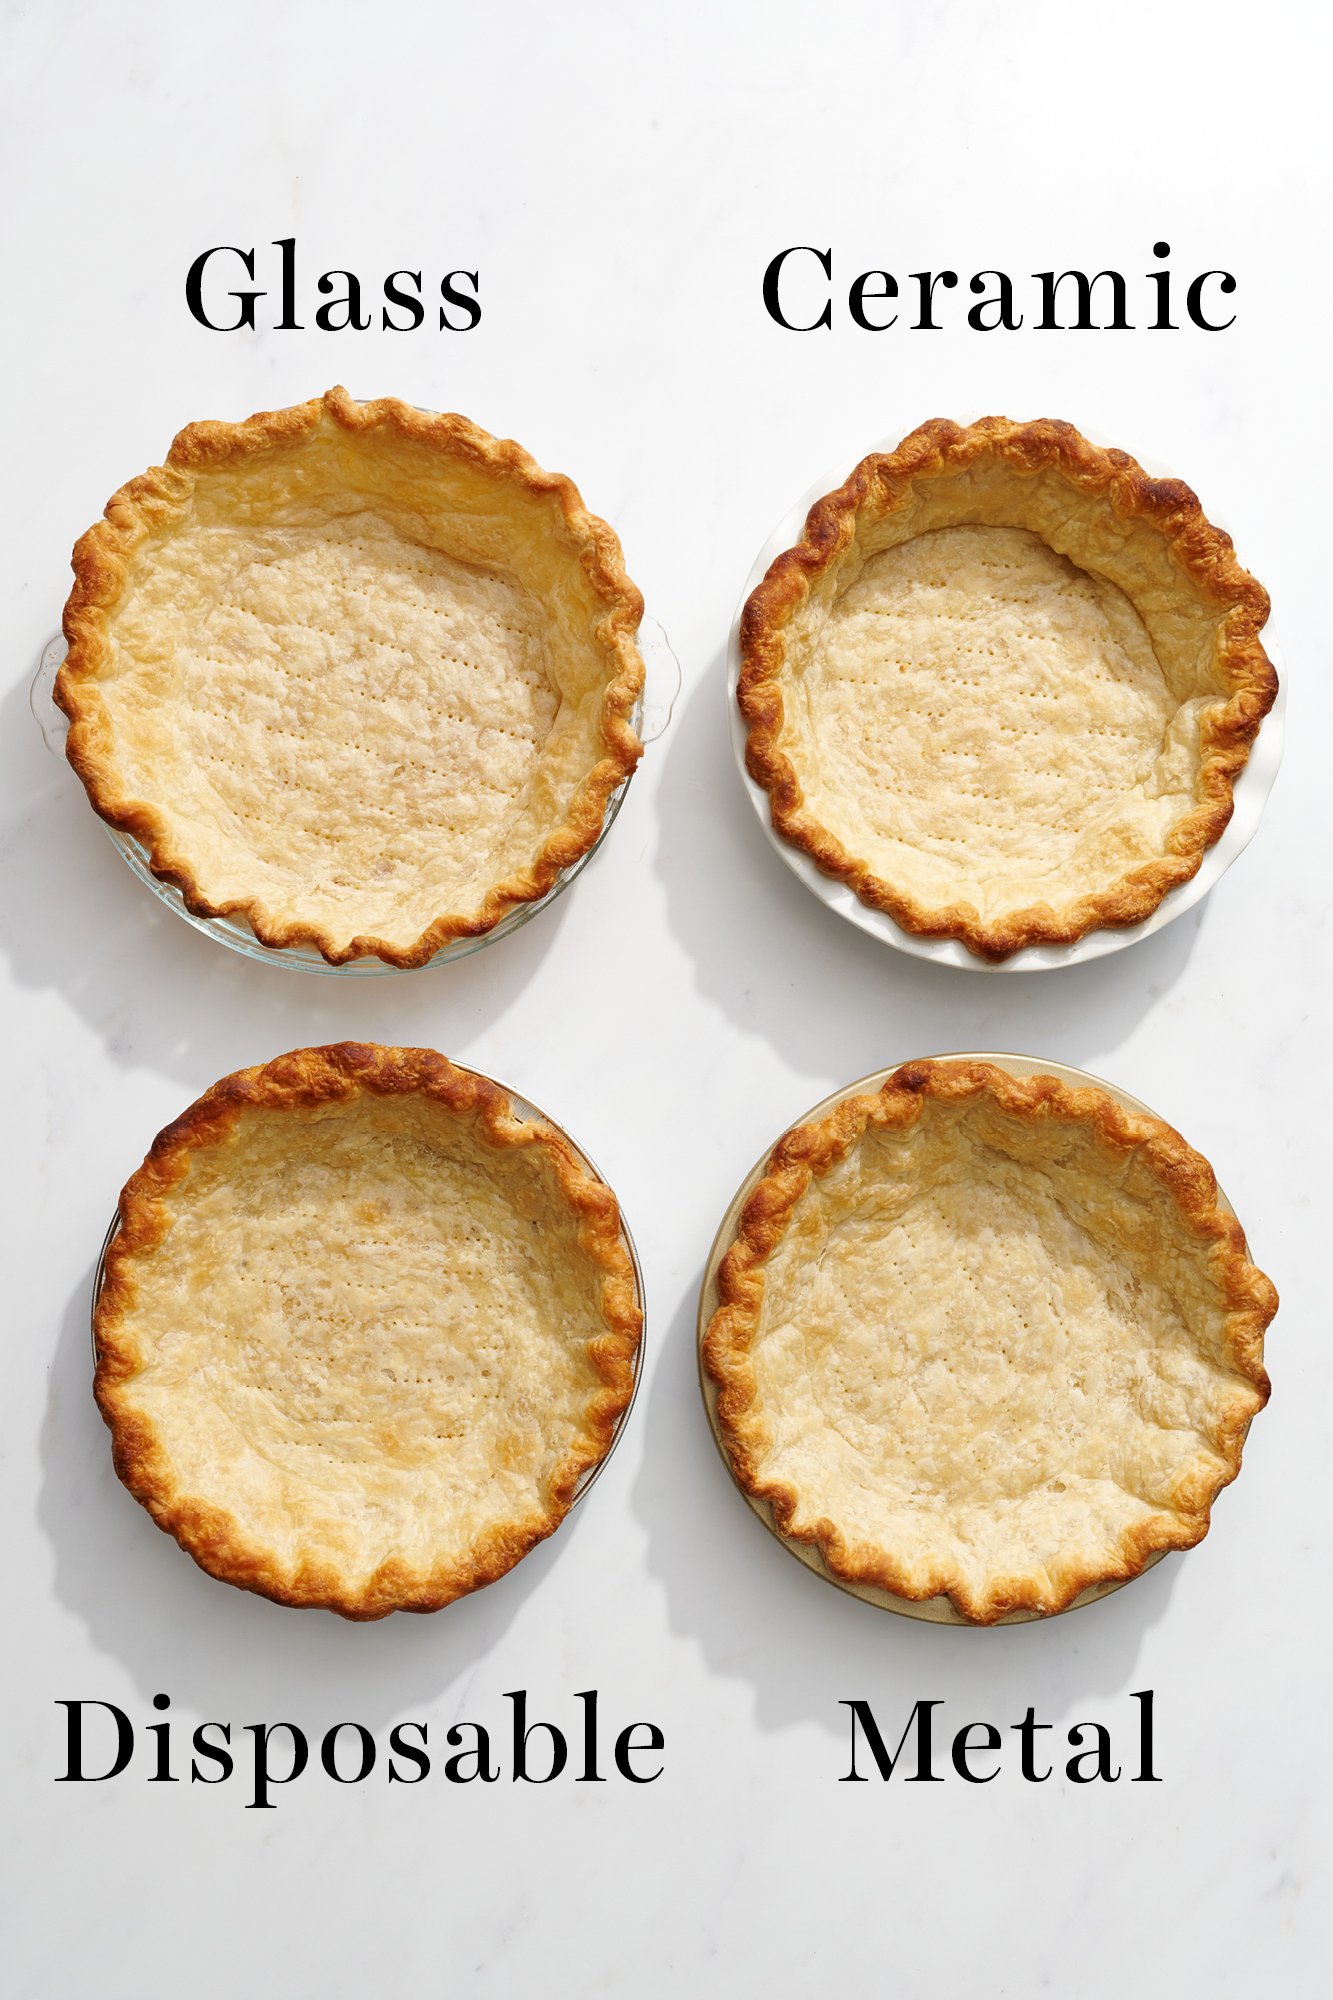
- Use the right pan. Metal and ceramic pans bake more evenly than glass.
- Go heavy on weights. Don’t be shy—fill the crust all the way to the rim to keep the sides in place.
- Keep an eye on the edges. If they’re browning too quickly, cover them with foil or a pie shield.
- Brush with egg wash. For extra insurance against soggy crusts (especially with wet fillings), brush a partially baked crust with a beaten egg and bake again for a few minutes.
- Try layering with a barrier. Once blind baked, you can add a thin layer of melted chocolate or a dusting of flour and sugar to help further protect the crust from moisture.
RELATED RECIPES FROM THE BLOG
COMMON MISTAKES TO AVOID
- Not using weights: Skipping them can lead to puffed-up, uneven bases.
- Filling too soon: Always cool the crust if the filling doesn’t go back in the oven.
- Not baking long enough: Underbaked crusts will get soggy no matter how good your filling is.
- Using wax paper instead of parchment: It can smoke or melt—stick with parchment or foil.
- Skipping docking or chilling: Both are small steps that prevent big disappointments later.
FINAL THOUGHTS
When I first heard about blind baking, I’ll admit—I avoided it. It felt like an extra step, and I was sure I could get away without it. But after one too many disasters with soggy bottoms and chocolate tarts that collapsed, I gave in. And now? I never skip it.
It’s one of those small details that elevates your baking from good to bakery-worthy. It gives you control. It’s especially handy when entertaining or gifting—you know your tart will hold up beautifully and slice like a dream. Trust me, that satisfying snap of a crisp tart base is always worth the few extra minutes.
Plus, once you get the hang of it, it’s incredibly satisfying. There’s a moment of pride when you lift those pie weights, peel away the parchment, and see a crust that’s golden, smooth, and beautifully intact. It’s one of those baking wins that makes you feel like you really know what you’re doing.
Blind baking might sound fancy, but it’s one of the most practical techniques to have in your baking toolkit. Whether you’re making a luxurious lemon tart or a rustic tomato quiche, mastering blind baking means you’ll never again be betrayed by a soggy crust.

Leave a Reply