When I started baking, one of the things that intimidated me the most was frosting a cake. You see, we all grew up eating these beautiful frosted cakes from the market and I used to think to myself, damn I want to frost a cake this perfectly one day.
As I grew up, I realized it’s not really about the most perfectly frosted cake that mattered to me. It’s about how the frosting tasted and what kind of a texture it gave to the cake. But nonetheless, no matter what frosting you use, it’s absolutely essential to crumb coat a cake. Crumb coating a cake is fairly easy once you’re fully equipped with the right tools and tips. And that’s what we’ll be talking about today!
What is crumb coat?
The crumb coat is the first layer of any icing in a cake, which is an extremely important step when decorating the cake. It seals the cake, prevents the cake from drying out, and takes any crumbs out so that you get a perfectly frosted finish. The crumb coat makes sure you get a beautiful cake free of crumbs and also makes final frosting easier. This process is very easy to do when you have a few tools like a turntable. But if you don’t have one, don’t worry. You can turn the cake with your hands and frost it, but it may just take slightly more time.
Baking and decorating a cake are two very different skillsets. While baking a cake only needs you to have ingredients and some basic knowledge, decorating needs precision as well as understanding of colors and patterns. But I honestly feel that if you have the right guidance and tricks up your sleeve, you can achieve anything and everything you want! Whether it comes to baking a simple vanilla cake or a completely frosted cake, you will nail it with grace when you have the right knowledge.
Tools needed for crumb coating a cake
Before you think about frosting a cake, you need a set of basic cake tools which will make the job a hundred times easier. A turntable helps make the frosting look much more even, otherwise you have to move the cake around manually and this actually poses a risk of missing out frosting some parts of the cake. Another great tool which will help you immensely is an offset spatula. It’s practically impossible to crumb coat a cake without an offset spatula, because it is used to spread the frosting on the cake.
Apart from these two tools, you’ll be needing a silicon spatula to mix your frosting as well as to put the frosting on the cake. You can also get cake scrapers to make frosting the sides of your cakes easier. With cake scrapers, you just have to place them on the edge of the cake and give it a whirl for a smooth finish. Yes, it’s really not as difficult as you think!
Frosting options for crumb coating a cake
Now, this is a topic that has many possible answers! The frosting that I like using the most for my cakes is Vanilla Chantilly / whipped cream mixed with some icing sugar and vanilla. It’s absolutely delicious and goes so well with any cake. However, you have to be really careful to not over whip your whipping cream or it’ll be extremely difficult for you to frost your cake! Whipping cream fluffs up when you over-whip it, so make sure you stop whipping when you have stiff peaks.
Another good option for frosting a cake is buttercream. There are many types of buttercream that you can make, American or Italian. I have an article on how to make the best buttercream, do check that out. When the texture of the buttercream is right, it’s absolutely easy to crumb coat a cake with it!
Tips for crumb coating a cake
Here are some tips you can keep in mind while crumb coating your cake-
- It’s always best to use cakes or sponges that have been baked a day before as they are much easier to frost. You can also use a cake that has been refrigerated for some time.
- Having the right tools like a turntable, off set spatula etc. make the job much easier. Otherwise, it’ll take you hours to crumb coat your cake!
- When it comes to crumb coating a cake, know that less is always more: you don’t need a lot of frosting to crumb coat a cake. Remember that this is just the first coating and it can be thin.
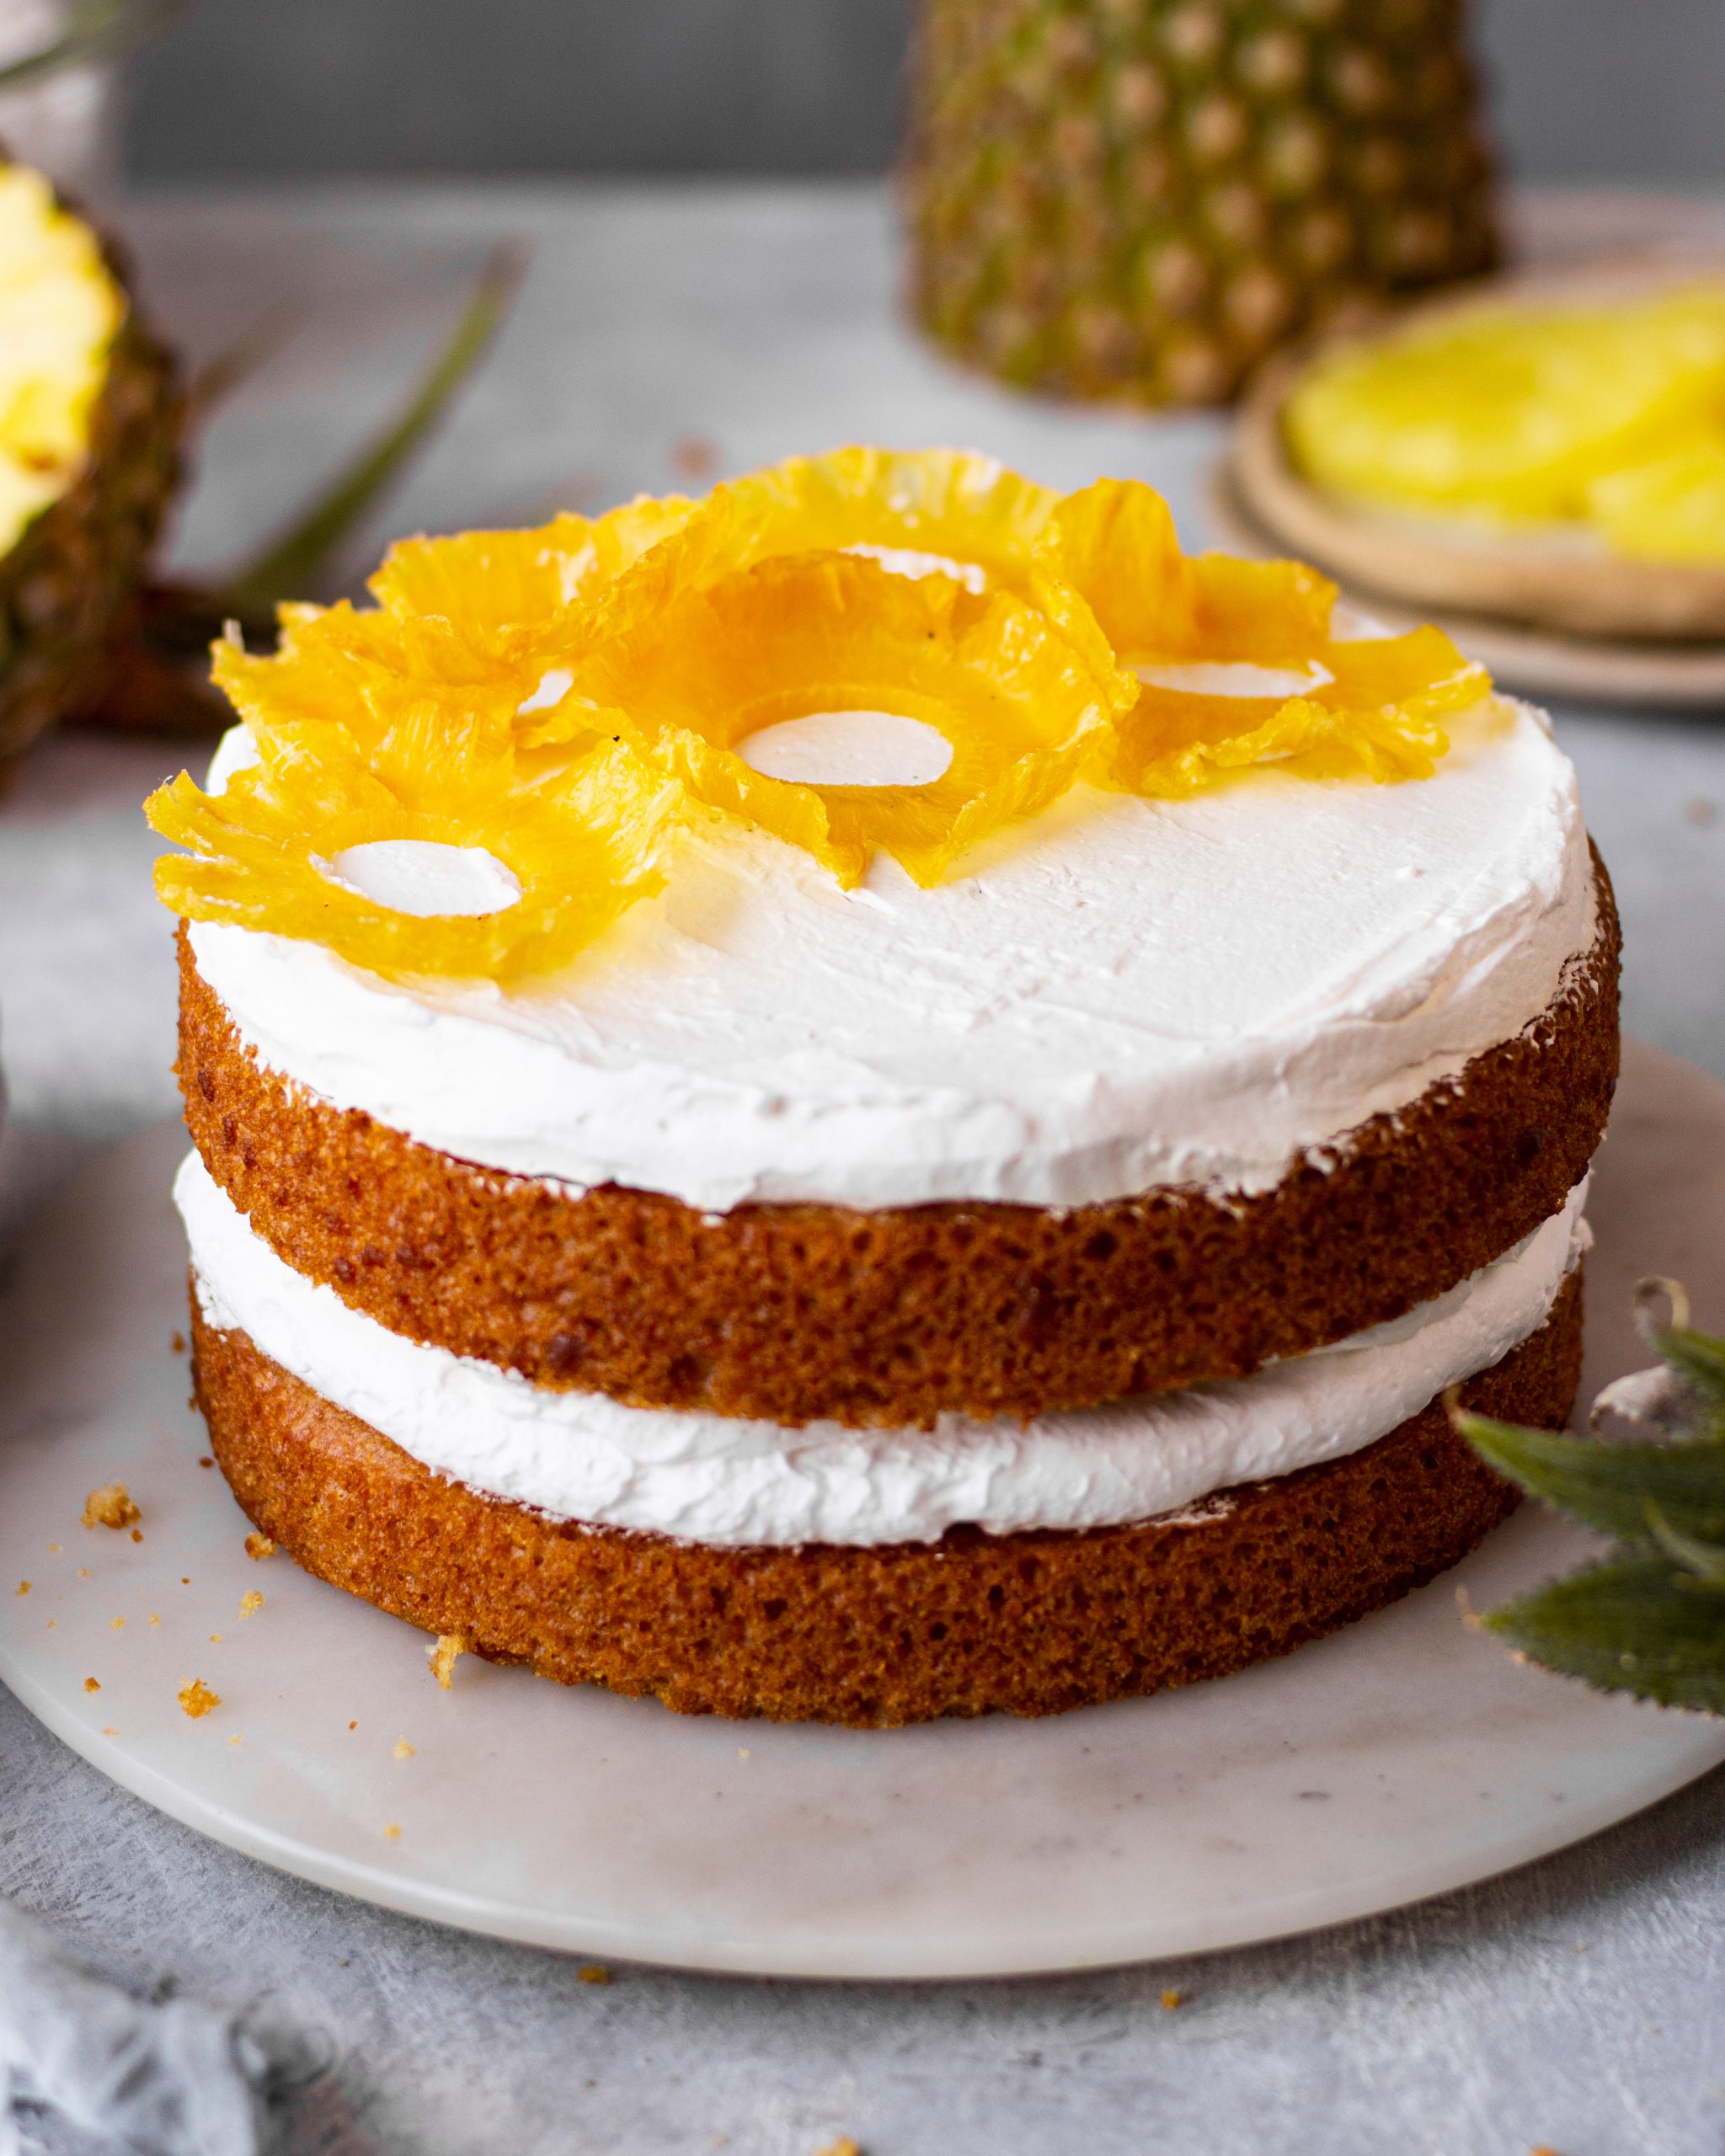
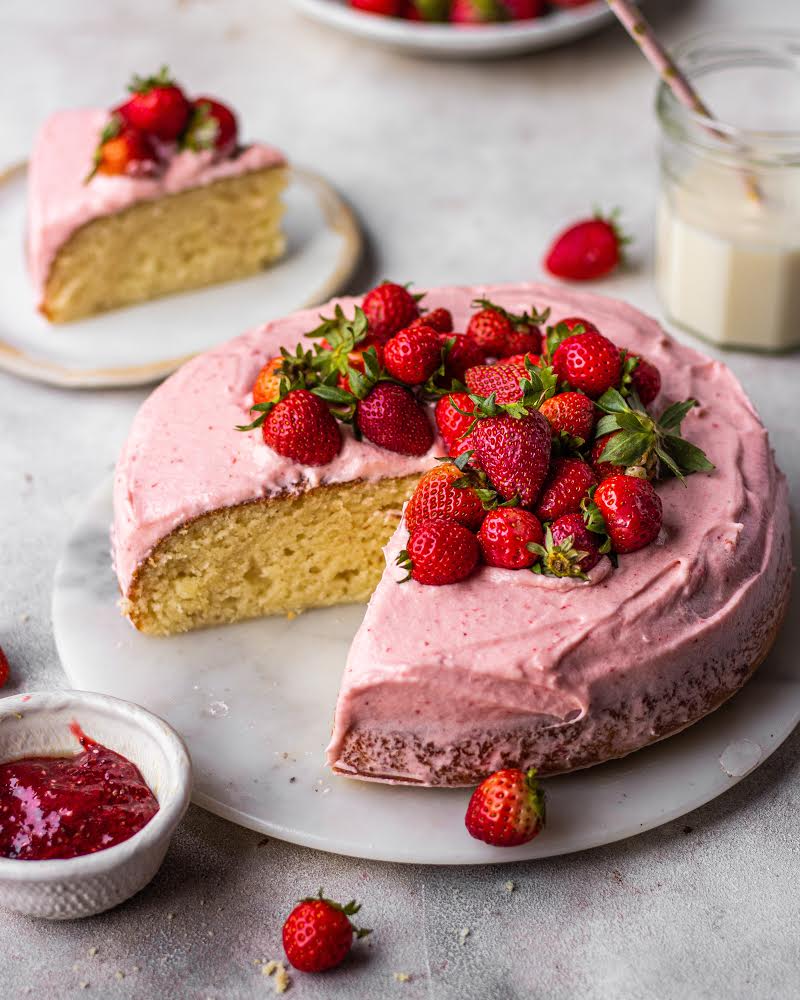
- Adding fresh fruits or fruit fillings to every layer actually gives your cake an awesome texture!
- When you’re crumb coating your cake, make sure you catch as many crumbs as you can so that the final frosting is neat and clean.
- If your cake looks a bit weird after the crumb coat, don’t worry! It’s just the first layer and that’s how it is supposed to look like.
- After crumb coat, chill the cake for a minimum duration of 1 hour but you can chill it up to 3 hours for a better finish.
How to crumb coat a cake?
I hope you read the entire article before you came to this section, because all the tips for crumb coating a cake are invaluable. These are things that I have written from my personal experience and passed on for you to learn. And now that you have all the tips up your sleeve, let’s crumb coat the cake –
- You should always wait for your cake to cool completely before applying the crumb coat. It’s actually much easier to work on a cake that’s baked the previous day than frosting a freshly baked cake.
- Firstly, pipe a small amount of frosting onto your cake board and place the first layer of cake on top. This will make sure your cake stays in place and doesn’t move.
- Keep the cake board on a turn table and using an offset spatula, spread a thin layer of any frosting between every layer. If you want, you can also use any fruit fillings / fresh fruits between every layer.
- Once you’ve built all the layers, it’s time to frost the sides and top of the cake. Using a piping bag, pipe lines of frosting around the cake. I recommend piping the frosting in zigzag patterns as it makes crumb coating easier.
- Now using a palette knife, spread the frosting across the cake – you can from top to bottom or vice versa, anything that is easy for you. Make sure that the cake is completely covered with frosting, including the top.
- It’s officially time to neaten up our crumb coat. Place your cake scraper so it is only just touching the edges of the cake and with a soft hand, pull it around the cake carefully to get a uniform finishing. This is when a turntable comes handy, because this process is much faster if you keep turning your table while smoothening your crumb coat. To finish the crumb coat, use your palette knife to remove any excess frosting off the top by bringing it from the edge of the cake to the middle.
- Don’t worry about how your cake looks at this point, because this is just the foundation for your cake. You’ll be putting another layer and that’s how it will look good for the gram!
- Once the entire cake has been crumb coated, refrigerate it for at least one hour.
There, that wasn’t difficult at all, was it? Once you’re done with your crumb coat, you can get as creative as you want with the final layer of the cake! You can explore piping options, decorate with fresh fruits or flowers – the world is your oyster when it comes to decorating a cake!
If you like this article and my tips helped you make an awesome cake for a celebration (or for yourself), then do let me know by tagging me on Instagram / Facebook using #Bakewithshivesh. Happy Baking!

Leave a Reply