
There’s something about a good old cinnamon roll that gets me really nostalgic about winters and the holiday season. You can eat a cinnamon roll anytime you want- be it breakfast or for a Christmas movie marathon snack. It’s one of the most popular baked sweet bread and now I know why because I absolutely cannot stop binge eating!
My family absolutely loves the aroma of cinnamon when I’m baking these cinnamon rolls in my kitchen. Earlier, I did a version of these cinnamon rolls which had eggs. Since many of you bake without eggs, I had to come out with this brilliant recipe for eggless cinnamon rolls and I’m glad I did because it tastes absolutely divine!
I can’t wait to see how you all recreate this recipe, do tag me on Instagram, and don’t forget to use #Bakewithshivesh.
Things to keep in mind while making eggless cinnamon rolls
WORKING WITH YEAST
The dough for the cinnamon rolls uses yeast. Don’t be intimidated by this. Yeast is super simple to work with.
1. We activated the yeast in the recipe using warm milk, NOT hot. Anything hotter than 110F will kill the yeast.
2. Feed the yeast sugar and let it do its work. It’s like a little snack for the yeast, it works faster after that. Granulated sugar works best while activating the yeast. So use that instead of caster sugar.
3. Leave the yeast undisturbed. Do not stir or shake it. It needs to settle down and work up. 4. If your yeast doesn’t bubble up, it could be old or expired. Don’t use the yeast since it may not give the dough what it needs. This will lead to a bad end result. In such a case you will have to get more yeast from your supermarket.
PROOFING THE CINNAMON ROLLS
Proofing the dough is an important step. The cinnamon rolls have a 2 step proofing process. This needs to happen in a place that is warm, cozy, and undisturbed. I usually proof any sort of dough in my turned OFF oven. There is no draft in the oven, this ensures proper proofing of the dough. The cinnamon rolls will proof once the dough is ready and next when we have filled the dough, rolled it up, and sliced it.
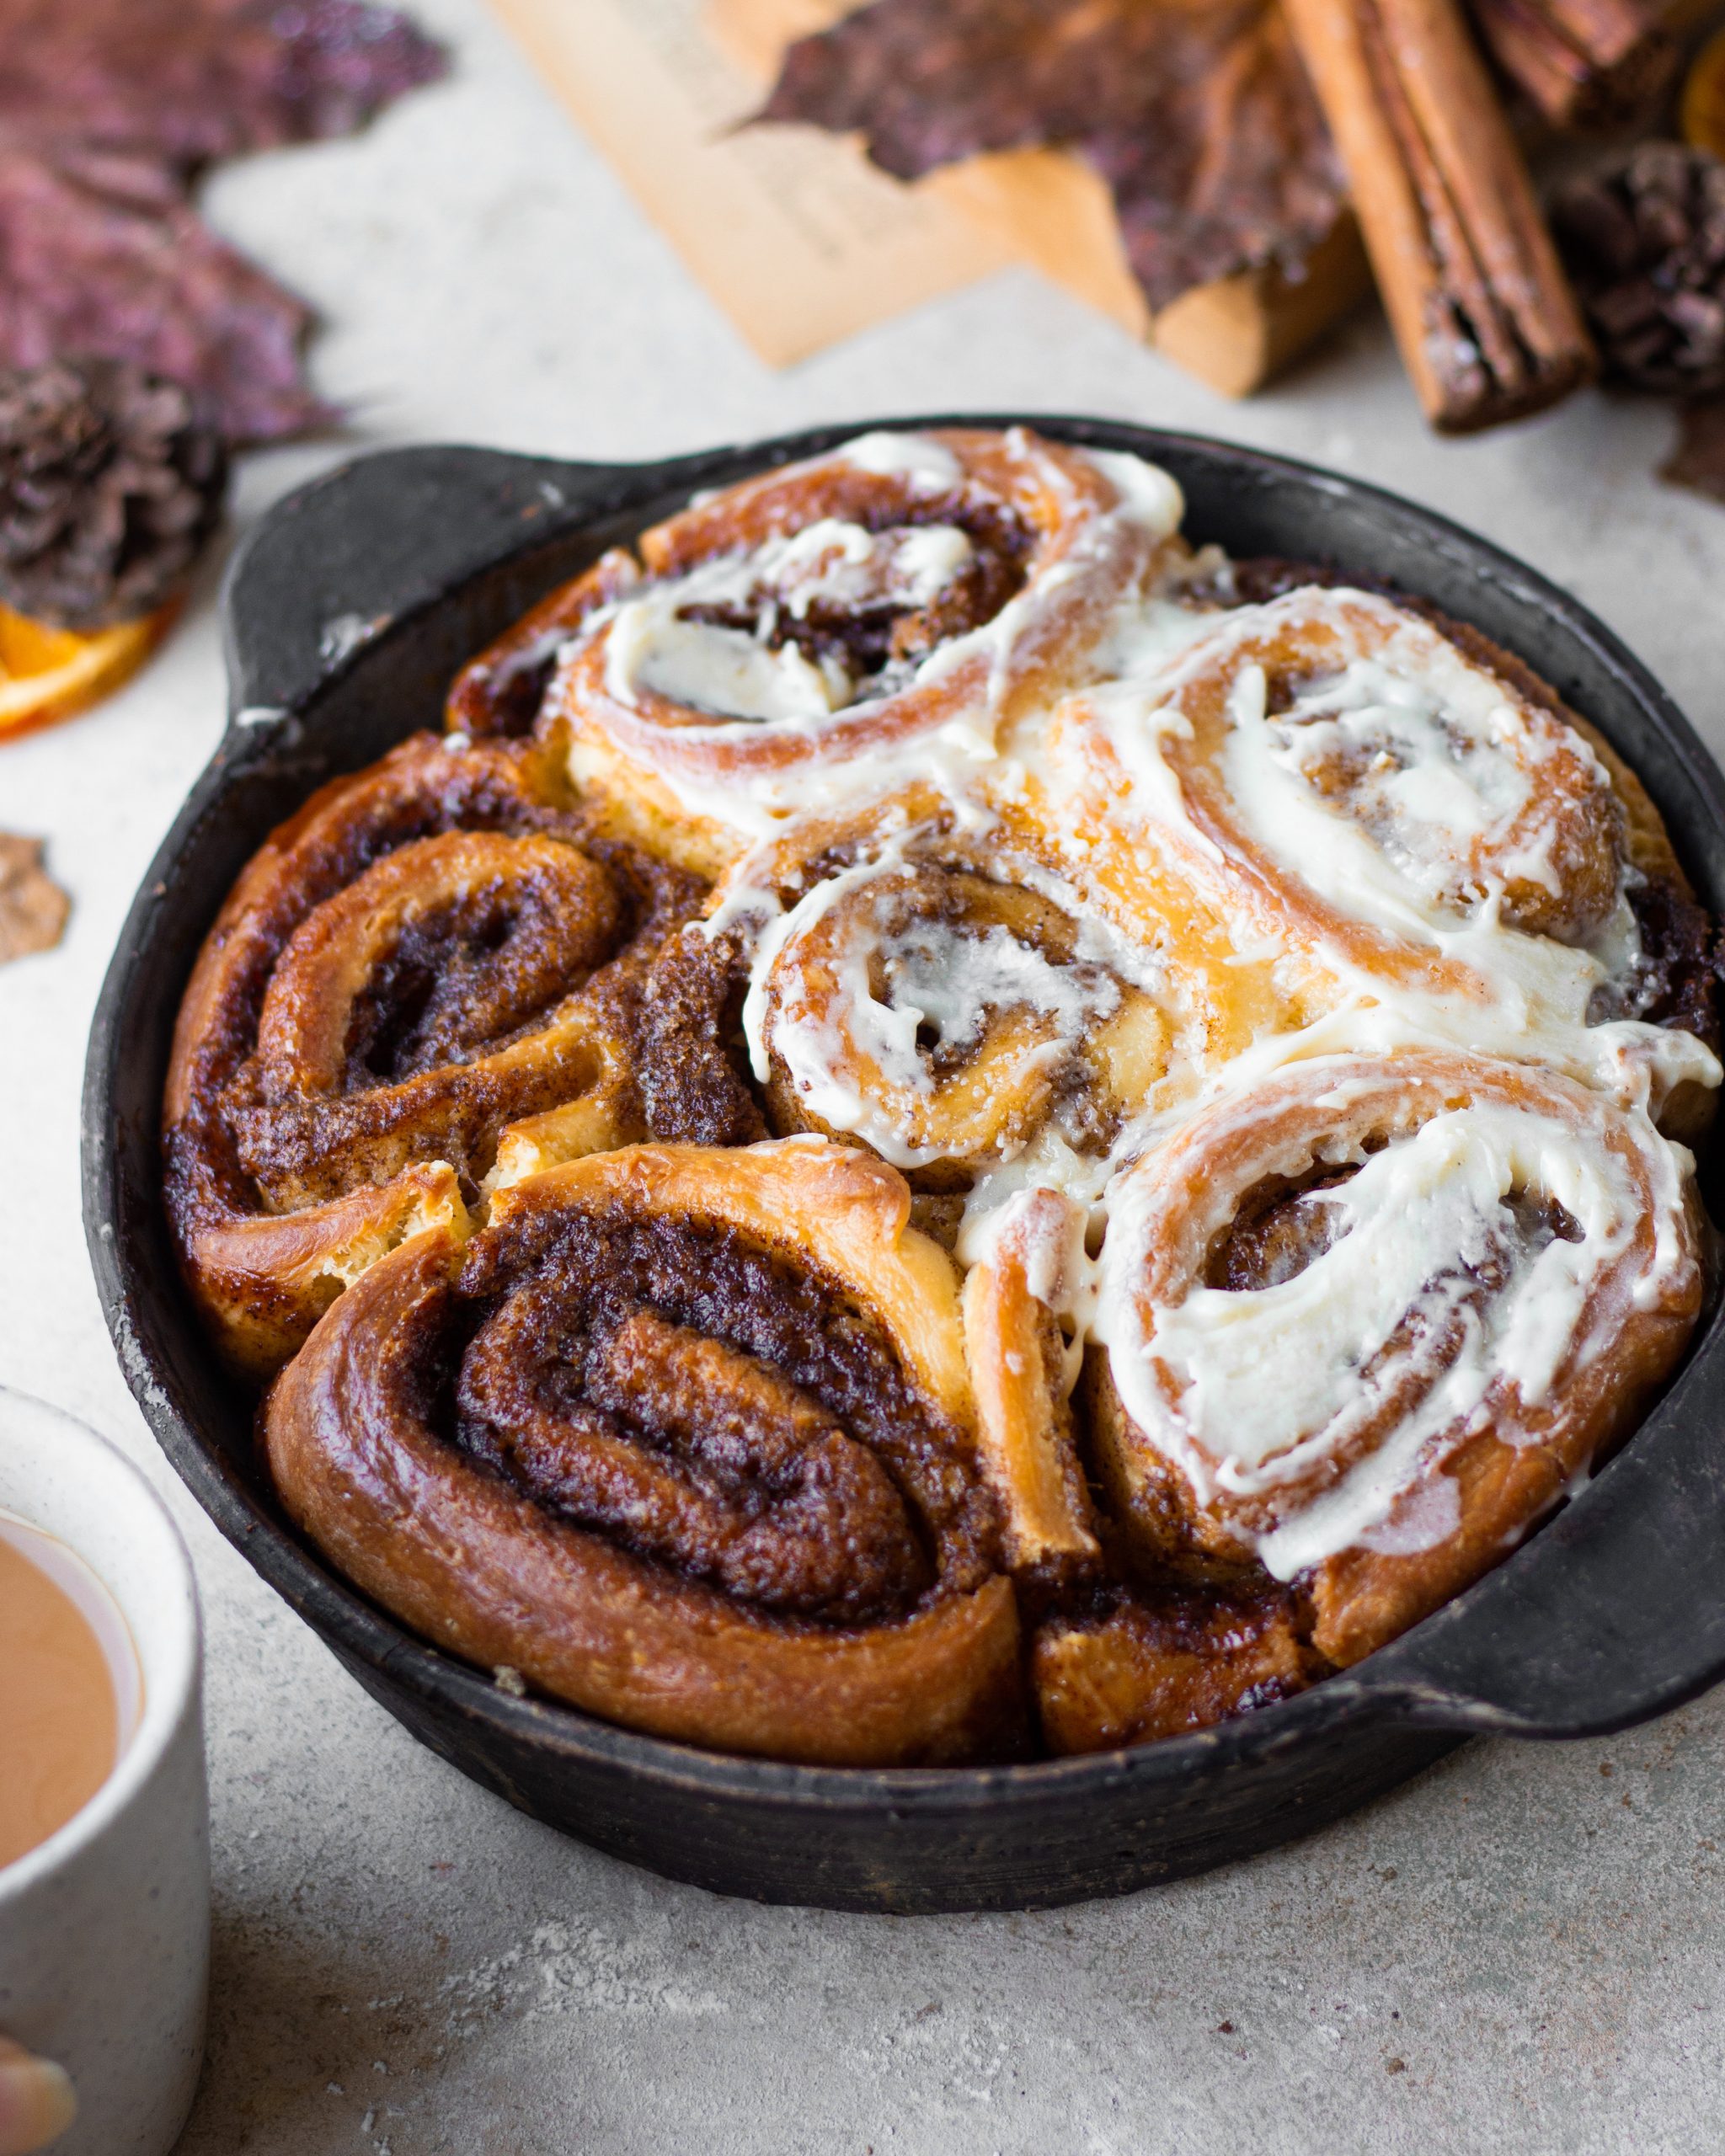
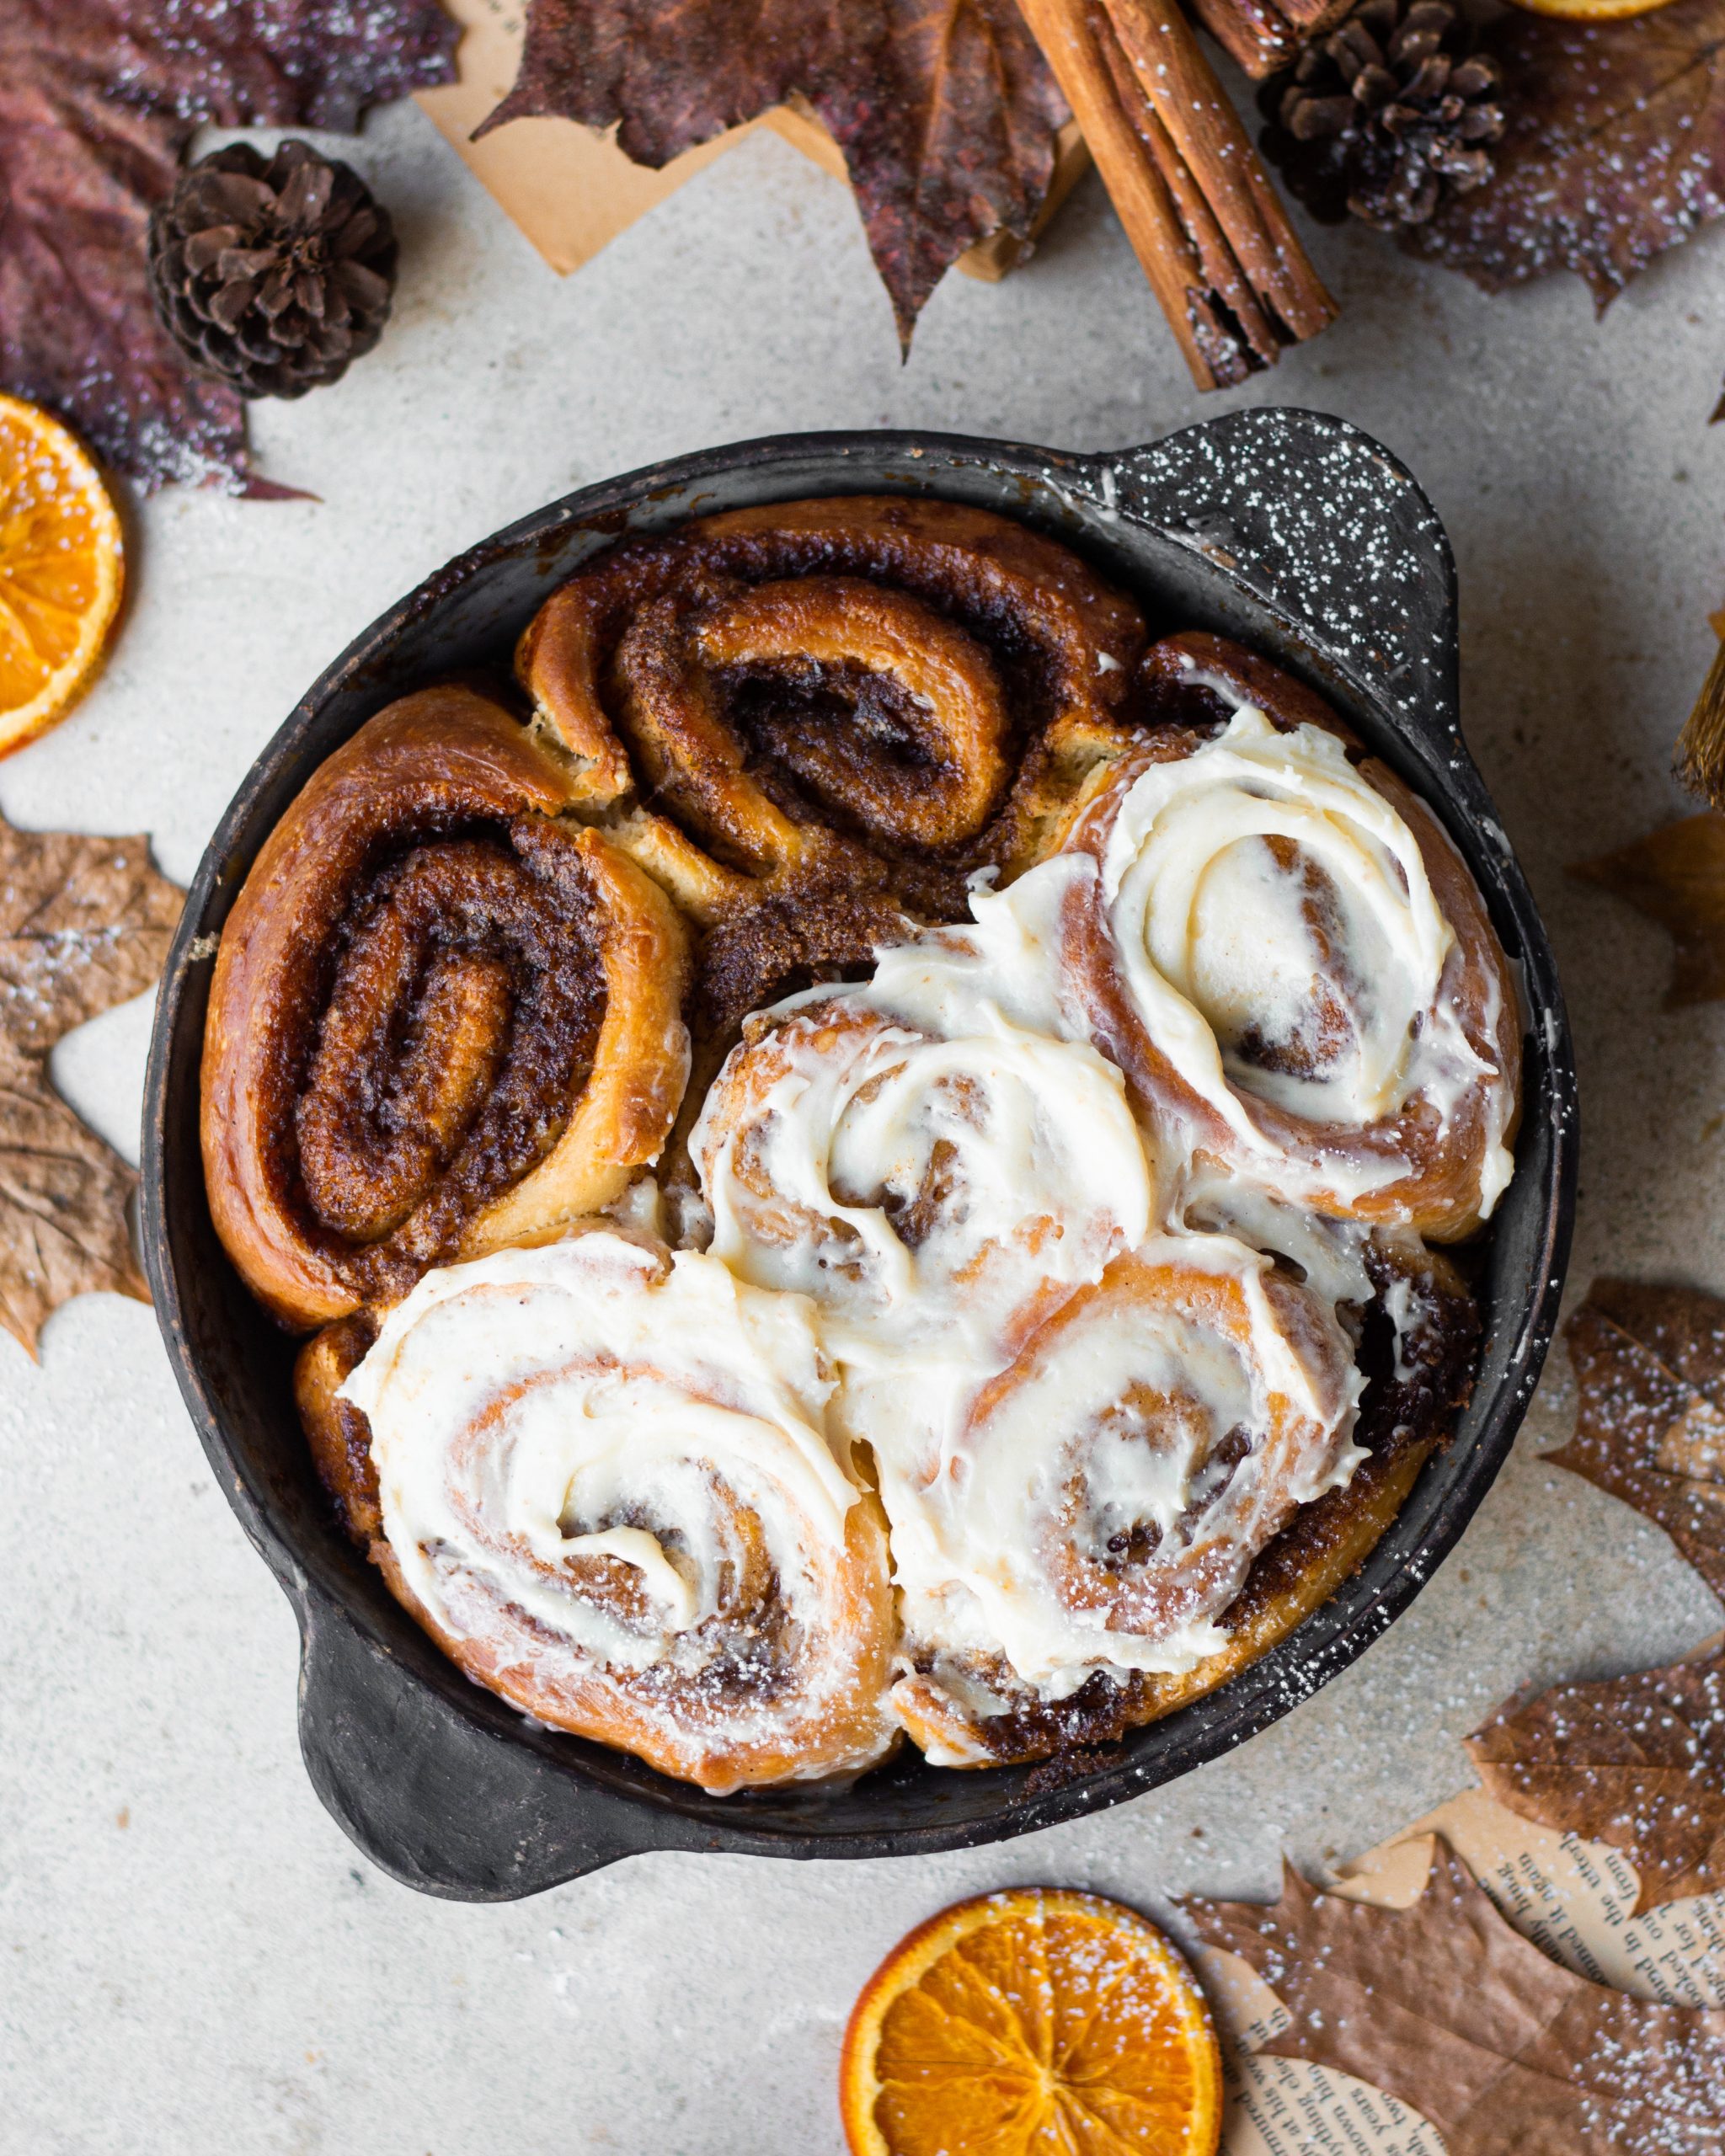
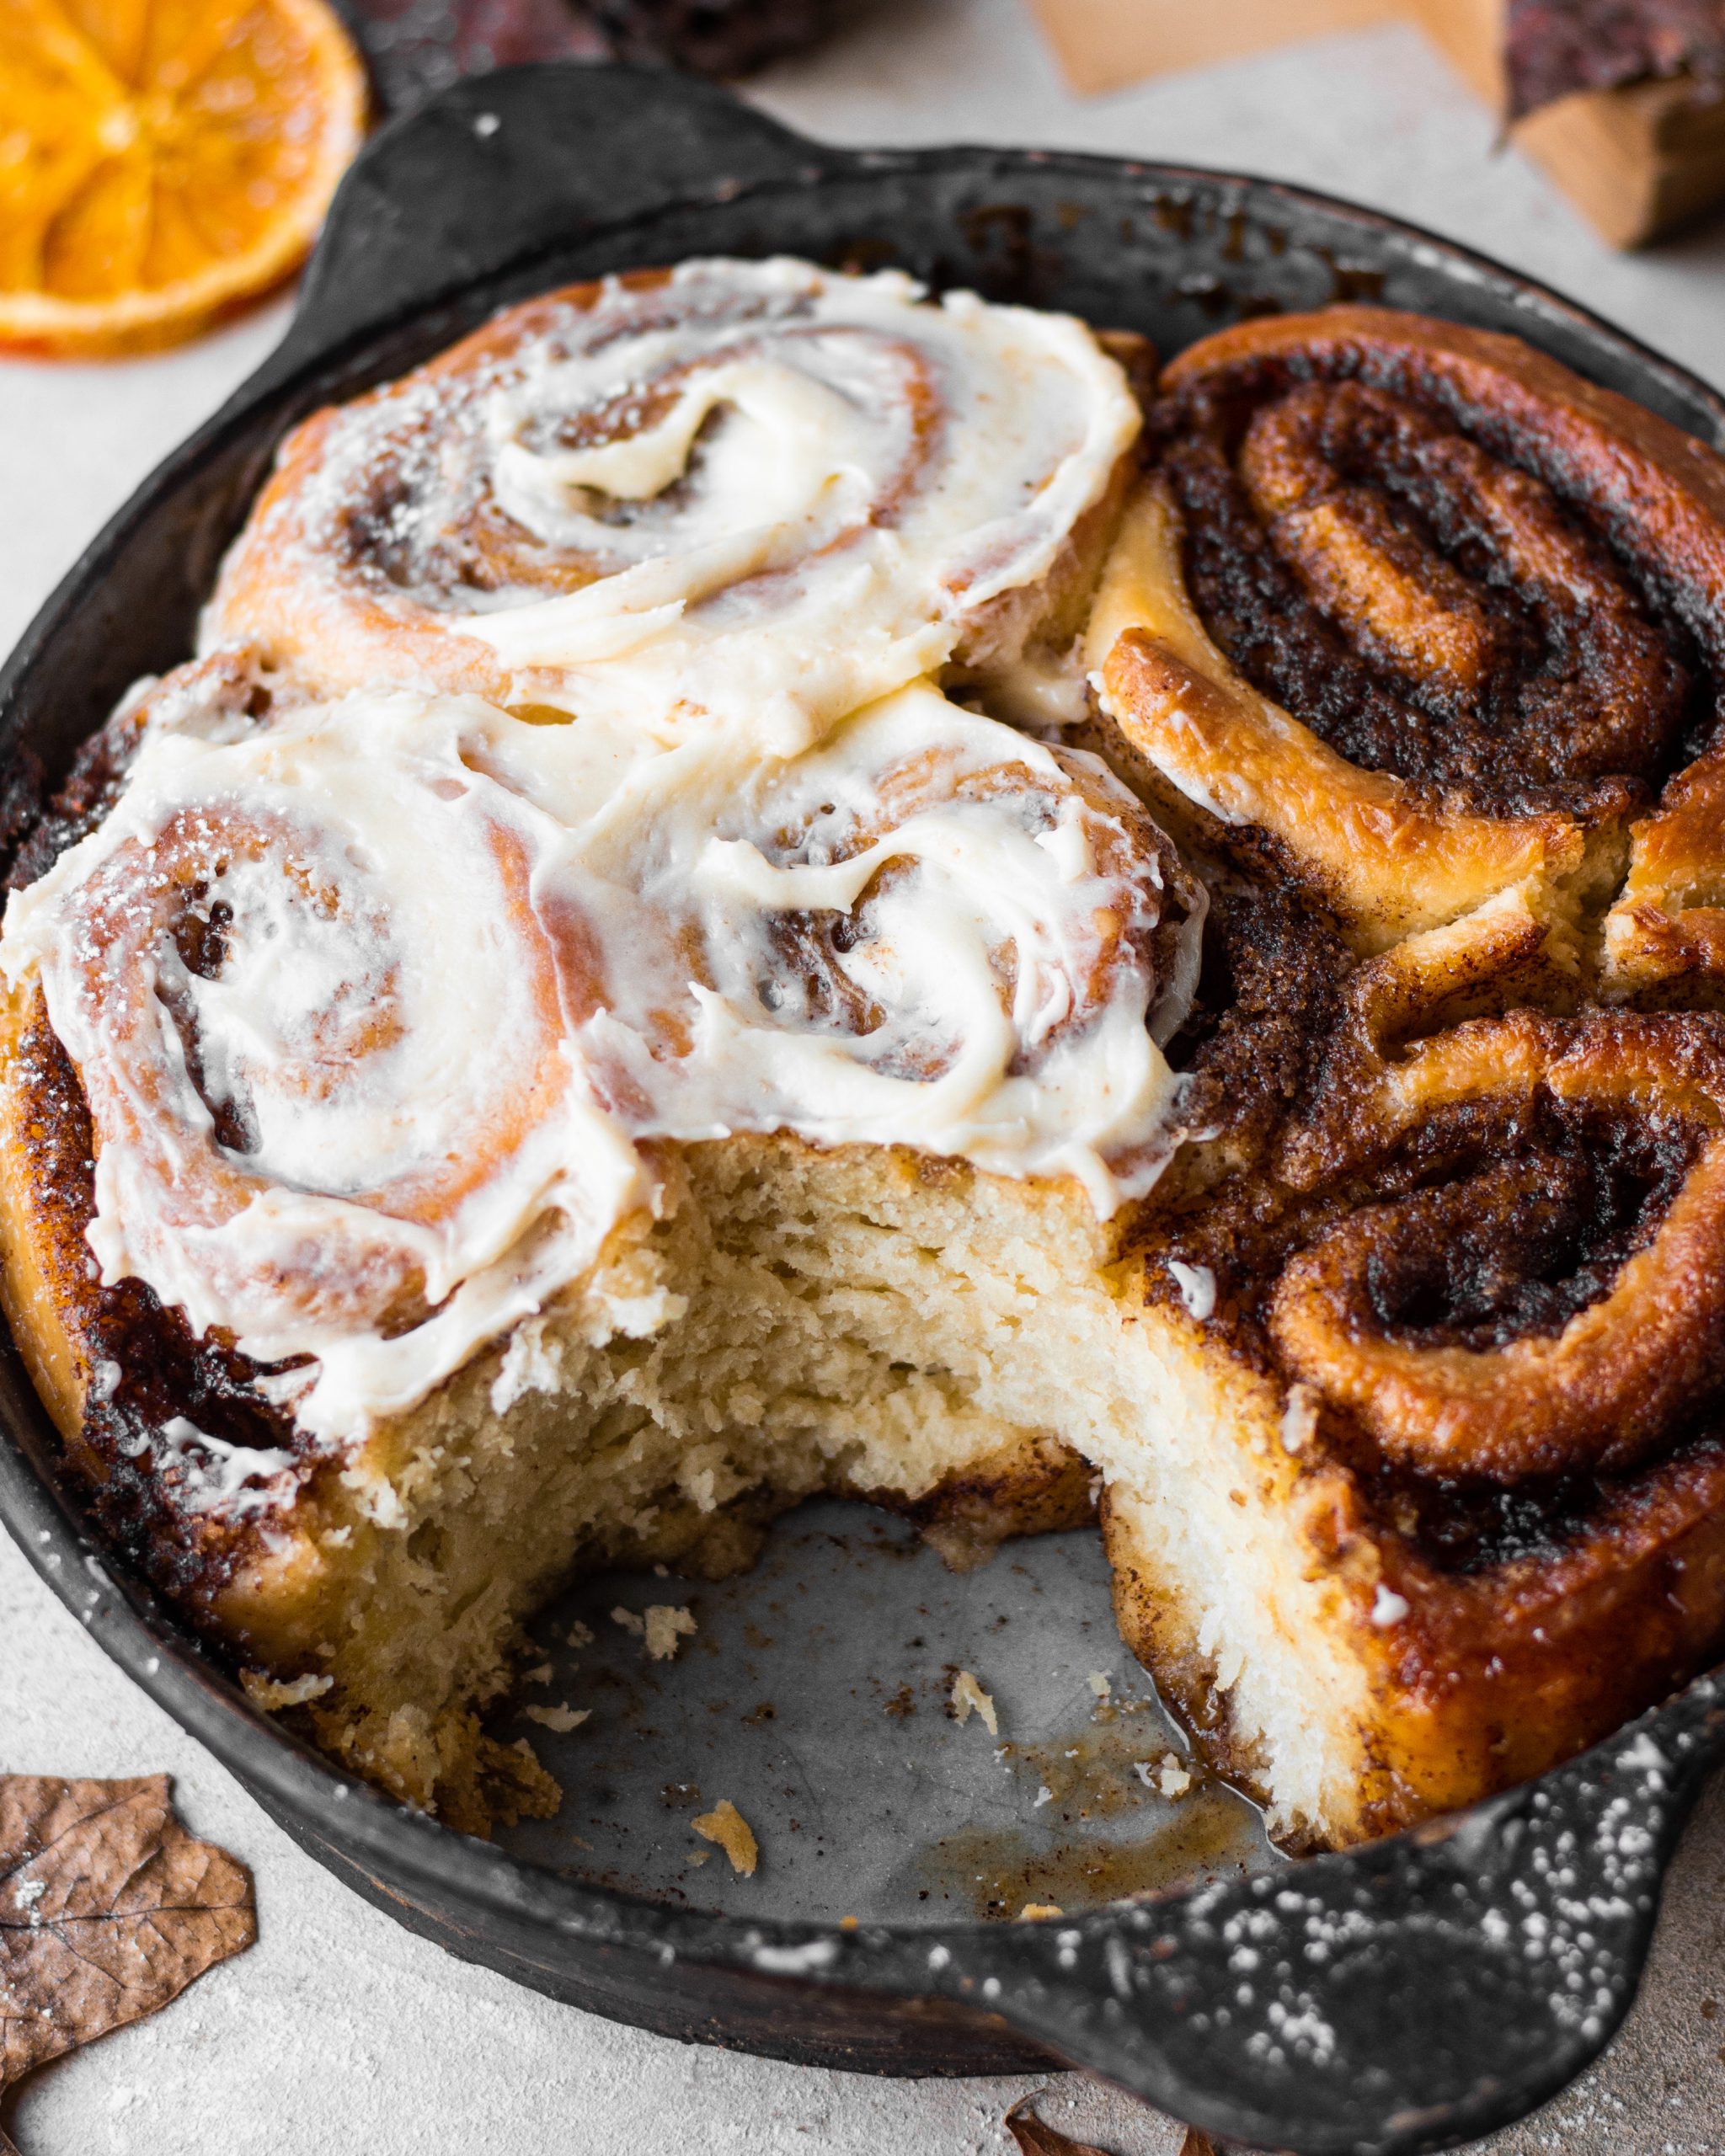
IMPORTANCE OF THE FILLING
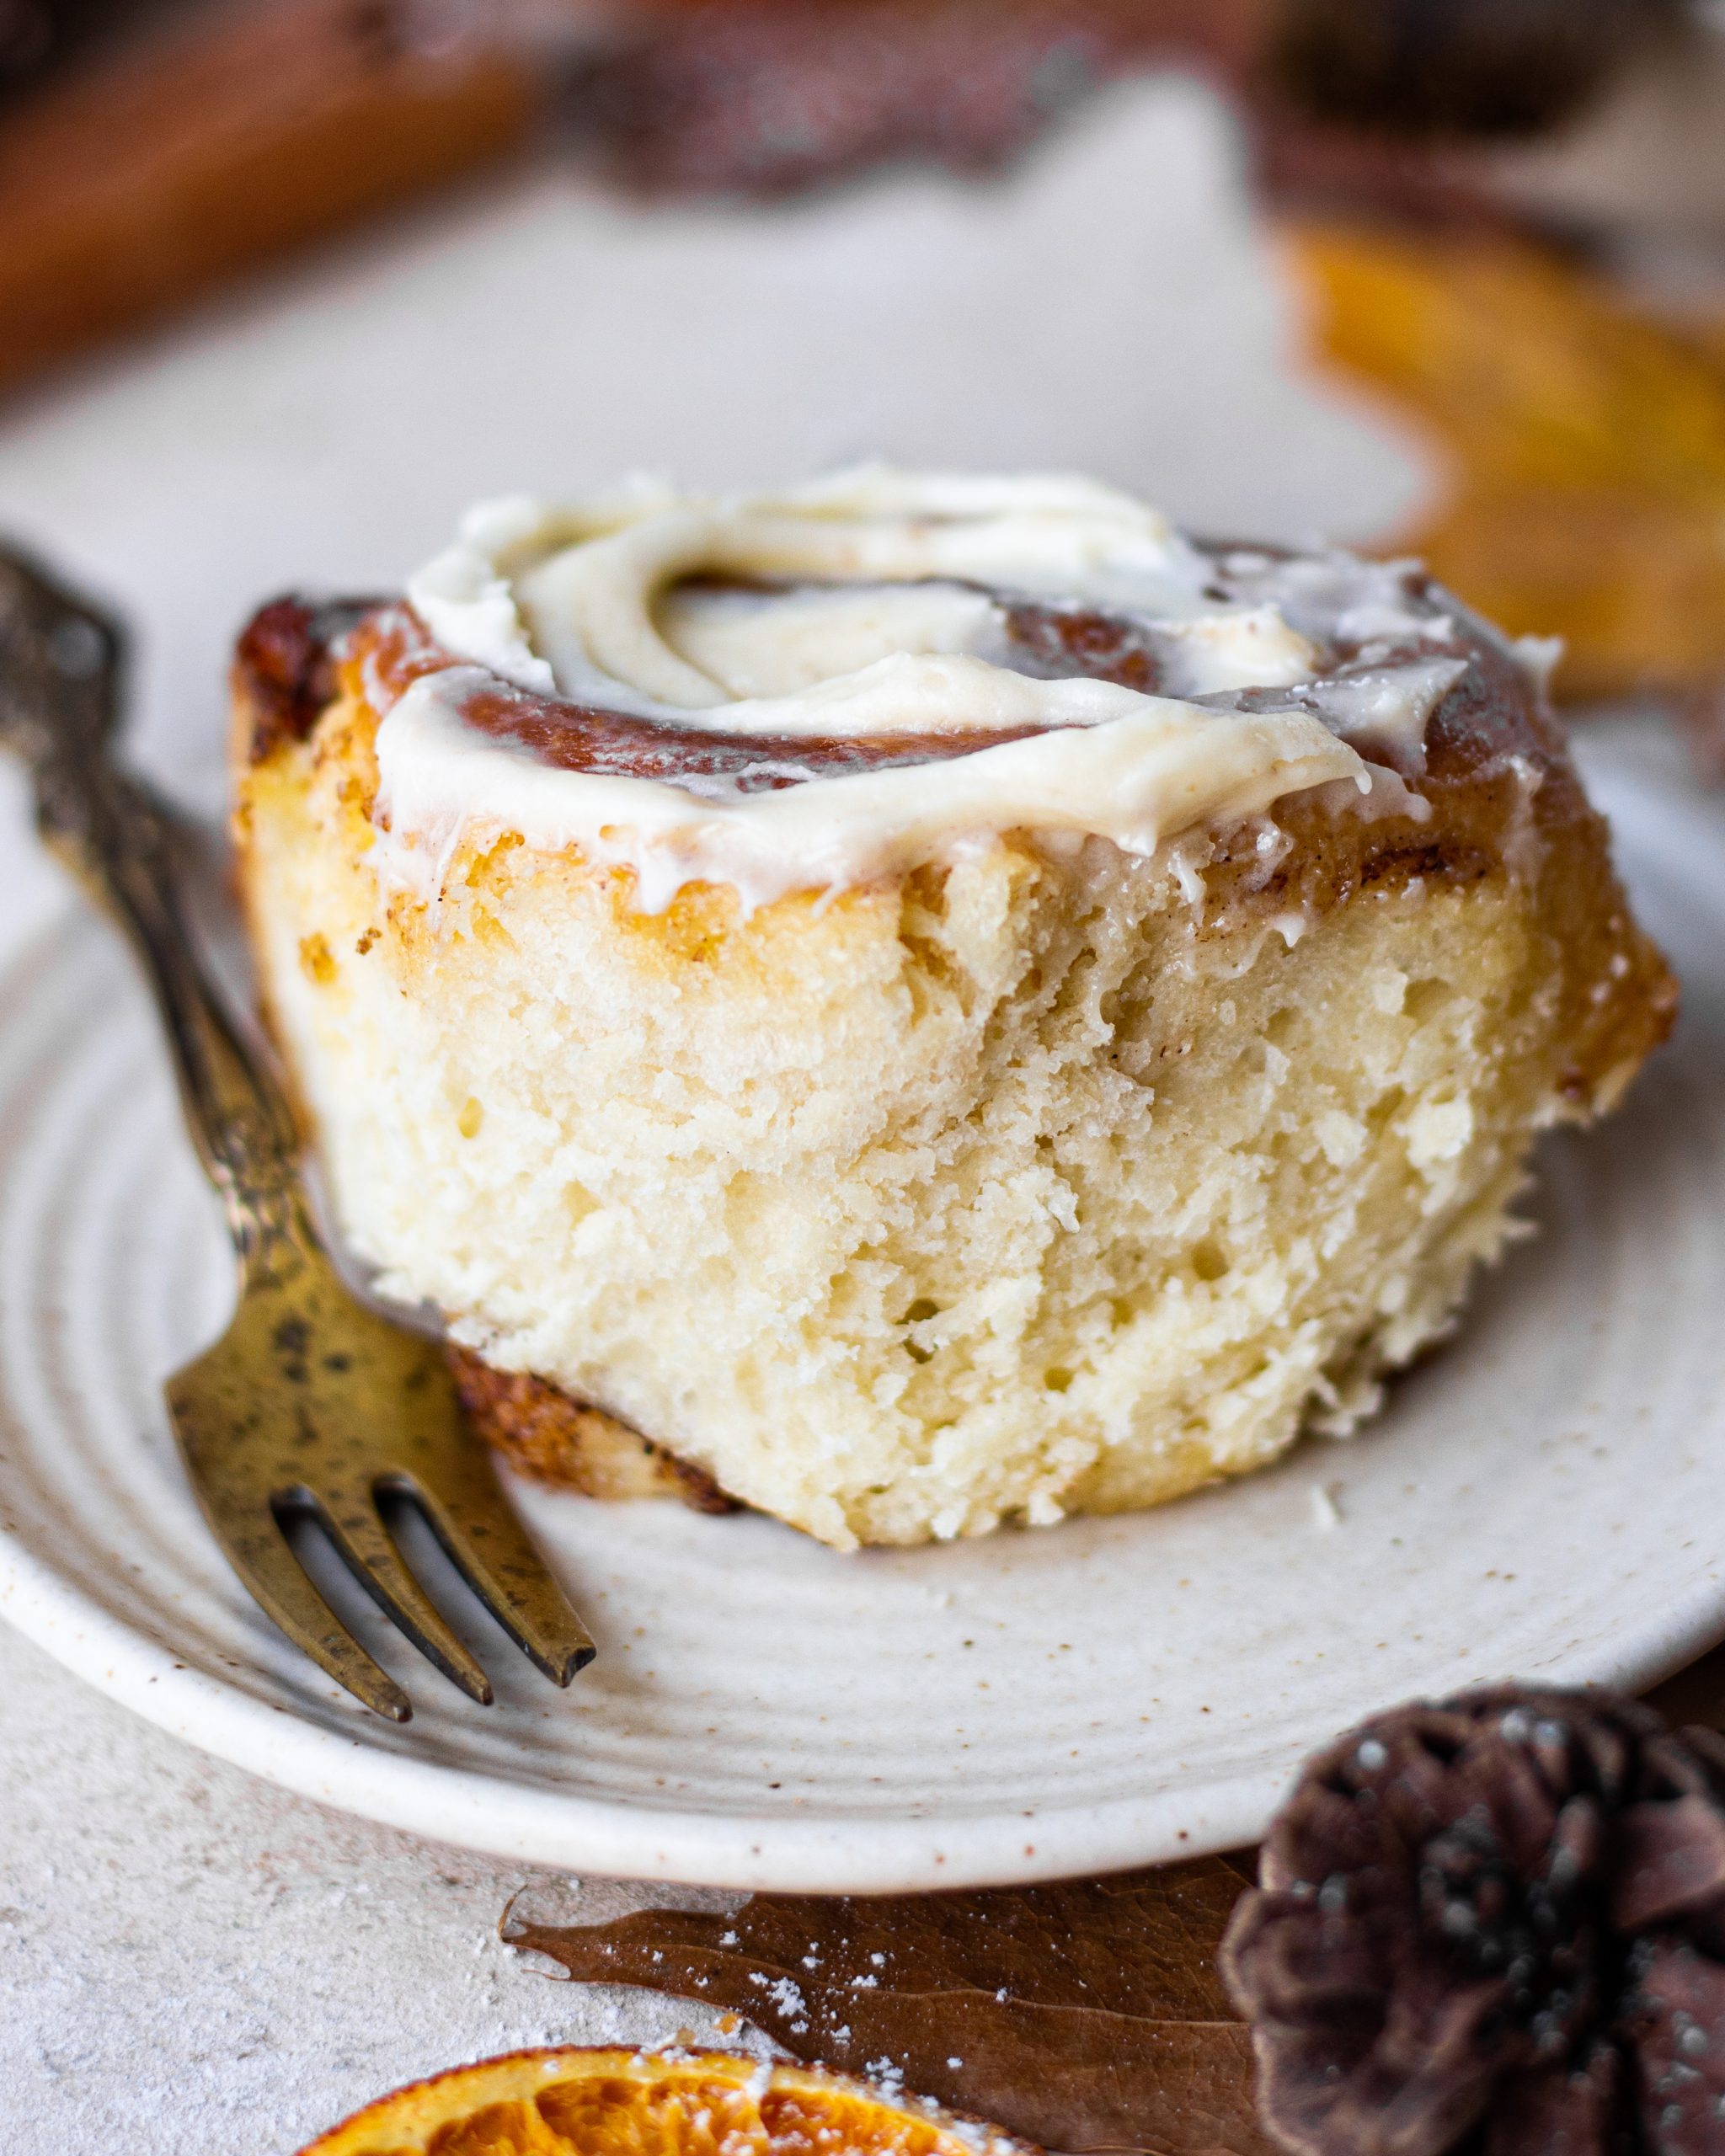
The star of the cinnamon rolls in all honesty is the filling. Do we all agree? This is where they get their name from. It’s buttery, sugary goodness with lots of cinnamon. Things to keep in mind while making the filling for these dreamy rolls are- Make sure the butter is softened, this will allow it to spread evenly. If the butter is too soft or melted all the filling will ooze out and it will be a mess. oops! Use good quality fresh cinnamon, this is the key ingredient. Let’s make it shine.
Making the dough for these eggless cinnamon rolls
Since this dough doesn’t use eggs, we make a high hydration dough. High hydration = more water so naturally, the dough will be sticky and that is okay! Don’t be tempted to add more flour or the dough will become dry and the end result won’t be fluffy. Since it’s a high hydration dough, kneading won’t be necessary. You just need to mix the ingredients well and bring the dough together! This is one of the best things about this recipe because you don’t have to use your arm strength, haha.
I made this dough just recently and I realized how difficult it can be to proof the dough in winters! Keeping it covered and under the sun helps with the proofing. You can also keep it inside your oven with a bowl of steaming water. This works equally well!
Can I make these eggless cinnamon rolls in the microwave?
This has to be the most asked question on all my social media platforms. Can we bake the recipe in a microwave? And the answer is YES! I am so glad that I am creating a recipe that can be made both in an oven and a microwave so everyone can bake and rejoice with these beautiful eggless cinnamon rolls.
If your microwave has a convection mode, you can also bake in it! To bake these cinnamon rolls in the microwave, preheat until 175 degrees celsius. Place the pan on your tray, and allow it to bake for 35 minutes only. Again, microwaves differ, so keep a sharp eye out for the golden edges.
THE ASSEMBLY OF THE CINNAMON ROLLS
The final assembly is what intimidates some people. My secret tip to get the beautifully layered cinnamon rolls is using dental floss or a clean thread. YES! You do not need a knife to cut the rolls into small portions. Using the floss or a thread will ensure to keep the layers in place. When you place them in a pan, place them 1’ apart. Since the rolls will prove again, keeping them apart will allow them to prove better. If you don’t have a floss/ thread, use a sharp knife.
I hope you have fun making these eggless cinnamon rolls and if you love baking with cinnamon, you should definitely try my Eggless Plum Cake which is packed with a punch of cinnamon!
Eggless Cinnamon Rolls recipe
- 2 cups milk (480g)
- ½ cup melted butter (113g)
- ¼ cup sugar (55g)
- 1 + ½ tsp yeast (4.5 g)
- 4+ ½ cups flour (540g)
- 1 tsp salt (5g)
- ⅓ cup softened butter (76g)
- 1 cup brown sugar (200g)
- 2.5 tsp cinnamon powder (7g)
- In a big bowl add in warm milk, active dry yeast and sugar. Give it a slight mix and cover the bowl. Let it sit undisturbed for 5-7 minutes and let the yeast bloom.
- Once the yeast has bloomed, add in all purpose flour, salt and melted butter. Using a wooden spoon, mix everything together and bring the dough together.
- After bringing the dough together, lightly brush the top with some vegetable oil.
- Cover the bowl with a cloth and set it aside in a warm corner. Let the dough rise for 1-2 hours or until doubled in size.
- Meanwhile to make the filling simply combine butter, brown sugar, and cinnamon powder. Set it aside.
- When your dough has doubled in size, sprinkle all purpose flour on your kitchen counter and transfer the dough on it. Roll the dough in a rectangular shape of around half an inch thick.
- Evenly spread the cinnamon filling all over the rolled out dough, making sure all parts are covered with the filling.
- To roll the dough into a log, start from the longer edge and keep pushing the seam side inwards to ensure a tight log. Continue till you reach the other end.
- Using dental floss, run it along the base of the log and cut individual rolls. You might have to cut off the two ends first to get cleaner rolls for your final baking dish.
- Place each roll into your baking dish. Make sure to not overcrowd the dish and place each roll next to the other, without leaving space.
- Cover the baking dish and proof the rolls again for another 30 minutes.
- Once proofed, brush milk on top of the rolls and bake these at 175 degree C for about 35 minutes.
- Eat warm and enjoy!

I am in love with all your recipessss! I also started a cooking and baking blog. But I think I like yours better. The pictures are so great and tempting ?
Can I make this recipe with instant yeast? Will the proofing time differ?
How many rolls can be made with this quantity?
Hi, would you be able to give an indication on how many pieces of rolls we can get from this recipe ? Thank you
Hi, Shivesh can u suggest while baking in an OTG – how do we set the heat – I usually turn on just the bottom heating rods mostly while baking cakes as well as other baking items – am I doing it right? or do we turn on both the top and bottom rods when we bake.
Your post is really very excellent and helpful for me. Today I made this recipe for my kids and they really loved it a lot. They have requested me to make it again for them. Thank you so much for putting up this post.
I made this recipe twice, both with some variations and covered with cream cheese frosting.
First time, I used all purpose flour, but got nervous about how much butter I was using and didn’t use it in the filling. They were still great, although the filling was a little crunchy.
Second time, I used bread flour and had plenty of butter on hand. I also added some cinnamon extract to the filling to further enhance the cinnamon flavor. These wound up being softer and much better than the first batch.
Both times, before rolling up the dough, I added chopped pecans on top of the filling.
My cream cheese frosting was a simple buttercream with a standard block of cream cheese, one stick of butter, both softened and mixed with three cups of powdered sugar, flavored with a teaspoon of vanilla extract and thinned out with some milk.
I’m bookmarking this recipe.