7 ingredients, 10 minutes of cooking, and 1 minute of devouring, boy do I have the perfect dairy free chocolate pudding recipe for you! I have shared a few pudding recipes in the past as well and I think they make for such a great component to add on any dessert! This dairy free chocolate pudding is really just another great dessert for anyone who is trying to follow a dairy free diet.
I made this pudding using the most basic ingredients and some very easy steps. You can make this pudding whenever you are feeling very lazy but craving something yum!
Ingredients needed for dairy free chocolate pudding
Caster sugar
Let’s start with the sweetener, caster sugar. Making pudding requires you to cook the mixture on the stove for 10-15 minutes or until the mixture thickens. Caster sugar is perfect for this because the small sugar granules of caster sugar dissolve perfectly in the 10-15 minute cooking time and you have a smooth, non grainy pudding. If you only have granulated sugar at home, just blitz that in the mixer for 5-10 seconds so that the granules break down and become smaller. You can then use it to make this pudding.
Icing sugar is not something that you can use here. Since we are making the pudding by cooking it on direct heat, the icing sugar will most likely burn and give your pudding a horrible taste.
Cocoa powder
If we are making a chocolate pudding we cannot really do it without some good quality cocoa powder. I love using my Hershey’s cocoa powder for everyday baking. You can use any you have at your home. If the coco powder is too lumpy, you can sift it and add to the dry pudding mix.
Coffee powder
Whenever there is chocolate flavor involved and you want to enhance that flavor just a little bit more, adding instant coffee is the best trick to help you do that. Coffee just brings out the flavors of chocolate and makes the flavors more intense. I love using either Davidoff coffee powder or Nescafe. If you do not like to add coffee in your desserts, you can just leave out this ingredient.
You can also experiment with other spices and flavor combinations like adding a pinch of cinnamon powder or ginger powder. It really adds a great kick of flavor to things.
Cornflour
I absolutely love using corn flour. It is such a great ingredient that magically makes things more stable and thick and brings them to the perfect consistency. I like my puddings to have a certain structure to them so that once they have cooled down, you can easily take a smooth and luscious bite of it without creating any mess. With cornflour, you can actually add as little or as much as you want. If you like your pudding to be slightly more runny, you can reduce the quantity of cornflour by half. If you like them to be completely set, you can increase the quantity of cornflour by one tablespoon.
Salt
Adding in a pinch of salt can truly do wonders for the taste of your dessert. Salt of course brings out all the flavors and a little pinch can go a long way. If we were using another salted ingredient such as butter, then we could have avoided adding this pinch of salt. But since this is a dairy free chocolate pudding and we are not adding any butter, adding salt becomes important.
Dairy free milk for dairy free chocolate pudding
A dairy free pudding is made with, you guessed it, dairy free milk. While we can omit adding ingredients like butter, we definitely need some form of liquid and binding agent in the pudding and therefore, we are adding dairy free milk. There are lots of dairy free milk options available in the market. I used Only earth oat milk and the flavors of the pudding came out beautifully. If you are not a big fan of oat milk, you can use other flavors of dairy free milk like soy milk, almond milk, coconut milk, or even cashew milk.
Dark chocolate
For the extra chocolate flavor and decadence, this dairy free pudding also has melted dark chocolate in it. You can chop some dark chocolate into chunks and melt it in the microwave in 30 second intervals. Whenever you are melting chocolate in the microwave, you should always follow the 30 second interval rule. This makes sure your chocolate does not overheat and does not seize. You want smooth and shiny melted chocolate and the 30 second interval rule will help you get that.
Things to keep in mind while dairy free chocolate pudding
Puddings are of course very easy to make but there are always a few things that can go wrong and spoil the end result. Here are a few things that you should keep in mind while making the pudding:
- To cook the pudding, choose a heavy bottom saucepan that does not burn easily. Puddings can take upto 15 minutes of cooking and you want to make sure the pan you are using is sturdy enough for that.
- Always cook your pudding on medium low or low heat. Rushing the cooking process by increasing the heat will only burn the pudding and spoil the taste and texture. Be patient and let the pudding take its time to cook properly.
- You have to make sure to continuously whisk the pudding while it’s on the stove. If you leave it be, the pudding will definitely stick to the base of the pan and burn. Using a balloon whisk is perfect for this task but you can also use a wooden spoon.
- Make sure to thoroughly cook the pudding. You will know that the pudding is perfectly cooked when it starts to get thick and you see bubbles pop. This means that the cornflour is fully activated and the pudding is fully cooked.
- Another quick way of checking if the pudding is cooked or not is by running your finger along the backside of the wooden spoon. If the pudding wipes off clean, then it means it’s ready!
- If you want your pudding to be extra shiny, once you take it off the heat, you can use a hand blender to emulsify it.
- After the pudding has cooked, you can wrap it and let it cool down completely or you can directly pour the warm pudding into the serving dishes and then let it cool down.
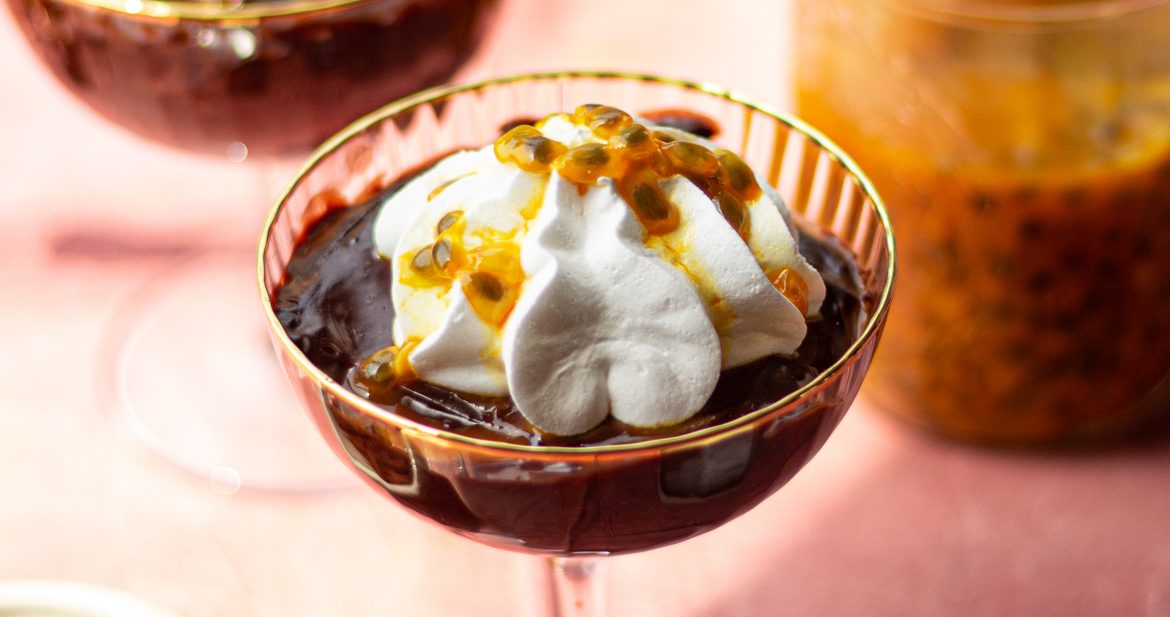
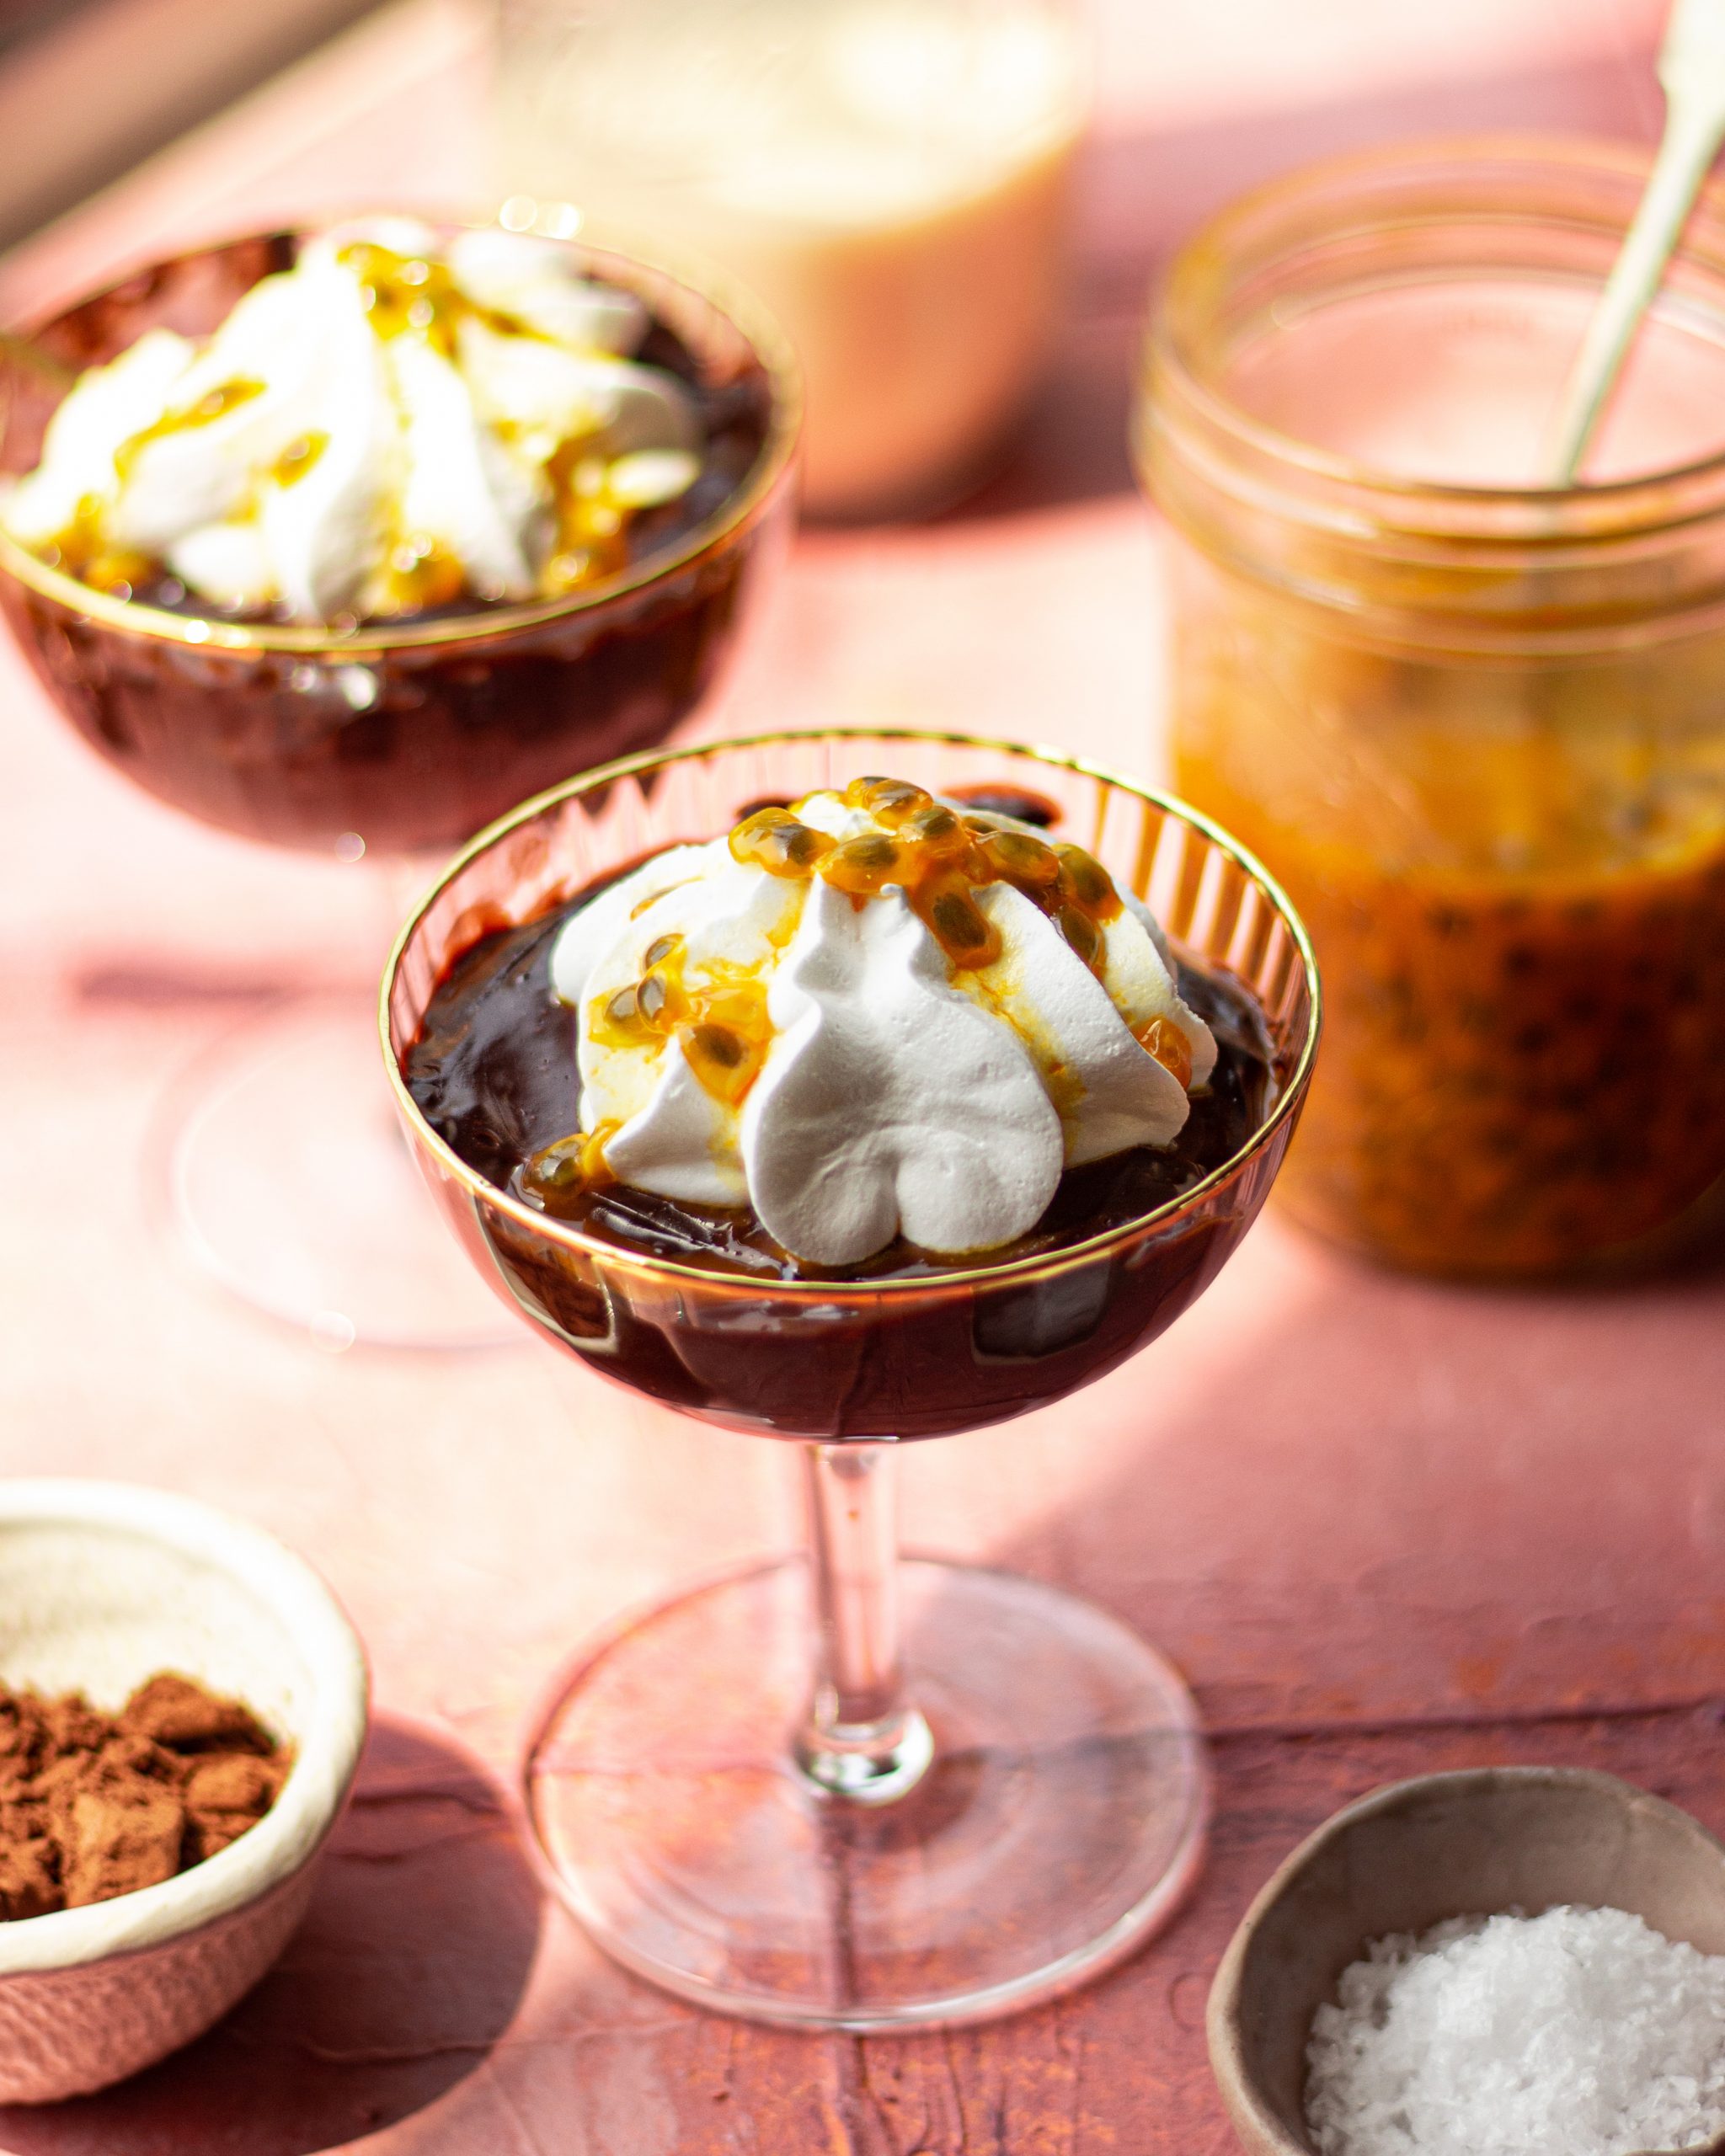
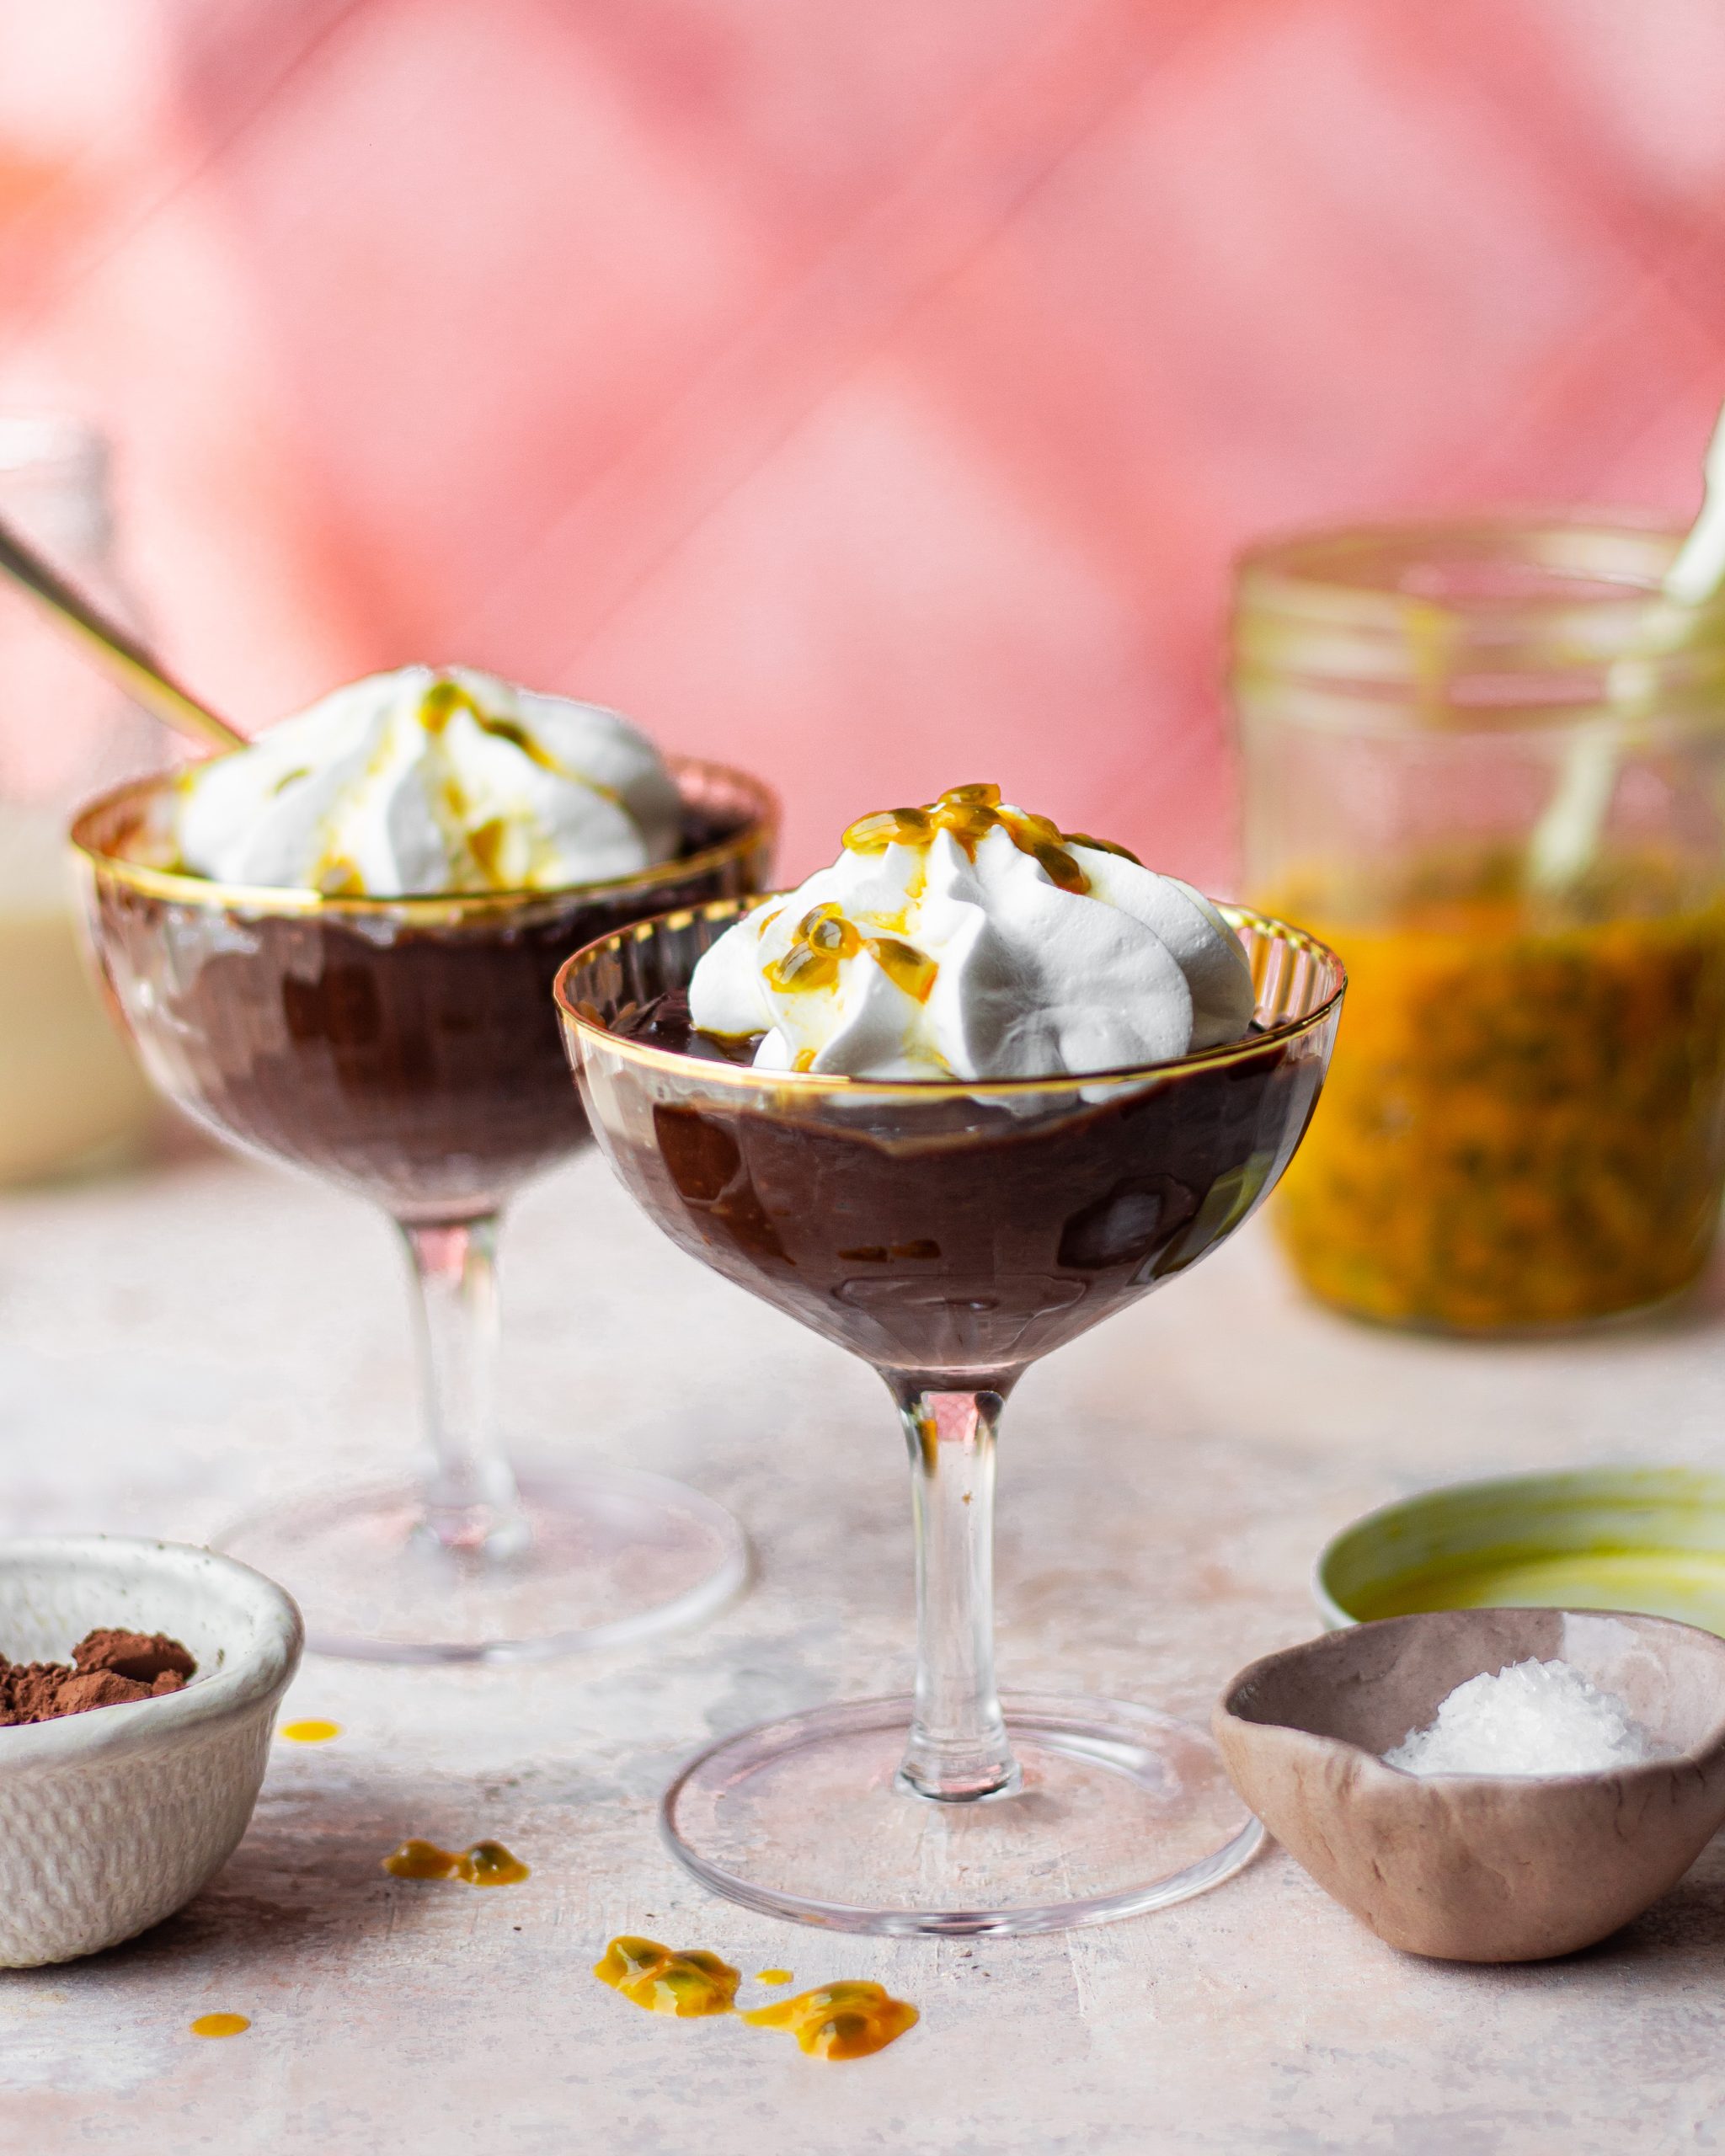
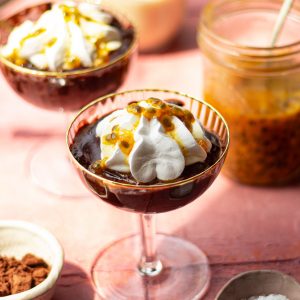
- Do not forget to add your favorite garnishes and or toppings before serving the cooled pudding. I added some non dairy whipped cream and passion fruit puree which I love. Chopped nuts and butterscotch are some other great options too.
I hope you will make this dairy free chocolate pudding in your homes and enjoy it at the end of a long, hard day. If you make this recipe, do not forget to share your images with me on my Instagram @shivesh17. And if you love puddings as much as I do, then you should check out other pudding recipes on the blog too!
Other pudding recipes on the blog
- 6tbsp (75gms) sugar
- 1tsp (4gms) coffee powder
- 2tbsp (15gms) cocoa powder
- 4tbsp (30gms) corn flour
- Pinch of salt
- 2 + ½ cup (600ml) oat milk
- 1 cup (170gms) melted dark chocolate
- In a heavy bottom saucepan add in sugar, coffee powder, cocoa powder, corn flour and a pinch of salt. Use a whisk to combine the dry ingredients.
- In the same saucepan add in dairy free milk and melted chocolate.
- Put the pan on low medium heat and constantly whisk the pudding mixture to make sure it does not stick to the bottom.
- After 10 minutes or so the mixture will start to get thick. Keep cooking till the mixtures comes to a boil. Once you see bubbles pop, turn off the heat and take the saucepan off the stove.
- Pour the warm pudding into servings dishes and let it cool down in the fridge.
- Add some non dairy whipped cream and your favorite garnishes on top.
- Serve and enjoy!

For anyone searching for a creamy dessert that doesn’t rely on dairy, this chocolate pudding recipe is a great option. The method is simple and uses everyday ingredients, making it easy to recreate at home without any complicated steps. Using oat milk and dark chocolate creates a rich, smooth texture and deep chocolate flavor that feels just as indulgent as a traditional pudding. The detailed tips on consistency and cooking technique are especially useful and help ensure a successful result. This recipe is an excellent choice for dairy-free eaters and anyone who enjoys homemade chocolate desserts.