
Cakes that look stunning in the end are so worth the time and effort that goes into them. This chocolate swiss roll however, comes together magically, easily and without much effort at all! Trust me, I know how intimidating swiss rolls can seem. My fool proof recipe and helpful tips and tricks are sure to guide you through making the perfect chocolate swiss roll.
We all have some childhood memories attached with eating small swiss rolls from our local bakeries. They’re so fluffy and delicious. Let us dive into the process of making this effortless yet extravagant cake.
Preparing the baking tray for swiss roll cake
Before diving into the recipe, it is very important to keep the oven tray ready. I used my 12 x 16 inch oven tray, very well greased with oil/ butter and lined with parchment paper. The parchment paper covered the entire base of the tray. Leaving any edges or corners without parchment runs the risk of the cake sticking to the tray and not demoulding easily.
You also want to preheat the oven at 180C before you start making the batter.
Process of making the chocolate swiss roll
If you know these tips and tricks, making a swiss roll at home becomes extremely easy. Read them carefully and make sure to incorporate each tip. All have their own importance and use and one tip should not be skipped.
Sifting your dry ingredients first
The first step of the recipe is to sift the dry ingredients and set it aside. The dry ingredients are only three- all purpose flour, cocoa powder, and cornflour. A swiss roll is much lighter and flexible than most kinds of cakes. From the first to the last step of the recipe, you will see we are trying to add air into the batter as much as we can and the first step to do that is of course by sifting the dry ingredients.
Separating eggs
In the recipe you will see you need five eggs in total out of which we are separating two eggs into egg whites and egg yolks. While separating the eggs, make sure you are using a clean and dry bowl to add the egg whites into. Use a medium sized bowl so that you can whip up the egg whites later in the same bowl.
If any egg yolk breaks and gets mixed in the egg whites, you will have to start over and separate new eggs. This is because once any part of the yolk gets mixed in with the whites, the whites never whip up into a stable meringue because of the fat from the yolk.
Whipping egg yolks and caster sugar
While whipping the egg yolks and sugar, this is the second phase where we are incorporating a lot of air into the batter. Make sure to whip at high speed for 5 minutes or until you see the mixture becomes light and double in volume. Then carefully fold in the dry ingredients into the yolk and sugar mixture.
Making meringue
The third phase of incorporating air is making meringue. In the recipe card you will see the sugar measurement as half cup plus two tablespoons. The additional two tablespoons are for the meringue. Start by whipping egg whites at a medium speed and once the mixture gets foamy, add in one tablespoon of sugar and whip at high speed for 1-2 minutes. Add in the second tablespoon of sugar and whip at high speed till the meringue reaches stiff peaks. Fold the meringue in three batches into the bowl with the mixed in yolks and dry ingredients. Your batter is ready.
Oven and baking tips to make the perfect chocolate swiss roll
How to roll the swiss roll
Two main things to keep in mind while making a swiss roll cake is to work with the cake while it is warm and keep your equipment ready before the cake is baking.
For rolling the swiss roll, you will need to flip it over on the kitchen towel that has been dusted with icing sugar. Peel off the parchment and place a portion of the towel over the cake. Using both your hands, carefully start rolling the cake, with the tea towel. Use your palms to support the warm cake as you are rolling it. Once you reach the end, let the cake sit as is for 5 minutes.
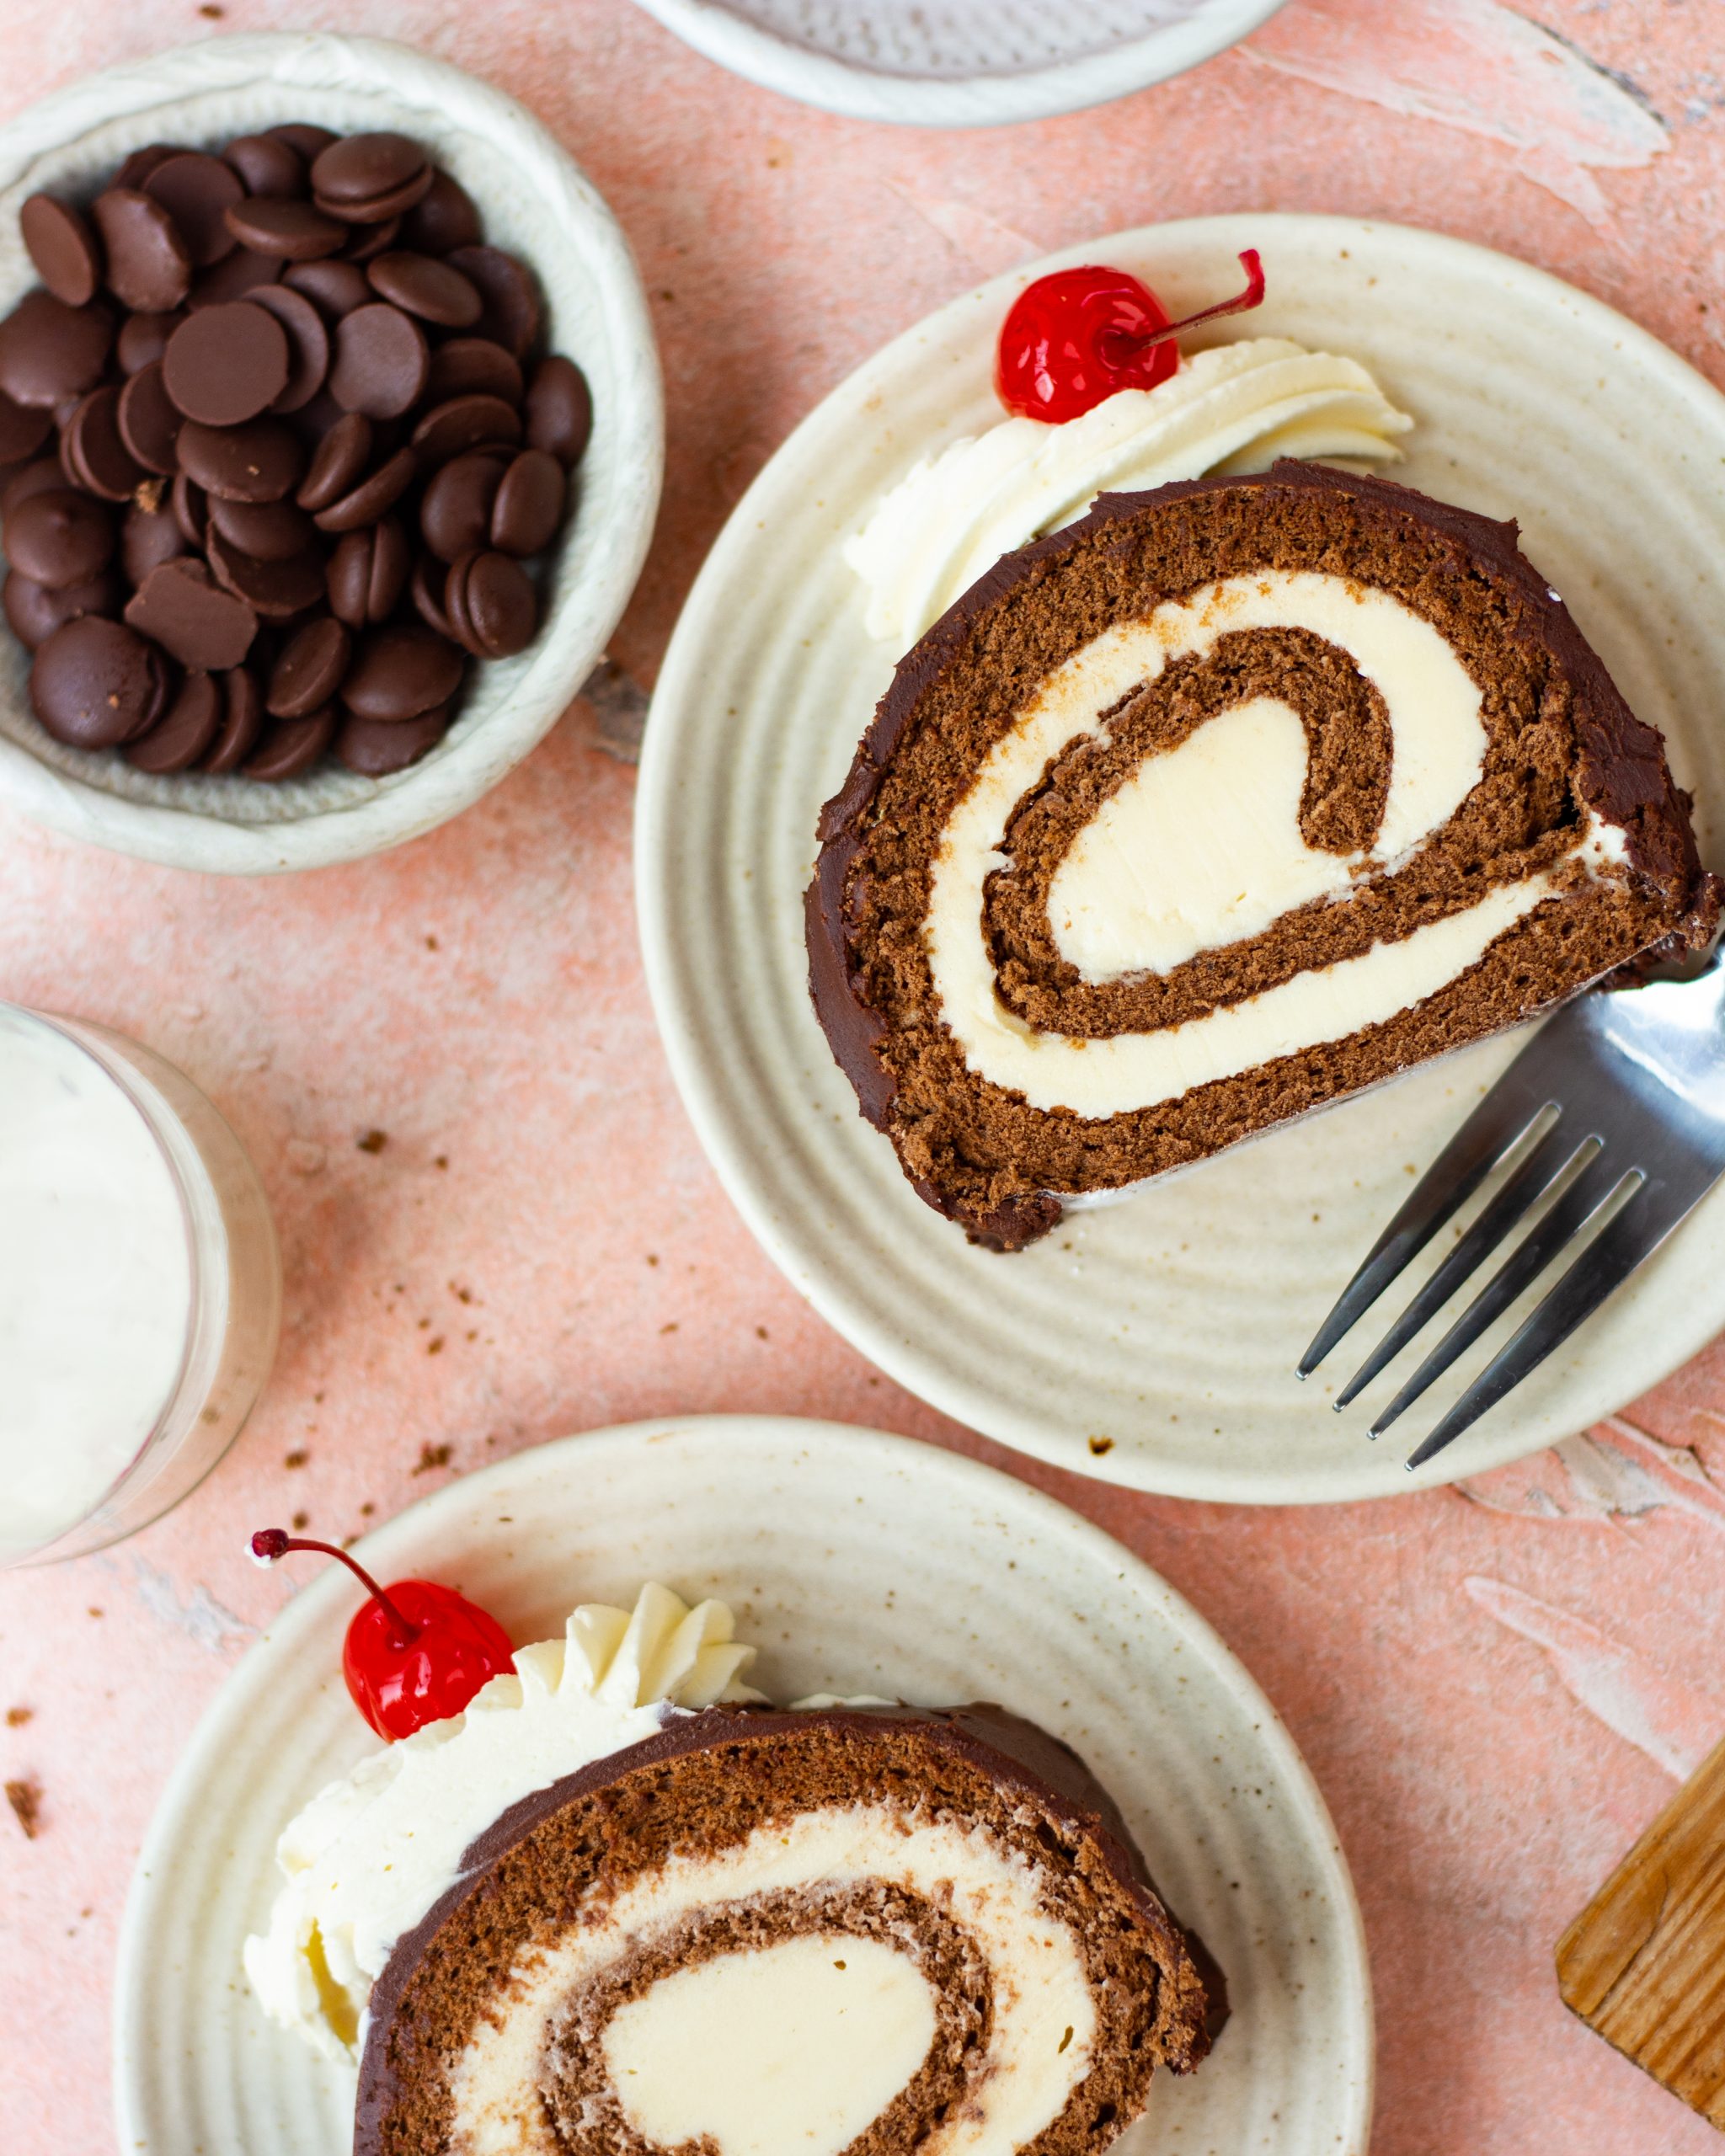
Keep your filling ready and an offset spatula handy to spread the filling. You can use any filling you like but I made a vanilla buttercream to fill my chocolate swiss roll. A chocolate ganache or a cream cheese frosting would also work really well with this cake.
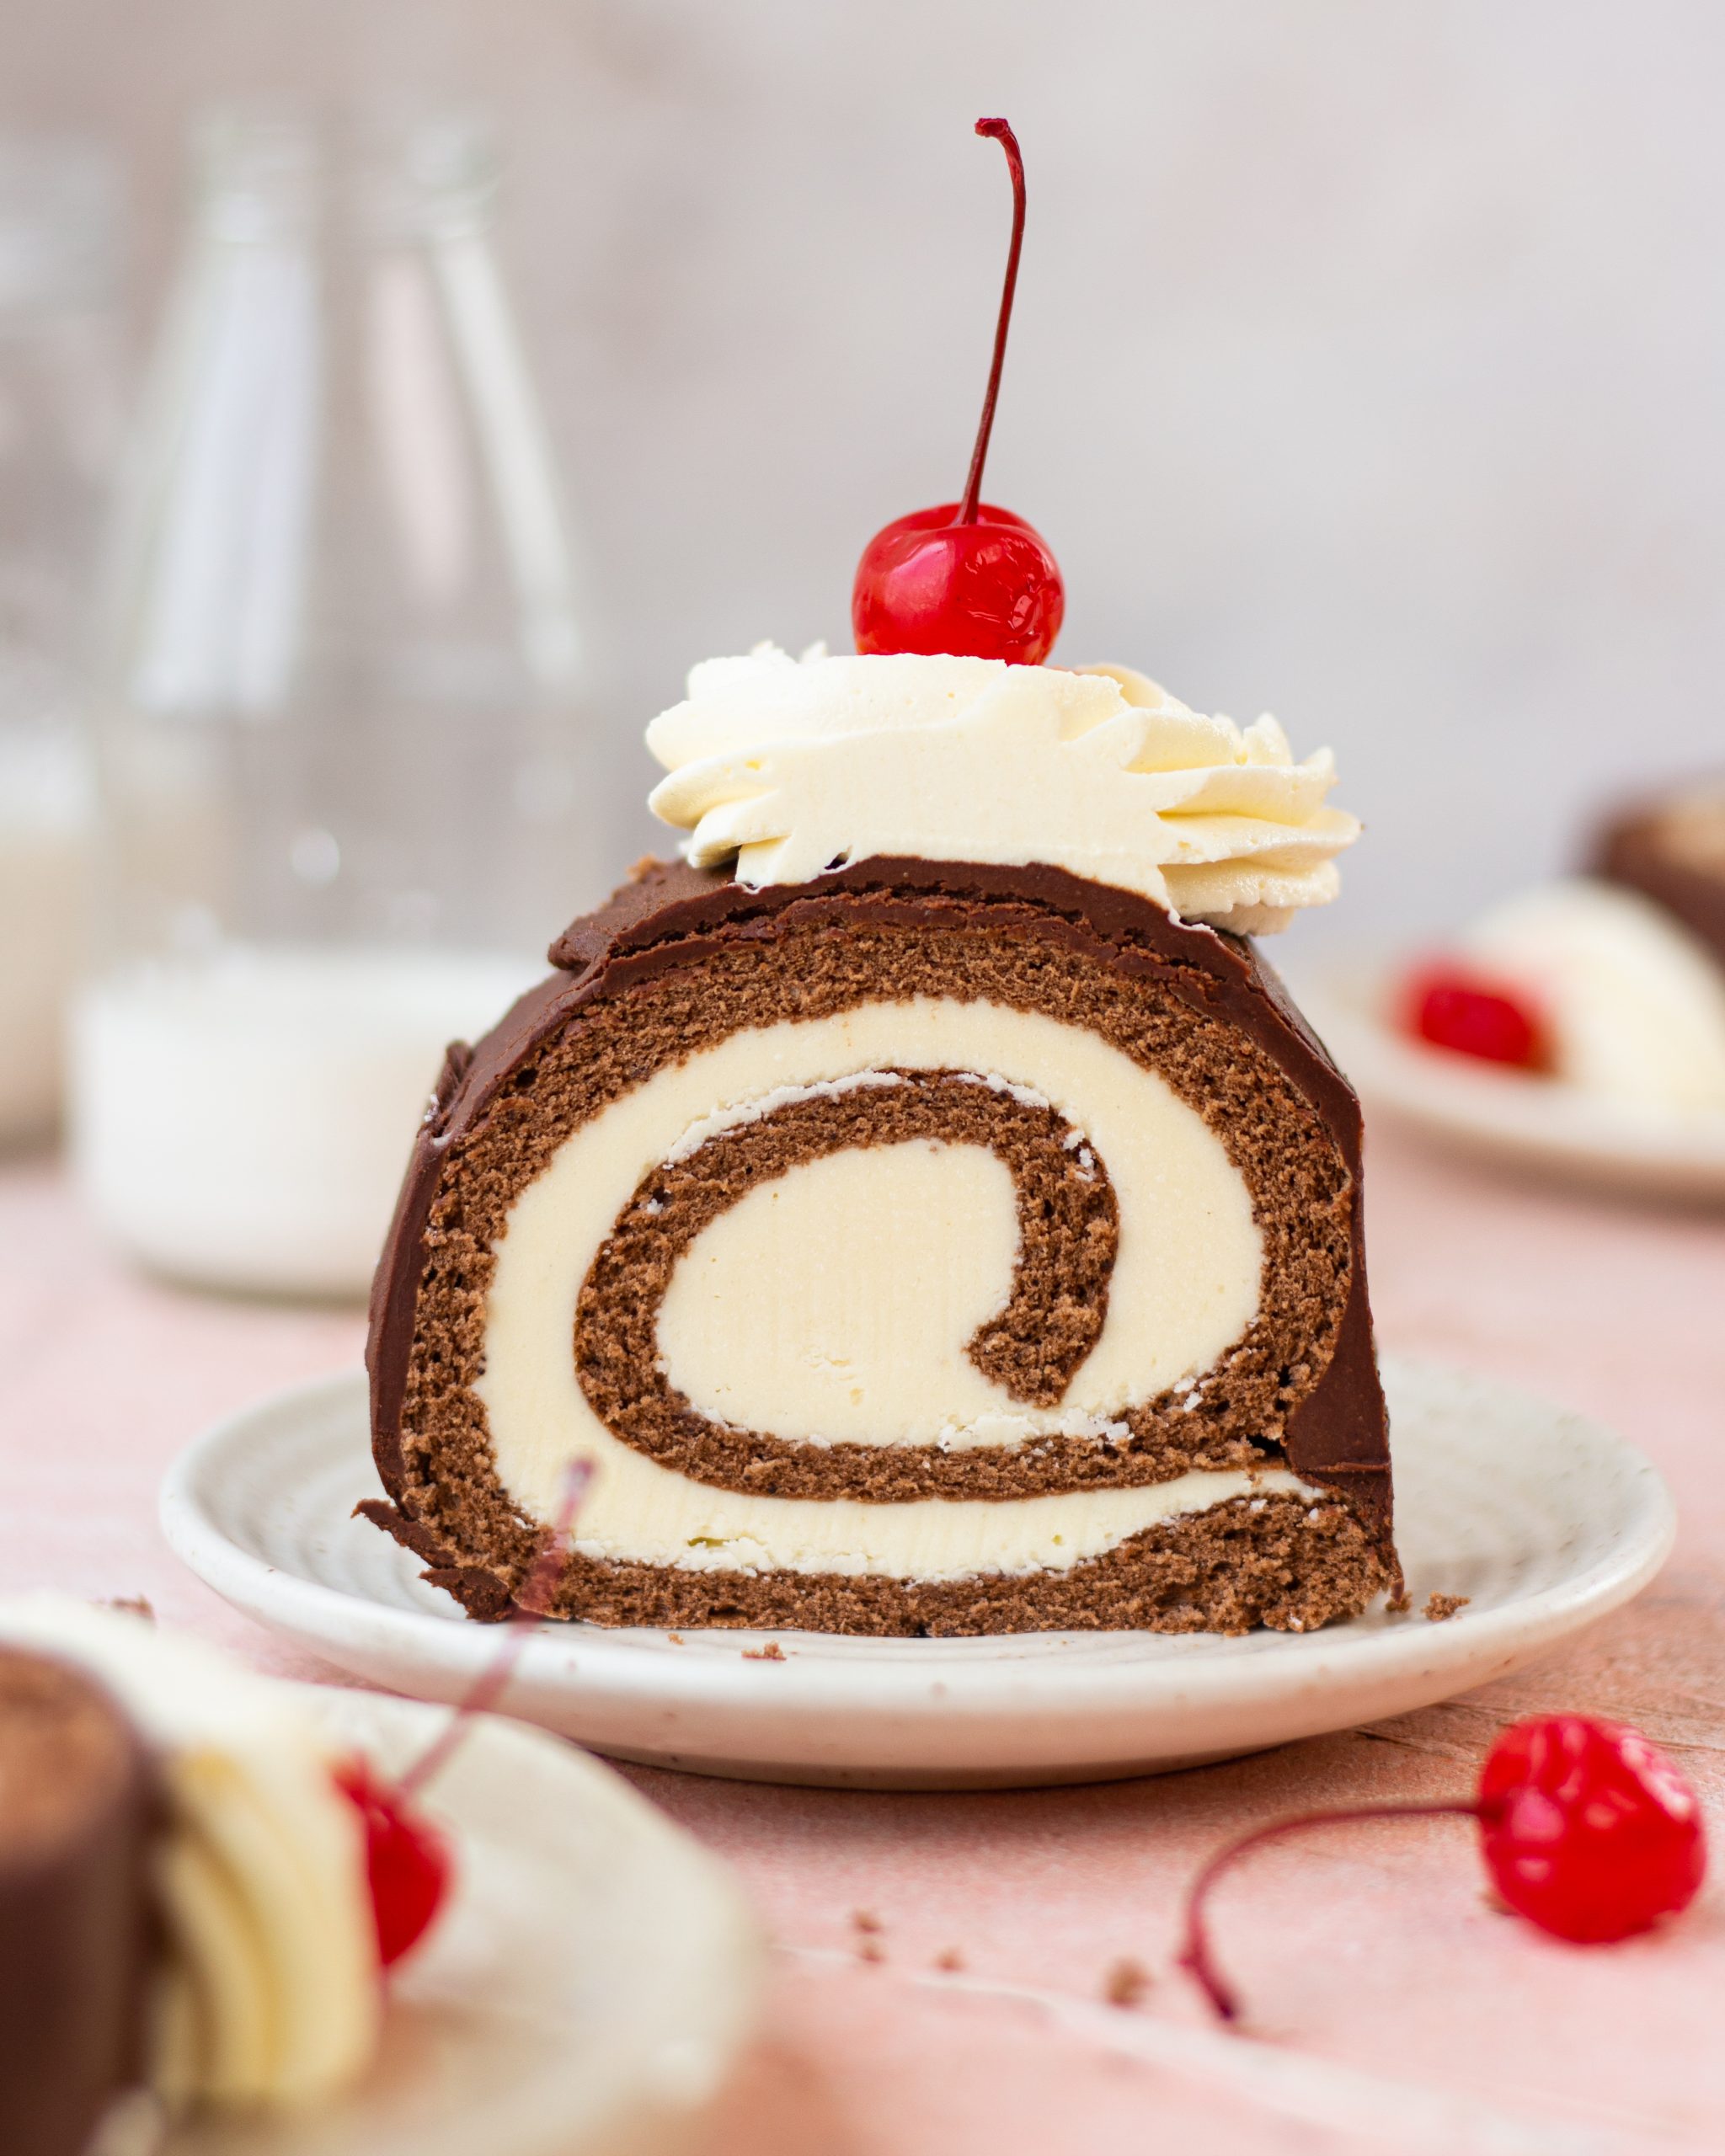
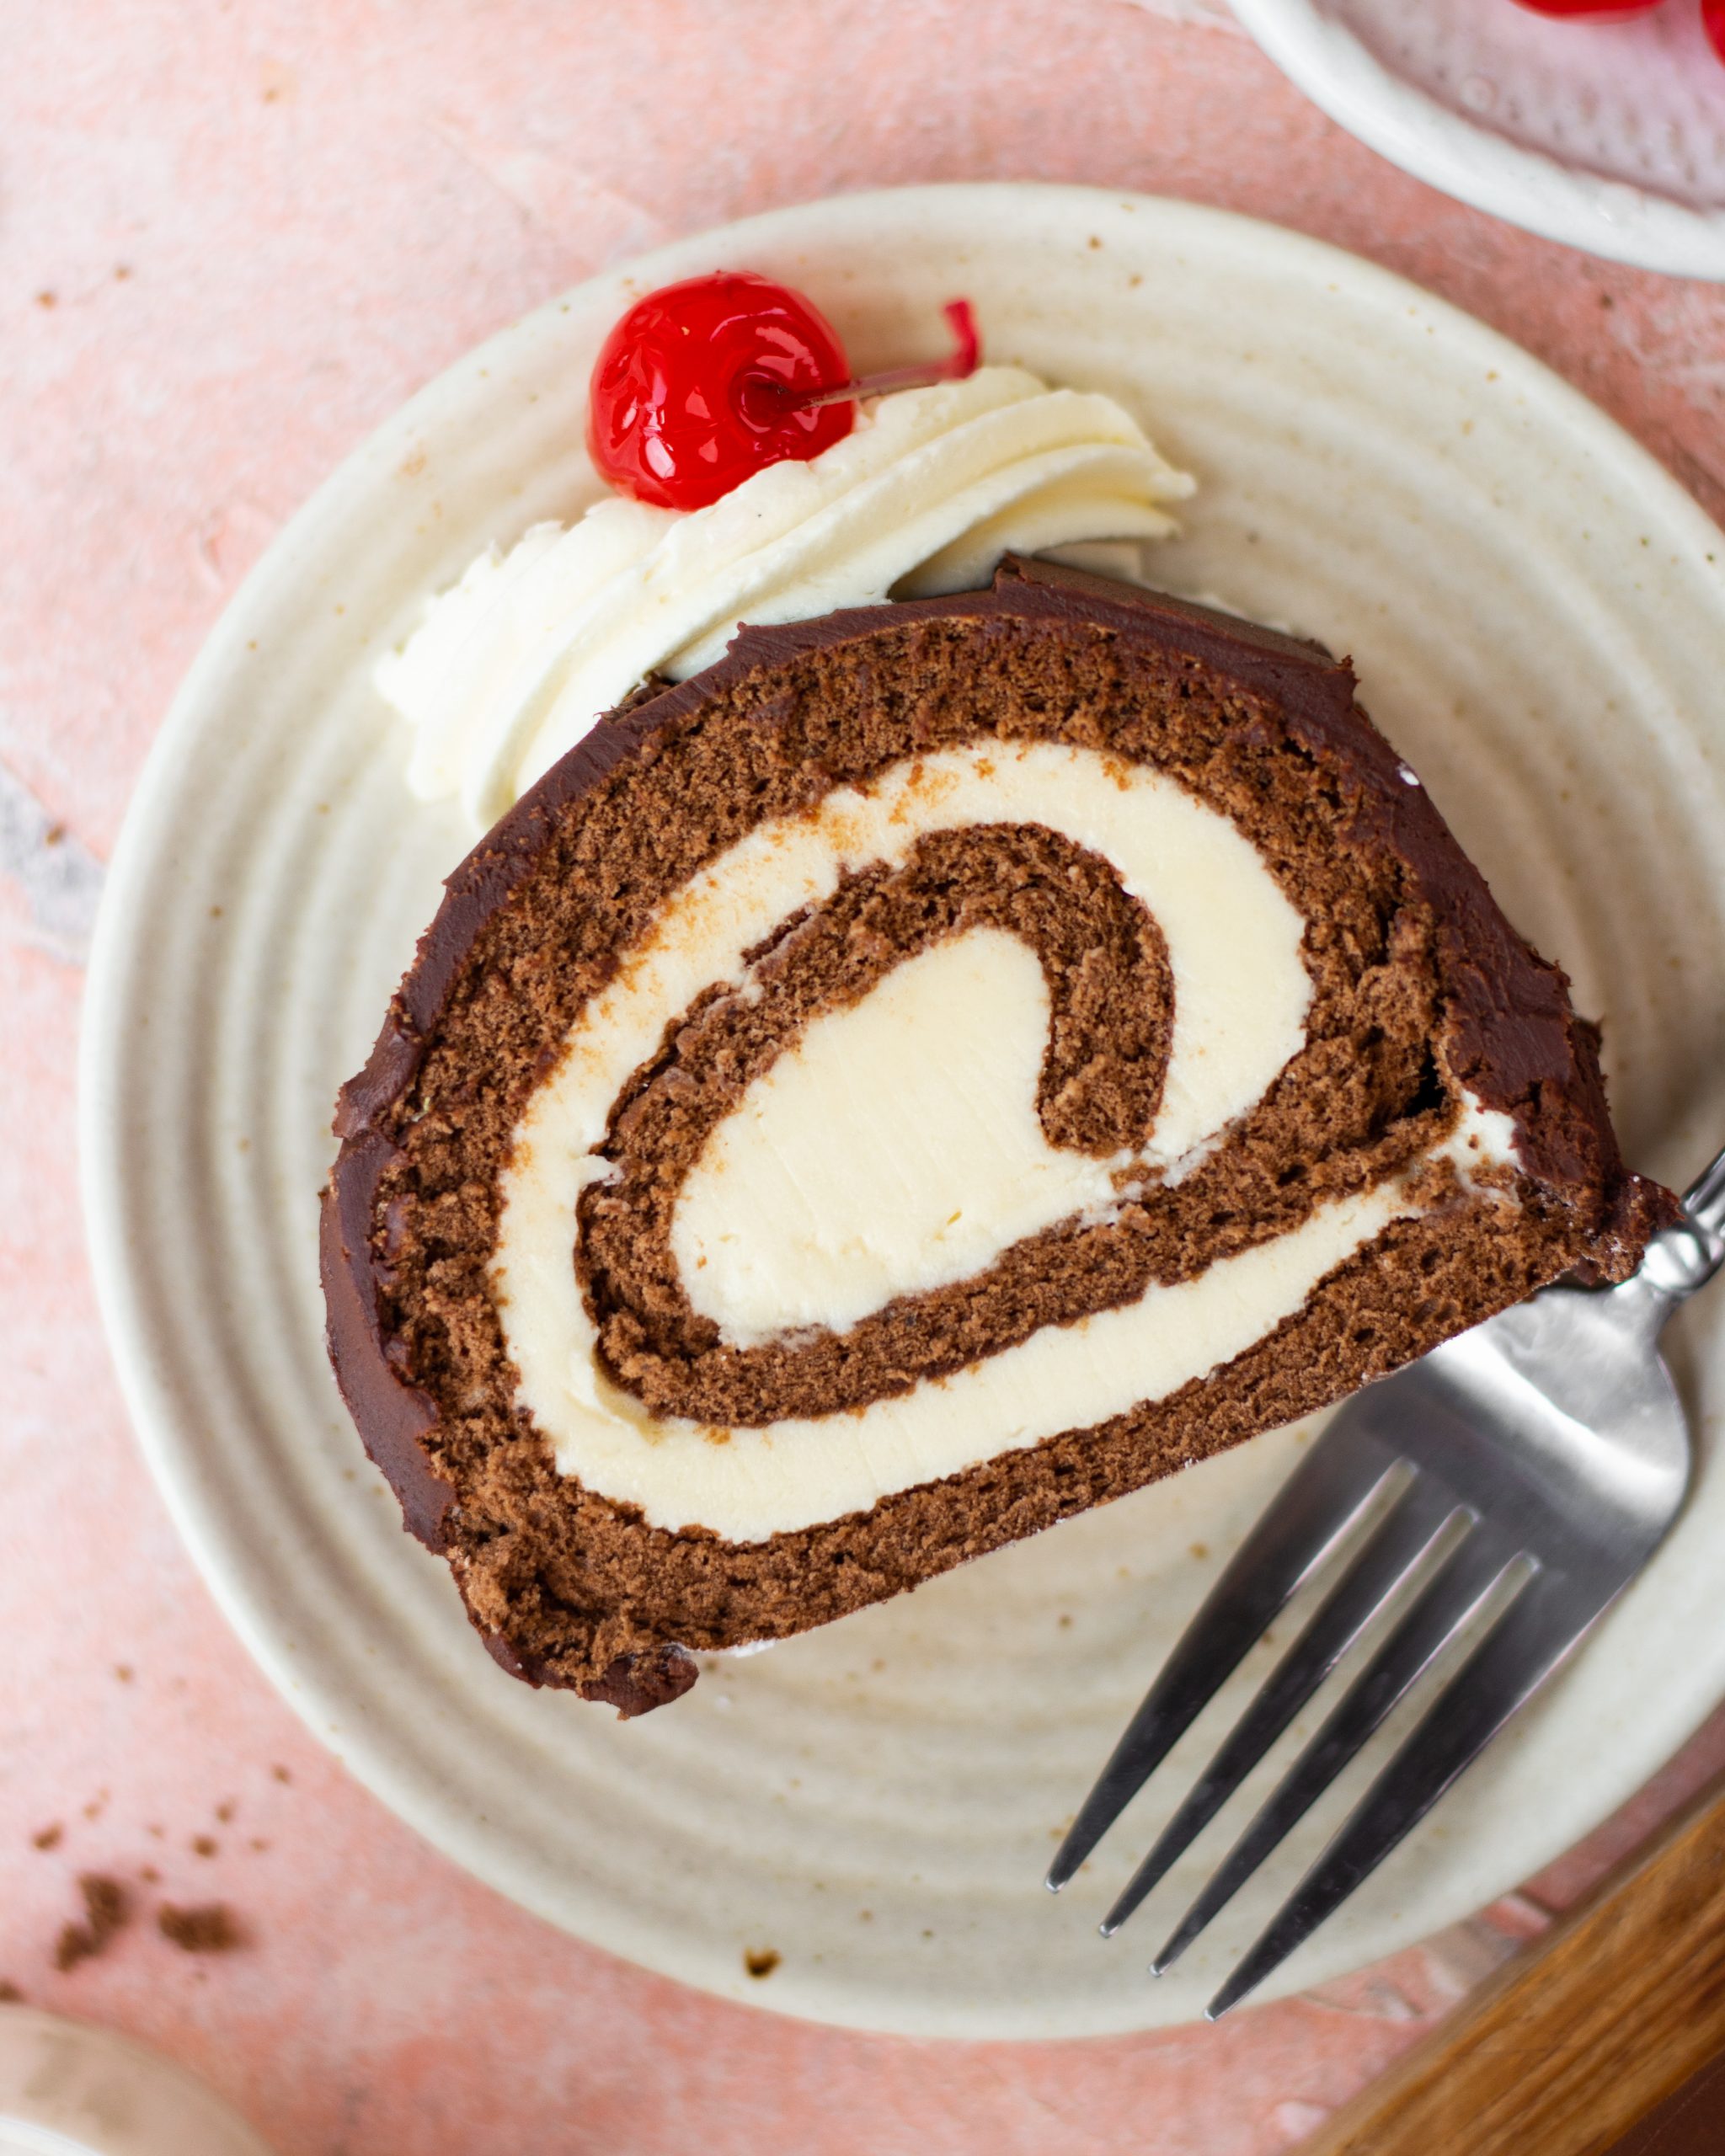
After not more than 5 minutes, unroll the warm cake and spread the filling across evenly. Don’t add too much frosting or your cake won’t be able to hold it all. Don’t add too little frosting because once you cut into it, the cross section won’t be as pretty.
Work quickly and roll the cake again carefully, without rolling in the tea towel this time. Once you reach the end, let the cake chill for an hour before you do the final touches.
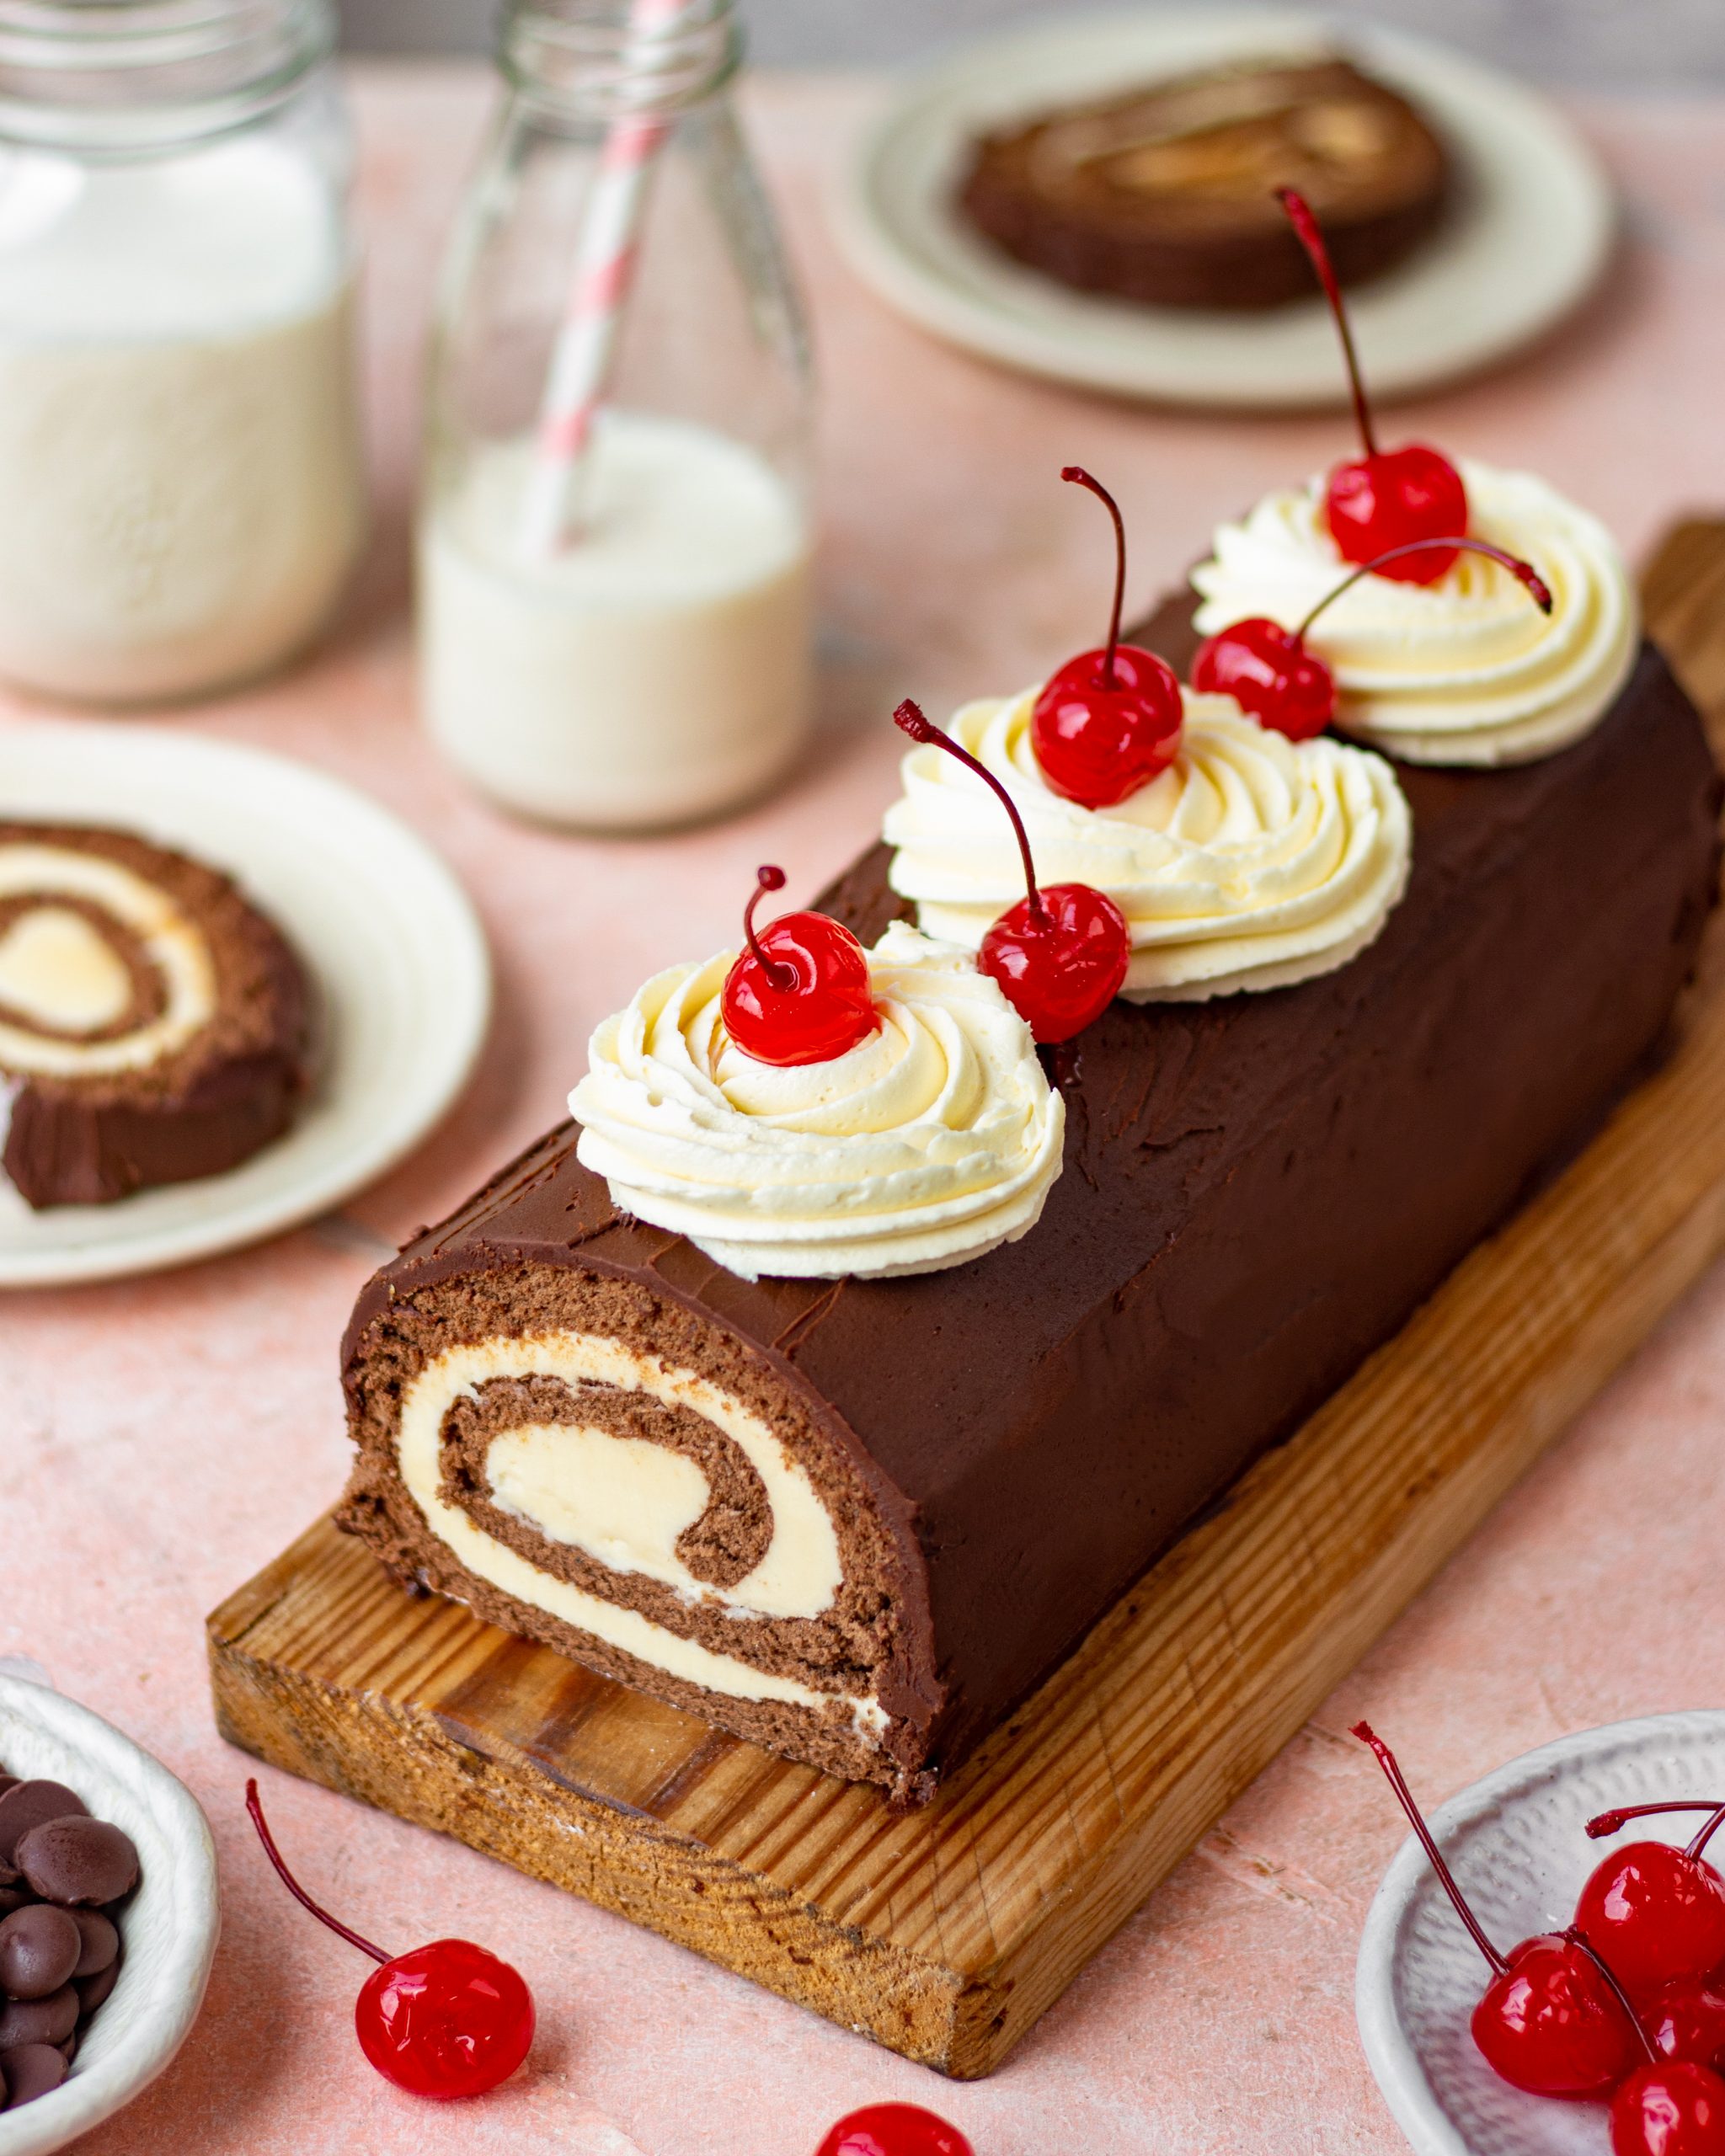
Dressing the chocolate swiss roll
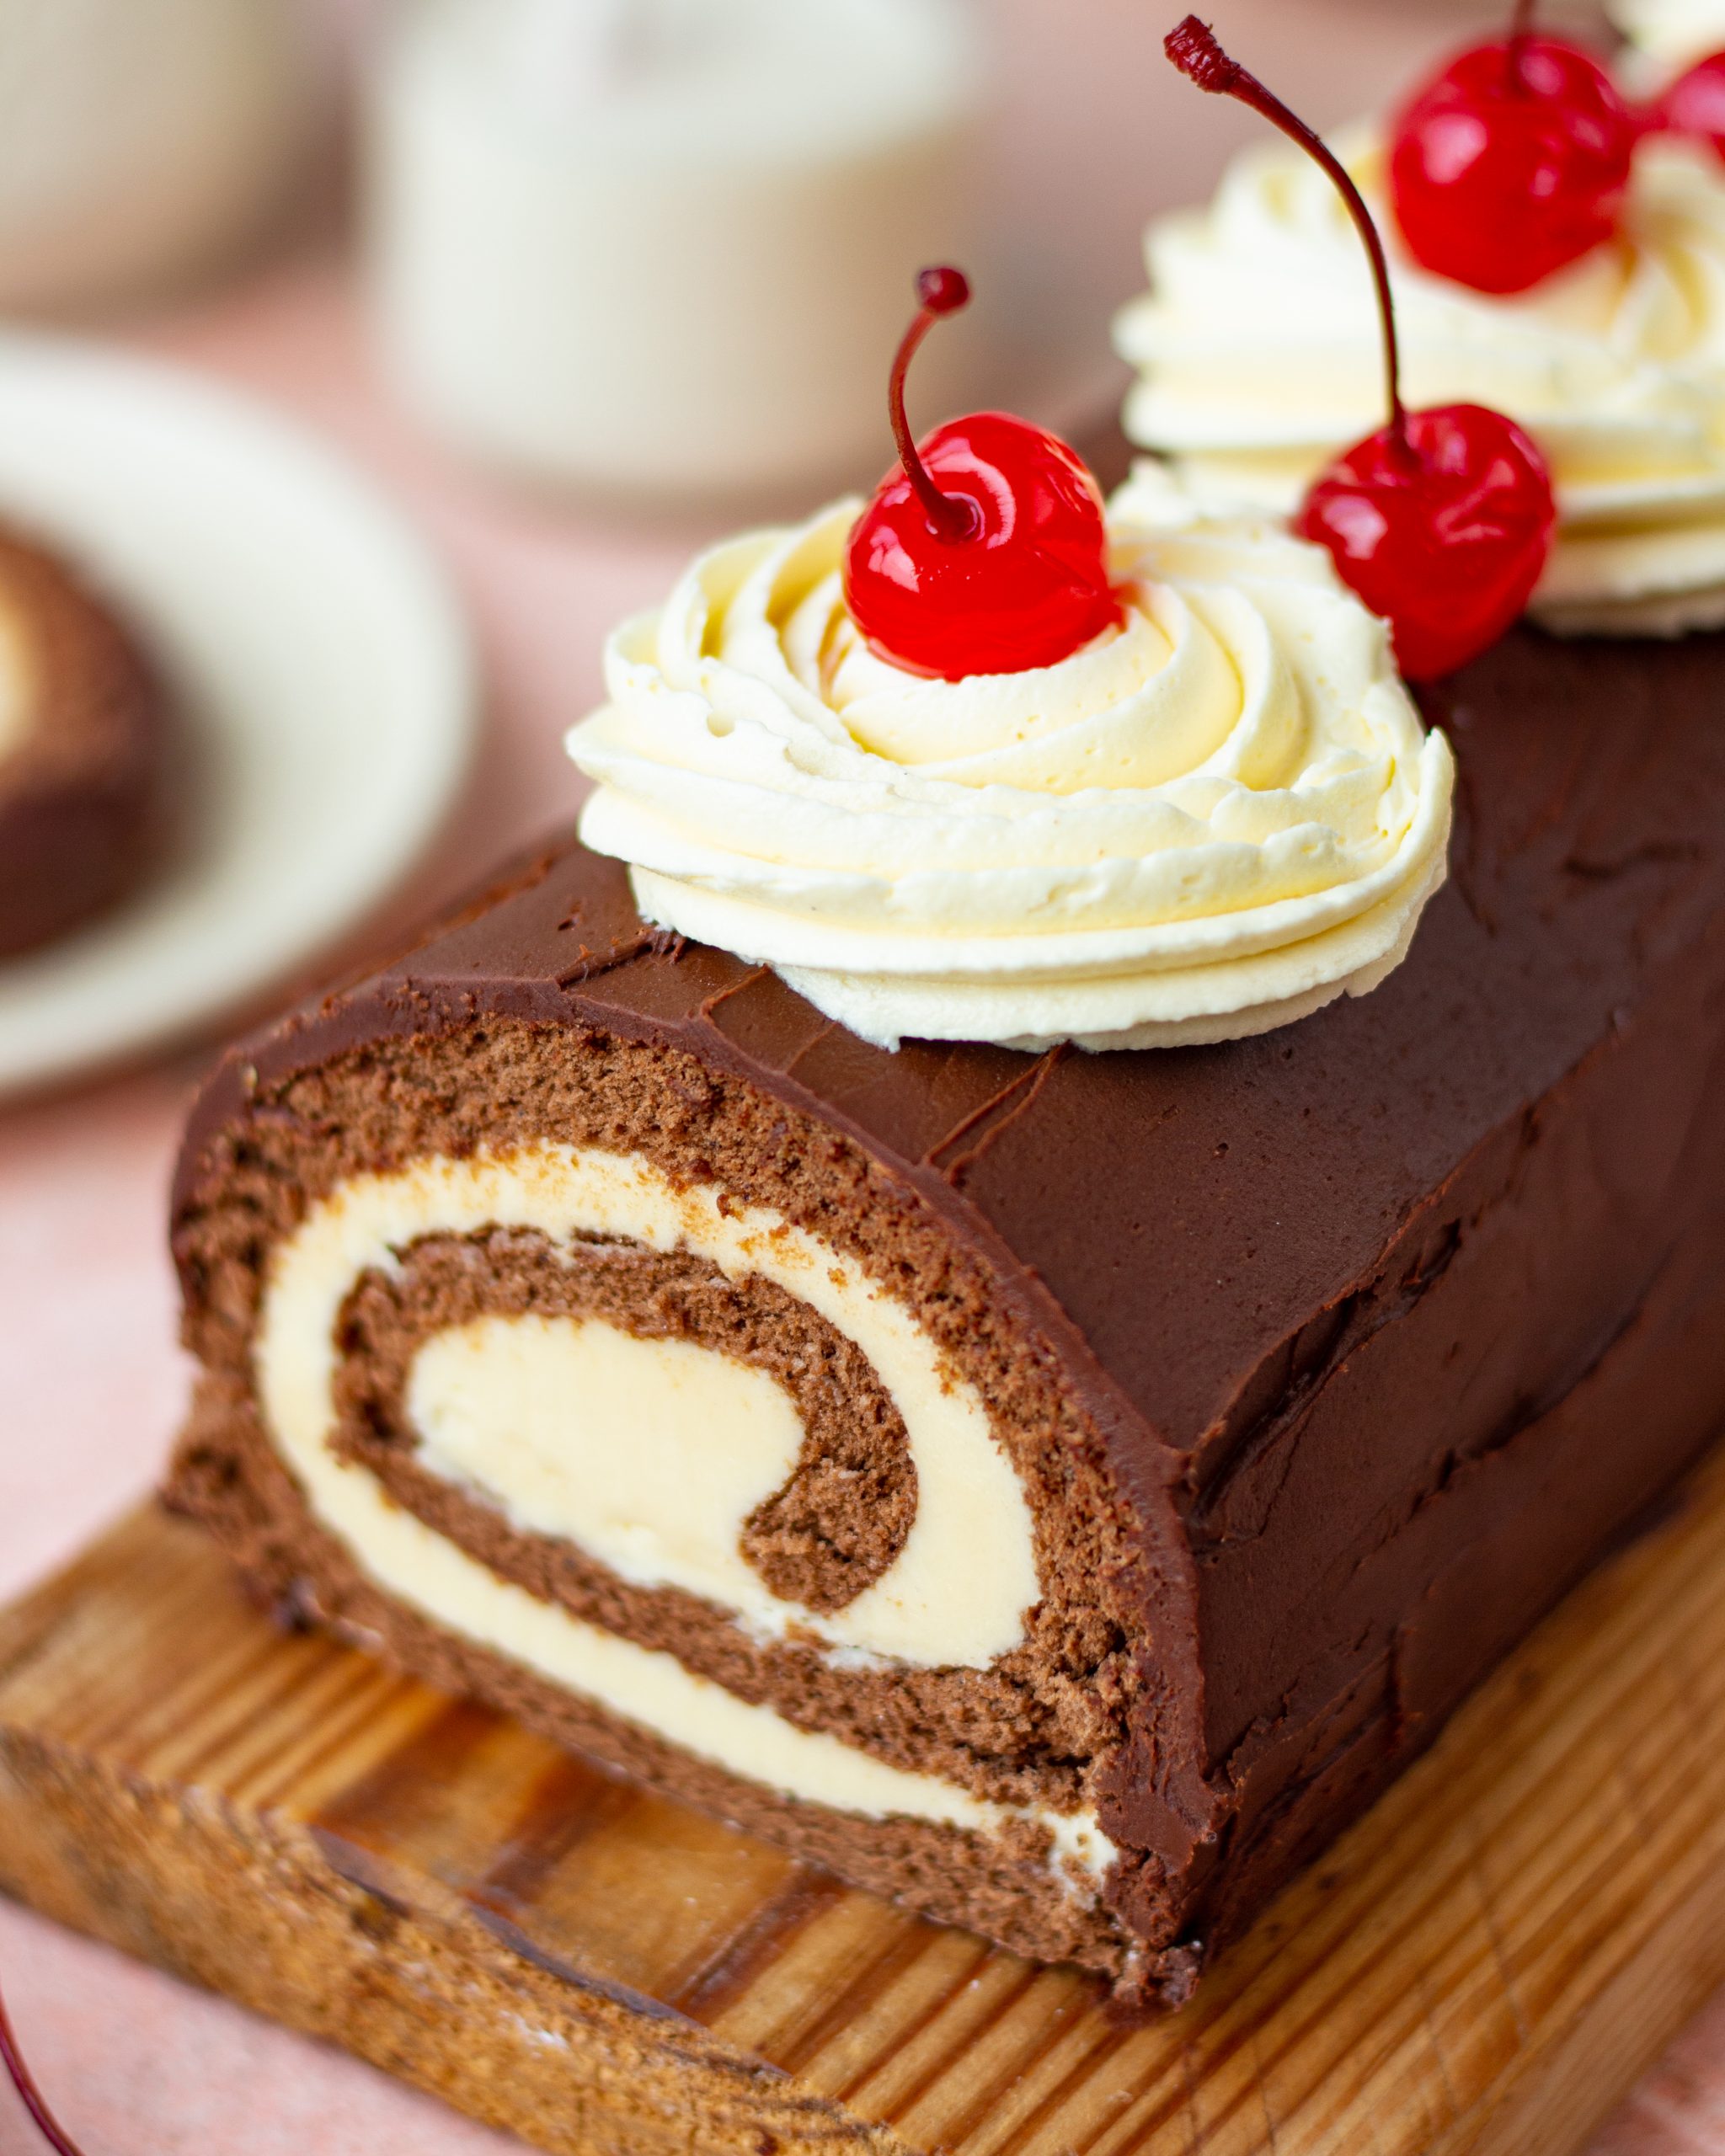
I chose my 2:1 chocolate ganache to cover the top of the cake. You can read about how to make a chocolate ganache and make one for yourself too! For the final touch, piped some more buttercream on top and added some cherries as garnish. I love the colors and the look of the cake! You can garnish it however you like. Make a chocolate glazed instead of ganache if you like.
Chocolate Swiss roll recipe
- ⅓ cup (37gms) flour
- ¼ cup (25gms) cocoa powder
- 3 tablespoon (30gms) cornflour
- 2 eggs, separated
- 3 whole eggs
- ½ cup (100gms) + 2 tbsp (25gms) caster sugar
- 1 tsp (5ml) vanilla
- Icing sugar for dusting
- Filling:
- Vanilla buttercream
- 1 + ¼ cup (220gms) chocolate
- ½ cup (115ml) fresh cream
- Buttercream
- Cherries
- Grease your oven tray with oil/butter and line it with parchment paper going up the sides. Preheat the oven at 180C.
- In a bowl sift in all purpose flour, cocoa powder, cornflour, and a pinch of salt.
- Remove the sieve and give this a good mix. Set it aside.
- Next, separate two eggs and add egg whites in a bowl and set it aside.
- Add the two egg yolks and three whole eggs in another bowl along with ½ cup caster sugar.
- Beat this on high speed till the mixture becomes light and pale. You will see it become voluminous.
- Add in the dry ingredients we had set aside earlier and use a spatula to gently fold the dry ingredients in.
- Set this aside and start whipping the egg whites to make meringue. Once the egg whites become a little frothy, add in 1 tablespoon of caster sugar and whip for 1 minute.
- Add in the second tablespoon of caster sugar and whip till the meringue reaches stiff peaks.
- Fold the meringue in three batches into the egg yolk and dry ingredient mixture.
- Make sure to not knock out any air while folding.
- Transfer the batter to the prepared baking tray and bake at 180C for 7-8 minutes.
- Meanwhile, lay a clean kitchen towel and dust it with icing sugar.
- Once baked, Immediately turn cake out onto line towel. Peel off parchment paper and gently roll cake up in the towel, starting with the short end.
- Let it sit for 5 minutes.
- After 5 minutes, unroll the cake and spread your filling evenly.
- Roll back the Swiss roll and let it chill in the fridge for 1-2 hours.
- Once chilled, cover the Swiss roll with chocolate ganache and garnish as you like!
If you like this recipe, do tag me on Instagram / Facebook using #bakewithshivesh.

What is the amount of cocoa powder in the recipe ? Its not mentioned