I think one dessert that intimidates everyone is a layered cake. And I completely understand why would one feel that way, cause up until last year I would feel the same. However working through with myself over the last year and I have gathered some pretty cool tips and tricks that have helped me feel much more comfortable while layering a cake. I am sure these will help you feel more confident and less stressed.
Firstly before we begin layering the cakes. The base recipe of the cake needs to be the one you truly trust. Luckily for you, I have both eggless and with egg recipes of basic cakes like vanilla, chocolate , red velvet that you can easily adapt and not be worried about the crumb of cake at all. All of these recipes will yield a moist, fluffy and absolutely delectable cake bases.
Tip 1: Bake in individual cake moulds
Now that you have your cake base recipe sorted, the most important tip I can share with you is to bake in individual mould. This means that we are going to be layering/ dividing the cakes before they bake compared to slicing into a huge cake later on once baked. This process is definitely less stressful and much more easier.
I mostly use 6” inch cakes and weigh out my batter to be precise. However you can use same sized multiple pans and bake individual cake layers so that you don’t have to worry about cutting a tall cake into layers later on.
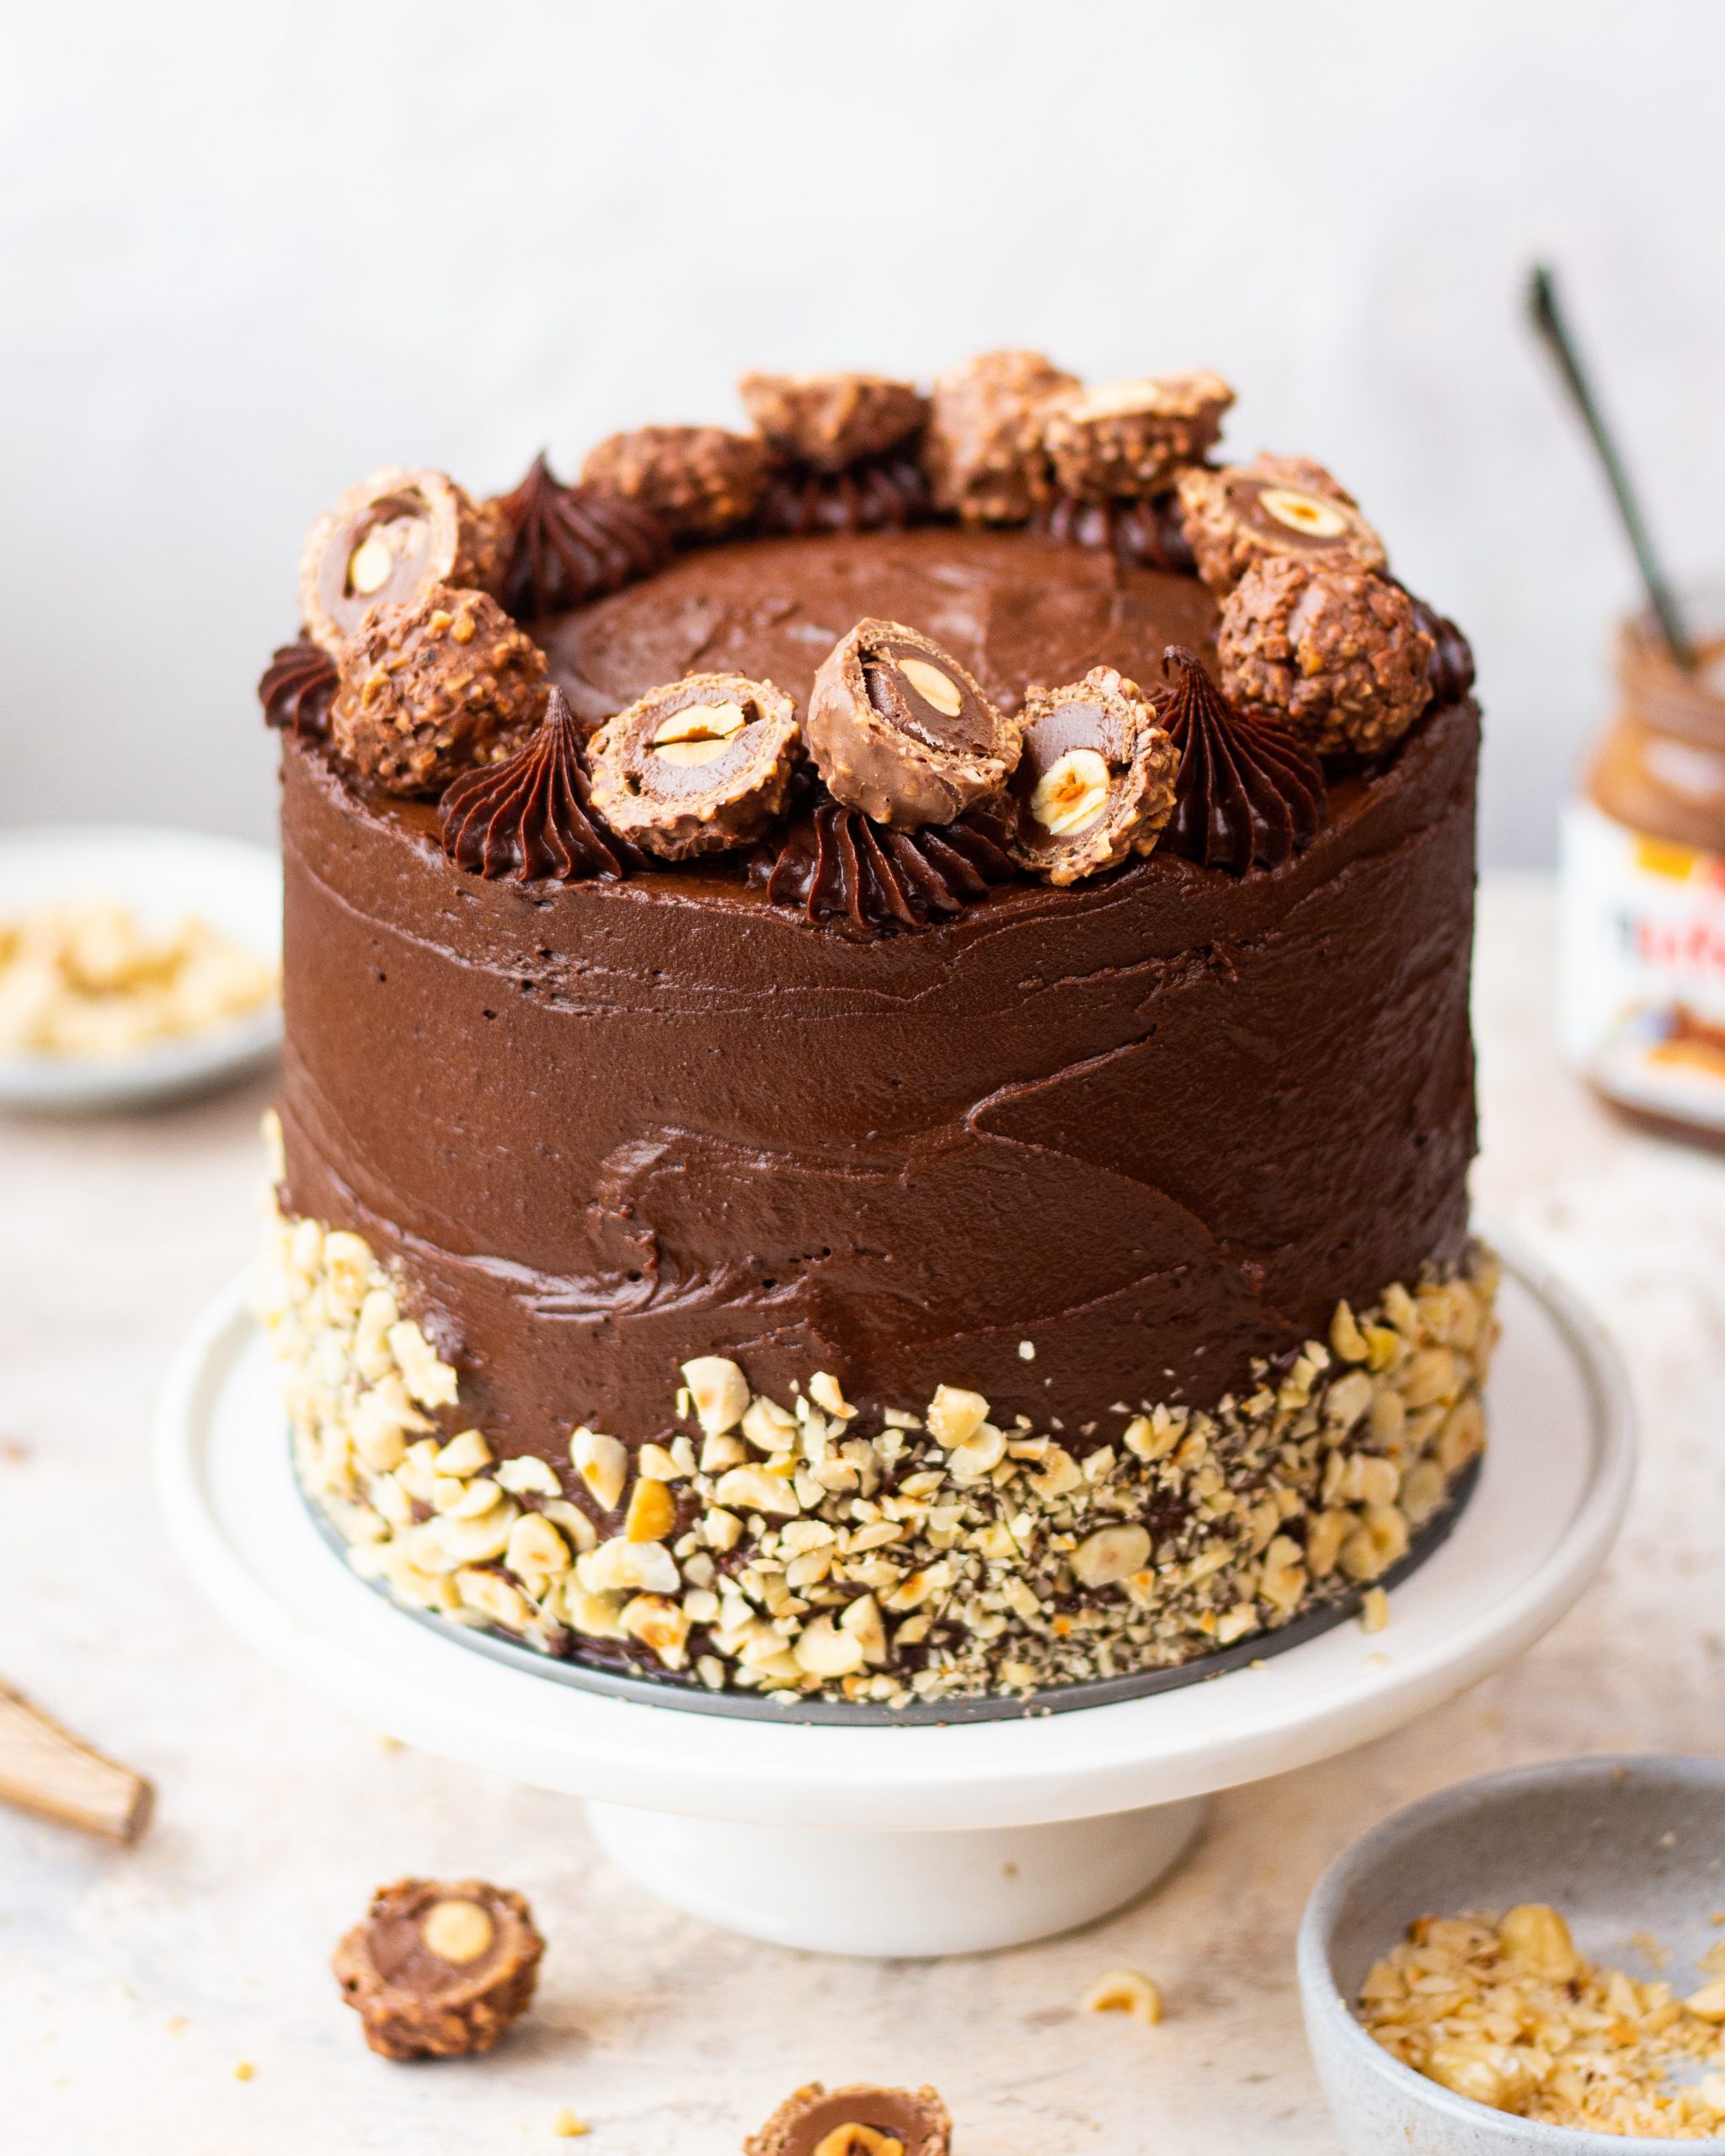
Tip 2: Trim your cake layers
For layering a cake and keeping it straight and stable, it’s important to have even layers and that is why we trim each layer separately before stacking them up. Because whenever you bake a cake there is a high possibility of it having a dome like shape which is not ideal for stacking. Just use a serrated knife which has a tooth like edge, ideal for cutting through things with hard exteriors and soft interiors.
When using a serrated knife it is important that you try to not apply too much pressure and just allow the knife to do its job. Move your knife in a sawing motion back and forth which will prevent you from getting too many crumbs fall out of the layer. Now this can be slightly tedious when you are just starting out. So the best way to do this is to look at your cake from all sides and always from the eye level to make sure the surface is really really flat.
Also pro tip: always allow your cakes to cool down or even better chill them before you start any sorting of trimming or layering. Since warm cakes are very delicate and are very easy to fall apart.
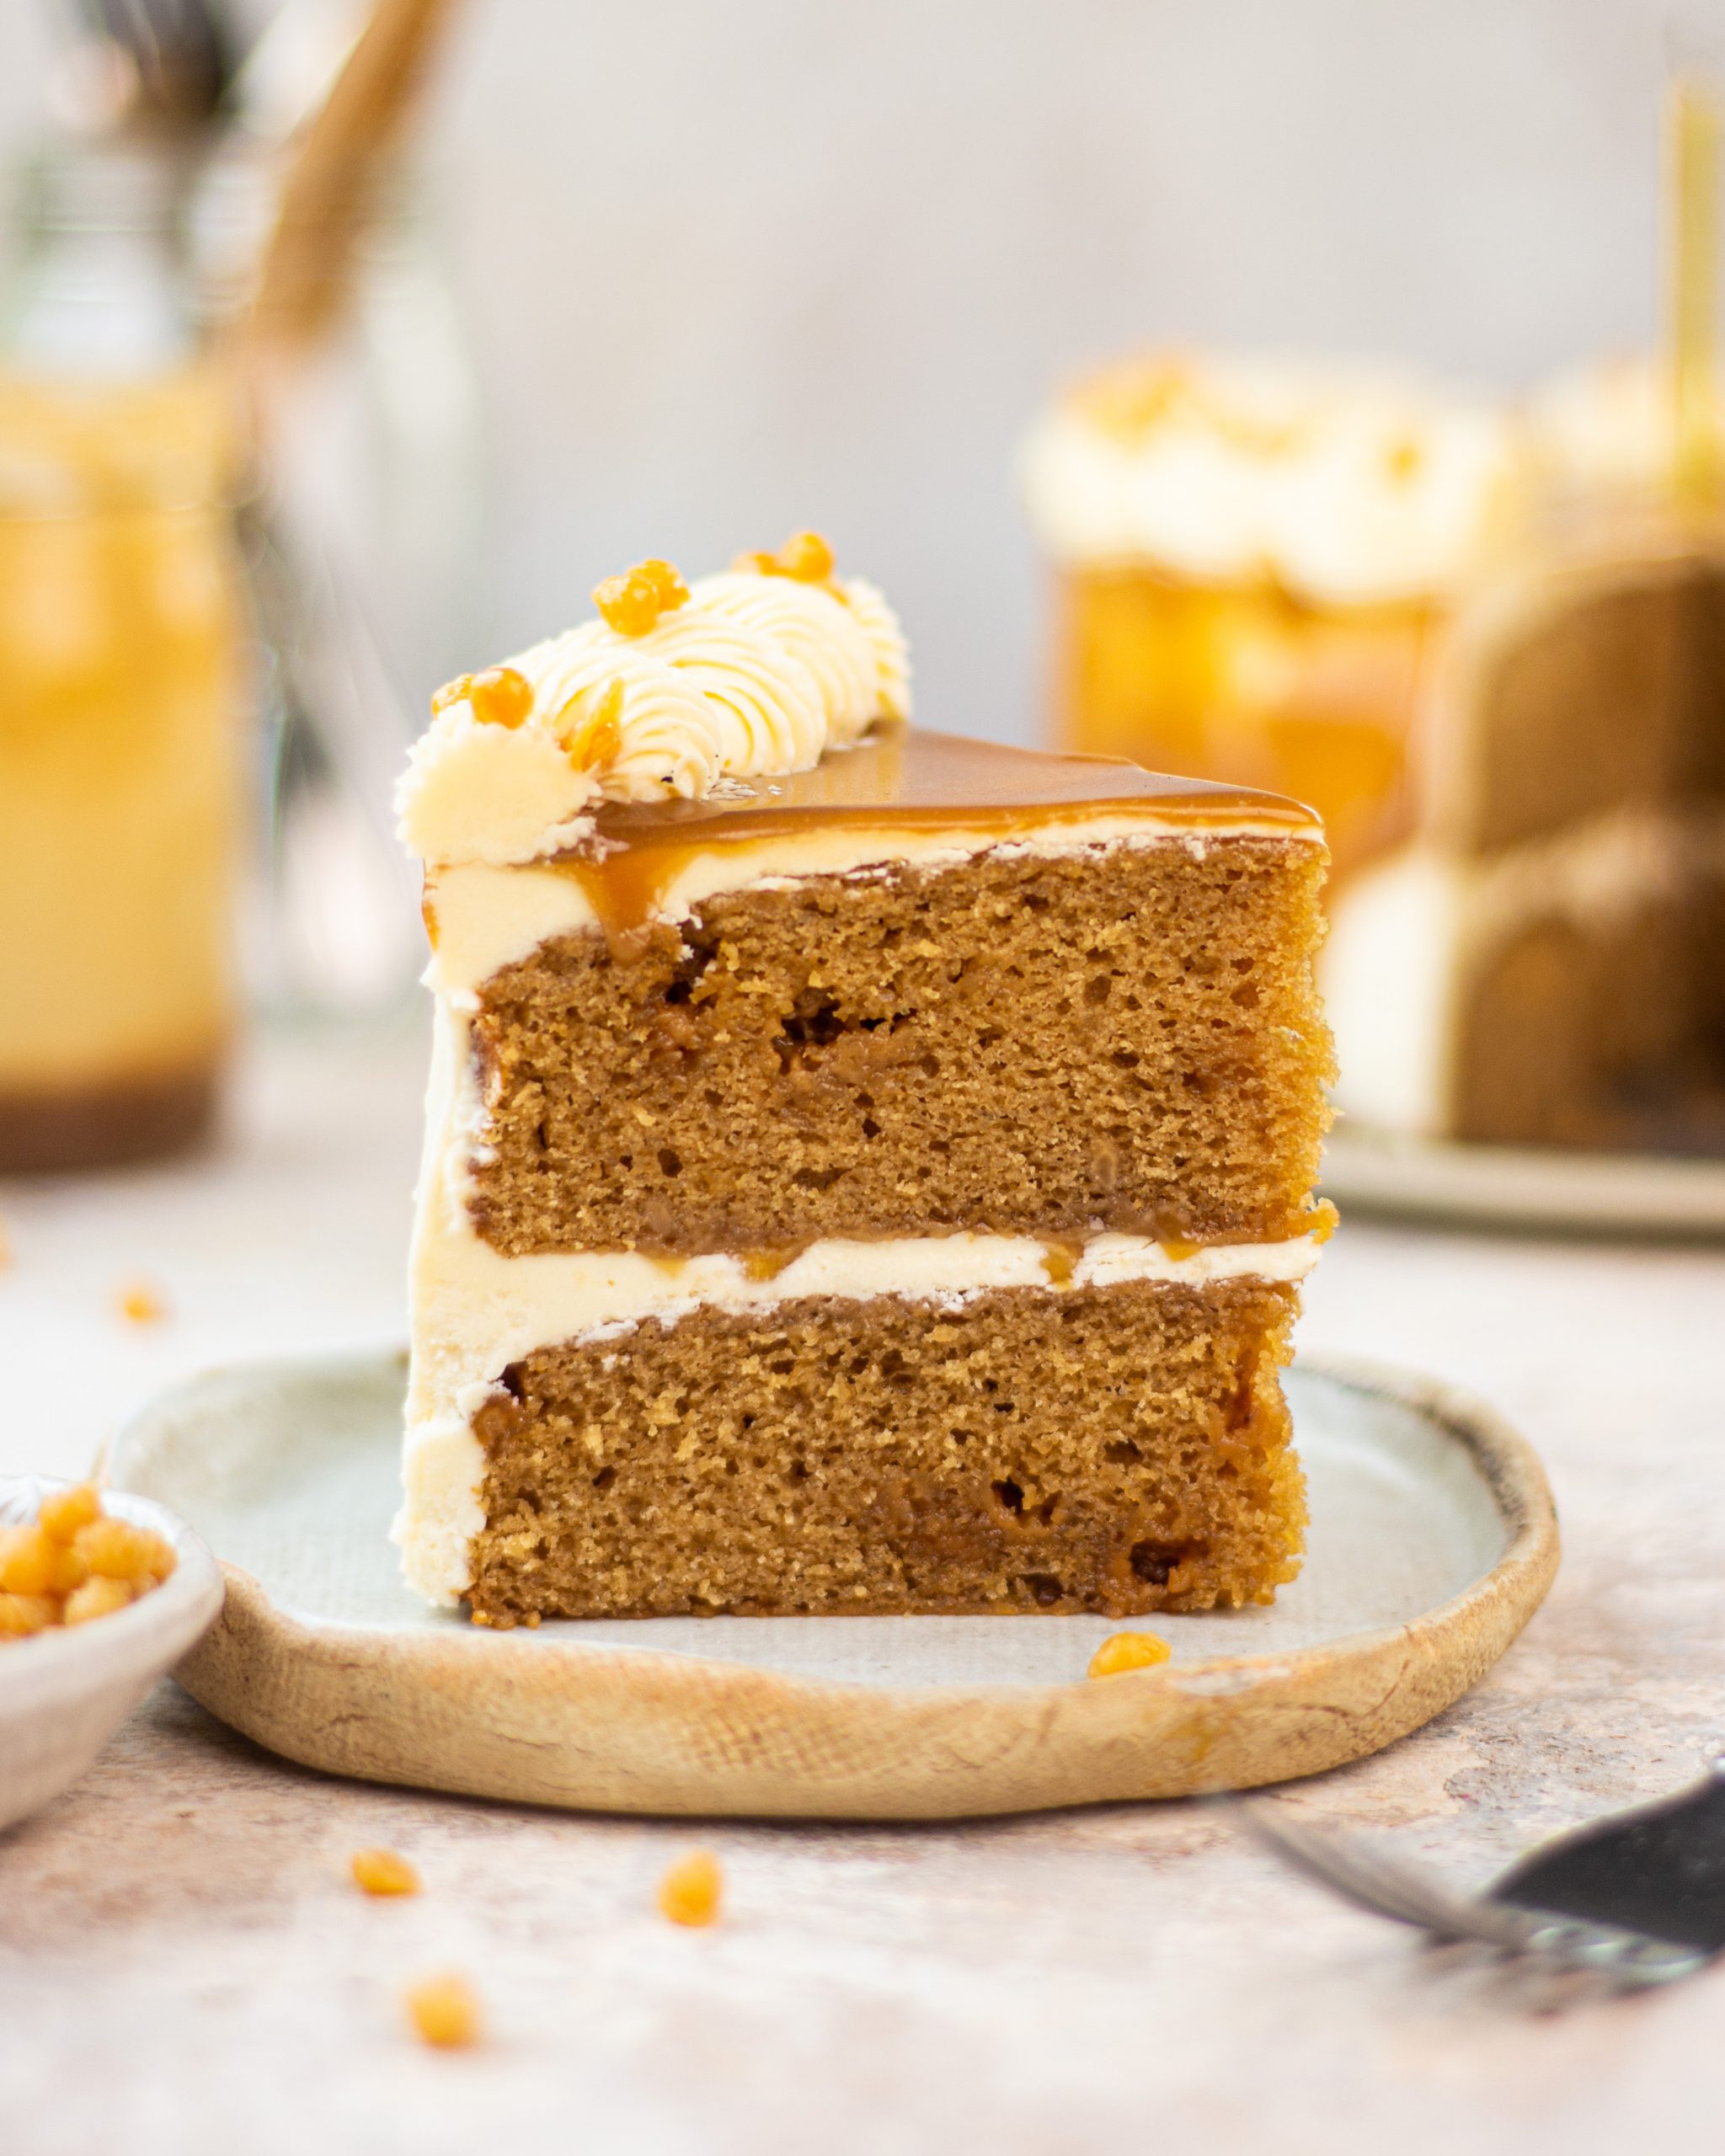
Tip 3: work on a flat surface
While layering your cakes it is very important to find a surface that is not only flat but also steady as well. And a turntable works perfectly for this job. While investing in a turntable it is ideal that you purchase one that is made out of a heavy duty material compared to the one that is made out of unsteady cheap quality plastic. Since the weight of the cake is going to fall on our turntable. However if you don’t have a cake stand don’t worry you can also assemble the cake on either a cake stand or a plate that has been elevated slightly.
Once the cake base or plate is on the turntable smear a small amount of frosting on it before placing the first layer of cake. This will help stick the cake to the base and ensure that the base layer stays put and doesn’t go off centre while I’m working on it.
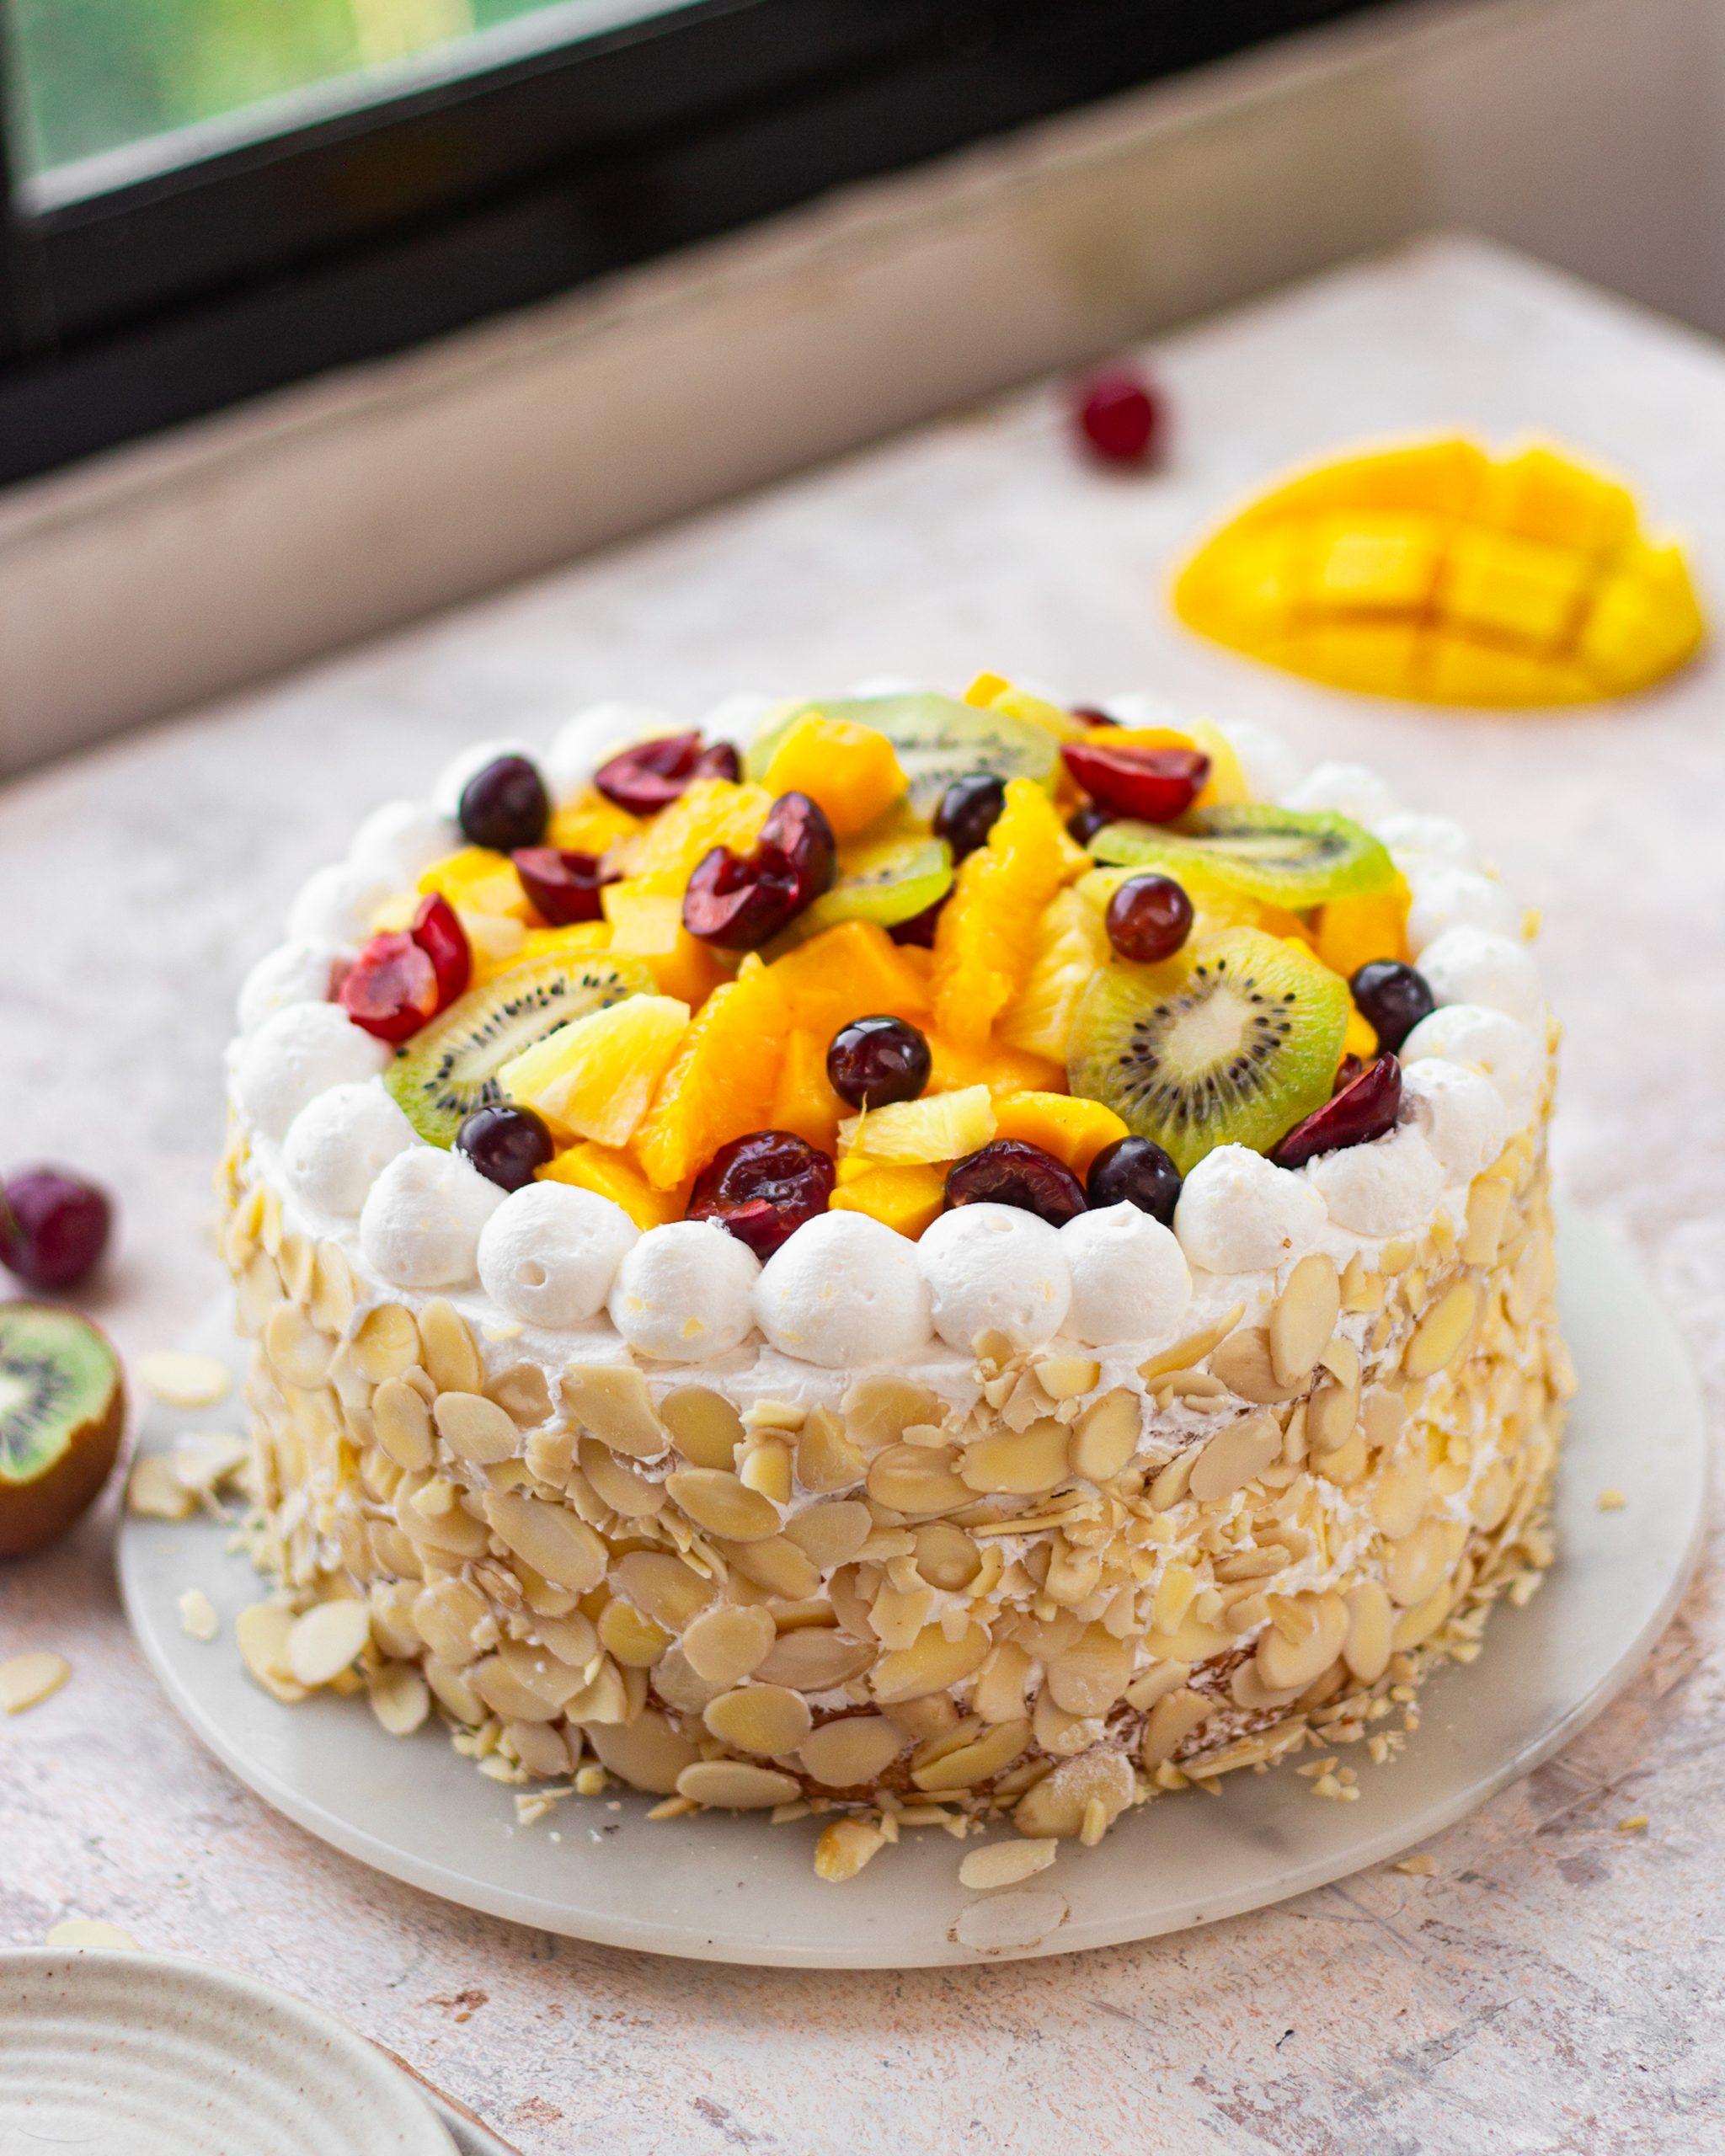
Tip 4: use sugar syrup
Now layering cakes is a time consuming process and needs refrigeration in between steps. It is important to brush each layer with sugar syrup so that your cake doesn’t dry out and stays moist even in the fridge.
It is very simple to prepare sugar syrup, what I usually do is just add water and granulated sugar in the ratio 1:1 and allow it cook on the stovetop until the sugar has melted fully and the syrup has become slightly thicker in consistency.
Tip 5: use a frosting that is stable
It is very important to use a frosting that is not sloppy and is stable. A stable frosting will hold everything together and will not move while you are frosting the cake. Now when it comes to question yourself upon what frosting to use I have a few favourites –
- Buttercream which is made with softened butter and icing sugar and can be flavoured into literally anything you can think of.
- Chocolate ganache which is simply made out of chopped chocolate and warm fresh cream, like this is a crowd pleaser.
- Cream cheese frosting which uses softened cream cheese, icing sugar and whipping cream. This type of frosting goes so well with berries, carrot cake or even red velvet.
If you feel that your frosting is too flimsy and floppy allow it to rest in the refrigerator for a couple of hours so that the fat in the frostings firms up and makes your job easier. Once chilled transfer your frosting into a piping bag attached with a round tip nozzle.
Some frosting tips and tricks for layering a cake
Now the best way to start frosting your cake is to make a well around the circumference of the cake layer by piping the frosting on the edges. This will help you achieve a neater and more refined look. You can either use this well to fill in some frosting or add fillings like fruit preserves and jams or a different frosting.
While filling the center, use an ice cream scoop or a measuring cup to ensure that you add in the same amount of frosting between each layer. Every time you add another cake layer on top while stacking make sure that you add the layer directly on top of it, it’s centered and is aligned with the layer below it. Now once all the layers are in place it’s time to crumb coat our cake.
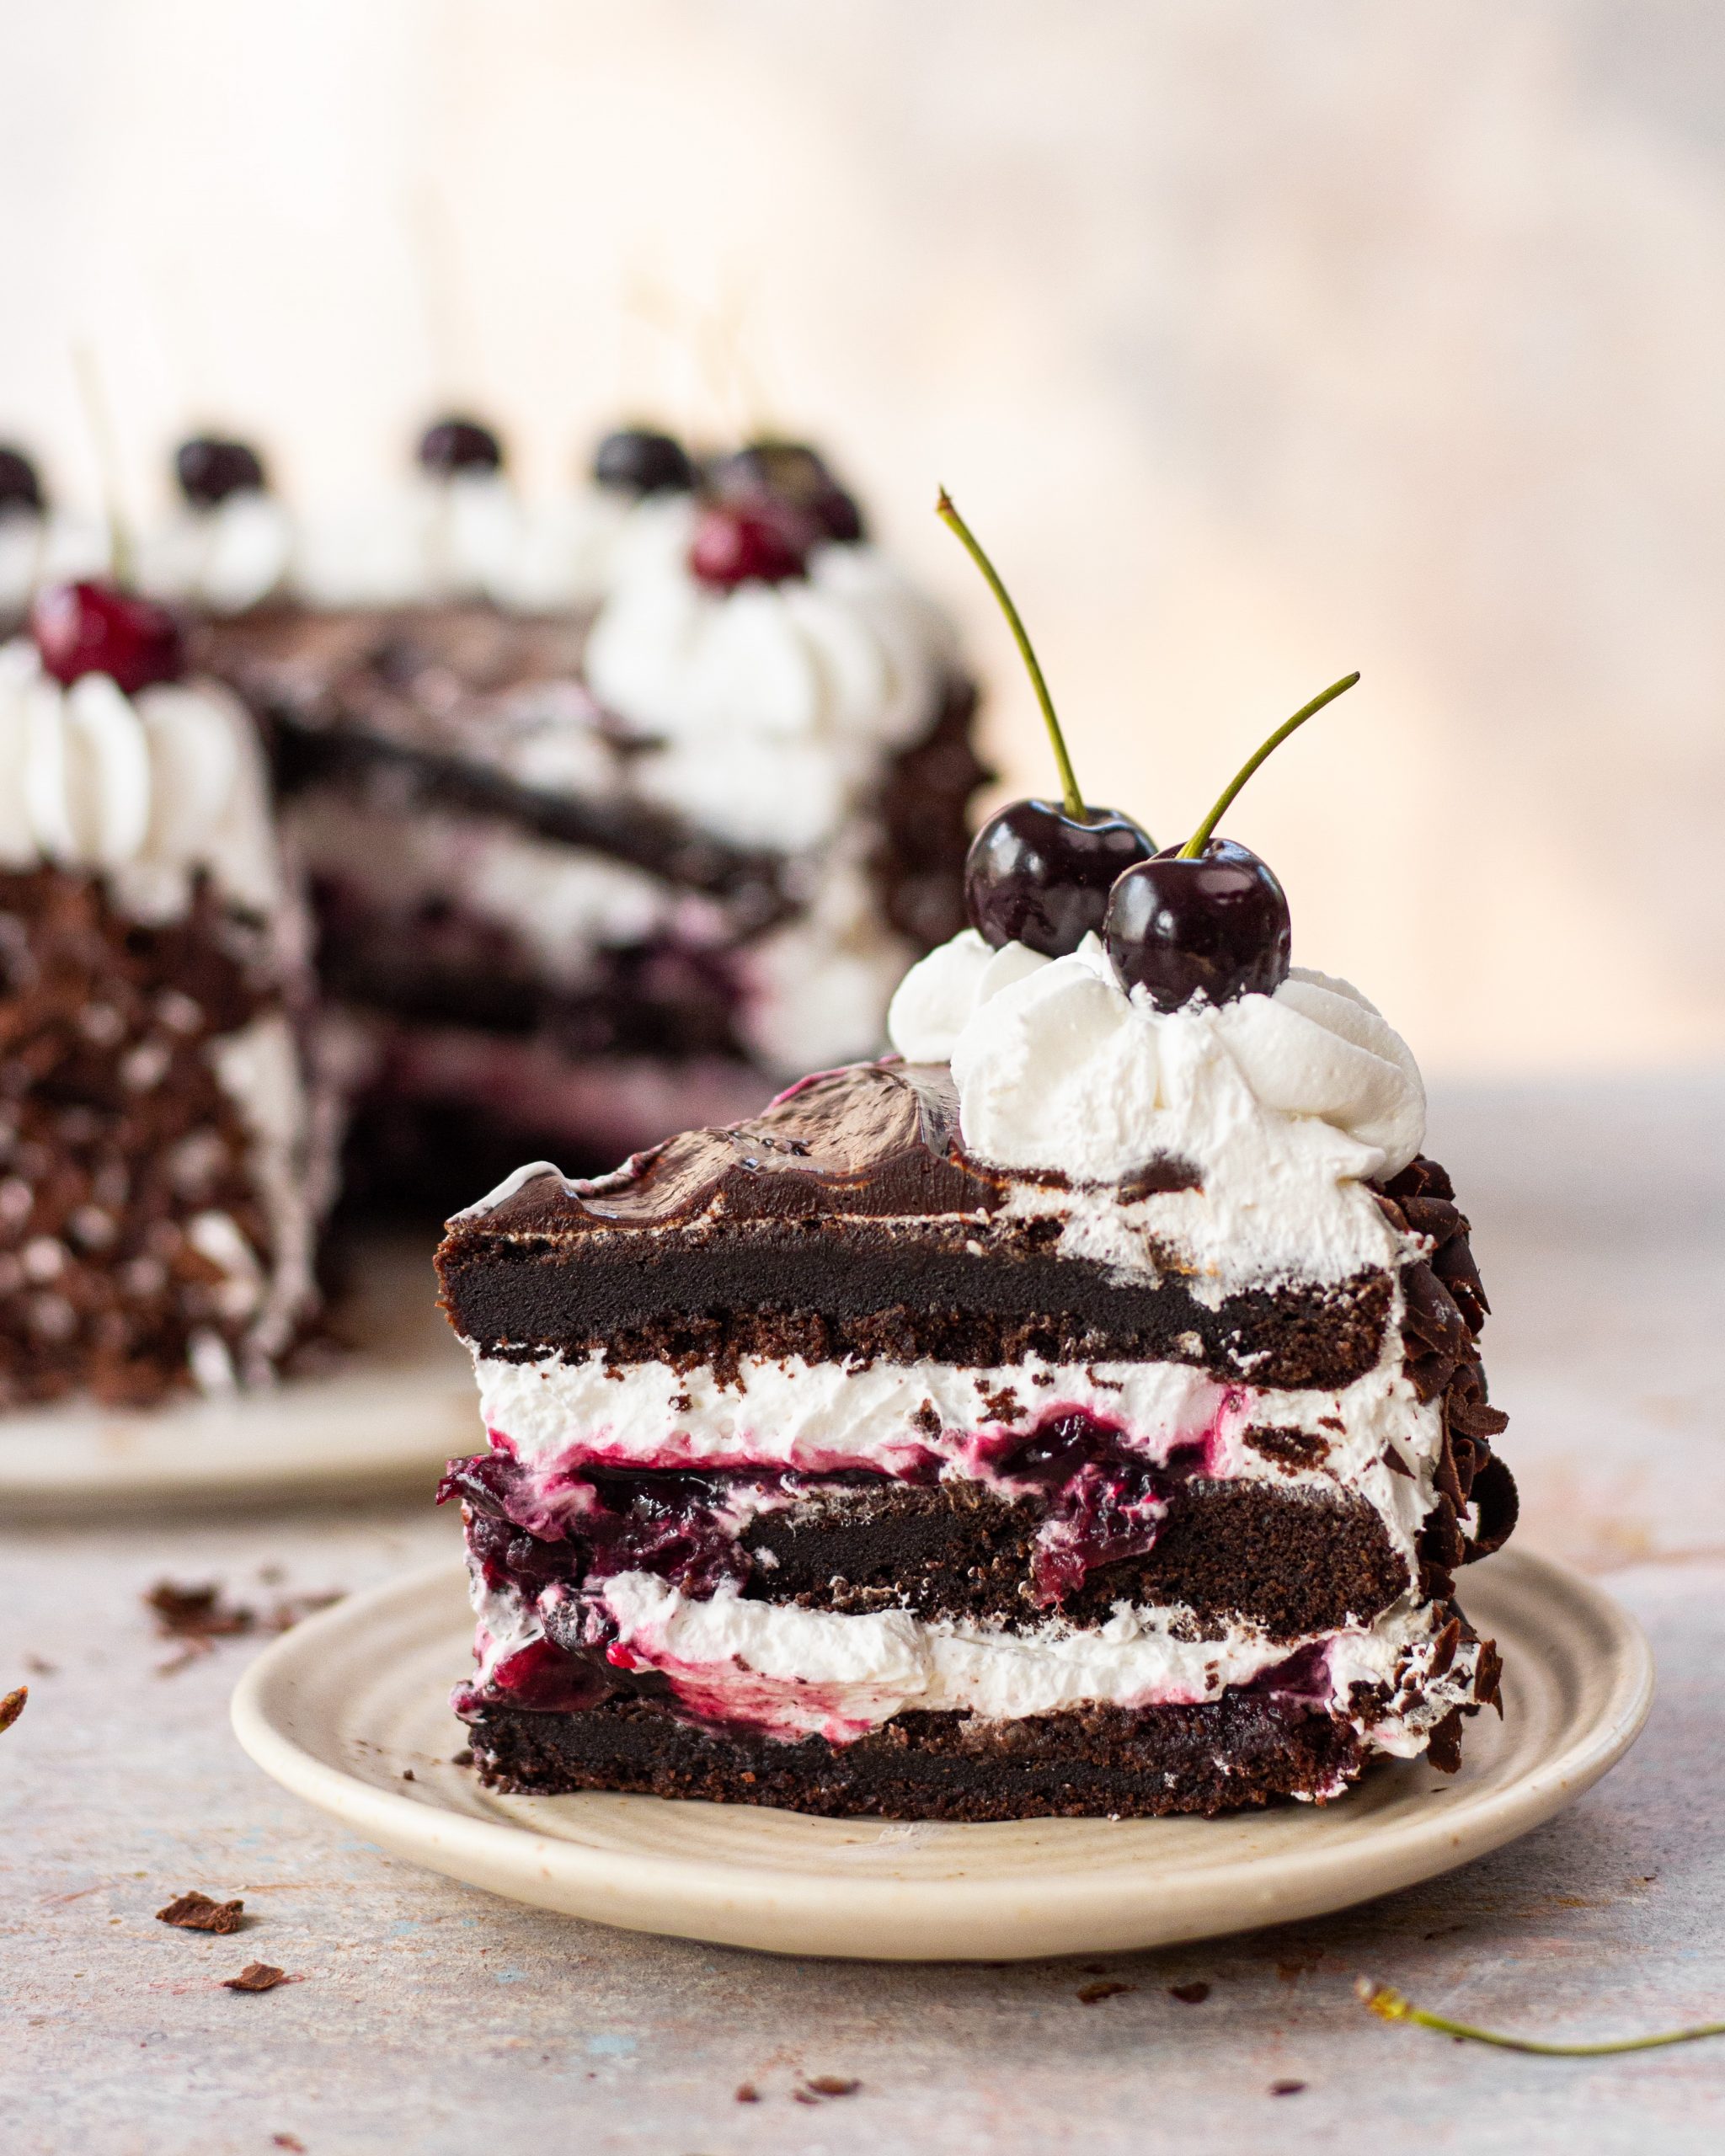
Crumb coat is essentially a term meaning to coat the loose hanging crumbs of your cake and allowing them to stay in place. To crumb coat, just spread a thin layer of the frosting all around the cake. This will help lock in all the loose crumb and achieve a neater look when applying the final layer of frosting. To crumb coat your cake you can use an offset spatula. This piece of equipment will help you smoothen out the frosting and spread it in an even layer. Once crumb coated make sure to set your cake in the refrigerator for at least 1 hour before adding the final layer.
For the final layer, a neater way is pipe the frosting from a piping bag onto the sides of the cake which will help ensure adding an equal amount of frosting across the entire height of the cake. To smoothen out the final frosting you can either use the offset spatula again or use a bench scraper. Hold the bench scraper perpendicular to the cake and slowly move the turntable. These two equipment will help you achieve a smooth, clean frosted cake.
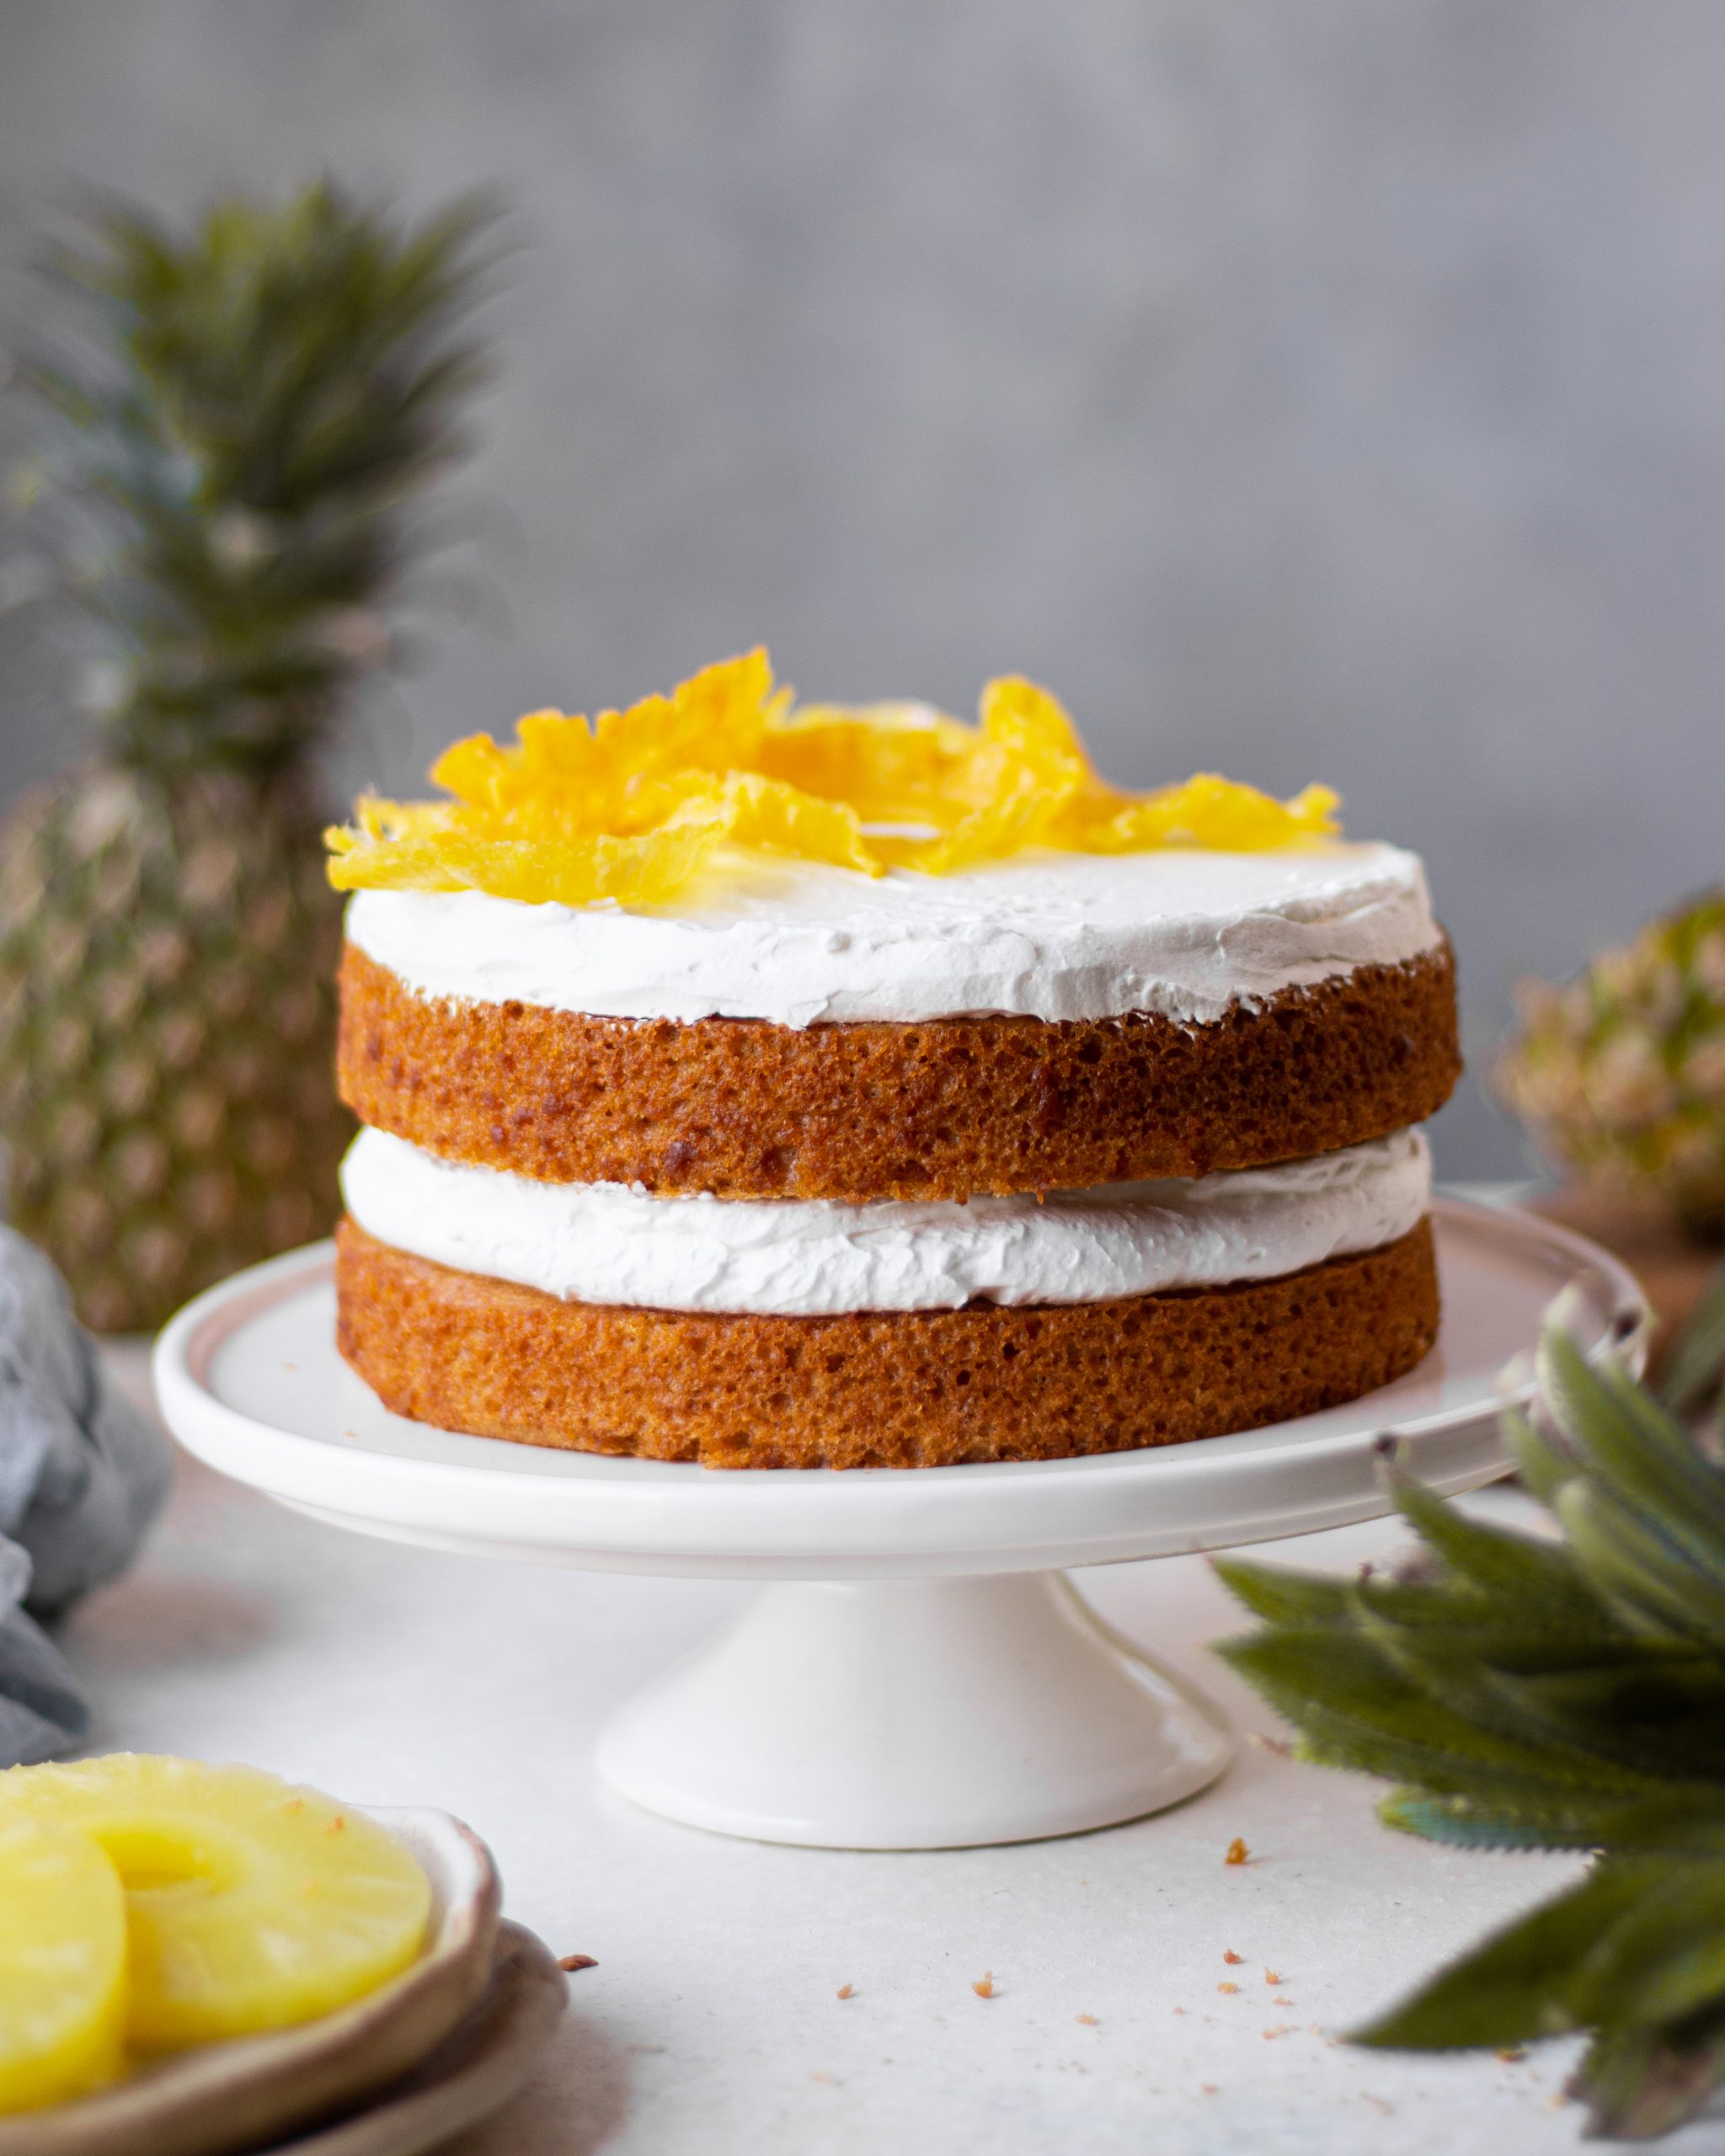
Choose your garnish after layering a cake
Now that you have your blank canvas ready, feel free to do whatever sort of finish you like. You can pipe some frostings using different piping tips, add drizzles of chocolate, stack chocolate bars/biscuits on top, the options are endless.
There you have it the A-Z of layering cakes and frosting. I hope that you are able to try them all and get over your fear of layering cakes and be set to build the cake of your dreams

 Hello. I'm Shivesh Bhatia, a food blogger and food stylist from Delhi, India. Welcome to Bake With Shivesh, where I'll help you create magic in your kitchens with my simple recipes.
Leave a Reply