Want to take your desserts to the next level? A stunning finish can make all the difference, transforming an ordinary treat into a bakery-worthy masterpiece. One of the most eye-catching ways to achieve this is with a beautifully swirled marble chocolate glaze. With its glossy shine and mesmerizing patterns, this glaze adds an elegant, artistic touch to cakes, pastries and even cookies, making them look as good as they taste. The contrast between dark and white chocolate creates a sophisticated design that feels both effortless and luxurious. Whether you’re preparing a dessert for a special occasion or simply want to impress, mastering this glaze will instantly elevate your baking game.

WHAT YOU’LL LOVE ABOUT THIS
- Stunning visual appeal
- Easy to make
- Rich & velvety texture
- Customisable flavours
- Perfect for any occasion
HOW TO MAKE MARBLE CHOCOLATE GLAZE
Creating a stunning marble chocolate glaze starts with making two smooth, pourable ganaches—one with dark chocolate and one with white chocolate. Once both ganaches are prepared, they are layered together to achieve the perfect marbled effect. Let’s go step by step.
STEP 1- HOW TO MAKE GANACHE
- Heat the fresh cream in a saucepan over medium heat until it just begins to simmer. Do not let it boil.
- Pour the hot cream over the chopped chocolate in a heatproof bowl. Let it sit undisturbed for 1-2 minutes to allow the chocolate to soften.
- Stir gently with a spatula or whisk in circular motions until the chocolate melts completely and the ganache is smooth and glossy.
- Follow same process of both the chocolates to make the ganache.
STEP 2– Creating the Marble Effect
- Take a deep jar or bowl and begin by pouring a layer of white chocolate ganache at the bottom.
- Next, pour a smaller amount of dark chocolate ganache over the white. Since dark chocolate has a stronger color and flavor, using less of it ensures a balanced marbled effect without overpowering the white chocolate.
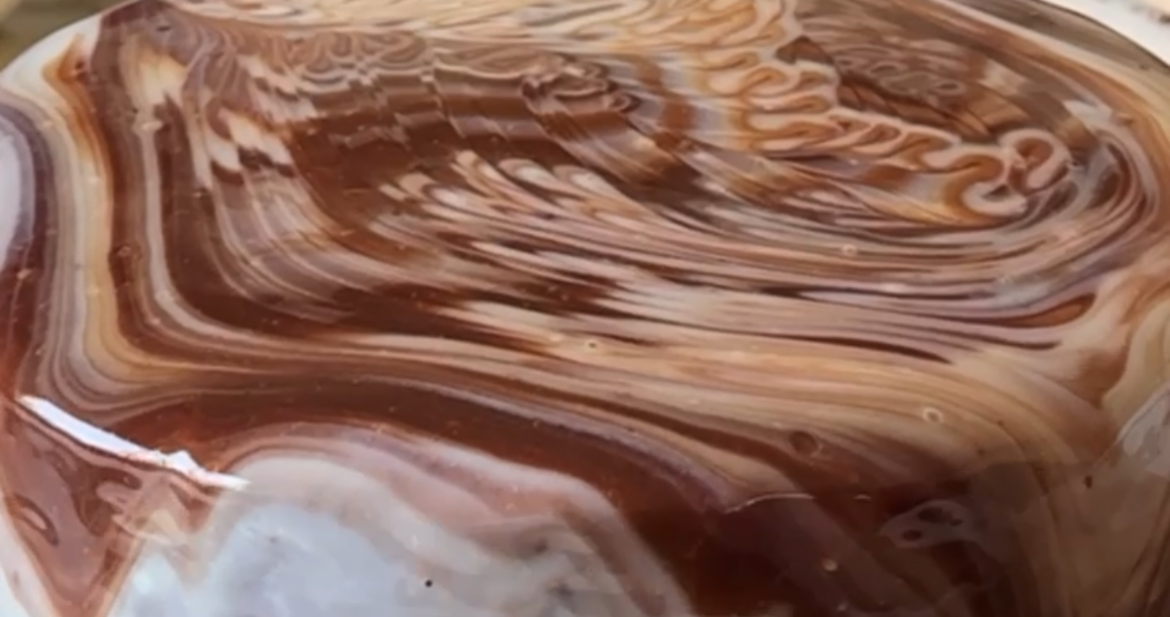
- Repeat this layering process—white chocolate, then dark chocolate, then white chocolate again—until all the ganache is used up. This alternating pattern will create natural, beautiful swirls when poured.
STEP 3– Glaze Your Dessert
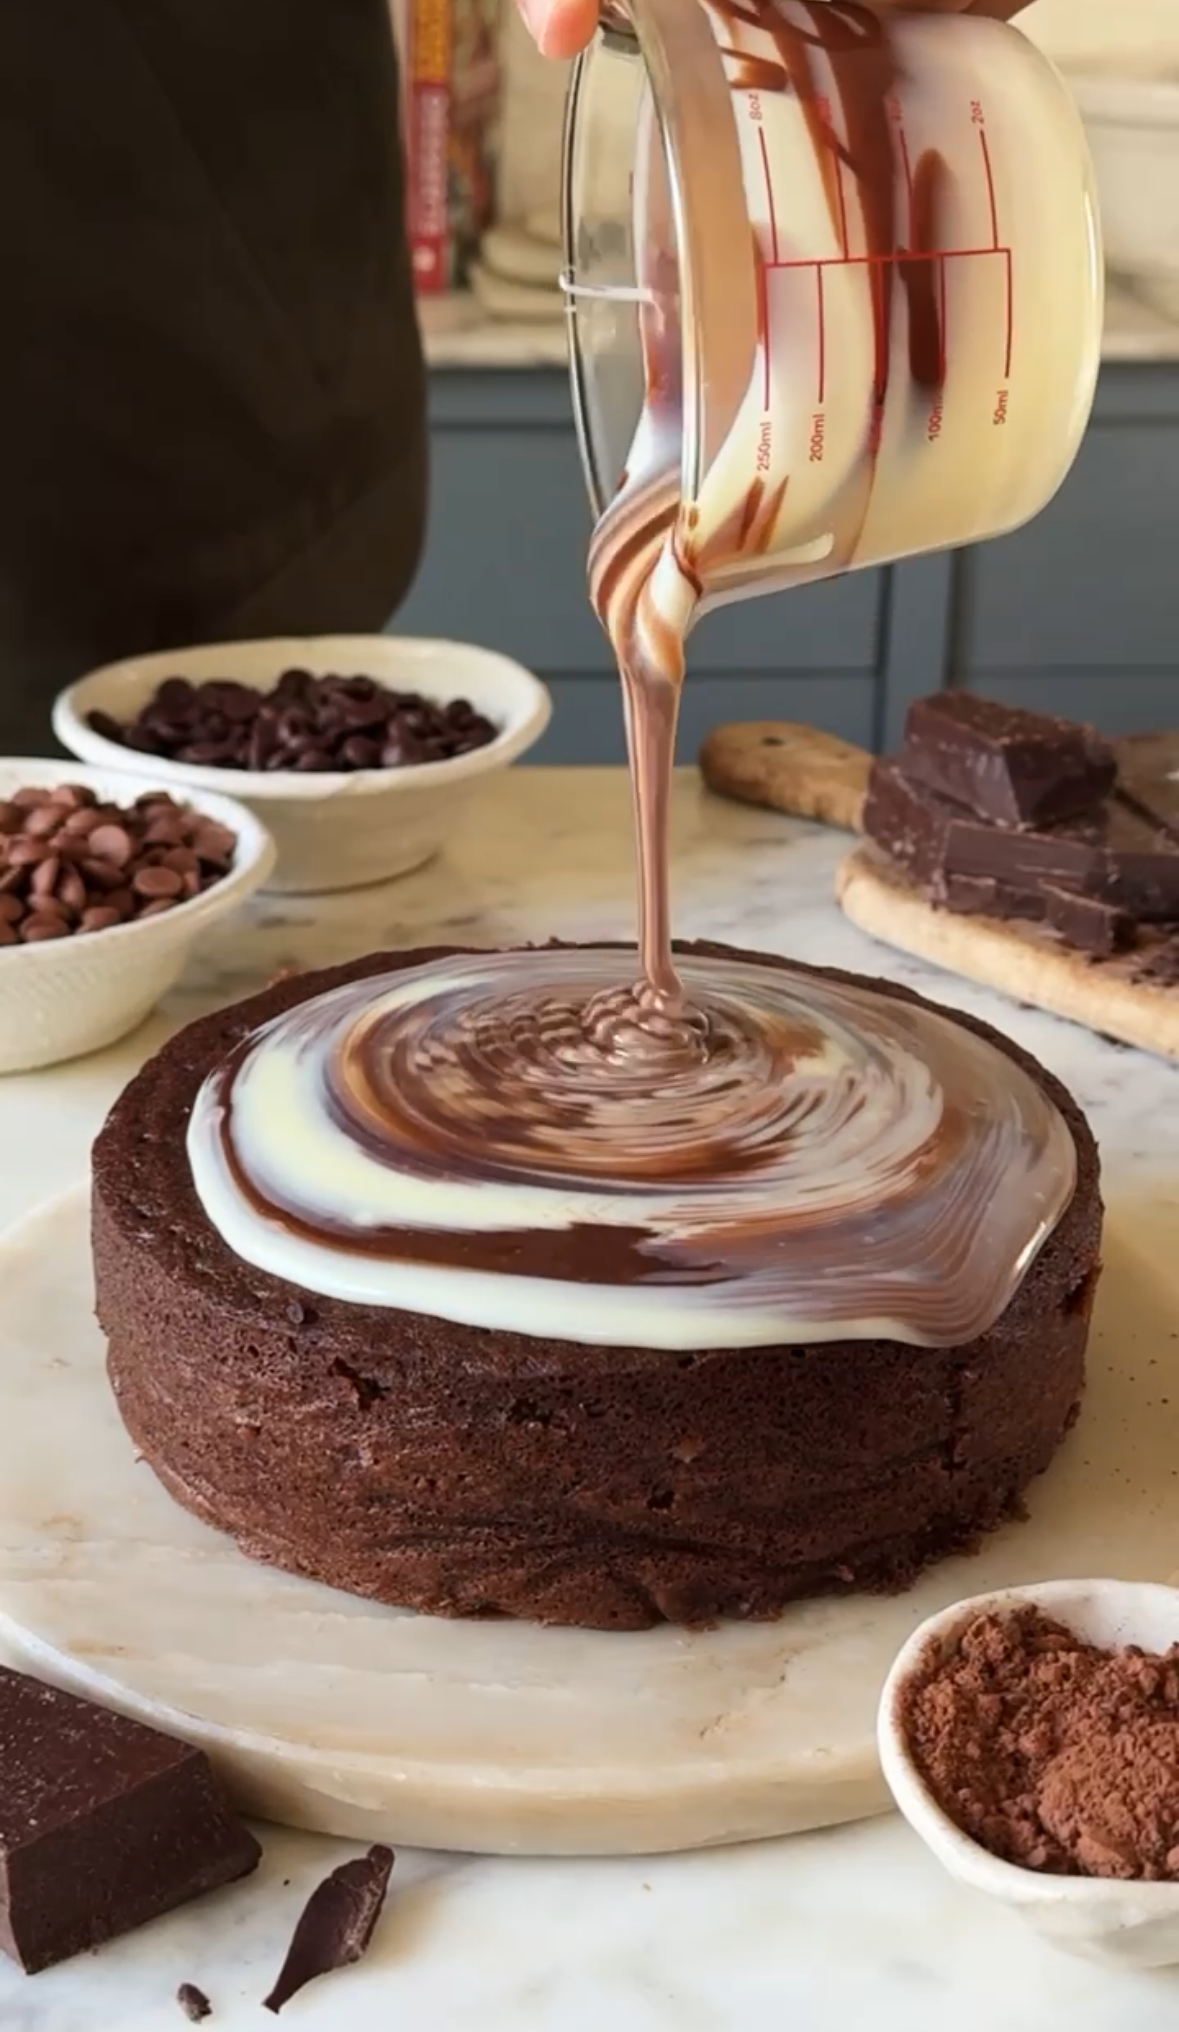
- If glazing a cake, place it on a wire rack over a tray to catch excess glaze. Hold the jar or bowl slightly above the center of the cake and pour the ganache in one steady motion, letting it naturally flow over the edges.
- If dipping pastries or donuts, carefully dip them into the marbled ganache, then twist slightly as you lift them to enhance the swirl effect.
- Allow the glaze to set at room temperature for a glossy finish or refrigerate briefly for a firmer texture.
TIPS TO MAKE MARBLE CHOCOLATE GLAZE
- Use more white chocolate than dark chocolate – Dark chocolate has a strong colour and can overpower the white chocolate. Always pour more white chocolate ganache and use dark chocolate in smaller amounts to maintain a balanced marble effect.
- Layer the ganaches alternately – Pour the white chocolate ganache first, then a little dark chocolate and repeat until all the ganache is used. This layering helps create natural swirls when you pour or dip.
- Keep the ganache at the right consistency – The ganache should be warm and pourable but not too runny. If it thickens, gently reheat in short bursts in the microwave or place the bowl over warm water to loosen it.
- When pouring the glaze over a cake, hold the bowl a little higher to let the ganache naturally flow and create organic swirls.
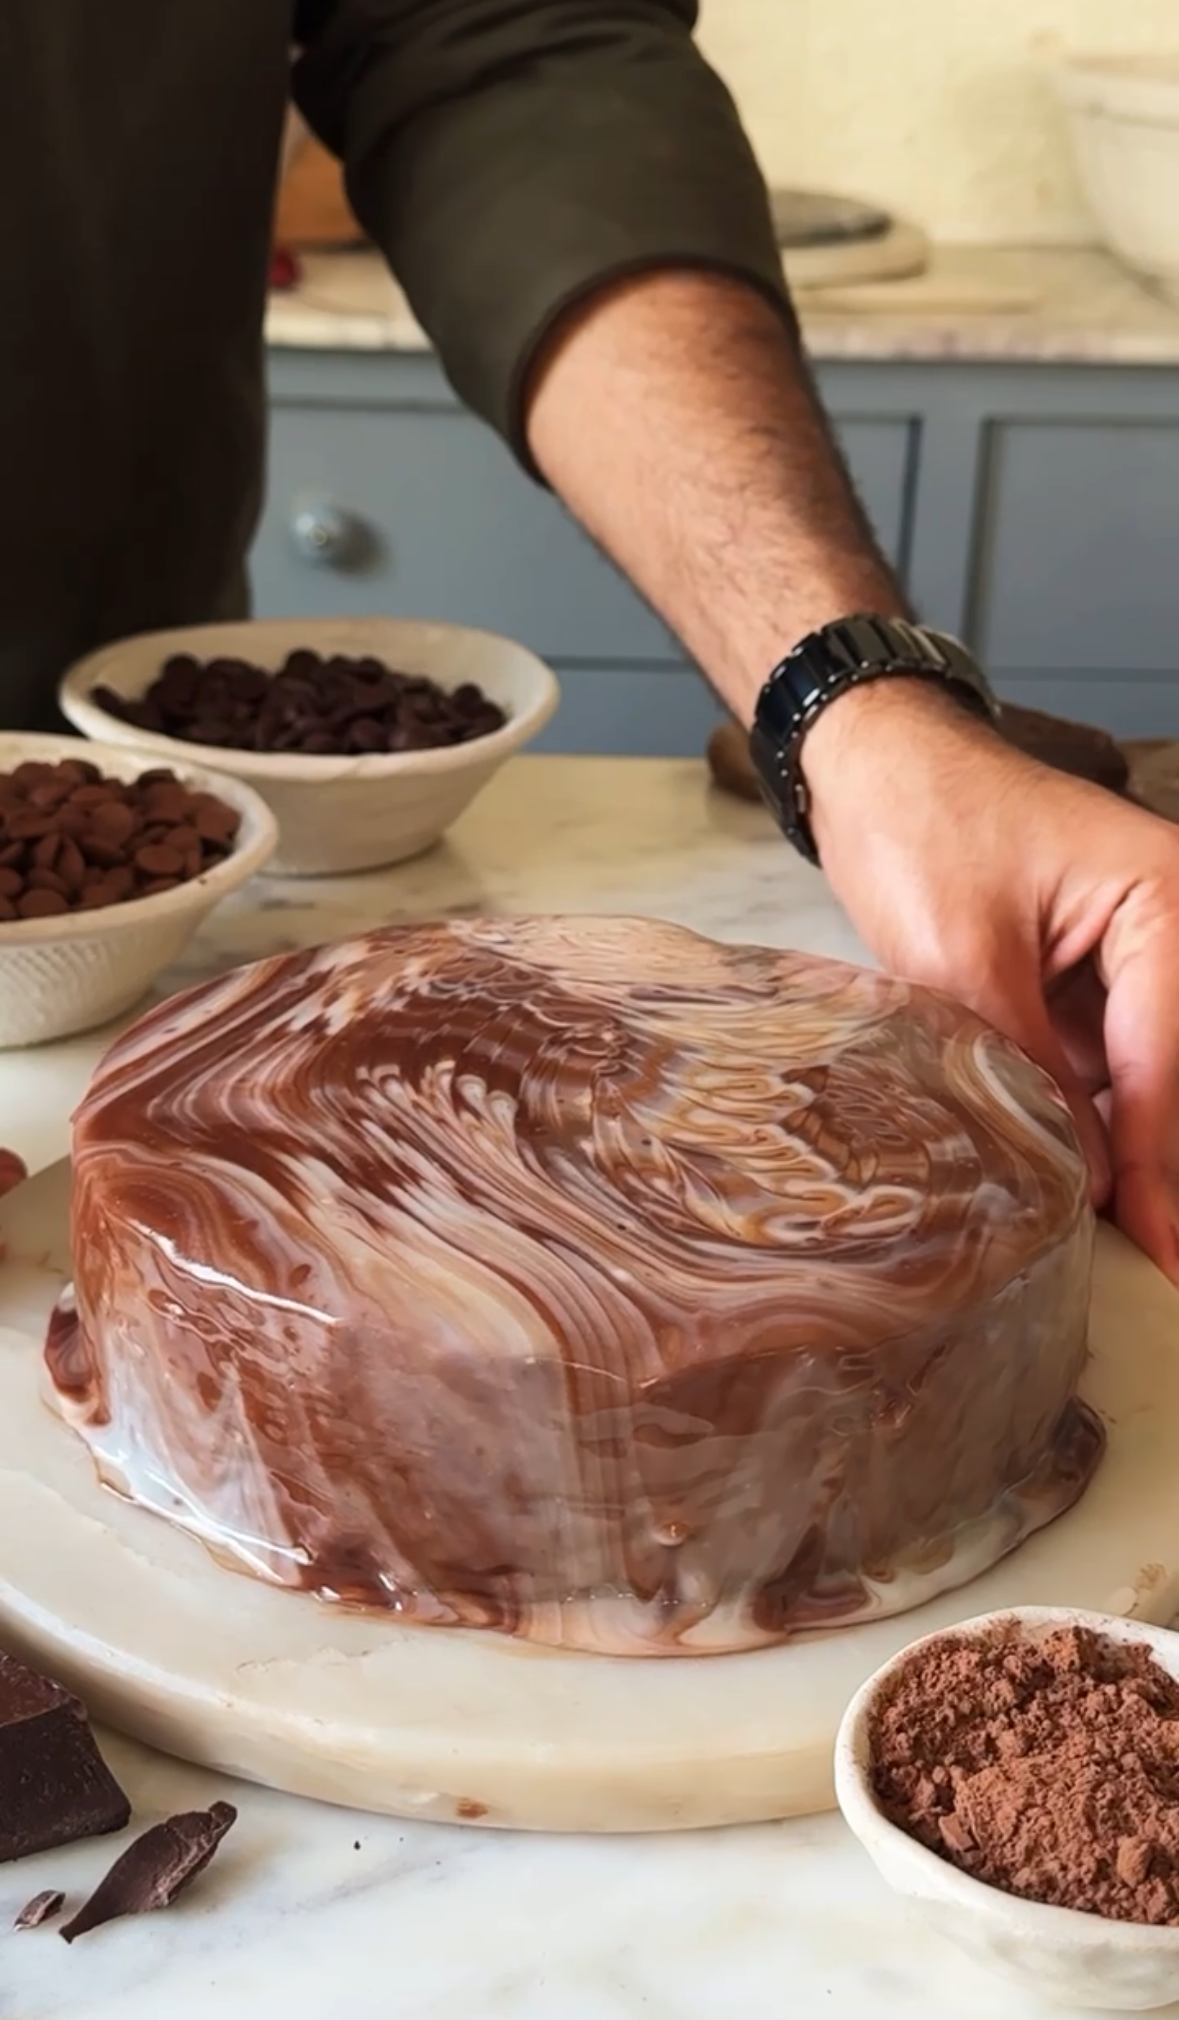
A marble chocolate glaze is the perfect way to take your desserts to the next level, adding both elegance and irresistible flavor. By carefully layering white and dark chocolate ganache and maintaining the perfect consistency, you can achieve a stunning, bakery-style finish with ease. Whether you’re glazing a cake, dipping pastries, or decorating donuts, this technique ensures a beautifully marbled effect every time.
If you like my Marble Chocolate Glaze recipe and happen to make them in your kitchen, do tag me on Instagram and share pictures with me using #Bakewithshivesh. Happy Baking!

Leave a Reply