Today we are going to talk all about piping tips and different piping techniques. Piping using different frostings and nozzles really has an impact on the look of your dessert. I know it can be a little confusing about which piping tips to buy and where to buy them from. Let me take you through the piping nozzles and techniques that I love to use for my cakes and cupcakes, and all yum desserts.
Before we dive into the piping nozzles, let’s actually talk about piping bags and how to fill them.
How to fill a piping bag
Before you fill a piping bag with frosting, you need to insert the piping tip into it. To do that, just take the piping bag and according to the size of the tip, snip off the thinner end of the piping bag. Add your piping tip and then fill the bag with the frosting.
To fill the bag with frosting, you could either make a C with your palm and hold the piping bag’s top opening, and fold the edges over the C shape you just made. Or you can take a drinking glass, place the bag inside it, and fold the edges along with the rims of the glass so that you have enough space to put the frosting in. Simply use a spatula to stuff the filling. Push the filling down completely, removing any air bubbles. Then twist the top end and lock it with your thumb and first finger.
You should fill your piping bag only till 2/3rds of the way. If you overfill it, there will be no scope left for piping out the frosting. While pressing on the bag, it will create so much pressure that the bag will tear, all the frosting will come out and it will create a huge mess.
The bag should be adequately full so that you can comfortable maneuver it and pipe out the frosting. However, if you are mid piping and your bag does tear open, one quick fix is to take another piping bag, snip off the thinner end of that bag and simply put the torn bag with the piping tip into the new piping bag and continue piping.
How to hold a piping bag
Before you start piping, make sure that your hands are steady. Hold the piping bag with your dominant hand and use your other hand to support the dominant hand. This helps a lot if you are a beginner at piping. while your thumb and first finger is locked on top, you will use the other three fingers wrapped around the middle of the piping bag to push out the frosting from the bag. depending on the design you want, and the tip you are using, you can either hold the bag vertically or at an angle. we’ll talk more about this for each piping tip.
Open star piping nozzle
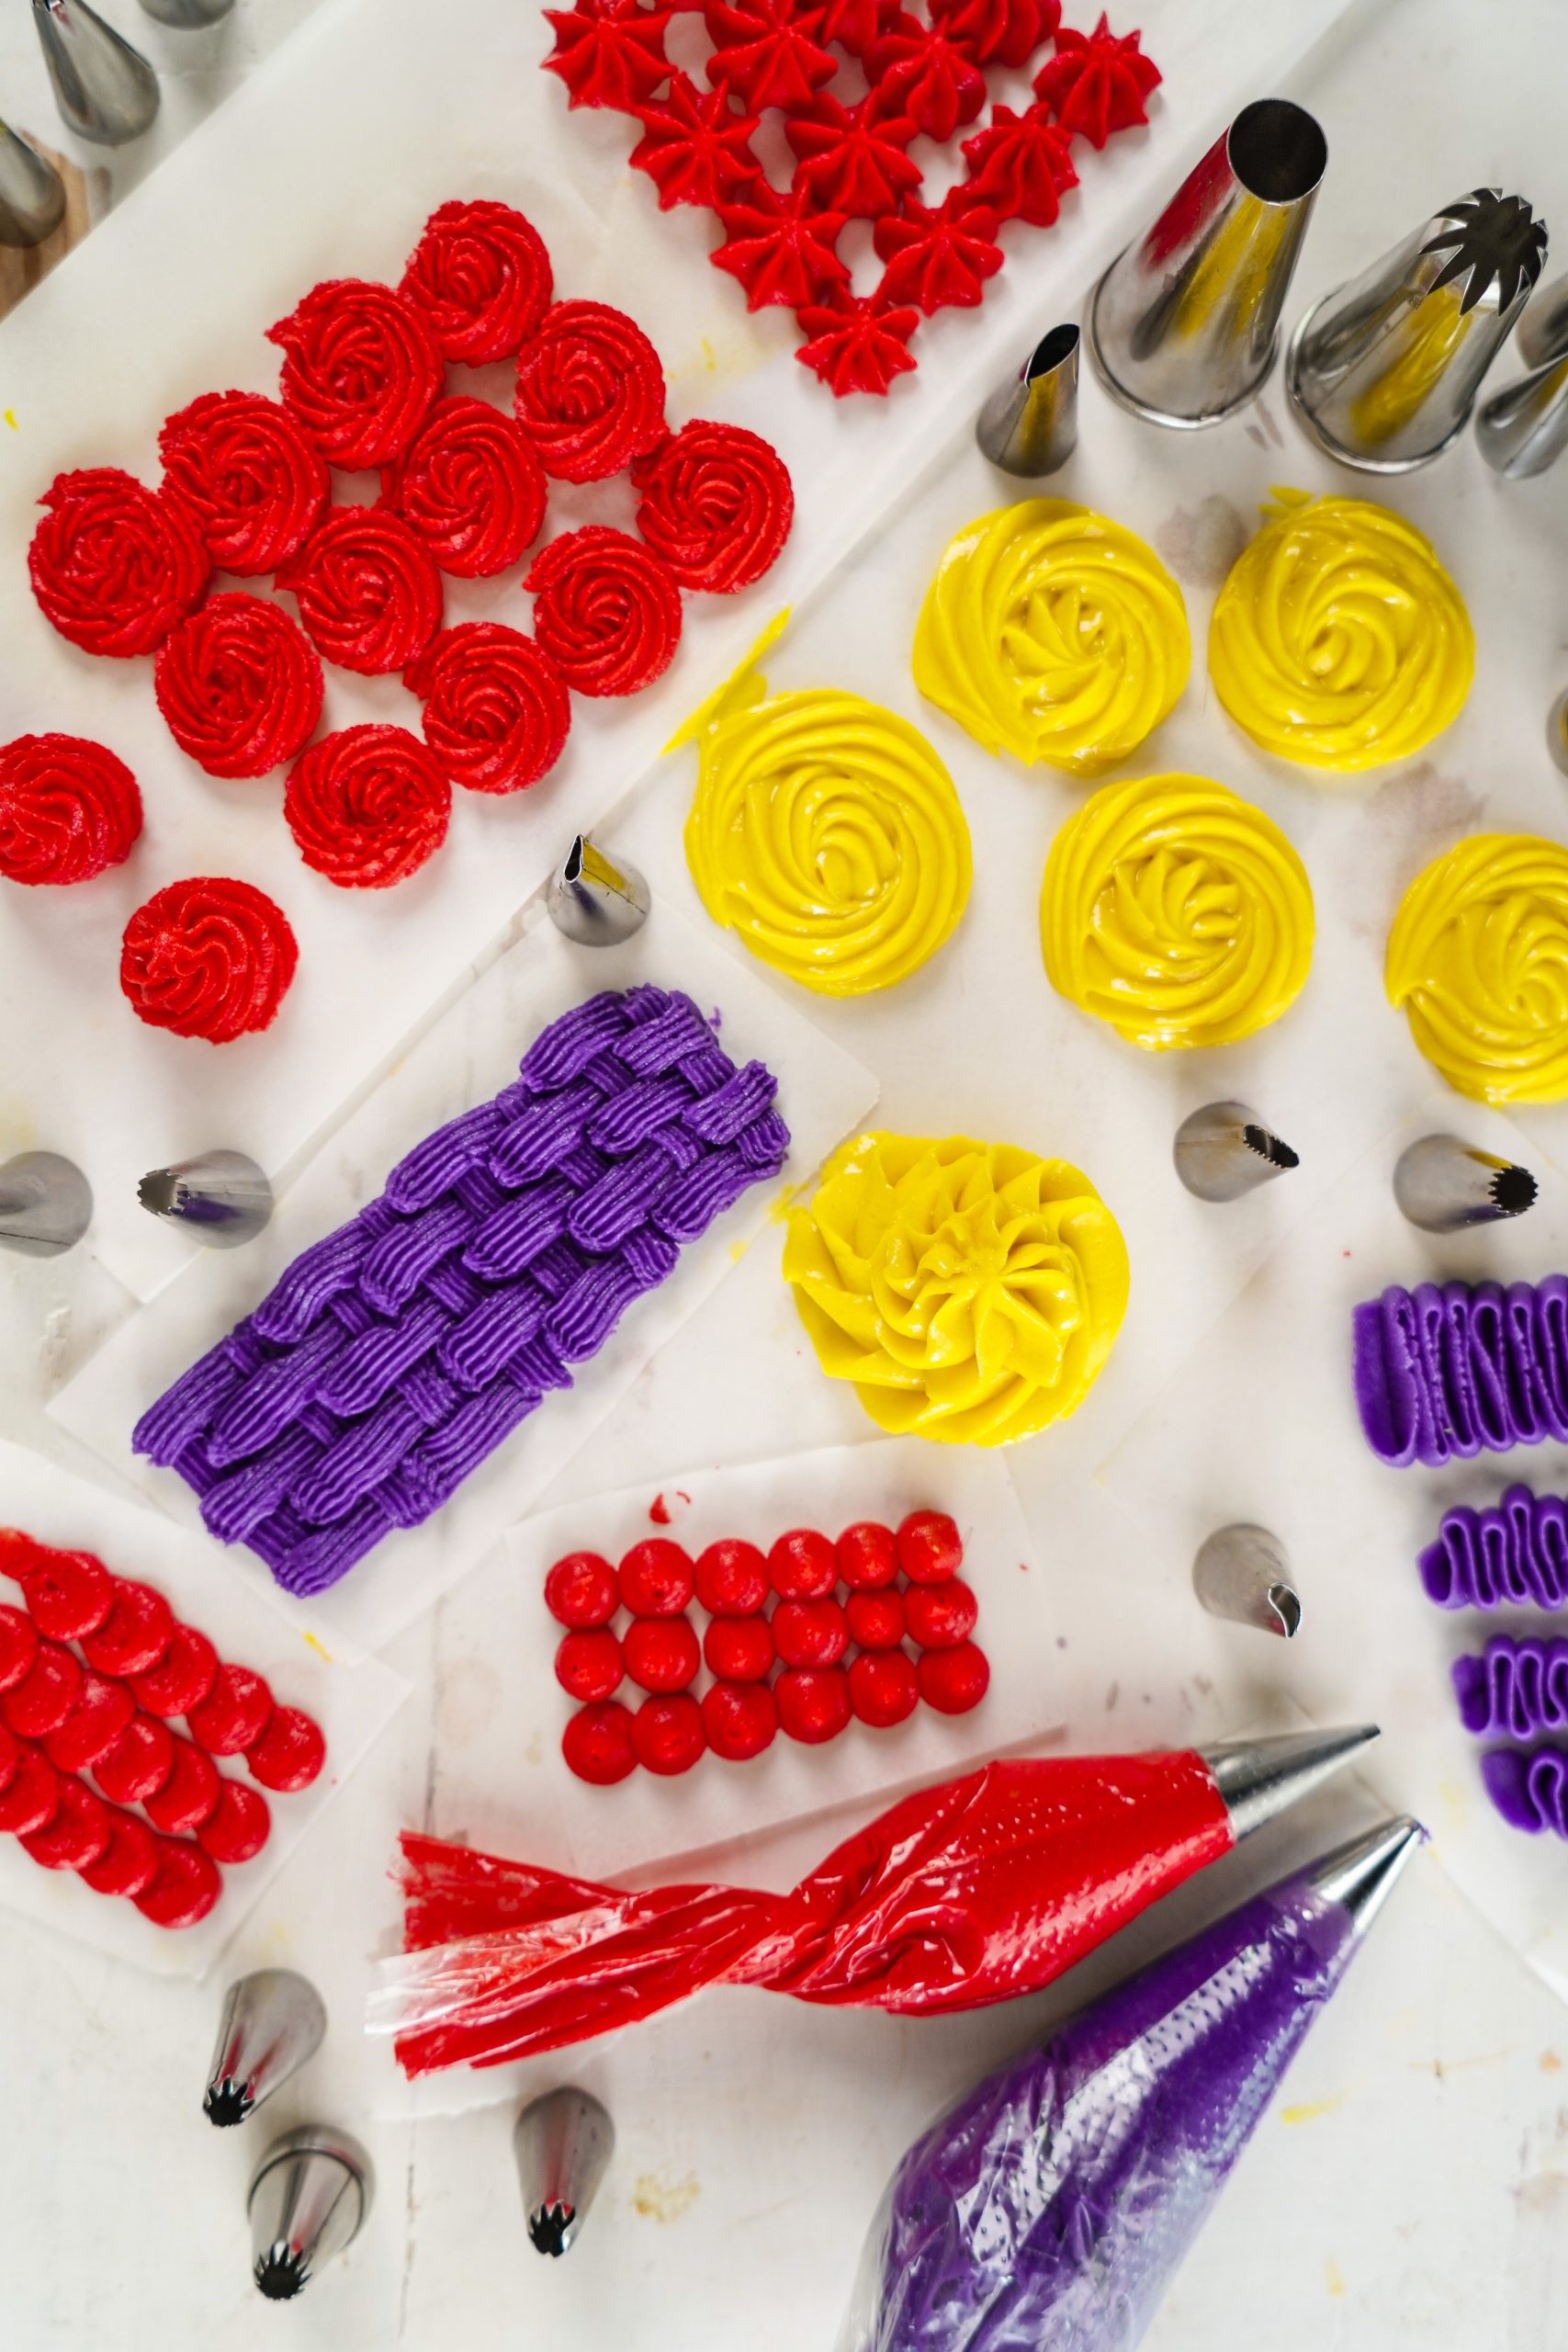
The open star nozzle has around 5 points. None of these points curve on the inside or towards the center. Instead, they are straight and leave an opening in the middle. You can use the open star tip for swirls and star like dollops. They look super pretty.
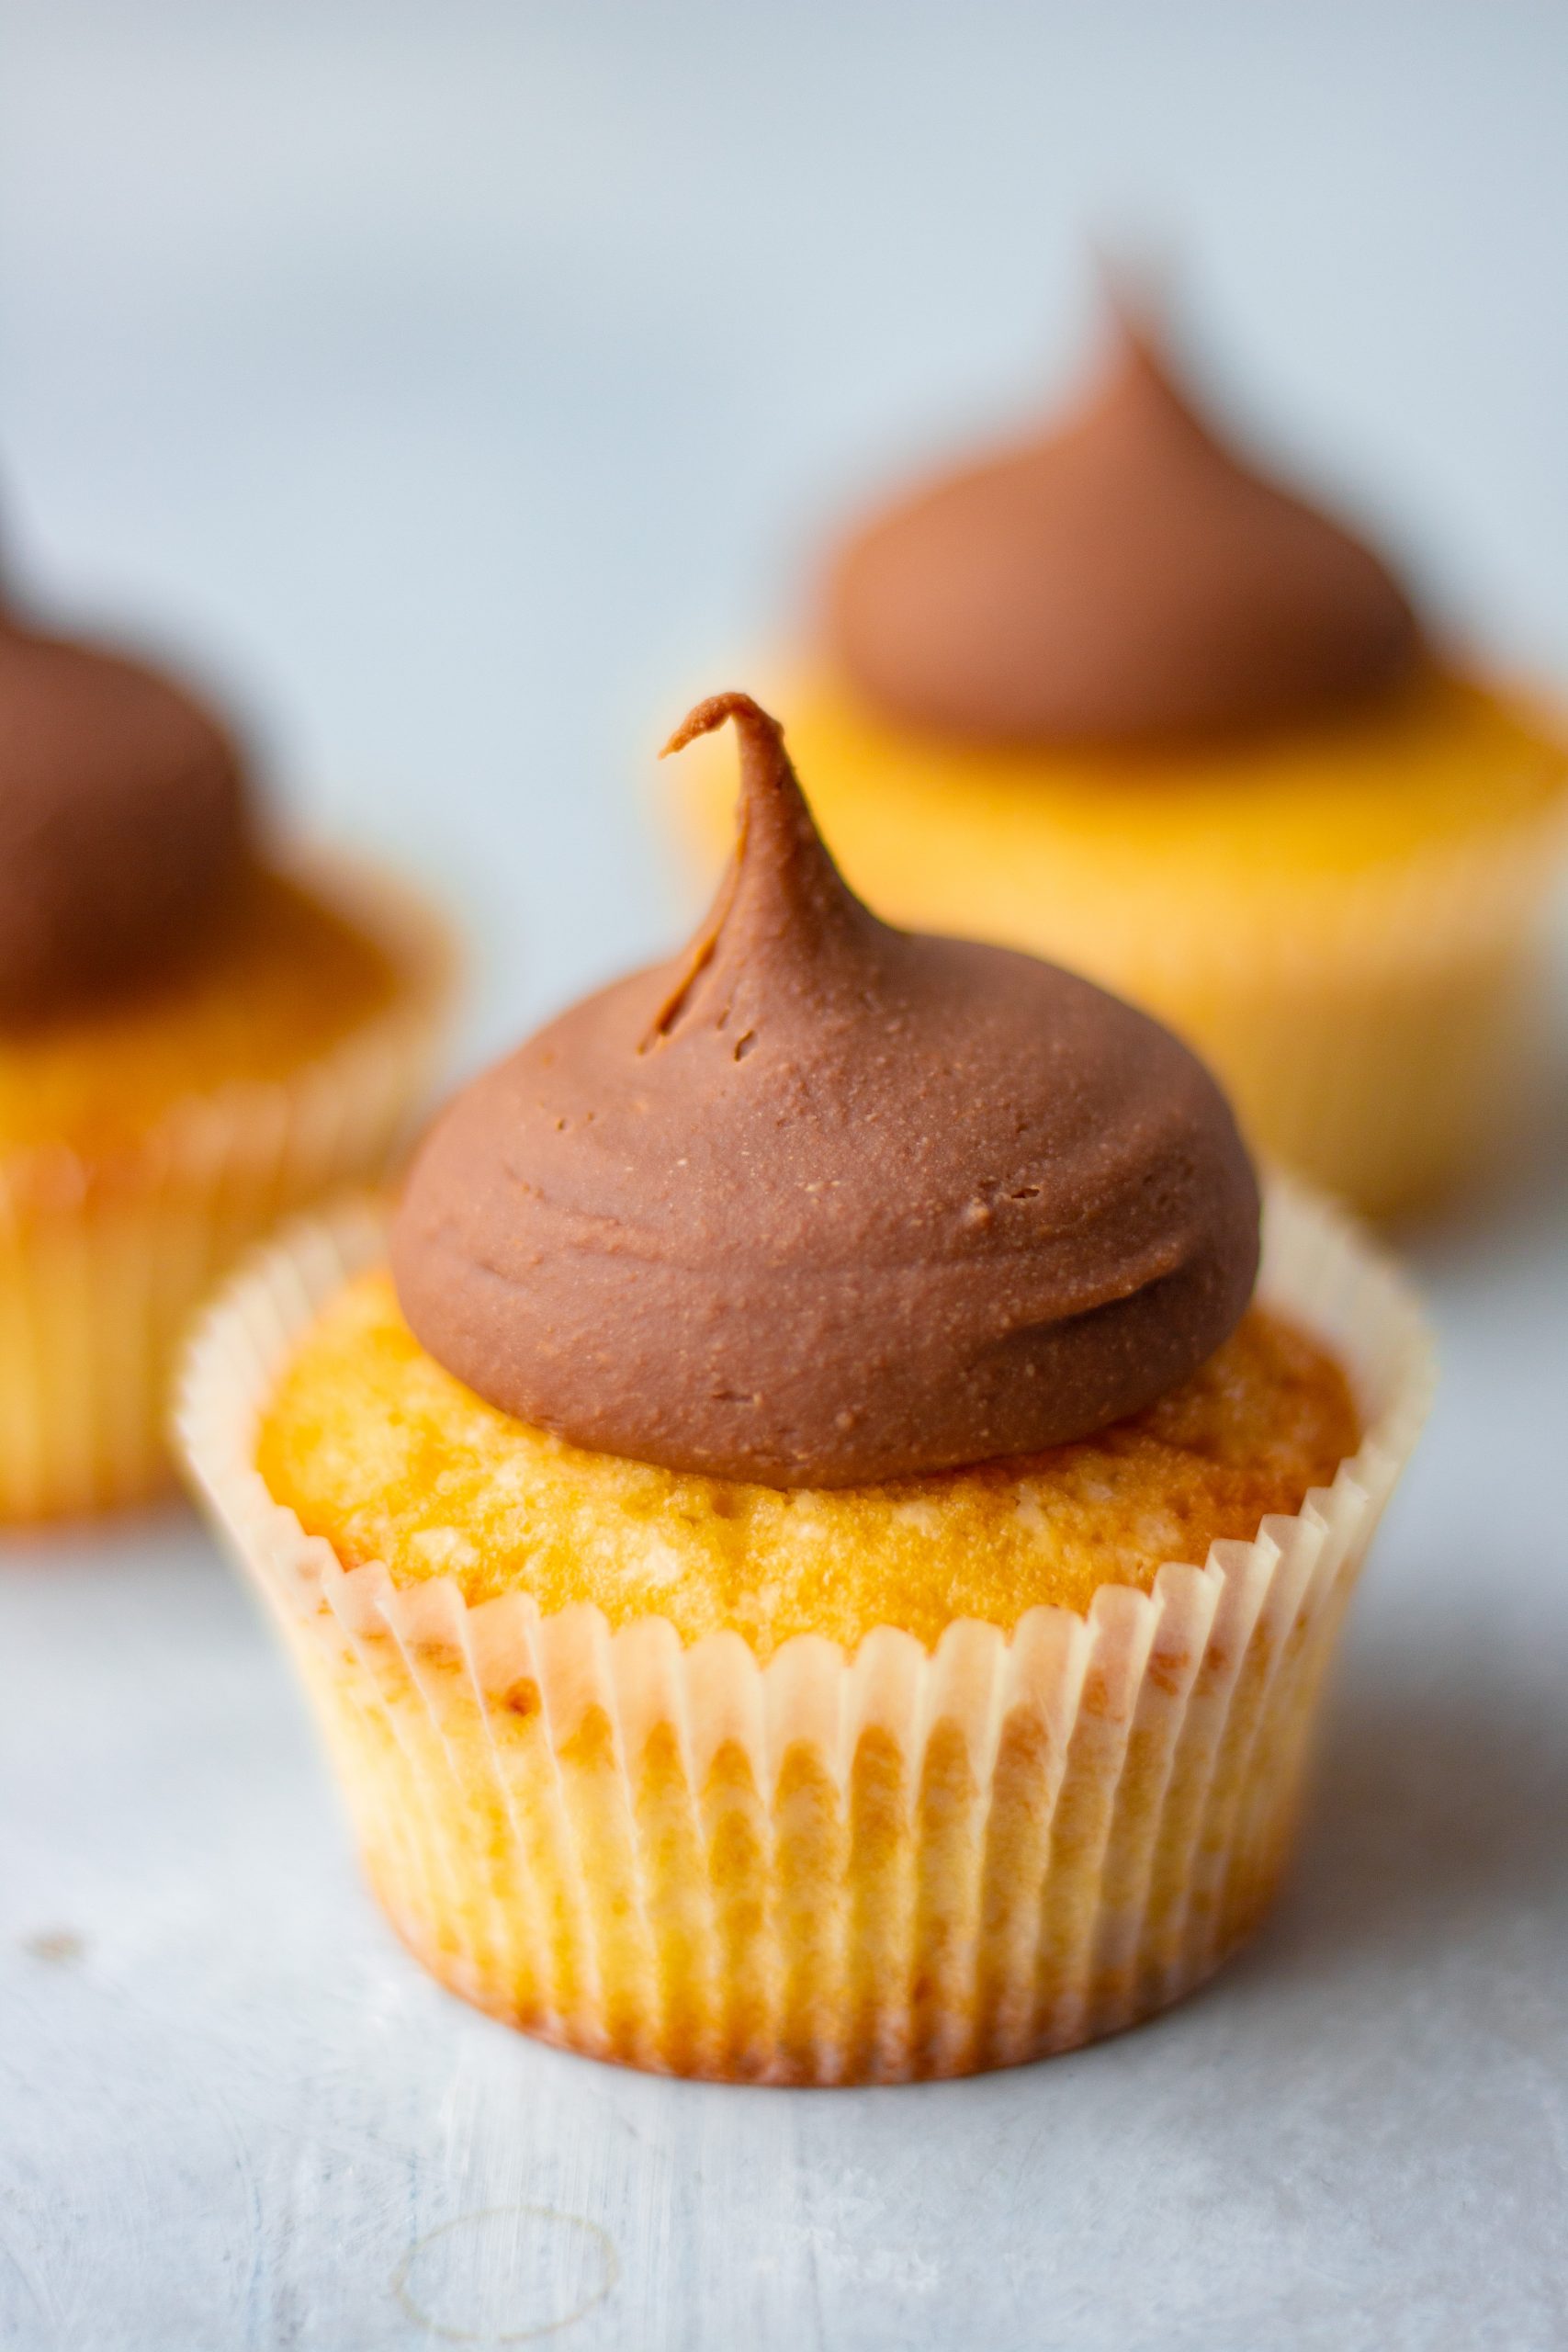
To make a simple swirl, I like hold my piping bag vertical to the dessert. Start by piping the middle and then move your hand in a circular motion to complete the swirl. This design in great for covering large parts of a dessert.
Closed star piping nozzle
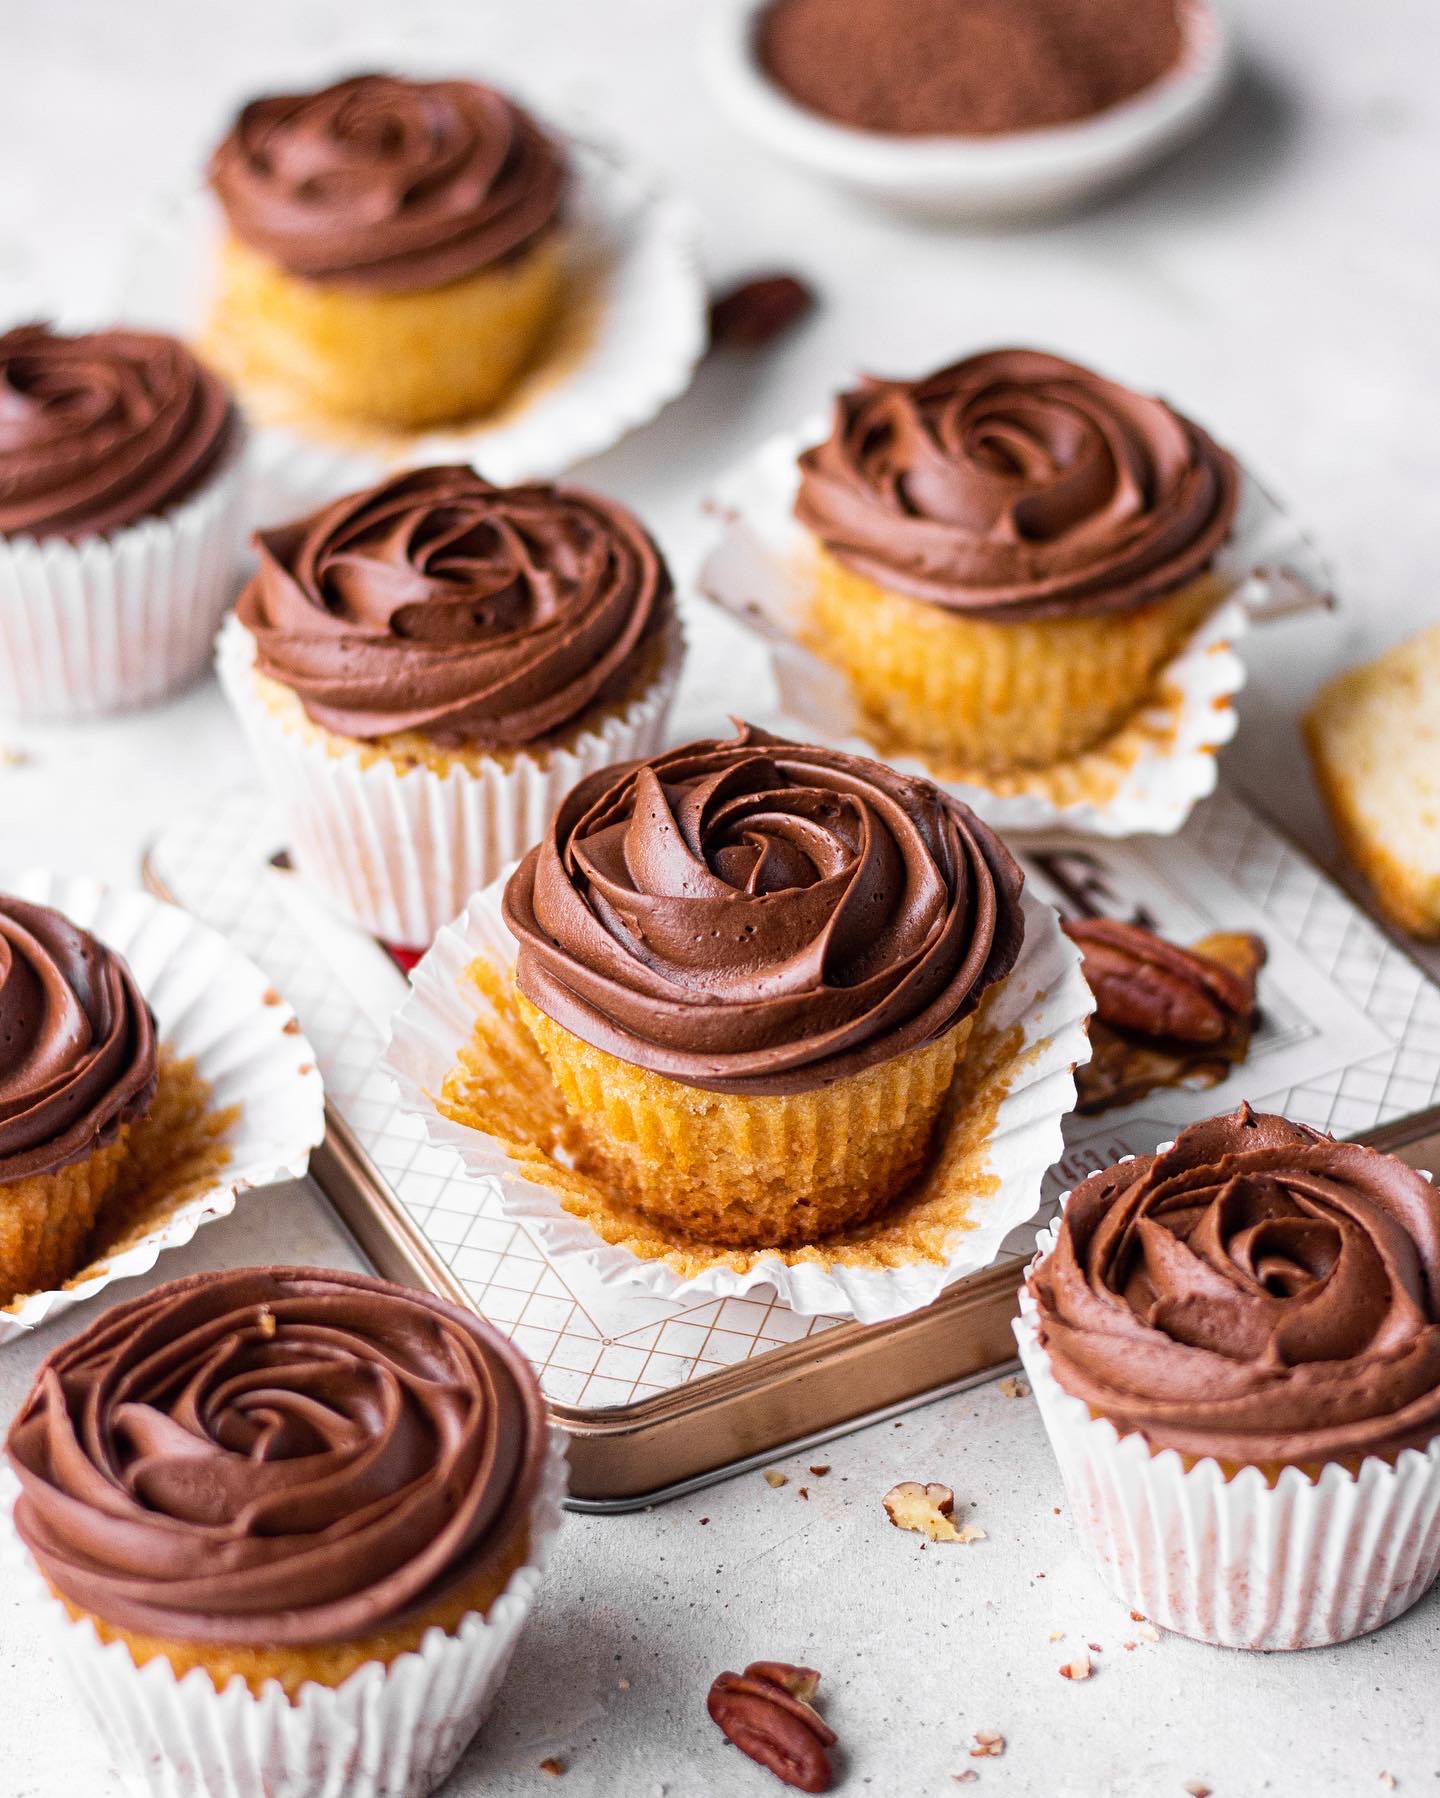
A tip that some people might confuse with an open star tip is the closed star nozzle. You’ll see that the points of a closed star tip are curving inwards, pointing towards the center. This tip is perfect for making rosettes on cupcakes. I am sure you have seen cakes and cupcakes with rosettes all over them. They’re always a show stopper and the open star tip is what is commonly used to make them. To make a rosette, you need to keep your piping bag vertical to the dessert and start from the inside, going outwards in a circular motion. You can leave a slight tail at the end instead of completing the full circle. In addition to rosettes, you can use the closed star tip for swirls on cupcakes too!
Ruffle piping nozzle
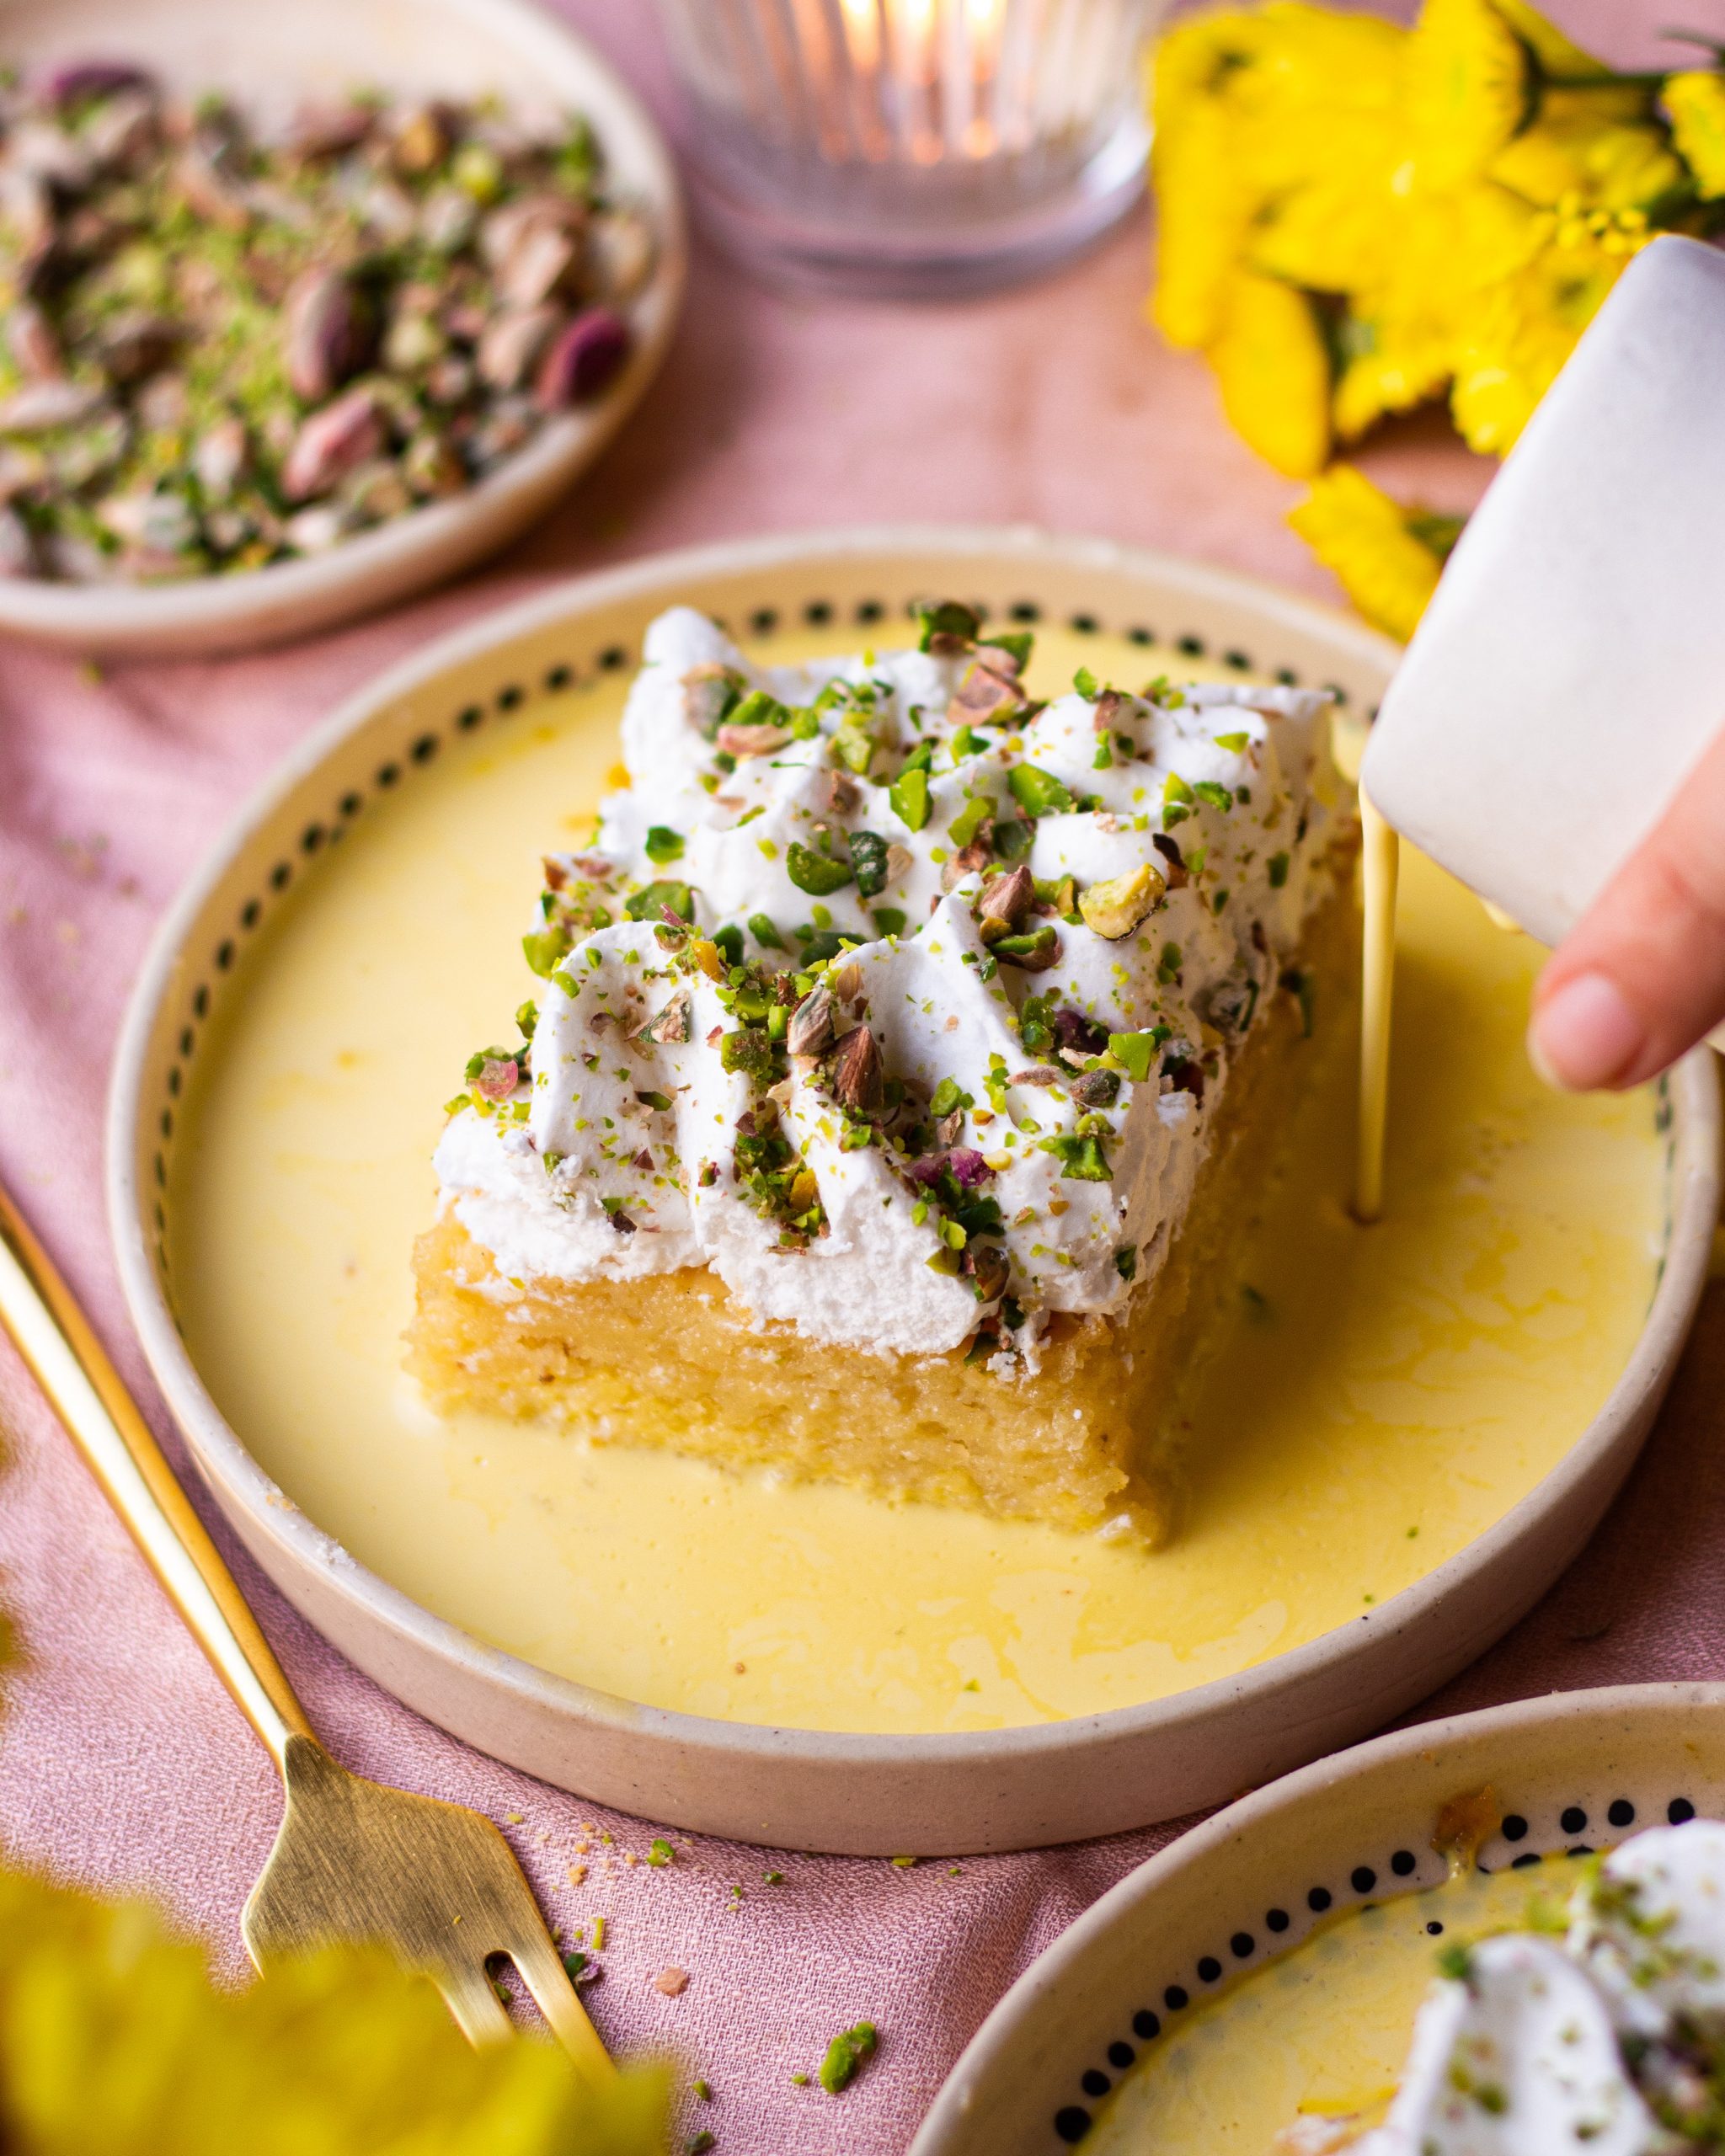
The next tip is the ruffle nozzle. You will see it has one narrow end and one wide end. While using this tip, it is important that you keep the wide end facing the dessert while the thin end is towards you. This way you will get the perfect ruffle. To pipe ruffles, you want to keep the piping bag at an angle and not vertical to the dessert. Start piping and go in smooth motions from right to left. The ruffle can be as wide as you want it to be. Try to maintain the same pressure throughout so that all the ruffles are of the same size.
I also like to use the ruffle tip to make buttercream flowers. It takes a little bit of time and practice but the end result is so cute! You can try different designs with the same tip. Let your creativity flow. I loved using the ruffle tip on my Rasmalai Tres Leches. Doesn’t it look so pretty?
Basket weave tip
Another tip that is not so common is the basket weave nozzle. It has ridges on one side and is completely plain on the other. It makes for a super almost lattice like design. You’ll get ridges on top of the dessert if you keep that part on top and pipe while keeping your piping bag at an angle. If you want straight simple panels, just flip the piping bag so that the plain side of the nozzle is on top and continue piping with the piping bag being at an angle. 1 nozzle, two designs. How cute does it look!
Round tip
Now the most basic of tips but one that I love is a round nozzle. Of course with a round tip you can do simple dollops but what I love making is the beaded effect. For that, instead of holding the piping bag vertical like you would for dollops, you hold the bag at an angle. Then you press the piping bag and quickly push it away so that some frosting gets carried and leave a small tail. Pipe the next dollop directly in connection with the smear and continue till you have covered your dessert. This design makes any dessert look so elegant!
Buttercream frosting for piping
I used buttercream frosting to show you all these techniques. You can use any stable frosting that you like. Make sure the frosting isn’t too warm or else it will lose its shape while piping. If the frosting is getting warmer as you work with it, put the piping bag in the fridge for 10-15 minutes.
The frosting that you are using should be smooth and not have any lumps. Any chunks of sugar and chocolate for example, will get stuck in the piping tip, making it very hard for the frosting to come out smoothly and spoiling the design completely. If you don’t like buttercream frosting, you can try out some other frostings like Chocolate Ganache, Cream Cheese Frosting, and Chocolate Fudge Frosting.
These were some of the piping tips and designs that every beginner should know. While piping it is important that you maintain equal amounts of pressure that your hands are steady so that you can make clear designs. Piping takes a bit of practice and the more of the techniques you do, the better you will get.
I share a lot of tips and tricks on my Instagram account @shivesh17 and my YouTube channel Bake With Shivesh. You should follow me there to see more informational videos. Happy piping!

 Hello. I'm Shivesh Bhatia, a food blogger and food stylist from Delhi, India. Welcome to Bake With Shivesh, where I'll help you create magic in your kitchens with my simple recipes.
Hey there! My sister and I are a big big fan of your recipes! We really like the fact that the proportions which you mention in the video are perfect and the food we create turns out just right! With regards to these tips, Thank you so so much! We are novices at this and these will surely help us to make wise choices when planning to buy these.
Talking about buying these piping bags or nozzles or practically any item for baking, you can locate sellers near you who have such products available at your desired price on the Fyndhere app on the Google Play Store. Getting these at a good price as per your need and being sure of where to buy from esp. during this pandemic is the big deal. You can check it out if you wish 🙂
https://www.fyndhere.com/
Really love your recipes! Please keep inspiring us to bake more and enjoy treats! Stay well!
Hi
I would like to know the proportion of baking soda and baking powder if we r baking half portion.