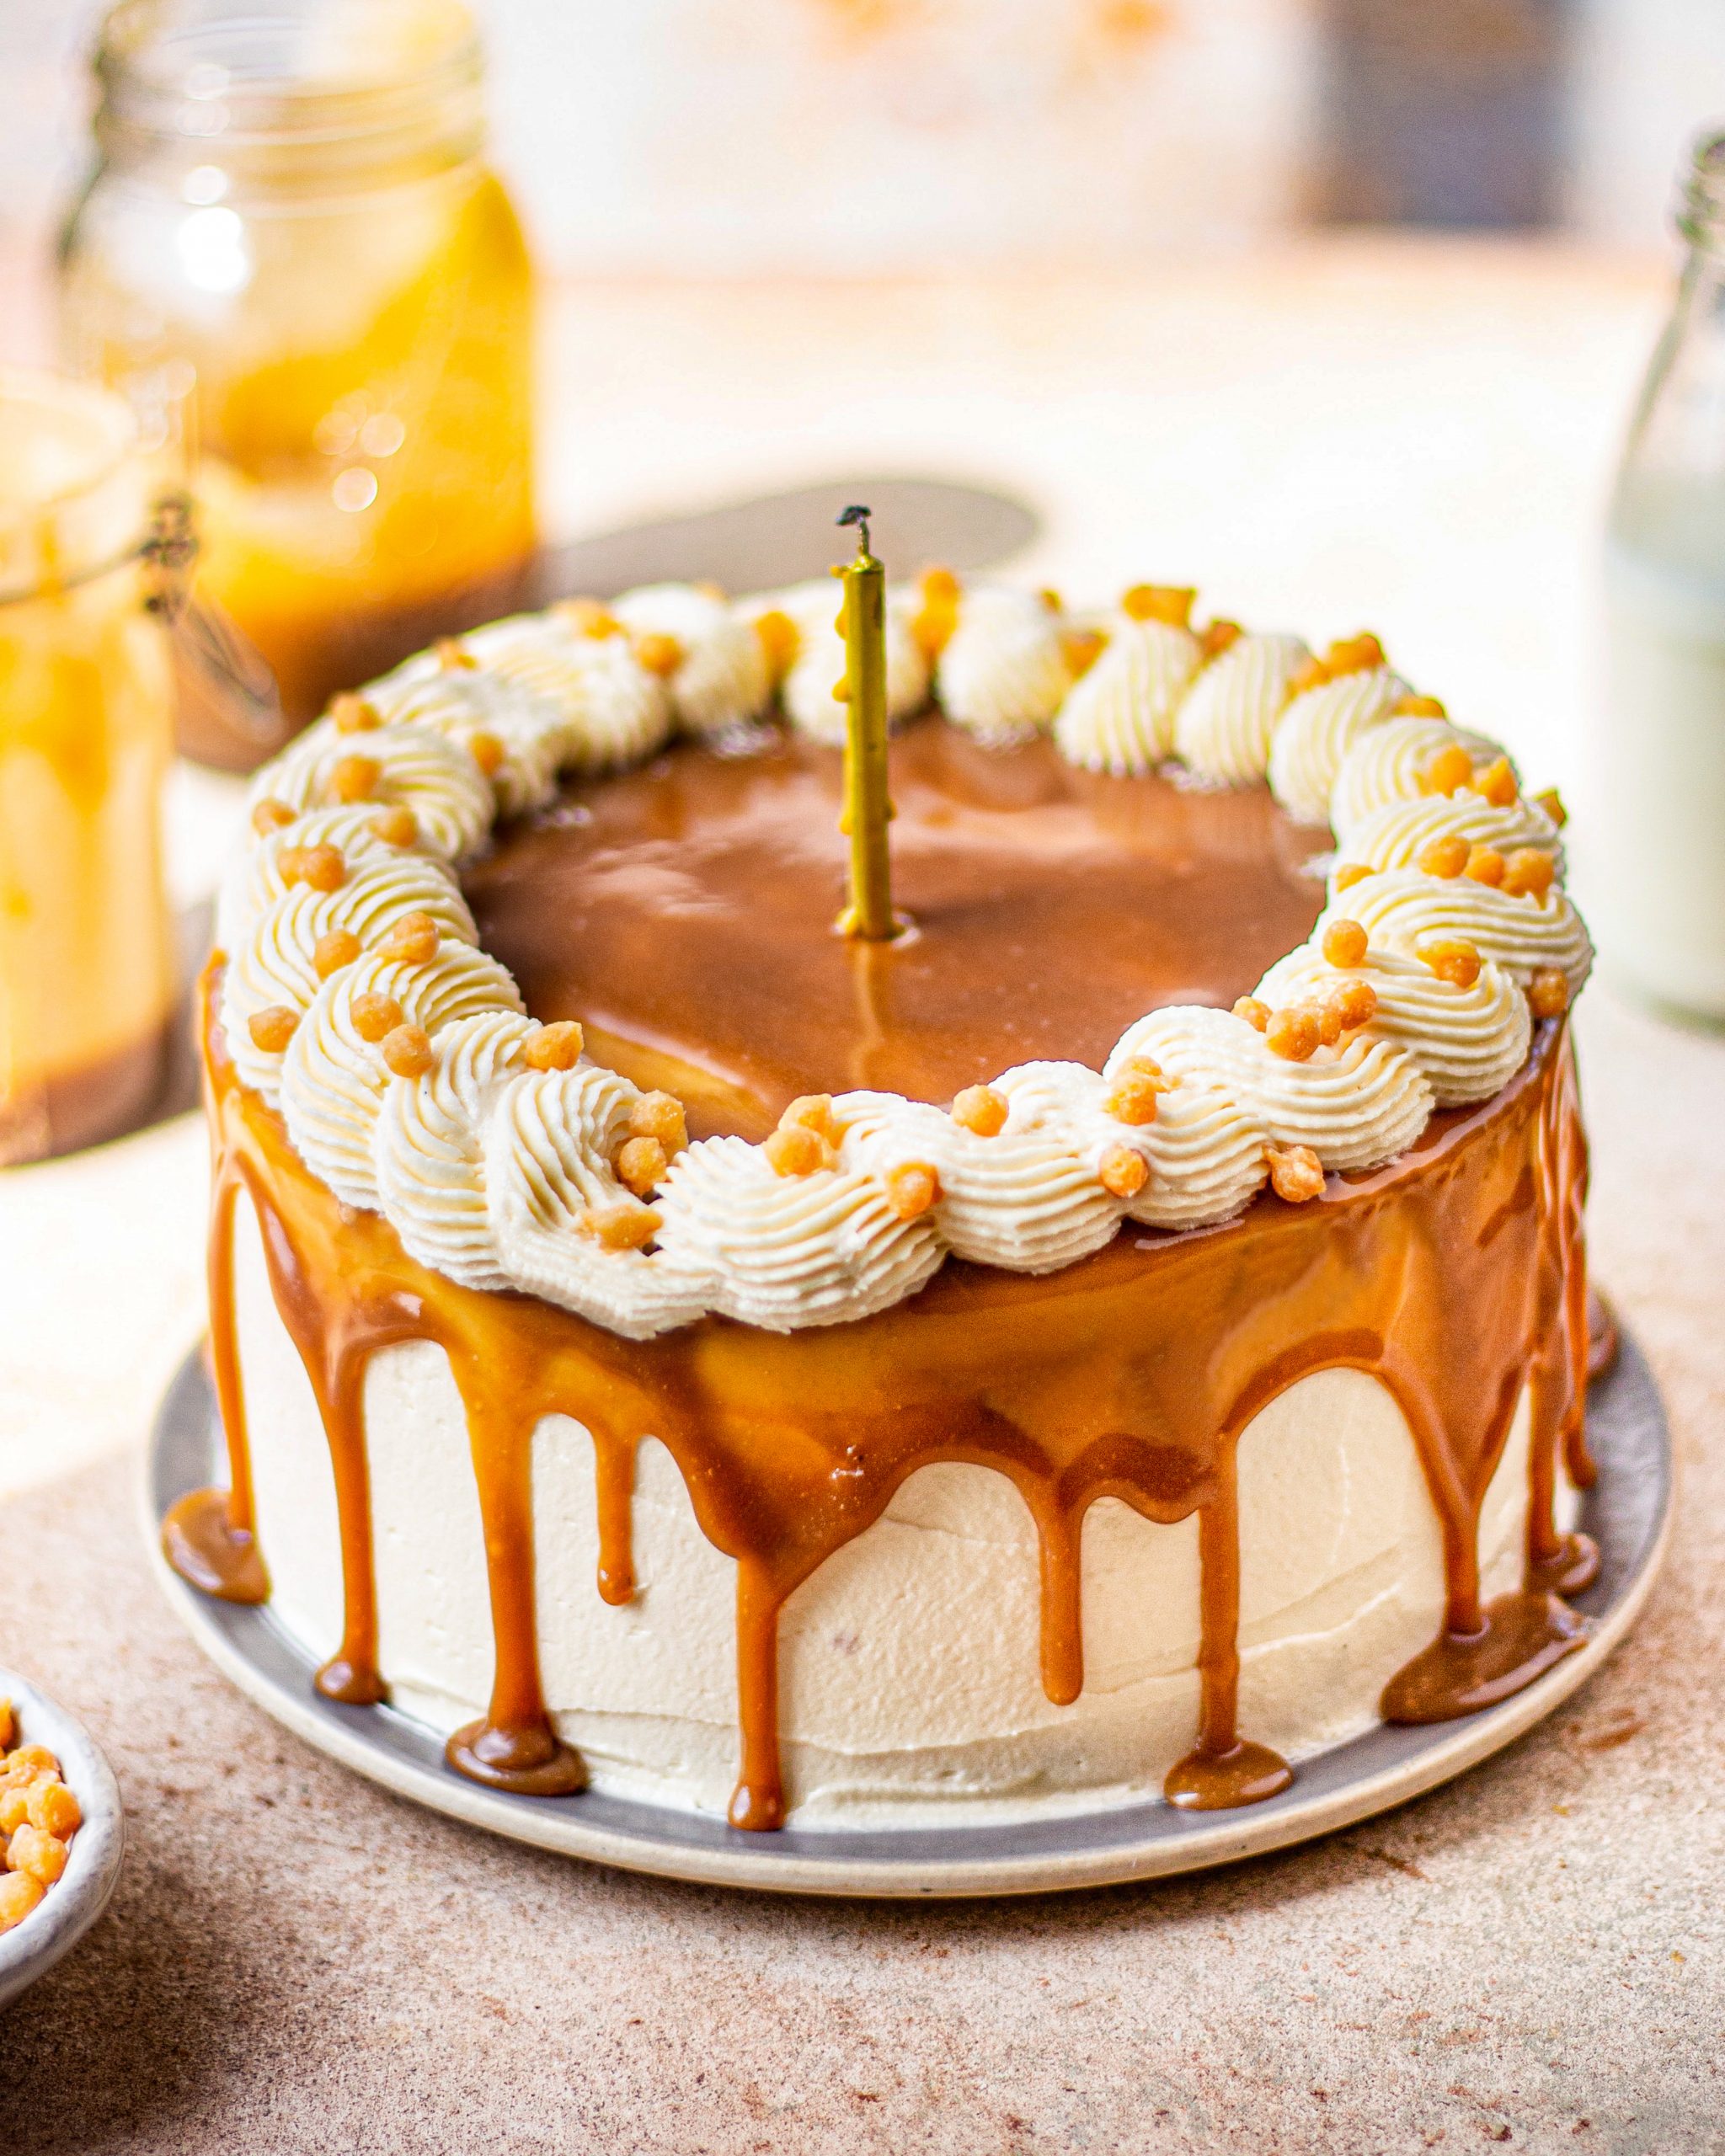
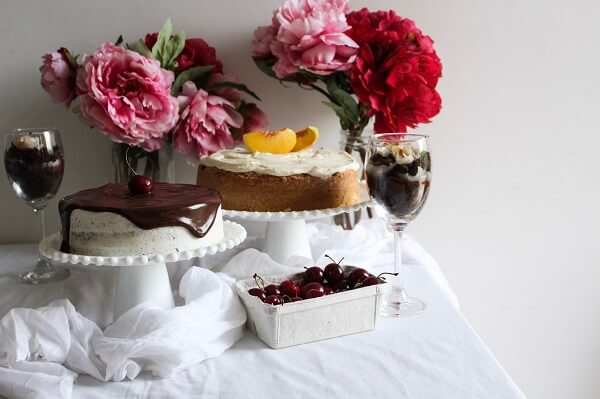
Baking a cake is one thing; frosting it to perfection is an entirely different challenge. When I first started, I thought simply slapping on some buttercream would do the trick—but oh boy, was I wrong. Over time, after countless birthday cakes, blog shoots, and even a few frosting fails (yes, they happen!), I’ve picked up a few game-changing hacks that make frosting easier, cleaner, and downright fun.
So, whether you’re a beginner or a seasoned baker, here are my tried-and-tested frosting hacks to ensure your cakes look as good as they taste!
1. Always Start with a Chilled Cake
The very first cake I tried frosting was warm—big mistake! The frosting melted right off, leaving me with a sticky mess. Now, I always refrigerate my cake layers for at least an hour before frosting. A chilled cake is firm, making it easier to work with and preventing crumbs from mixing into the frosting.

2. Invest in a Turntable
This was a game-changer for me. I resisted buying a turntable for the longest time, thinking it wasn’t necessary. But once I got one, it completely changed how I frost cakes. The ability to spin the cake while smoothing the frosting saves so much effort. Trust me, it’s worth the investment, especially if you frost cakes frequently.
3. Crumb Coat Like a Pro
I used to wonder how bakers achieved those smooth finishes, but the secret lies in the crumb coat. A thin layer of frosting traps all the crumbs and creates a clean base for the final layer. I remember feeling so proud the first time my crumb coat turned out neat—it truly sets the stage for a beautiful cake!

4. Use a Bench Scraper for Smooth Sides
Forget about using a knife or spoon to smooth the frosting (guilty of that in my early days). A bench scraper is your best friend for those clean, straight edges. Just hold it steady against the side of your cake while turning the turntable—it’s almost therapeutic!
5. Warm Your Spatula for a Polished Look
Here’s a hack I discovered while trying to save a slightly lumpy frosting job. Dip your spatula in warm water, wipe it dry, and then use it to smooth out the frosting. The warmth melts the buttercream ever so slightly, giving your cake a polished finish.

6. Use an Offset Spatula for Precision
Offset spatulas might look like a simple tool, but they’re a must-have. The angled handle keeps your hands out of the way, allowing for more precision. It’s perfect for spreading frosting evenly on the top and sides. Plus, it makes you feel like a pro!
7. Pipe a Border to Avoid Frosting Spills
One of my biggest frustrations was frosting spilling over the sides when layering a cake. Then I learned to pipe a border around the edge of each layer before adding the filling. It acts as a dam, keeping everything in place. No more lopsided layers or frosting disasters!

8. Chill Between Layers
I can’t stress this enough—patience is key. After applying the crumb coat or any major layer of frosting, chill your cake for 15–20 minutes. This helps set the frosting, making the next step easier and preventing the layers from shifting.
9. Keep Your Tools Clean
This might sound obvious, but I used to ignore it. Keeping your spatulas and bench scraper clean while frosting makes all the difference. Wipe them down frequently to avoid smearing unwanted crumbs or colors onto your cake.
10. Finish with a Palette Knife and Confidence
I’ll never forget the first time I confidently added finishing touches to a cake. A palette knife is perfect for creating textured finishes or smooth swoops. Remember, no cake is ever truly “perfect,” but it’s those little imperfections that make it uniquely yours!
Bonus Tip: Have Fun!
Baking and frosting cakes should be a joyful experience. Don’t stress over tiny details—your effort and love will always shine through. I still laugh at some of my early attempts, but those moments taught me so much about creativity and patience.

Frosting cakes might feel intimidating at first, but with these hacks, you’ll feel more confident and in control. I’ve used these tips in countless cakes, from simple family gatherings to elaborate photo shoots for my blog.
Now it’s your turn—try these hacks on your next cake and let me know how they work for you! Have any frosting tips of your own? Share them in the comments below—I’d love to hear from you!

 Hello. I'm Shivesh Bhatia, a food blogger and food stylist from Delhi, India. Welcome to Bake With Shivesh, where I'll help you create magic in your kitchens with my simple recipes.
Leave a Reply