In the digital age, where social media and online stores dominate, good photography can make or break your baking business. Whether you’re showcasing a batch of golden cookies or a decadent chocolate cake, presenting your baked goods in an enticing way is key to grabbing attention and driving sales. Perfect product photography doesn’t require expensive equipment or years of experience. With some guidance and practice, you can elevate your baking photos to professional levels. Here’s a beginner-friendly guide to secrets to perfect photography for bakers.
IMPORTANCE OF PRODUCT PHOTOGRAPHY
Your photos are the first impression of your brand. Well-photographed products:
- Build credibility and trust.
- Increase sales by making your products irresistible.
- Help you stand out from competitors.
- Enhance your branding on social media and websites.
ESSENTIAL EQUIPMENT FOR BEGINNERS
You don’t need to invest heavily to start. Here’s what you’ll need:
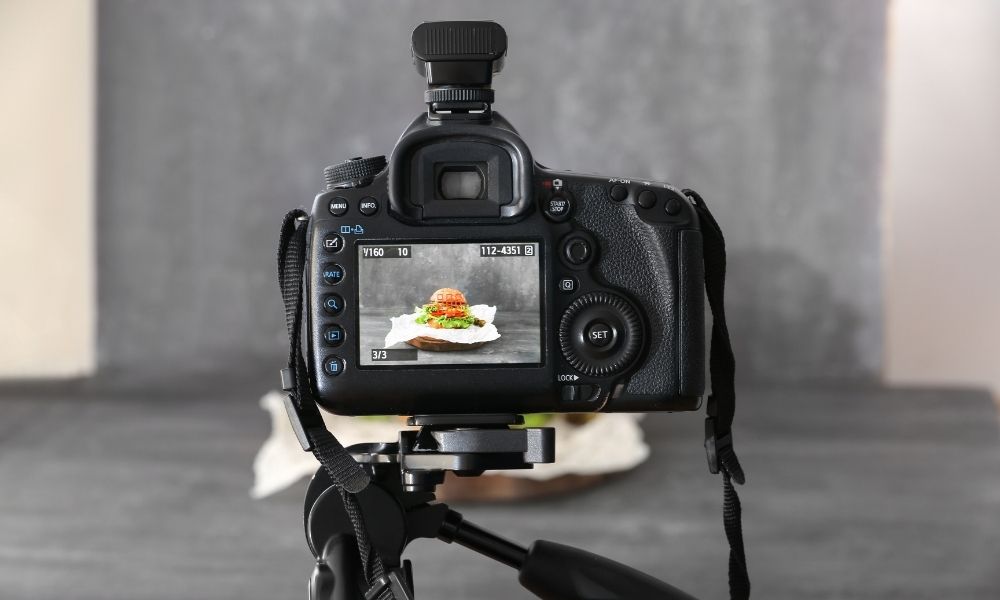
- Camera: A DSLR is ideal, but modern smartphones with good cameras can work wonders.
- Tripod: Stabilizes your camera for sharp images and allows you to experiment with angles and lighting.
- Lighting: Natural light is the easiest and most affordable option. For consistency, consider softbox lights or ring lights.
- Backgrounds: Simple, clean backgrounds like white foam boards, wooden planks, or marble slabs work well.
- Props: Include plates, utensils, napkins, or flowers to complement your baked goods.
MASTERING LIGHTING
Lighting can make or break your photo. Here’s how to nail it:
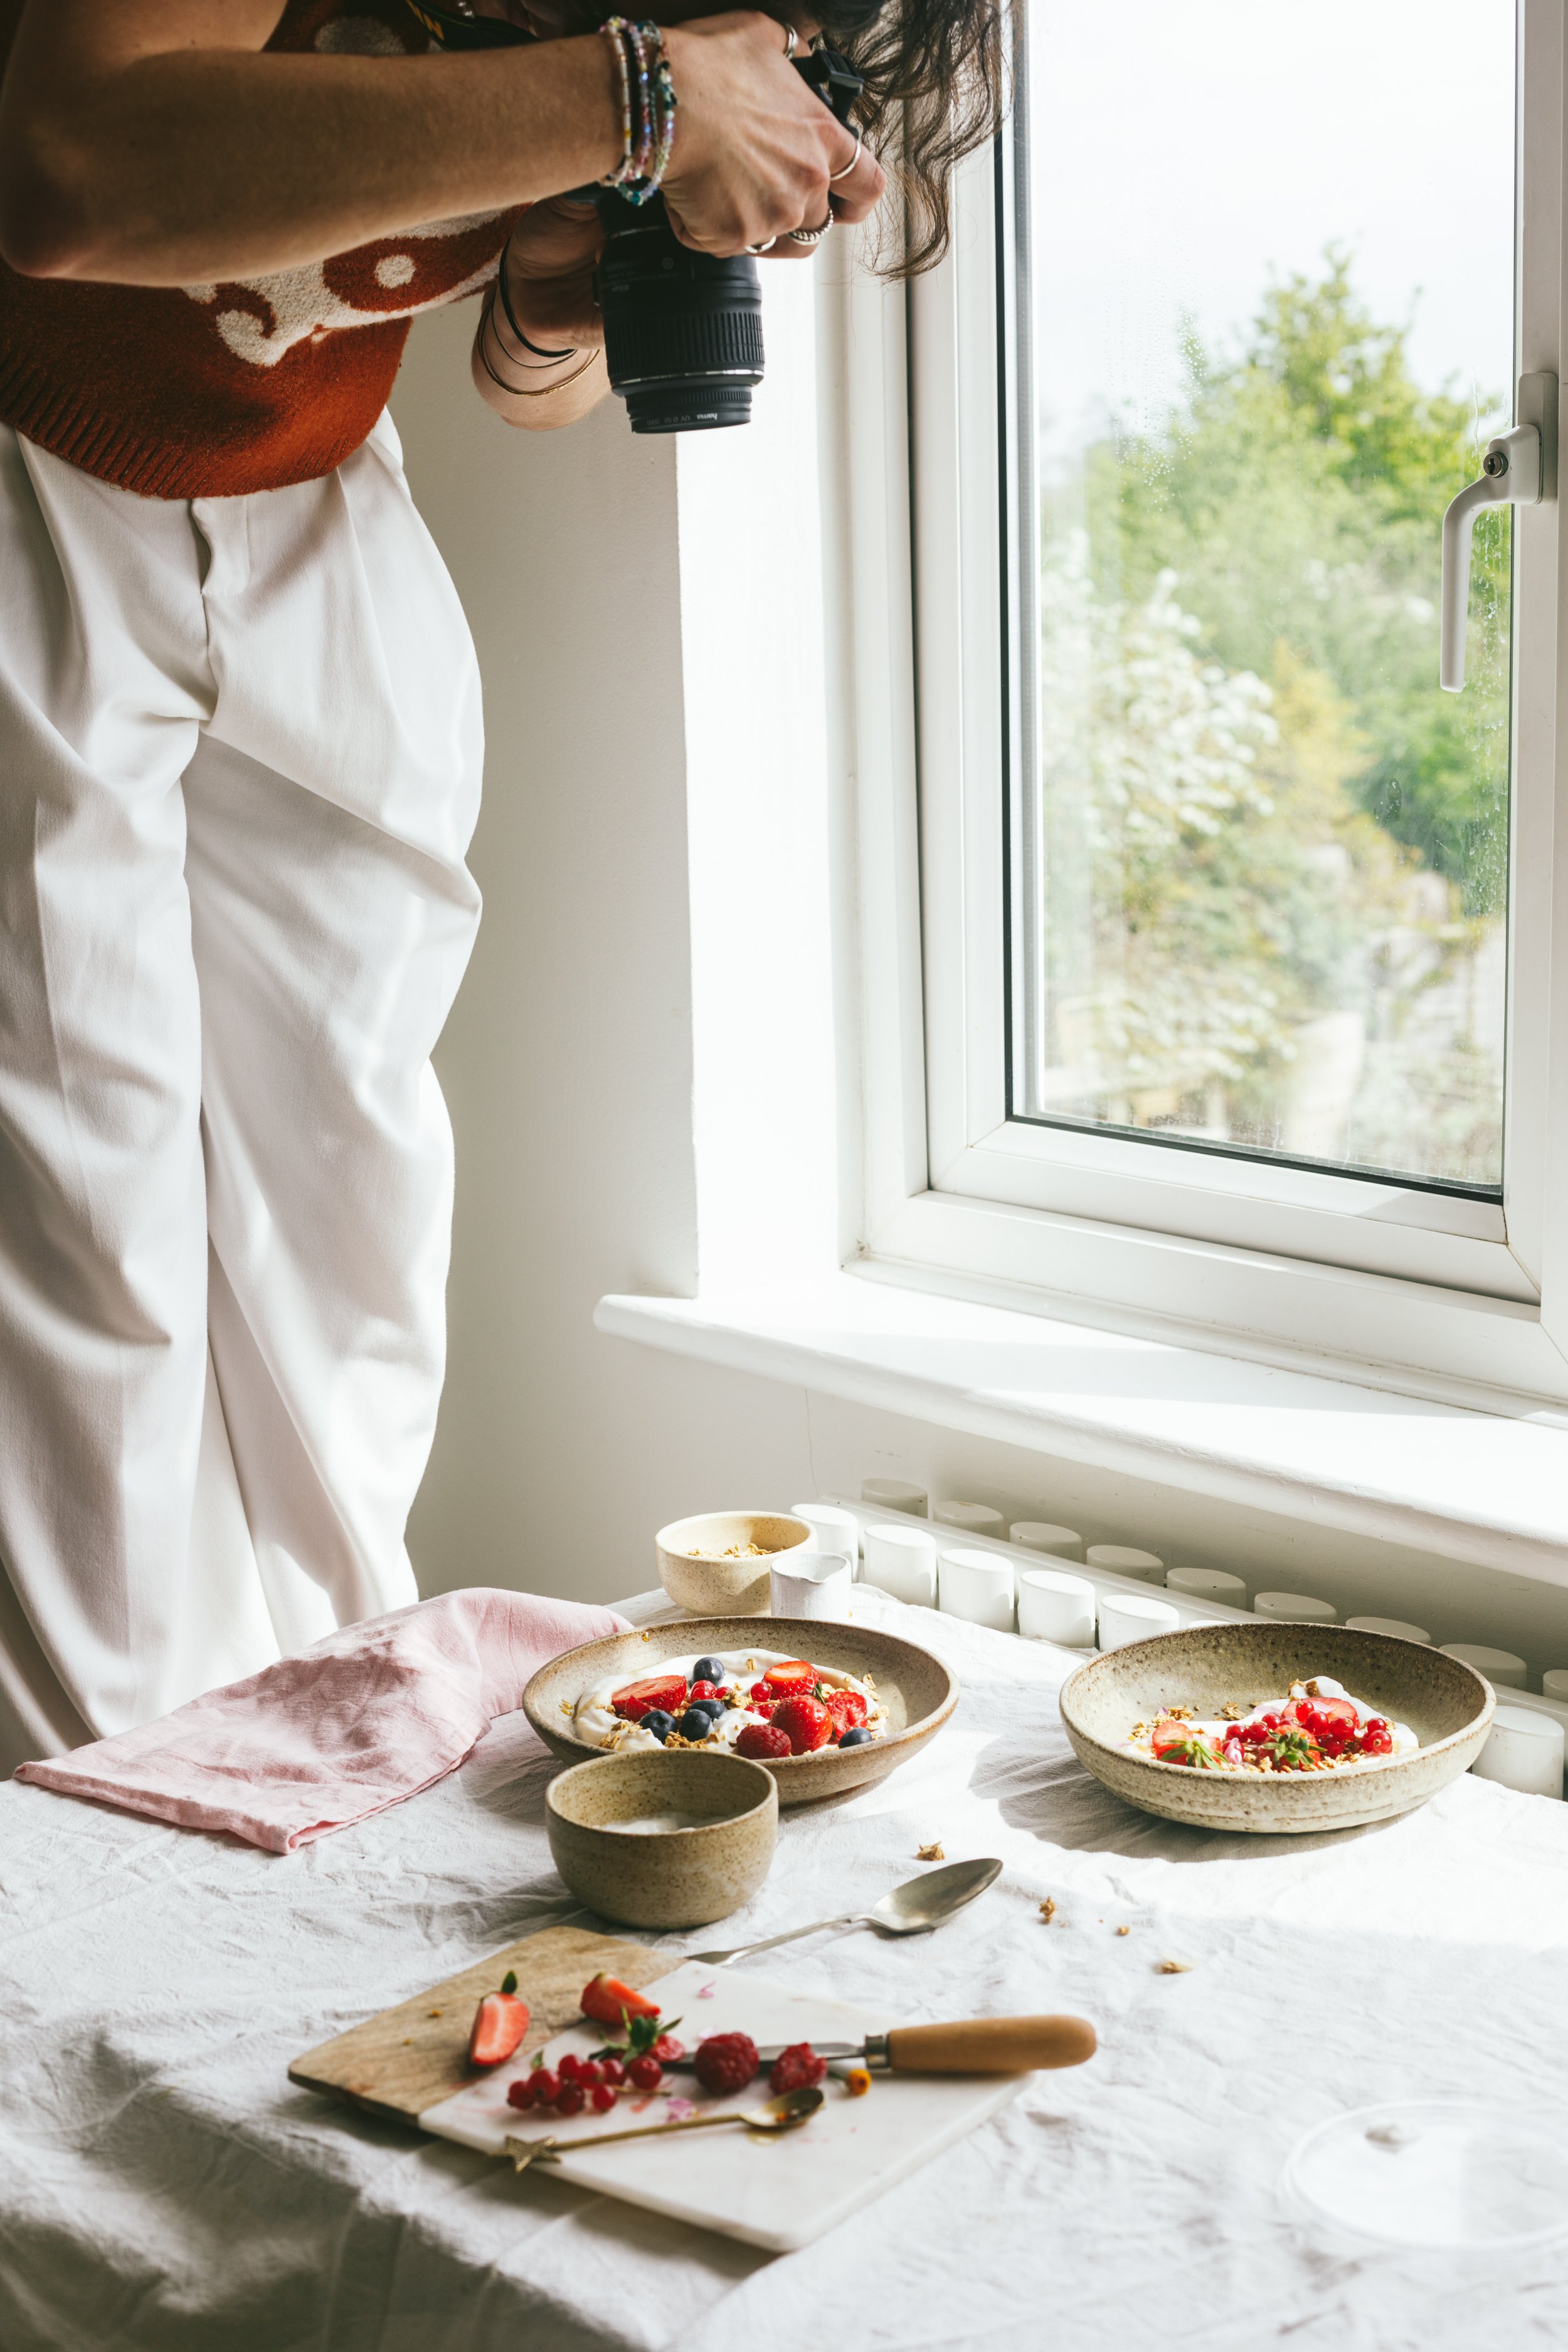
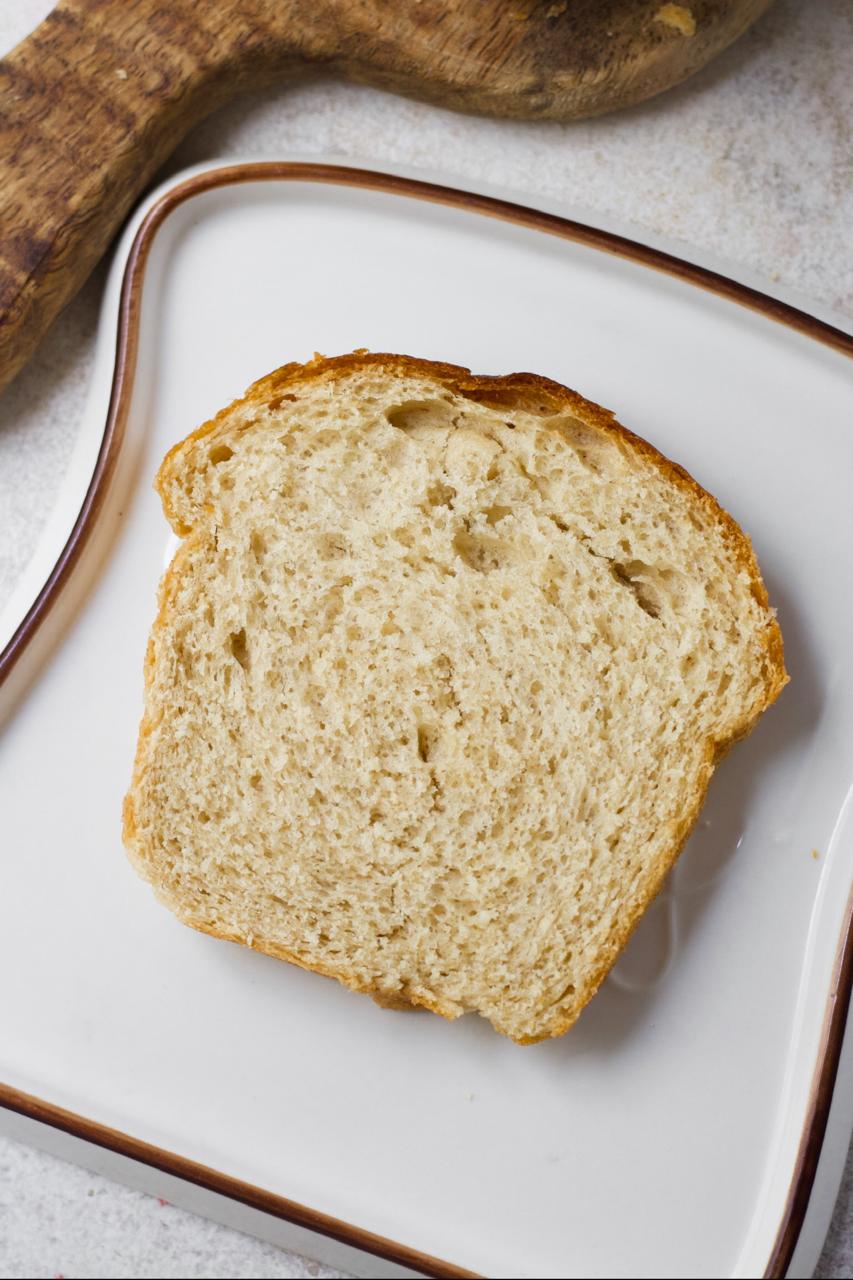
- Use Natural Light: Position your setup near a large window. Soft, diffused light during mornings or late afternoons works best. It enhances the natural colors and textures of your baked goods without harsh contrasts.
- Avoid Harsh Shadows: Use a white sheet or diffuser to soften the light. This creates a more even lighting effect that is pleasing to the eye.
- Experiment with Angles: Backlighting or side lighting can highlight textures and details, like the flakes of a croissant or the frosting on a cupcake. Rotate your subject slightly to see how light interacts with the surface and find the most flattering view.
- Consider Artificial Light: If natural light is unavailable, invest in affordable softbox lights or LED panels. Pair them with diffusers to mimic the effect of soft daylight.
STYLING YOUR BAKED GOODS
Good styling enhances the appeal of your products:
- Keep It Simple: Let the product be the star. Avoid cluttering the frame with too many props or decorations.
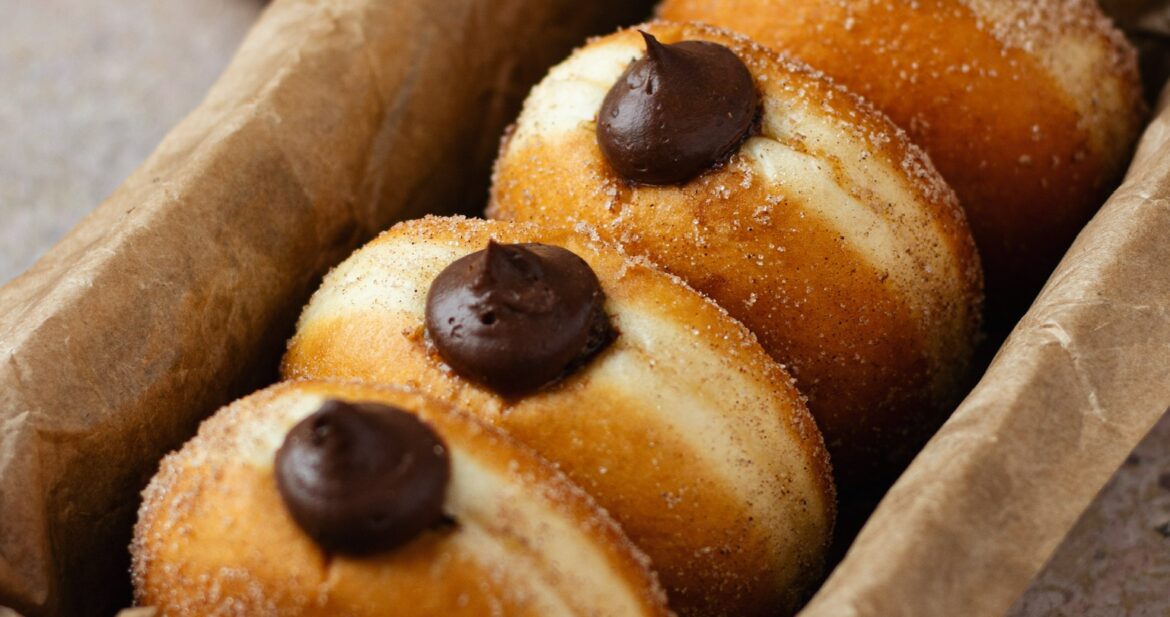
- Focus on Freshness: Bake items as close to the shoot as possible to ensure they look fresh. Glaze pastries or sprinkle powdered sugar right before photographing for a fresh, polished look.
- Add Storytelling Elements: Include ingredients, utensils, or baking tools to tell a story. For instance, placing a rolling pin or a small pile of flour next to a pie can evoke the feeling of a warm, homely kitchen.
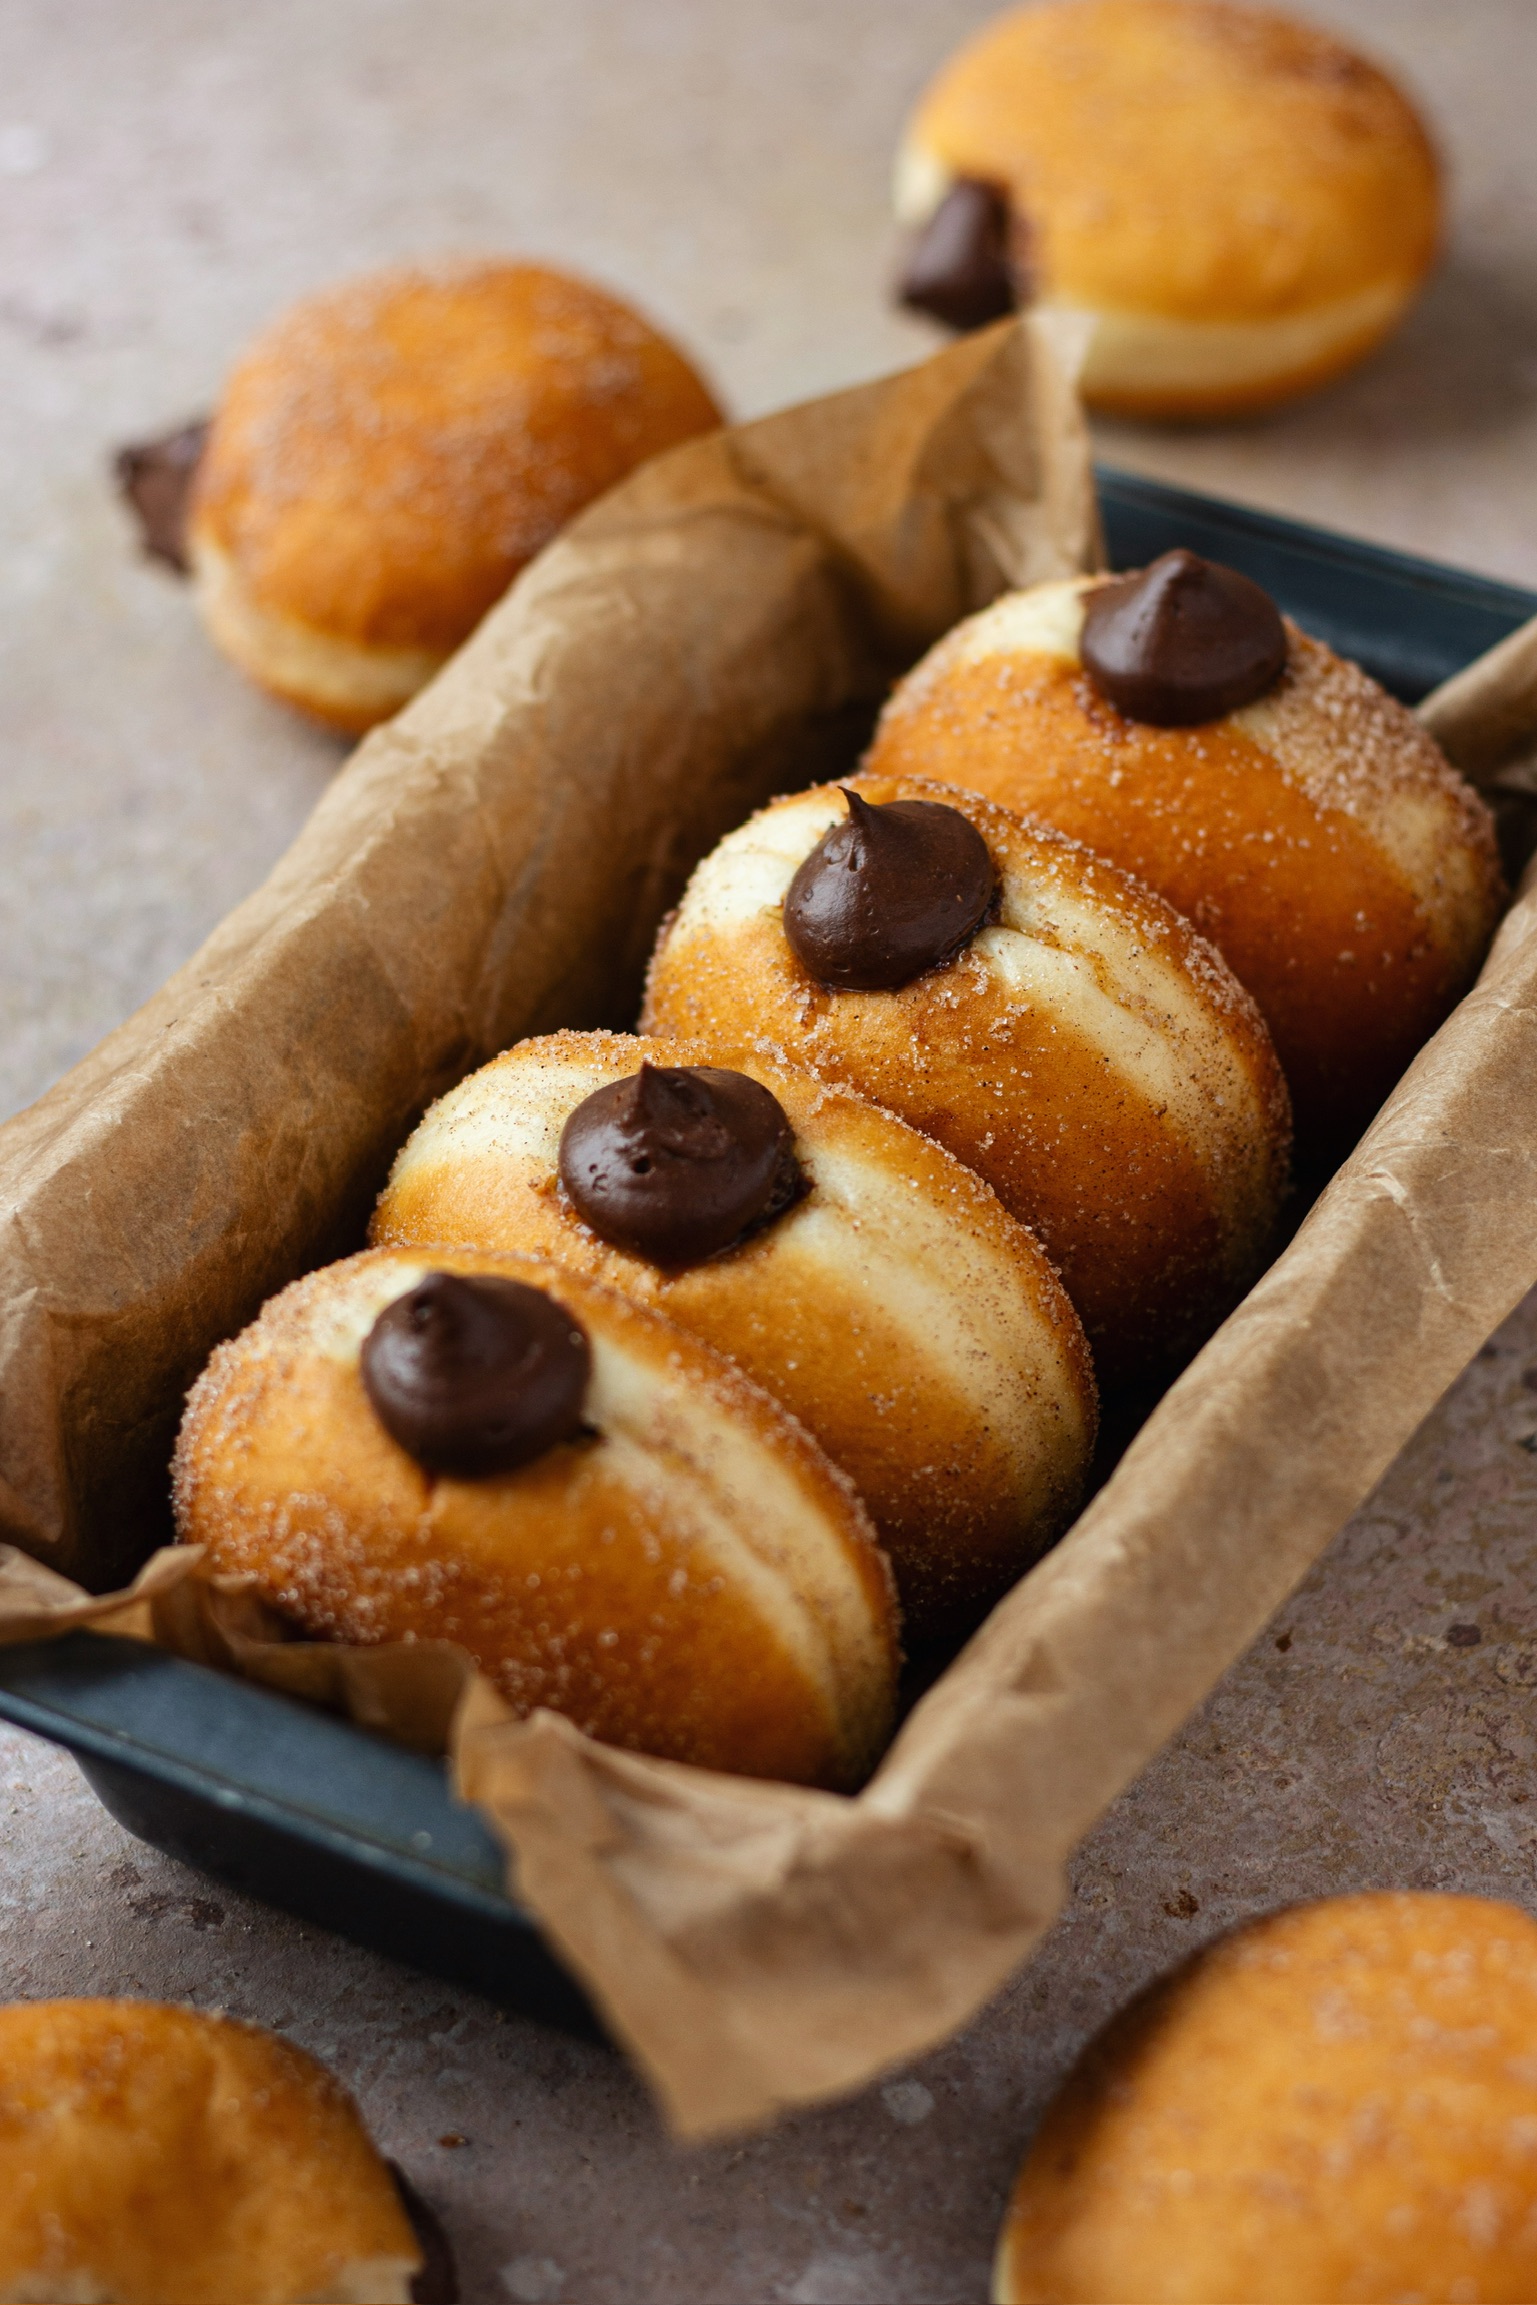
- Use Textures and Layers: Props like wooden cutting boards, linen napkins, or rustic parchment paper add depth and richness to the composition. Contrast textures—like a shiny glaze against a matte background—to make the subject stand out.
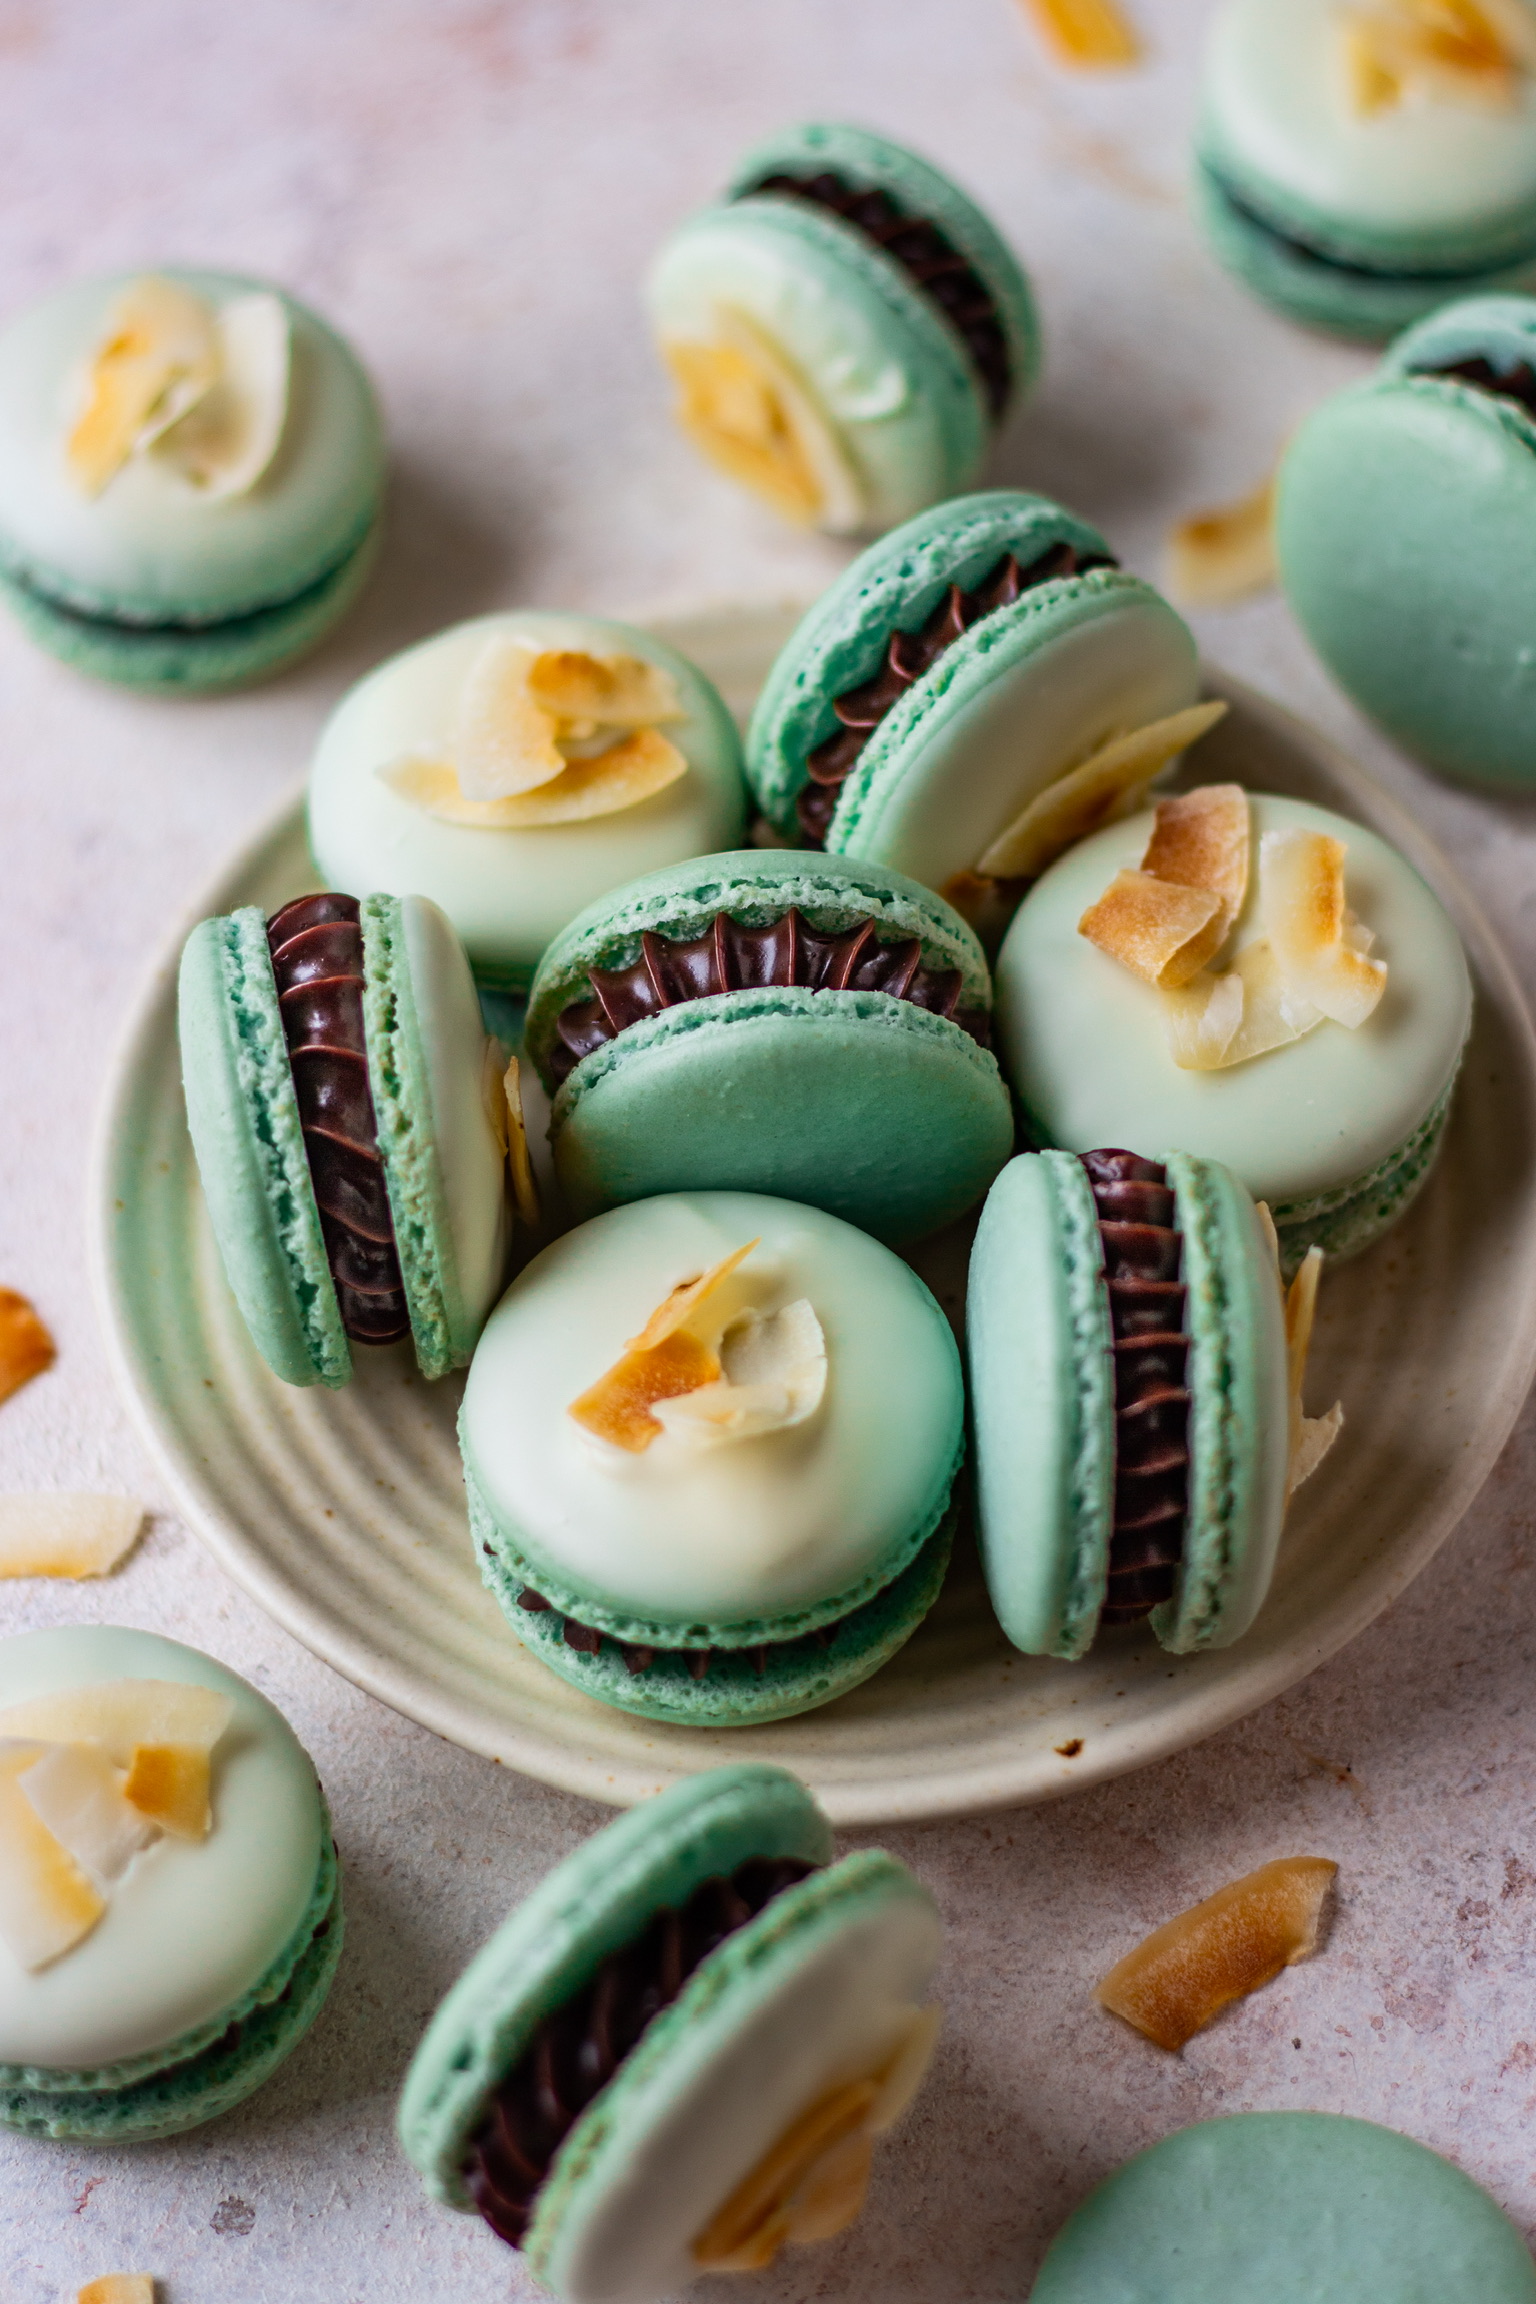
- Color Coordination: Match your props and background colors with your product. For example, use earthy tones for rustic bread or pastel shades for delicate macarons.
Processed with VSCO with a6 preset
CHOOSING THE RIGHT BACKGROUNDS
The background should complement your baked goods:
- Neutral Colors: White, beige, or pastel shades keep the focus on the product.
- Contrasting Colors: Use backgrounds that make the product pop, like a dark slate for light-colored cakes.
- Seasonal Themes: Incorporate holiday-themed props like twinkling lights for Christmas or flowers for spring.

PLAYING WITH ANGLES
Different angles highlight different aspects of your baked goods:
- Overhead Shots: Best for flat lays, like cookies, tarts, or a spread of treats. This angle works well when you want to showcase the symmetry or arrangement of multiple items.
- Eye Level: Captures the layers of cakes, the height of muffins, or the gooey middle of a brownie. This perspective draws viewers into the product, making them imagine taking a bite.
- 45-Degree Angle: A versatile angle that is slightly above eye level and works well for single items, like a slice of cake or a plate of pastries. It adds depth and dimension to the image while maintaining focus on the subject.
- Macro Shots: Zoom in on specific details like sprinkles, glaze drips, or flaky layers to emphasize texture and craftsmanship.
POST-PROCESSING BASICS
Editing enhances your photos and gives them a polished look. Use these tools:
- Apps: Adobe Lightroom, Snapseed, or Canva for quick edits.
- Adjustments: Brightness, contrast, sharpness, and saturation are essential tweaks.
- Consistency: Use presets or filters to maintain a uniform look across your photos.
COMMON MISTAKES TO AVOID
Avoid these pitfalls to ensure your photos shine:
- Overcrowding the Frame: Keep the composition clean and minimal.
- Inconsistent Lighting: Stick to one type of lighting for a cohesive look.
- Ignoring Details: Check for crumbs, smudges, or uneven frosting before shooting.
- Overediting: Subtle adjustments enhance photos; heavy editing can make them look unnatural.
TIPS FOR SMARTPHONE PHOTOGRAPHY
If you’re using a smartphone, follow these tips:
- Use the Gridlines: Most smartphones have an option to display gridlines in the camera app. This helps in aligning your shots and achieving a balanced composition.
- Tap to Focus: Tap on the area of the screen where you want the camera to focus. This ensures the subject is sharp and the lighting adjusts correctly.
- Adjust Exposure Manually: On most smartphones, you can slide your finger up or down on the screen to increase or decrease brightness. Use this to prevent overexposed or underexposed shots.
- Avoid Using the Flash: Smartphone flash often creates harsh lighting and unnatural shadows. Instead, rely on natural light or an external light source.
- Use Editing Apps: Apps like Snapseed and VSCO offer powerful editing tools specifically designed for mobile photographers. You can adjust brightness, contrast, and more to make your photos pop.
Photography is a skill that improves with practice. Start with simple setups and experiment with different elements. Take inspiration from Pinterest, Instagram, or professional food photography accounts. So if you’re a home baker, these tips will help you take your photography game to the next level. So grab your camera (or phone), set up your baking masterpieces, and start shooting!

Leave a Reply