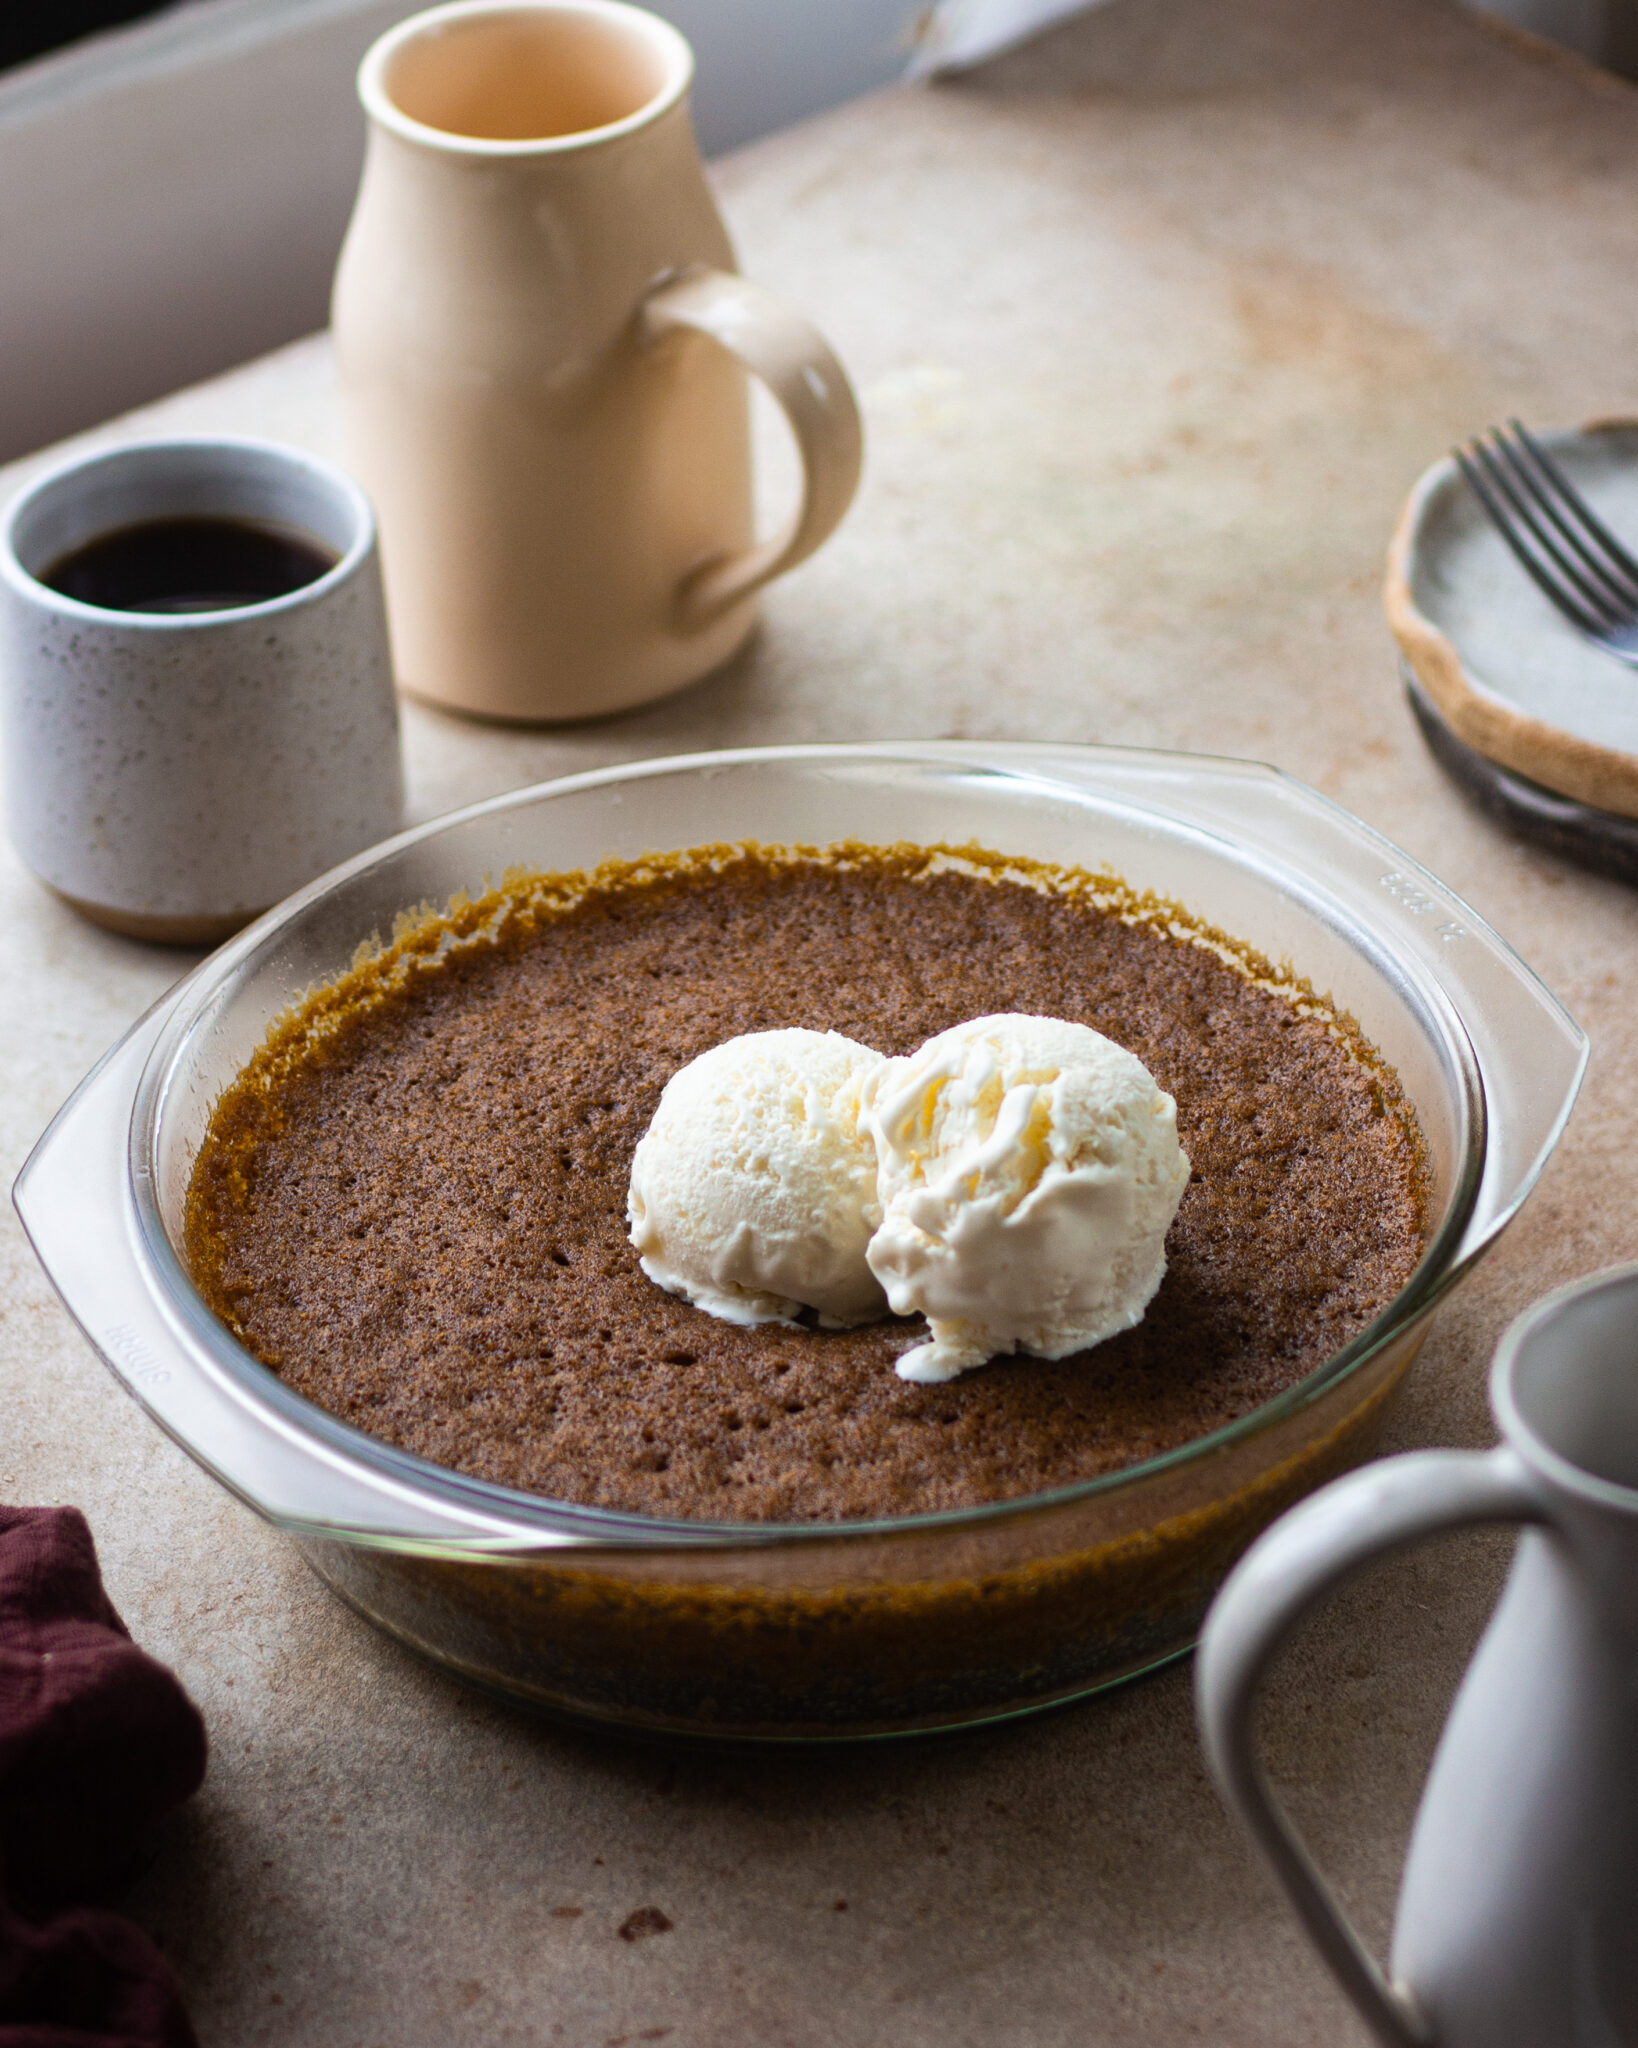
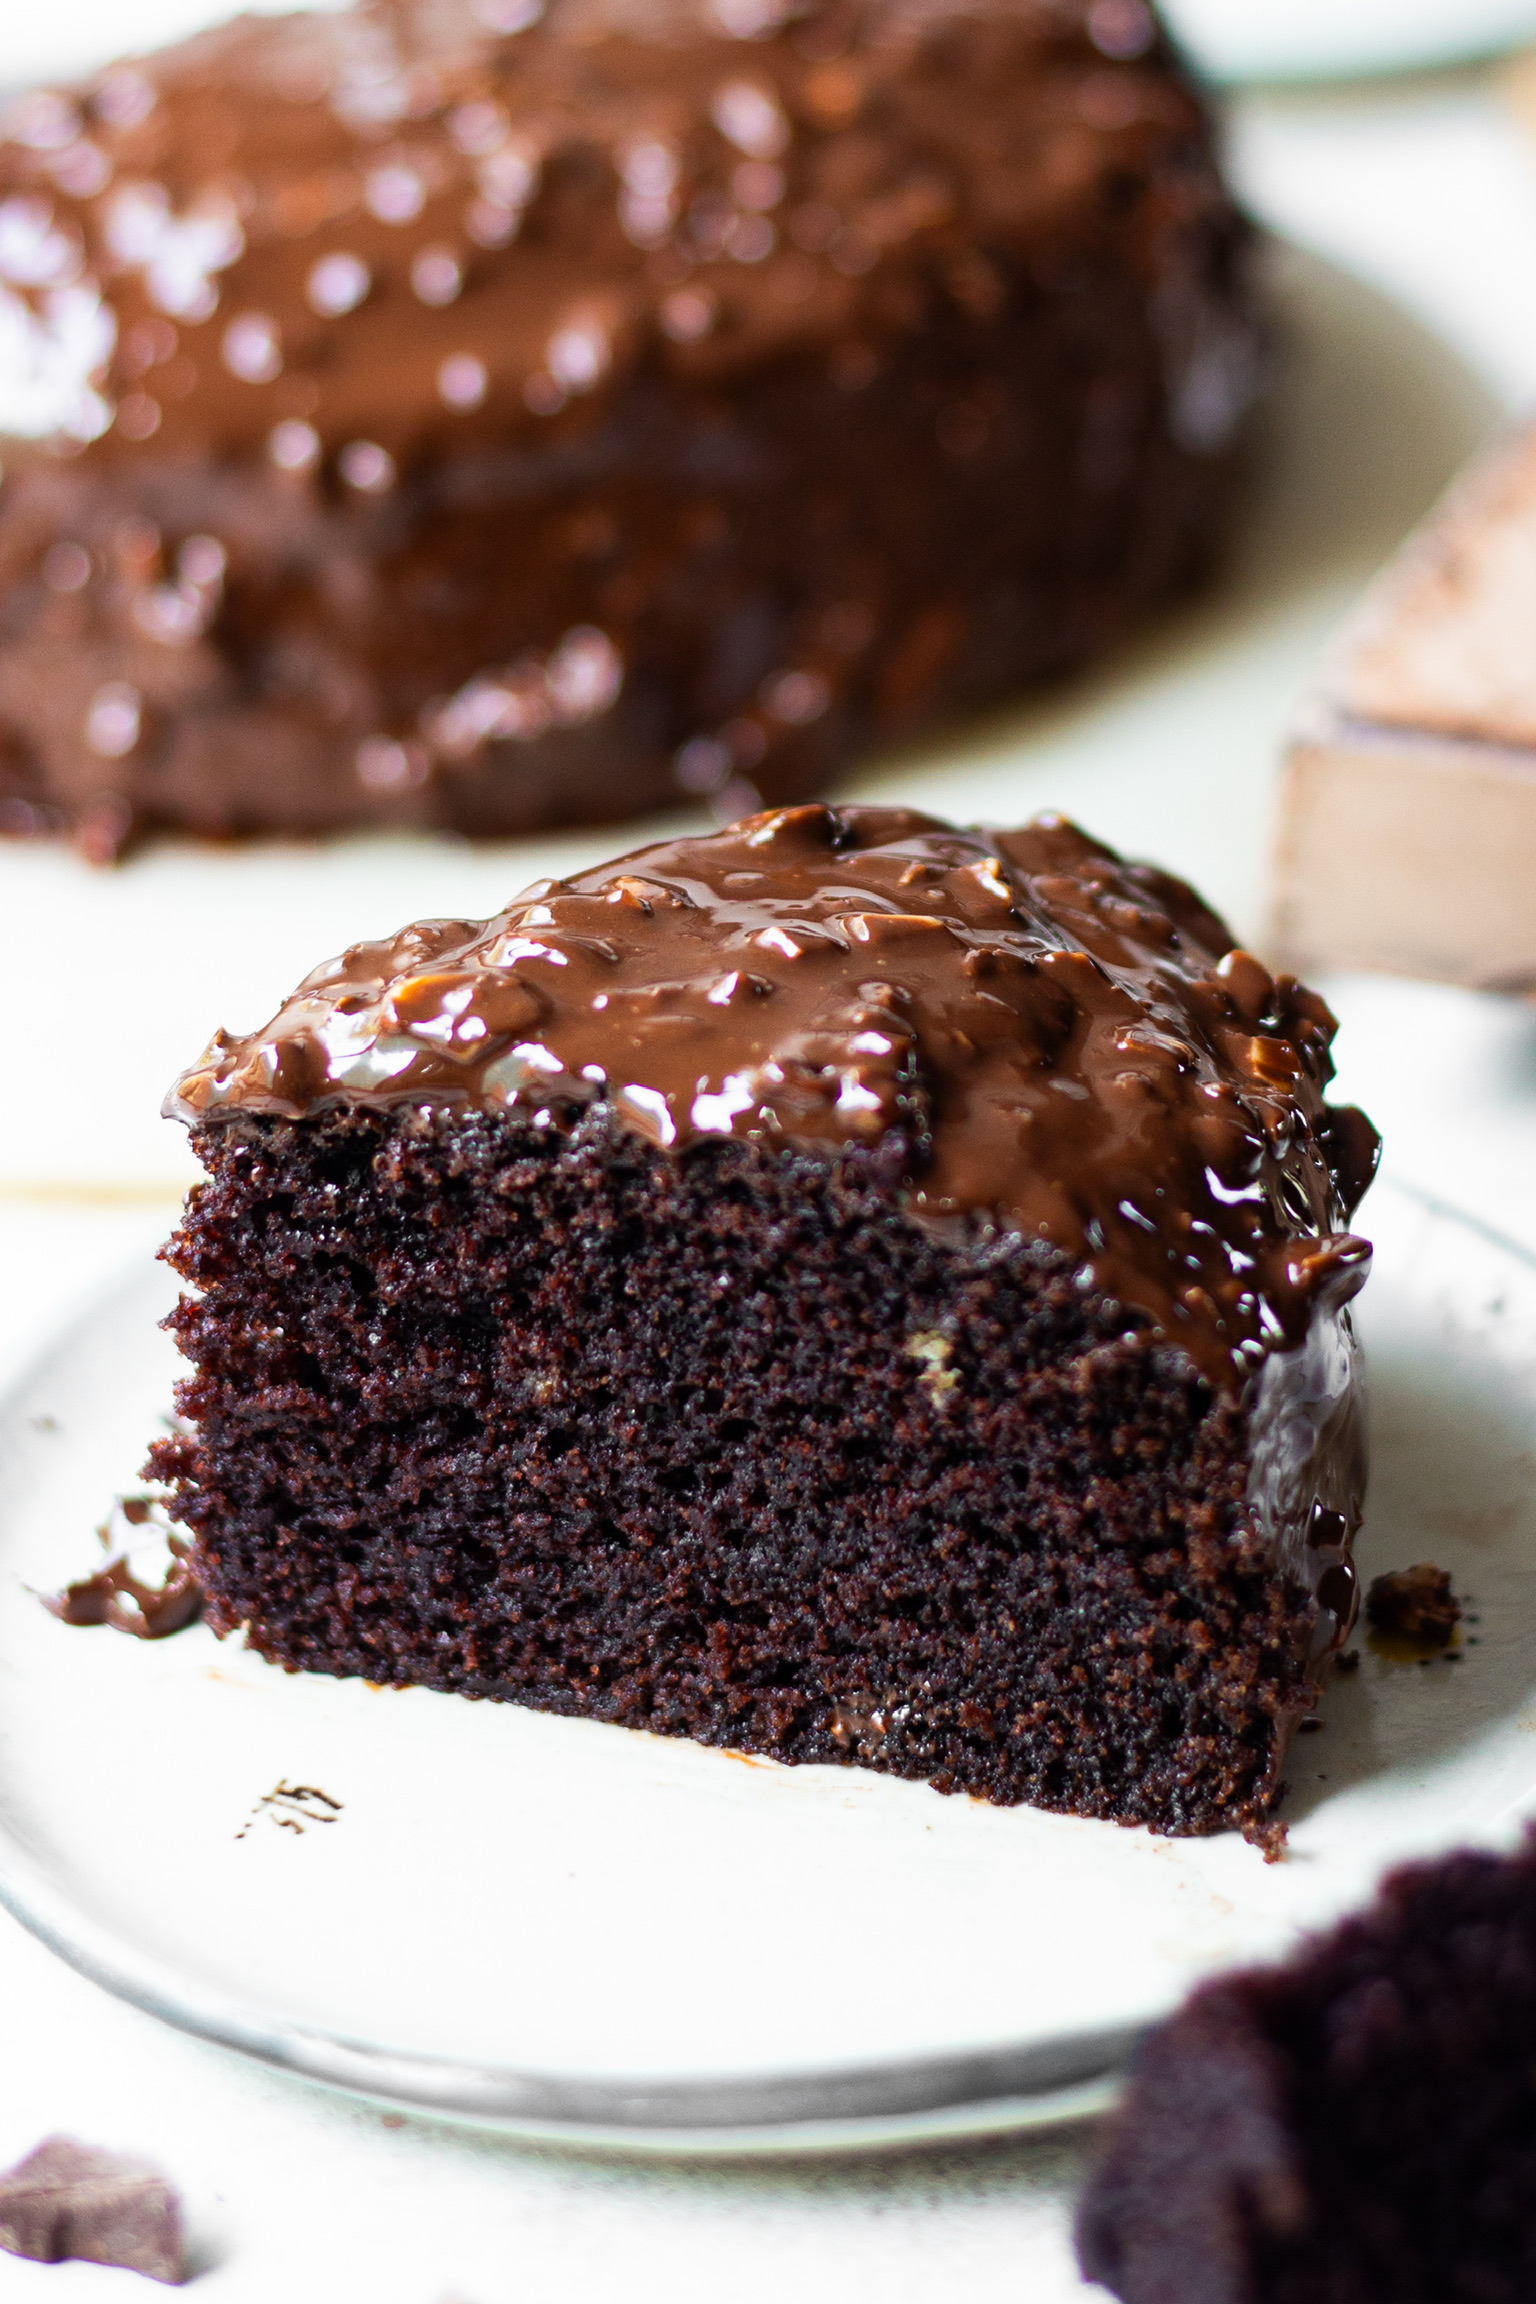
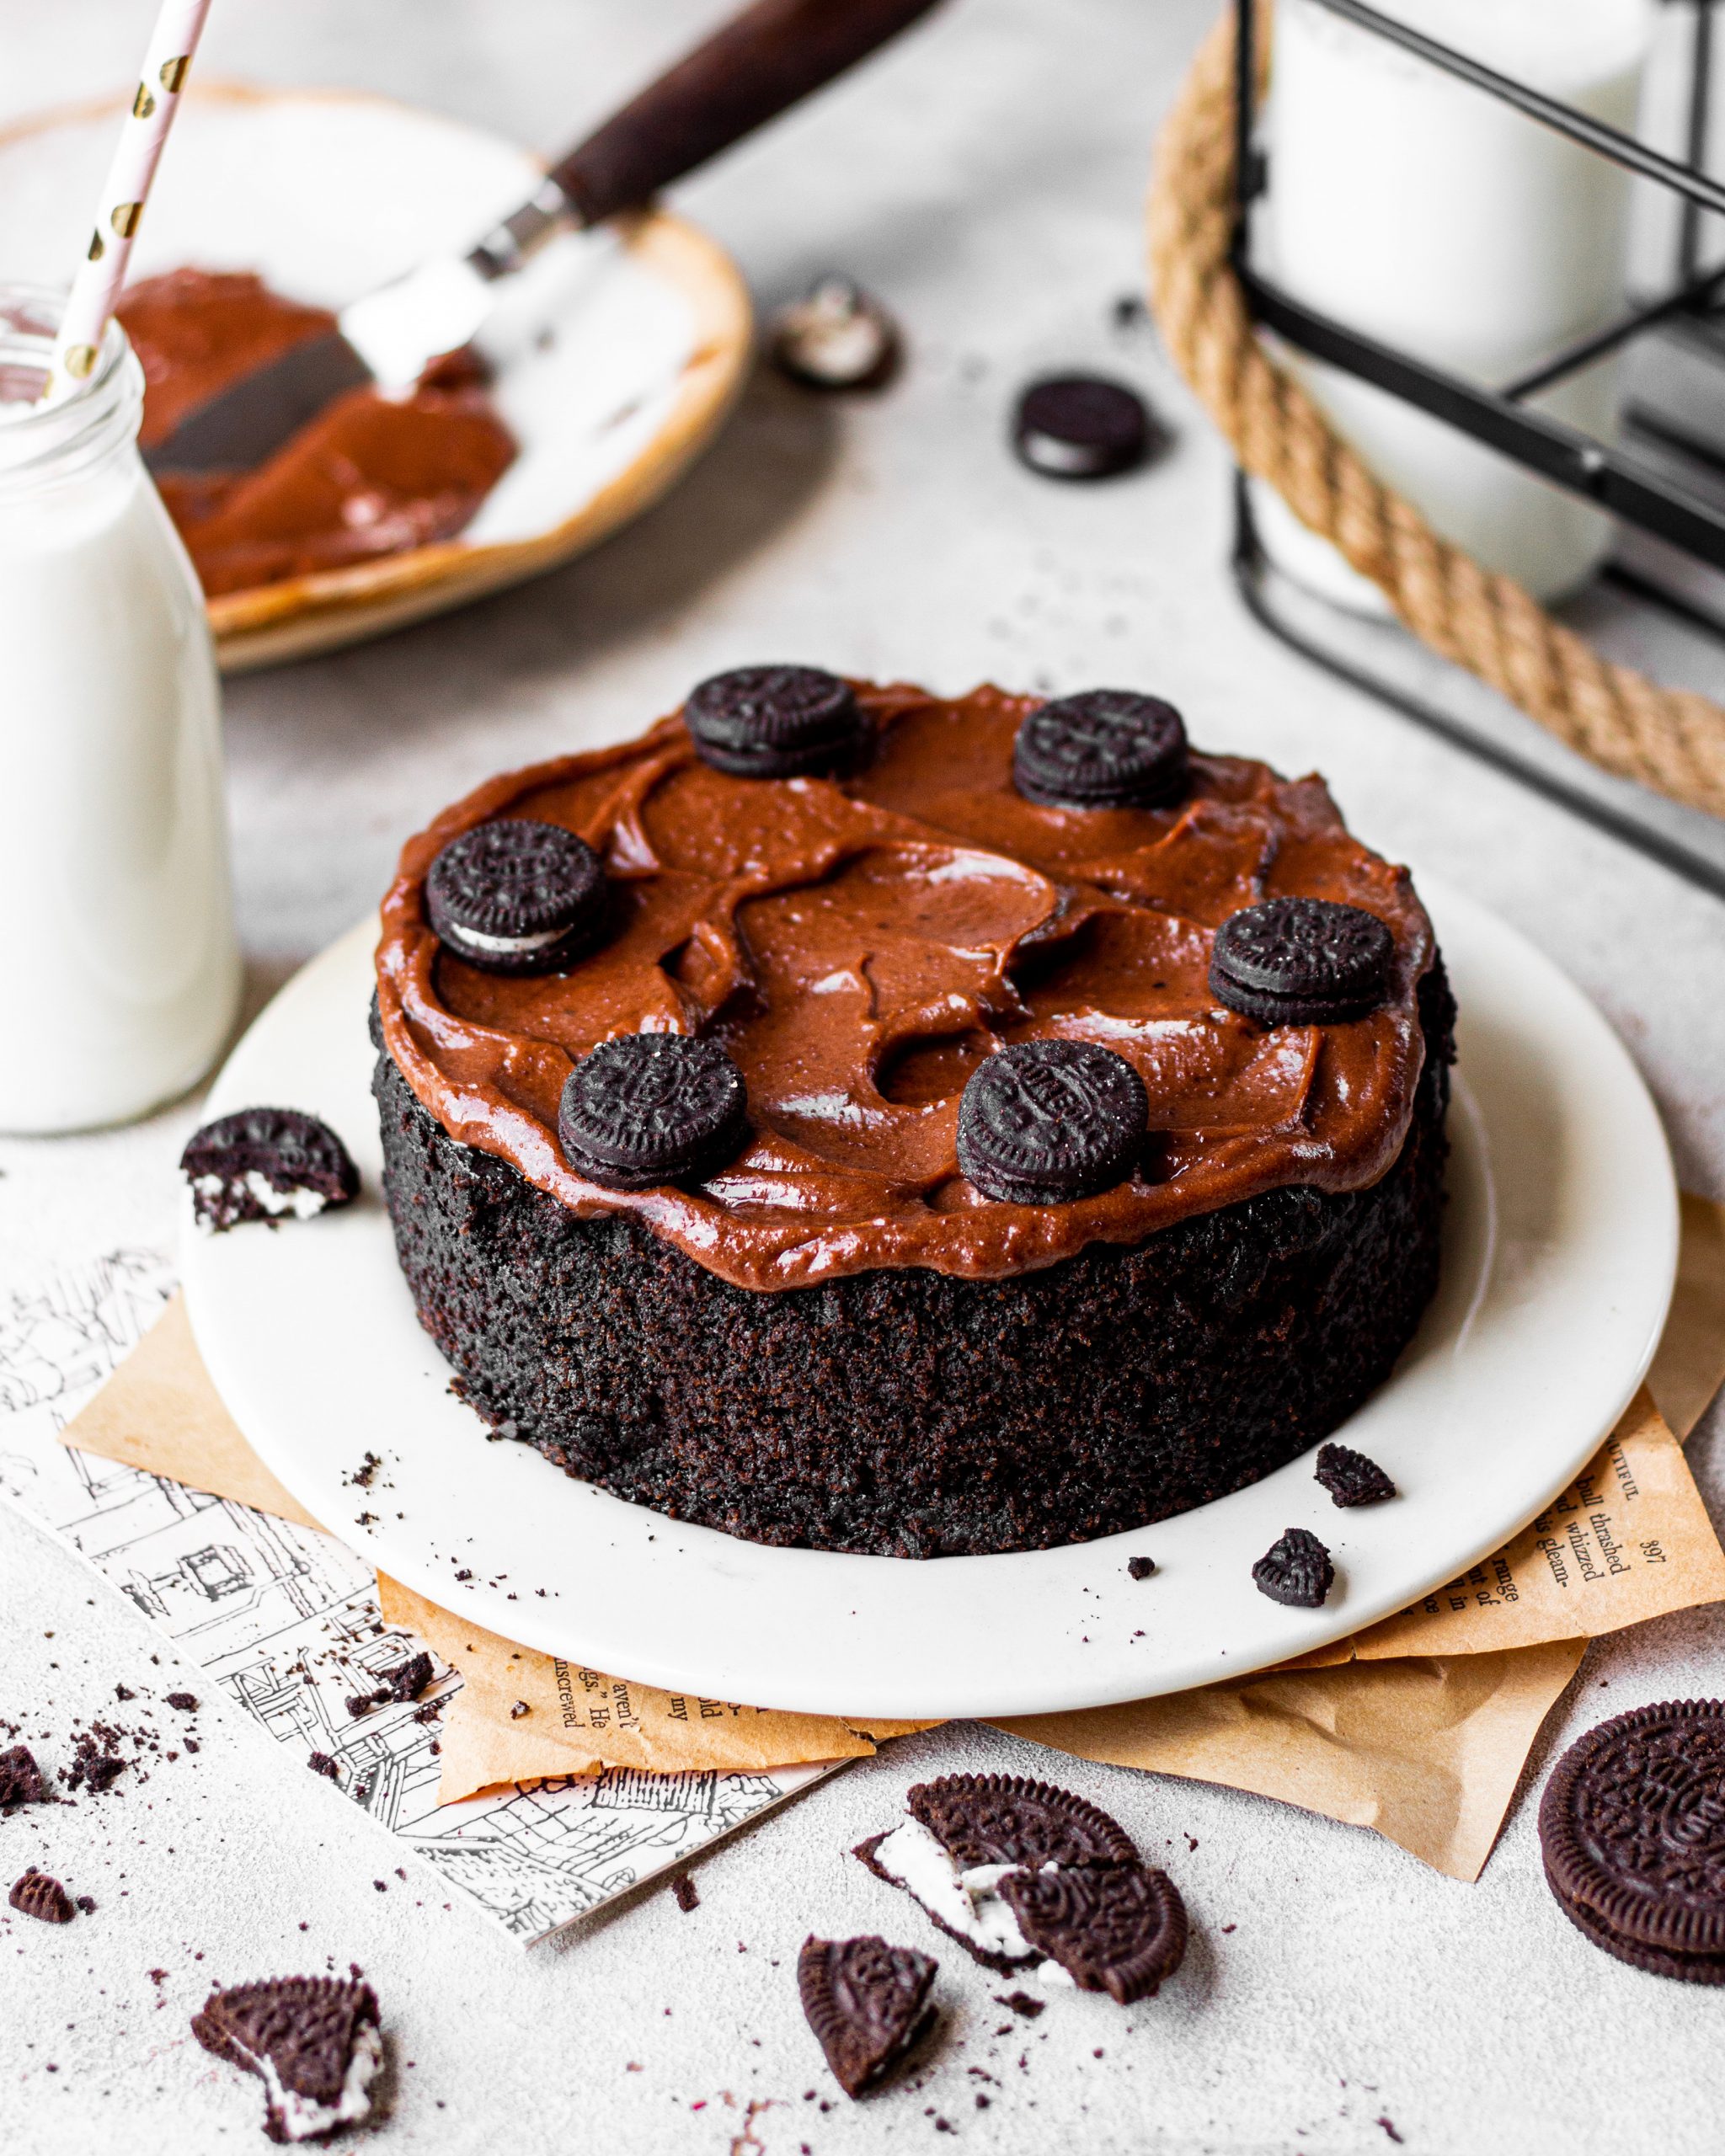
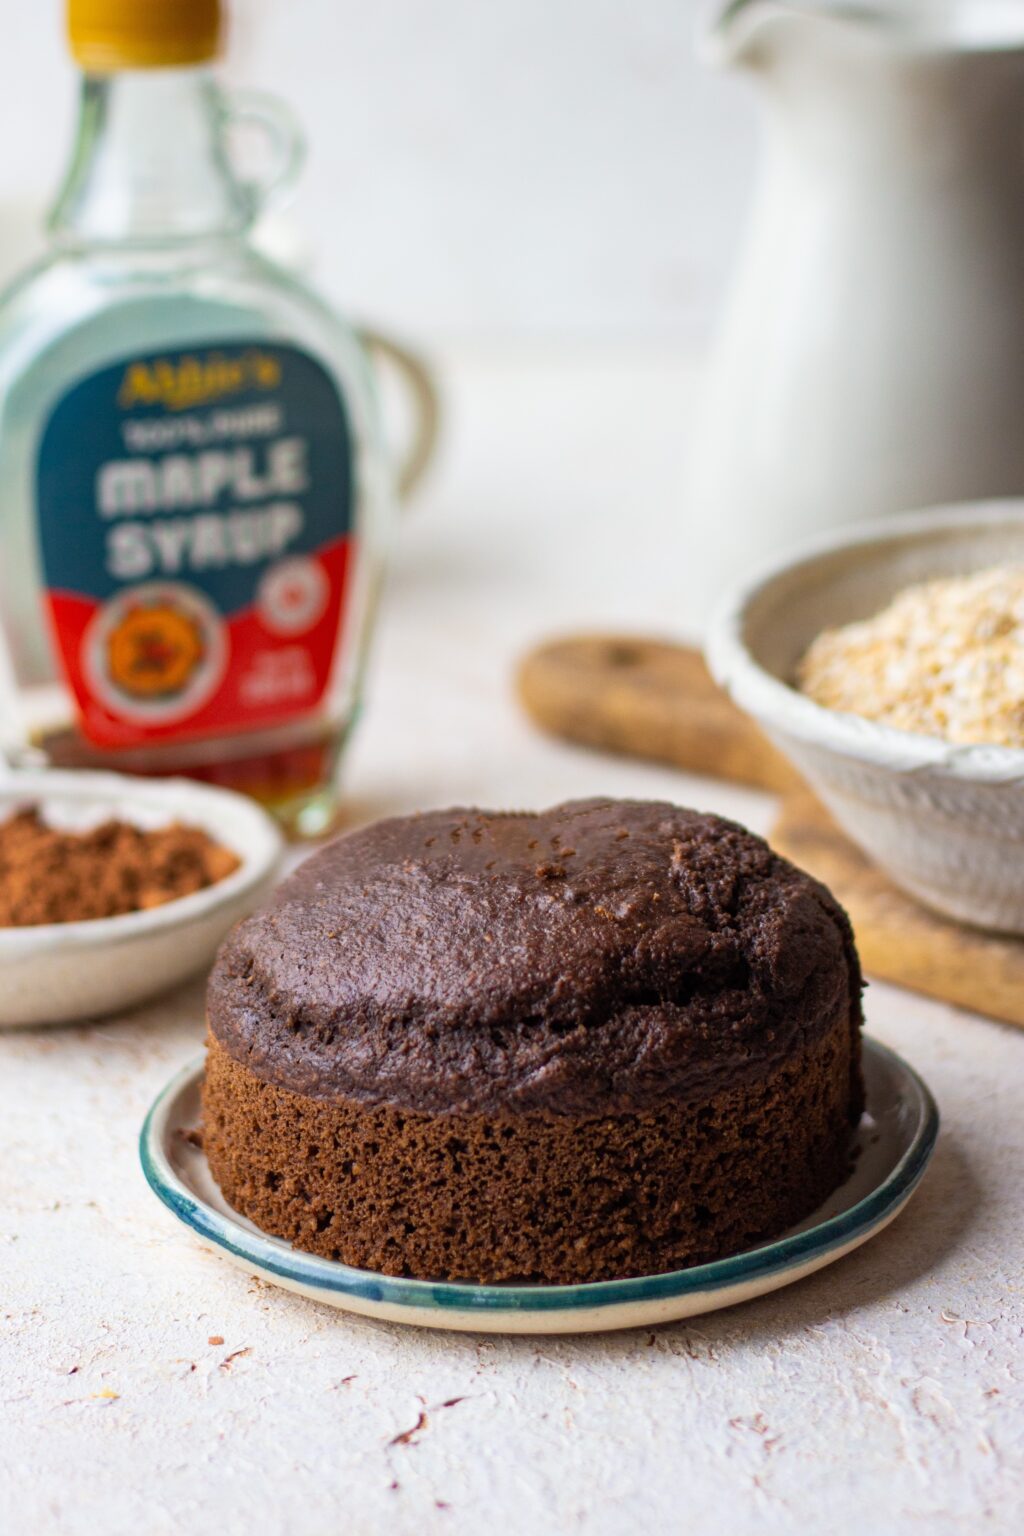
As someone who believes in the magic of homemade desserts and the joy, they bring to both baker and eater alike, I’m excited to share with you a variety of methods and techniques that will empower you to create a decadent chocolate cake, NO OVEN REQUIRED.
But why bake without an oven, you ask? Well, the reasons are as varied as the desserts themselves. Perhaps you’re somewhere in the outdoors, craving a taste of home amidst the wilderness. Or maybe you’re living in a tiny apartment with a kitchenette that’s more cozy than spacious, yet still yearning to whip up a decadent treat for yourself and your loved ones. Then there are those moments when the oven decides to throw a tantrum, leaving you high and dry right when you need it most. In times like these, oven-free baking isn’t just a convenient workaround—it’s a lifeline, a way to turn obstacles into opportunities.
I hope you are ready to defy convention and unleash your inner pastry wizard? Join me as we explore a treasure trove of alternative baking methods that promise to revolutionize the way you approach dessert-making. From stovetop alchemy to ingenious hacks that harness the power of everyday kitchen appliances, we’re about to embark on a journey that will challenge everything you thought you knew about baking.
I have done a YouTube video explaining the same topic as well. You can check that out here.
1. CHOCOLATE CAKE IN A MICROWAVE
Microwave baking operates on the principle of dielectric heating, where electromagnetic waves agitate water molecules in the food, generating heat and cooking the ingredients from the inside out. This rapid cooking process allows for quick and efficient baking without the need for preheating.

HOW IT WORKS
Microwave baking harnesses the power of electromagnetic waves to cook food rapidly and efficiently. When you place your cake batter in the microwave, the microwave oven emits microwaves that penetrate the food, causing water molecules within the ingredients to vibrate and generate heat. This heat cooks the batter from the inside out, resulting in a moist and tender cake in a fraction of the time it would take in a conventional oven.
ADVANATGES OF MICROWAVE BAKING
- Speed: Microwave baking is lightning-fast, allowing you to whip up a homemade cake in a matter of minutes rather than hours.
- Convenience: With no preheating required, microwave baking is incredibly convenient, making it perfect for satisfying spontaneous cravings or whipping up a quick dessert for unexpected guests.
- Energy Efficiency: Microwaves use less energy than conventional ovens, making them a more environmentally friendly option for baking small batches of treats.
- Moisture Retention: The rapid cooking process of a microwave helps seal in moisture, resulting in cakes that are delightfully moist and tender.
DISADVANATGES OF MICROWAVE BAKING
- Limited Size: Microwave ovens typically have smaller capacities than conventional ovens, necessitating adjustments to recipe quantities or the use of smaller baking vessels.
- Uneven Cooking: Microwave ovens may cook unevenly, leading to areas of overcooked or undercooked cake if not monitored carefully. Rotating the cake halfway through the cooking process (if the microwave plate doesn’t revolve) can help promote more even cooking.
- Lack of Browning: Unlike conventional ovens, microwaves do not produce the same browning effect on the exterior of baked goods, resulting in a less visually appealing finished product.
- Texture Challenges: Achieving the desired texture can be challenging with microwave baking, as the rapid cooking process may result in a denser or chewier texture compared to oven-baked cakes.

TIPS WHILE MAKING CHOCOLATE CAKE IN A MICROWAVE
- Mixing Technique: Properly mixing the cake batter is crucial for achieving the desired texture. Be sure to thoroughly combine the ingredients without overmixing, which can lead to a tough or dense cake.
- Microwave Power Level: Experiment with different power levels on your microwave to find the optimal setting for baking. Lower power levels may result in more even cooking and prevent the cake from becoming rubbery or overcooked.
- Cooking Time: Microwave cooking times can vary depending on the wattage of your microwave and the size of your cake. Start with shorter cooking intervals and check for doneness frequently to avoid overcooking.
- Resting Period: Allow the cake to rest for a few minutes after cooking to allow the residual heat to finish cooking the centre and to ensure a more even texture throughout.
When executed correctly, a microwave chocolate cake should boast a moist, tender crumb with a rich chocolate flavour. While it may lack the crispy exterior of an oven-baked cake, its speedy preparation and indulgent taste make it a delightful treat for any occasion.
2. CHOCOLATE CAKE ON A GAS STOVE
There are two popular methods for making chocolate cake on a gas stove: the salt method and the steam method. We’ll also delve into how to adapt these methods for use in a kadhai (Indian wok) or pressure cooker.
THE SALT METHOD
The salt method involves placing a layer of salt in the bottom of a heavy-bottomed pan to create a dry, even heat source for baking. This method mimics the function of an oven by providing consistent heat from the bottom, ensuring even baking of the cake.

HOW IT WORKS
- Start by preheating a heavy-bottomed pan on the gas stove. Spread a layer of salt evenly on the bottom of the pan to create a level surface.
- Place a wire rack or a heatproof stand inside the pan to elevate the cake pan and prevent direct contact with the salt. Place the cake pan on the rack and cover the pan with a lid to trap the heat.
- Cook the cake over medium-low heat, adjusting the flame as needed to maintain a steady temperature. Check for doneness with a toothpick inserted into the centre of the cake.
ADVANTAGES OF SALT METHOD
- Provides even heat distribution, resulting in a well-baked cake. Suitable for baking cakes with a denser texture.
DISADVANTAGES OF SALT METHOD
- Requires careful monitoring of heat to prevent burning. May not produce as moist a cake as the steam method.

THE STEAM METHOD
The steam method utilizes the power of steam to gently cook the cake, resulting in a moist and tender crumb. This method is ideal for achieving a soft texture and preventing the cake from drying out.
HOW IT WORKS
- Pour water into a large, heavy-bottomed pan (such as a kadhai or pressure cooker) and place a trivet or heatproof stand at the bottom to elevate the cake pan above the water.
- Place the cake pan on the trivet and cover the pan with a lid to trap the steam. Cook the cake over medium heat, ensuring that the water maintains a gentle simmer throughout the baking process.
- Steam the cake for the specified time, checking for doneness with a toothpick inserted into the centre
ADVANTAGES OF STEAM METHOD
- Maintains moisture, resulting in a soft and tender cake. Ideal for cakes that require a light and airy texture.
DISADVANTAGES OF STEAM METHOD
- Requires a larger pan or pressure cooker for steaming. Cooking time may be longer compared to the salt method.

TIPS WHILE MAKING CHOCOLATE CAKE ON A GAS STOVE
- Use a Heavy-Bottomed Pan: Choose a sturdy utensil that can withstand the heat of the gas stove without warping or burning.
- Monitor Heat Carefully: Adjust the flame as needed to maintain a steady temperature throughout the baking process. Ideally, it needs to remain on medium-low only.
- Cover the Pan: Keep the pan covered with a lid to trap heat and ensure even cooking. When using a pressure cooker, make sure to remove the whistle and then cook.
- Check for Doneness: Use a toothpick or cake tester to check for doneness. The cake should spring back lightly when touched and the toothpick should come out clean.
Both the salt and steam methods yield delicious chocolate cakes with moist and tender crumbs. The salt method produces cakes with a slightly denser texture, while the steam method results in cakes that are light and airy. Whether you opt for the salt method or the steam method, with a bit of patience and practice, you can create mouthwatering cakes that rival those baked in a conventional oven.
3. CHOCOLATE CAKE IN AN AIR FRYER
Air fryers have revolutionized the way we cook, offering a healthier alternative to deep frying while retaining the crispy texture and delicious flavours we crave. Baking in an air fryer takes this innovation one step further, providing home cooks with a convenient and efficient method for creating a wide range of baked goods
HOW IT WORKS
At the heart of air fryer baking lies the ingenious mechanism of hot air circulation. The appliance’s powerful fan rapidly circulates hot air around the food, creating a convection effect that cooks the cake evenly and efficiently. This circulating air ensures that every inch of the cake receives uniform heat, resulting in a perfectly baked confection from top to bottom.
One of the most remarkable features of air fryer baking is its lightning-fast cooking times. Compared to traditional ovens, which can take upwards of an hour to bake a cake, air fryers can accomplish the same feat in a fraction of the time.

ADVANATAGES OF AIRFRYER BAKING
- Speedy Cooking: Air fryers cook food much faster than conventional ovens, reducing overall baking time.
- Even Cooking: The circulating hot air ensures even cooking, resulting in uniformly baked cakes.
- Moisture Retention: The enclosed cooking chamber helps retain moisture, producing cakes with a tender crumb.
DISADVANATAGES OF AIRFRYER BAKING
- Limited Capacity: Air fryers have limited space, so you may need to bake smaller cakes or divide the batter into multiple batches.
TIPS WHILE MAKING CHOCOLATE CAKE IN AN AIRFRYER
- Choose the Right Pan: Opt for a cake pan or silicone mold that fits comfortably in your air fryer basket, ensuring even air circulation around the cake.
- Preheat Properly: Always preheat your air fryer before baking to ensure consistent results.
- Monitor Cooking Time: Check the cake regularly toward the end of the cooking time to avoid overbaking.
- Let it Rest: Allow the cake to cool in the air fryer basket for a few minutes before transferring it to a wire rack to cool completely.

When done right, a chocolate cake baked in an air fryer boasts a tender crumb with a moist and rich chocolate flavour. While it may differ slightly in texture from oven-baked cakes, its crispy exterior and speedy cooking time make it a convenient and delicious option for satisfying your sweet cravings.
- 1 cup yogurt
- ½ tsp baking soda
- ½ cup vegetable oil
- ¾ cup sugar
- 1 tsp vanilla extract
- 1 cup all purpose flour
- ½ cup cocoa powder
- 1 tsp baking powder
- In a bowl, mix together yogurt and baking soda using a spoon and set it aside till it becomes foamy and bubbly.
- Add sugar, oil and vanilla extract to the above mixture and whisk till everything is well combined.
- Now add the dry ingredients - flour, cocoa powder, and baking powder and whisk to form a smooth cake batter.
- Now, pour the chocolate batter into a mould respective of the cooking method used. Use a silicon or glass dish for microwave and silicon or aluminium mould for the other two methods.
- The cake will bake at regular setting for 7 mins in the microwave. The cake will bake on low-medium heat for 50-60 mins on a gas stove. The cake will bake at 180 degrees Celcius for around 30 mins in an air fryer.
OTHER NO-OVEN RECIPES FROM THE BLOG
If you like my Chocolate cake recipe and happen to make them in your kitchen, do tag me on Instagram and share pictures with me using #Bakewithshivesh. Happy Baking!

 Hello. I'm Shivesh Bhatia, a food blogger and food stylist from Delhi, India. Welcome to Bake With Shivesh, where I'll help you create magic in your kitchens with my simple recipes.
Leave a Reply