All cakes come out of the oven with their usual puffed up domes (courtesy of the baking soda). While they can still be put up for frosting and icing straightaway like I do with certain recipes, another popular way that I like to style my cake is by leveling and layering it.
WHY LEVEL YOUR CAKE?
Leveling means that you cut off the dome part to obtain that flat surface on the top. Most professional and commercial cakes opt for this flat top that allows them to style it in numerous ways as per their creativity.
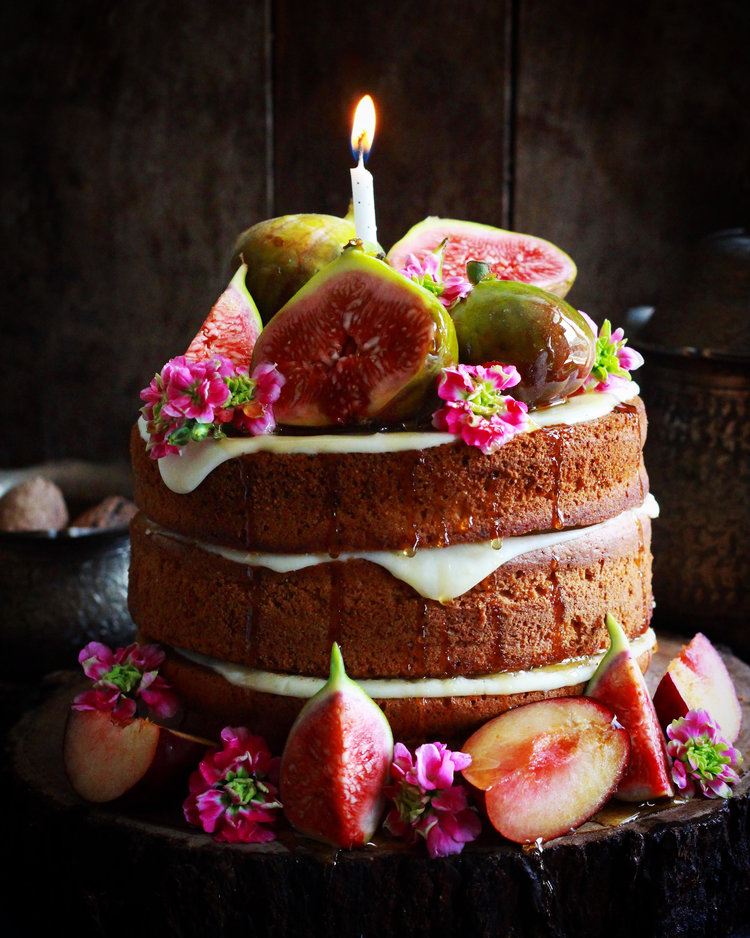
Leveling is primarily done so that the flattened surface could make way for easier stacking and layering. I have leveled my cake in numerous recipes like the Vanilla Poppyseed cake, maple cake recipe, strawberry cake with orange cream-cheese frosting for easier accommodation of the stacking and the toppings that I had in mind. Also, it gives your cake a more desirably professional look, with cleaner and polished surface on the top

Maple Syrup Cake
We have all tried out leveling our cakes sometimes but as nice as it sounds, doing it right might be slightly difficult. This is because you need to make a clean cut on the top as evenly as possible, which isn’t ever easy. An uneven top looks extremely messy to me and sort of brings down the entire look of the cake.
But a cake is a cake and if you could beautifully bake all of it till here, leveling should not be your biggest problem, right? With that optimistic attitude, let’s discuss how to level your cake as efficiently and conveniently as possible.
CAKE LEVELERS OR THE GOOD OL’ SERRATED KNIFE?
One way to go about is to get your usual cake levelers if you have any. But I prefer using a regular serrated knife to go through the process as you can personally improvise however it may be convenient for you to do so. In any case, although my focus may be on a serrated knife here, try whichever you are most comfortable with that also efficiently does your job.
An important tip before you attack your cake: let it cool down! I have heard an seen a lot of people confidently going about to cut off the top directly after they get the cake out of the oven. Frankly, don’t do that! Your cake while it is warm is soft and moist can easily fall apart while you are slicing off one area of it. Let it cool down a bit and get a firm grip so that when you cut it, it does not unnecessarily tear or crack around the area.
SLICING OFF THE DOME:
Now that you have your equipment, let’s get on with the slicing. In case you are less confident about the precision, use a ruler to measure the height of your cake and mark the point on the side of it where you’ll be slicing off the excesses with your serrated knife.
Make sure to mark the same points equidistant from each other around the entire cake by horizontally making a shallow but visible cut on the side surface. You can use toothpicks to mark the same like many do, but I always feel that to be more hard work for me. Directly marking them with the knife gets the accuracy whilst also saving a lot of my time.
Now try and join these marking points by placing one firm hand on top of the dome and using your other hand to horizontally go through the sides with the knife. Be careful not to insert the knife too deep and definitely not with its end point towards the cake. This could lead you to cut through the cake unevenly towards the center.
At the same, rotate your cake, at least close to 45 degrees, while make a slow gradual and shallow slicing from the sides.
GETTING THAT PERFECT CAKE LEVEL:
Once you have loose flap around the entire cake, use the same knife to now saw through the center. There is no need to hurry with this but make sure you use swift movements to carefully slice out the entire dome. Once the pieces are completely separated from the rest of the cake, lift them and place them on a different bowl or utensil, or maybe just eat them like I do! 😛
Hurrah! You have your flat top ready for use. In certain cases you may feel that that cut has not been as clean as it should be or maybe that the center is too loose with moisture to hold your toppings. For that, you can conveniently just turn the cake upside down so that the firm bottom faces the top and is a better base for your toppings work, but remember to remove the parchment paper underneath if you used any.

Strawberry cake with Orange Frosting decorated with fresh strawberries
That’s all you need to do to level your cake. You can repeat this process if you wish to stack more layers for a multi-tiered cake. In case you still are not able to get this right, that’s okay. Precision comes with practice so you will get your perfect, leveled, flat top in time. But if you have more queries regarding the same, feel free to comment your questions on the space below.
Until then, hope you are all blessed with a perfect leveled cake for the week 🙂

 Hello. I'm Shivesh Bhatia, a food blogger and food stylist from Delhi, India. Welcome to Bake With Shivesh, where I'll help you create magic in your kitchens with my simple recipes.
Leave a Reply