
If you follow me on Instagram, you’d know that I absolutely love styling my desserts and taking pictures to share with you guys. I’ve been styling food for about 6-7 years now and besides styling food for my feed, I’ve done it commercially for many brands. But the best part of it has been all the food styling workshops I’ve taken in so many cities which gave me a chance to meet you all!
Food styling is an important aspect of food photography because it makes your delicious tasting food even more delicious to look at. So in today’s article, I share 5 easy food styling tips for you to make your photos look stunning and up your Instagram game!
What is Food Styling?
Food styling, as I said before, is an art of playing with food and food arrangements so it looks appealing, delicious, and fresh.
Articles over the internet will tell you that food styling is nothing by ‘plating food for filming’. But there is so much more that goes into it. One can not be a food stylist if one lacks the imagination of elevating pictures to another level simply by adding an ingredient to the frame or simply by shifting crockery.
A plethora of restaurants in the food industry now needs a food stylist round the clock if they are willing to market themselves to another level and in another fashion. Food marketing is not about menus and pamphlets anymore. There now exist an endless list of food styling courses from where you can know more about professional food styling and also food styling for beginners.
The very base or foundation of food styling involves using the freshest and the prettiest of food available in the best possible manner in order to make them highly pleasing to the eyes and this is exactly what we are going to know more about today!
My set-up for styling food
Before we dive into tips, let’s quickly talk about a basic and simple set-up that you’ll need for styling food –
- You’ll need a table on which you’ll keep the main subject i.e. the food.
- I usually prefer keeping this table right next to a huge window, which is a source of natural light for all my pictures.
- On the table, I place two backdrops – One sleeping backdrop on which the food is kept and one standing backdrop, which serves as the background for the image. Both the backdrops are of complimenting colors.
Tips for food styling
- Food is the star of the image
This might sound slightly obvious, but it’s also something that we all tend to forget at times. The first thing that the audience should see when they look at your image is the food. The food should be the star of the photo and stand out. A mistake that I made for the longest time was that I overshadowed my food with other elements in the picture, like props, fabrics, and backdrops. If you’re a beginner, one tip I’d like to give you is to always place the food first in the frame. Then you can go ahead and select other elements according to the food you’re styling and see if they complement your food or not.
If food is the star of the image, the props are the supporting actors. One way to make sure that your food is highlighted is by making sure that you don’t overdo any other elements in the picture.
- Set the mood right
Be very clear about the mood of the picture- you can either go with very light and bright or give your pictures a dark and moody treatment. Once you decide the mood of the image, all your elements, be it your props, fabric, etc. will depend on the mood.
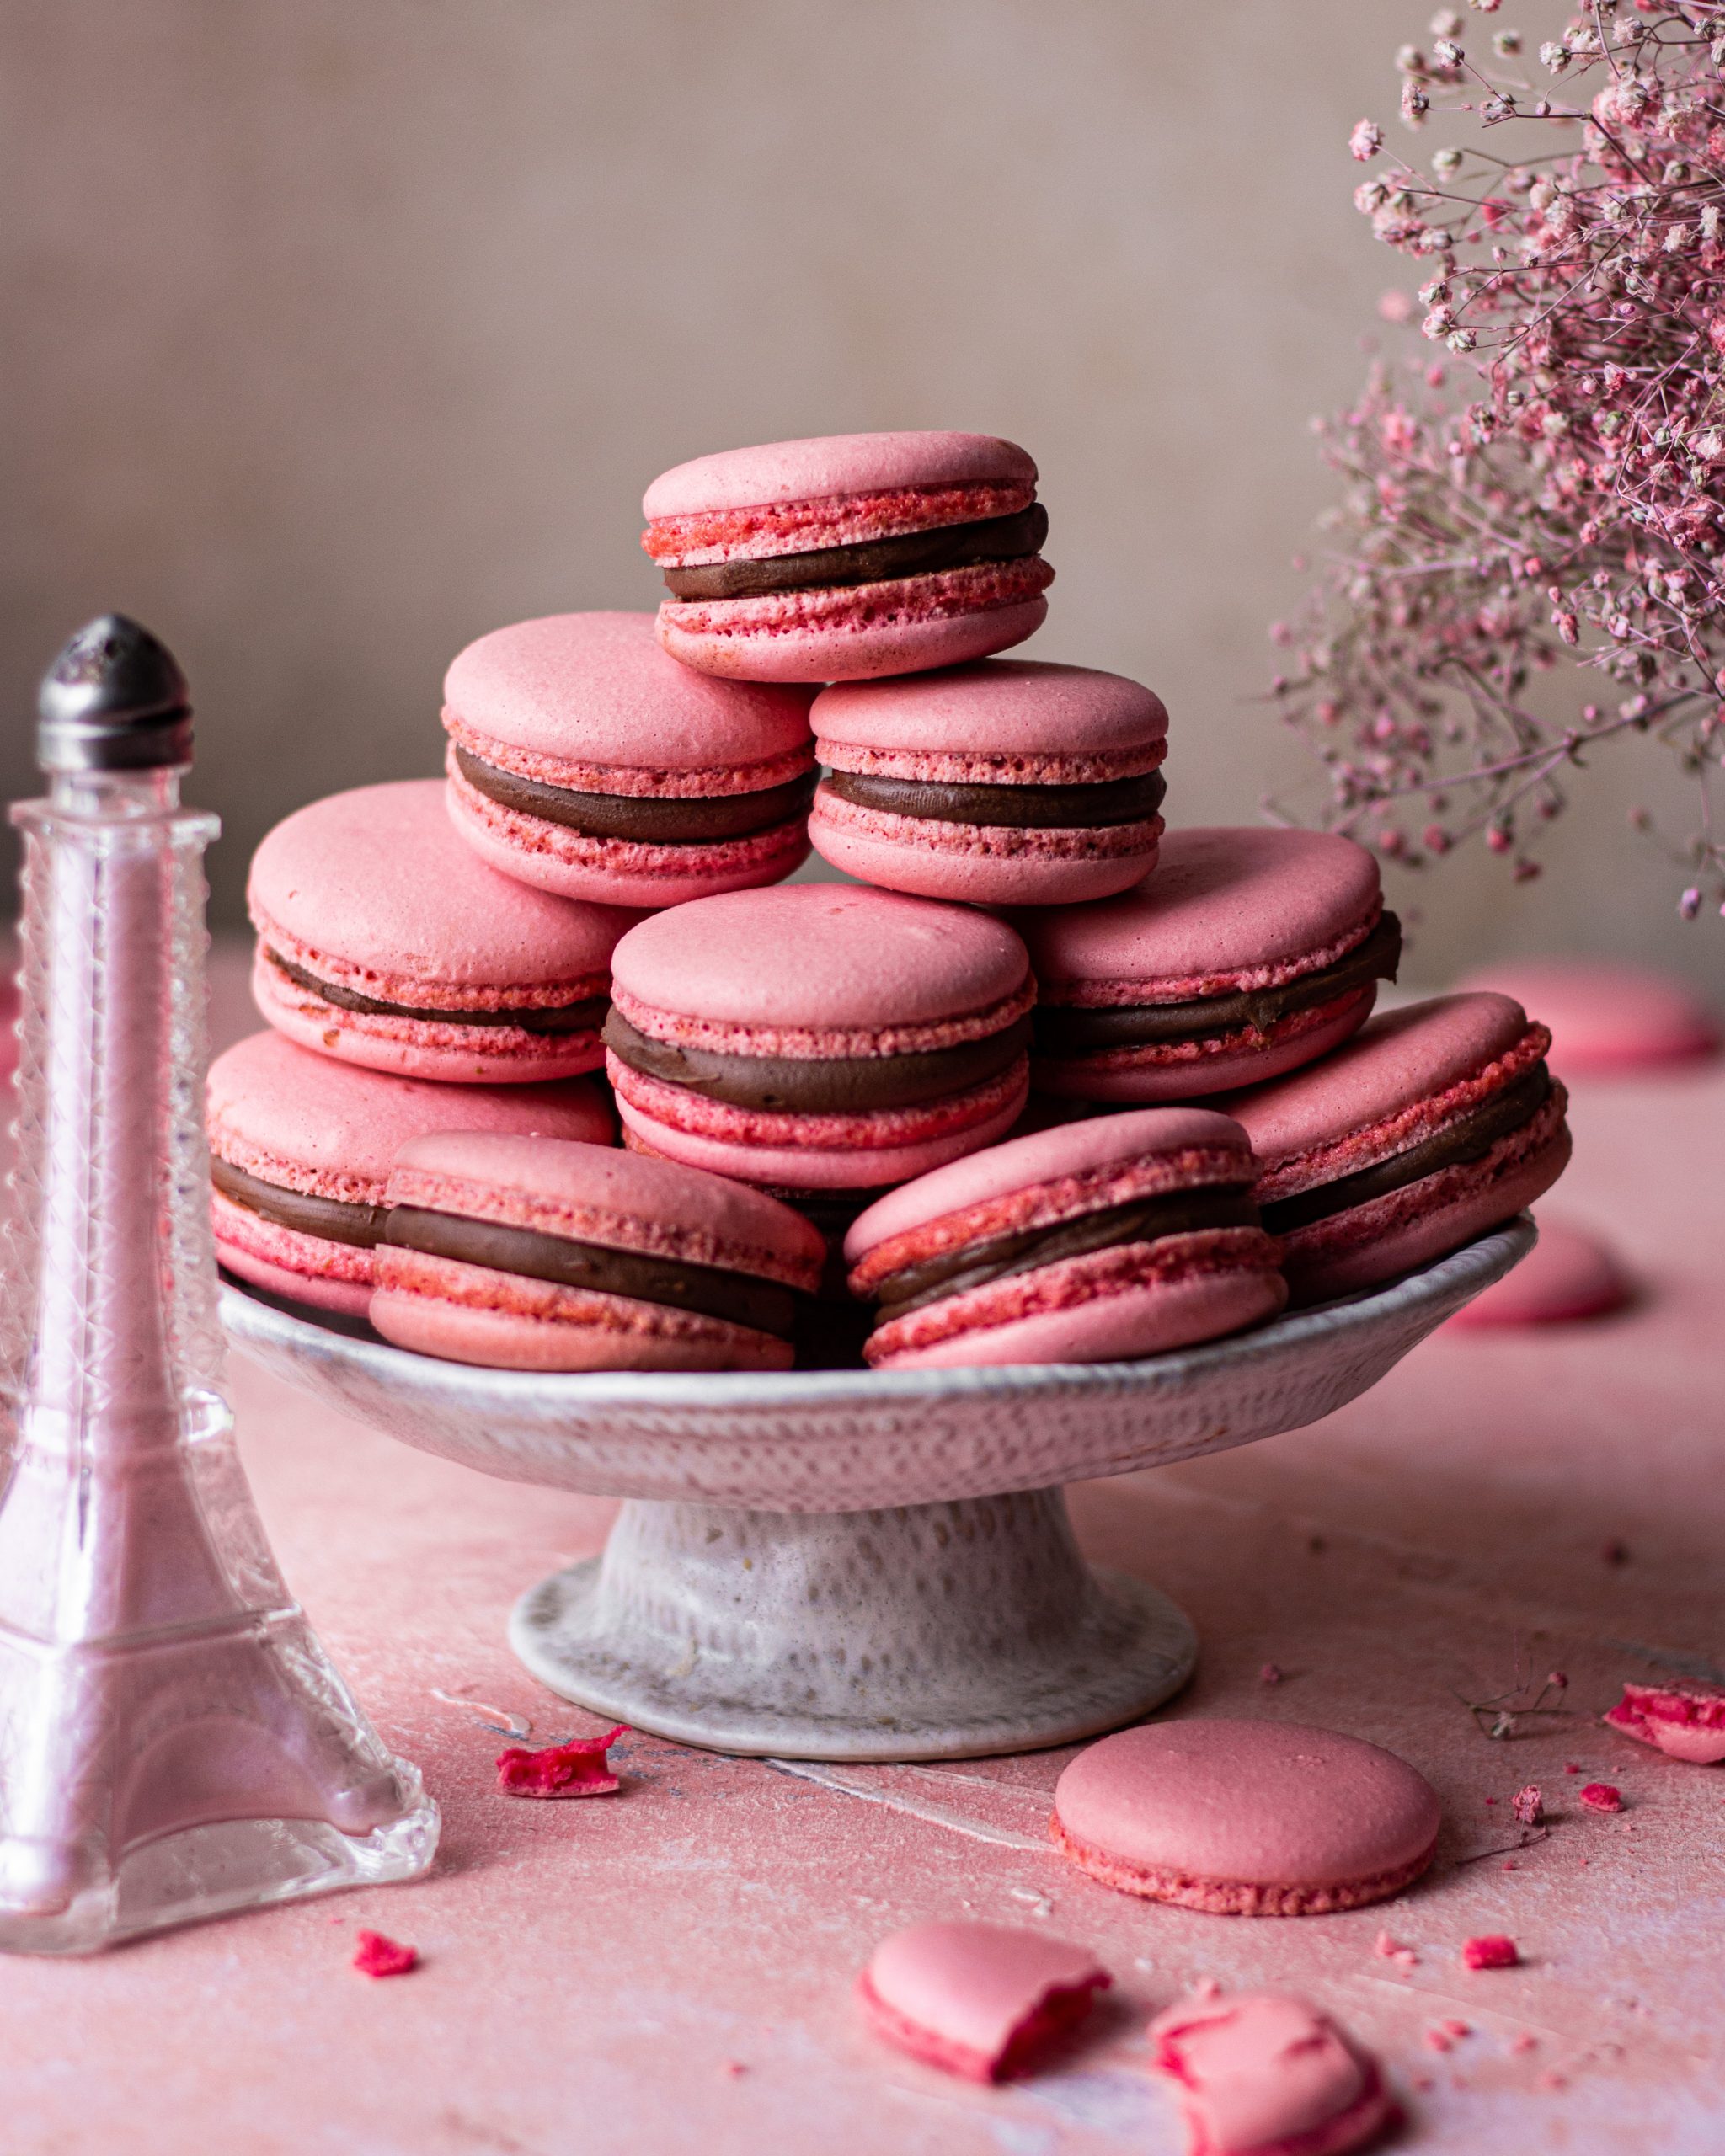
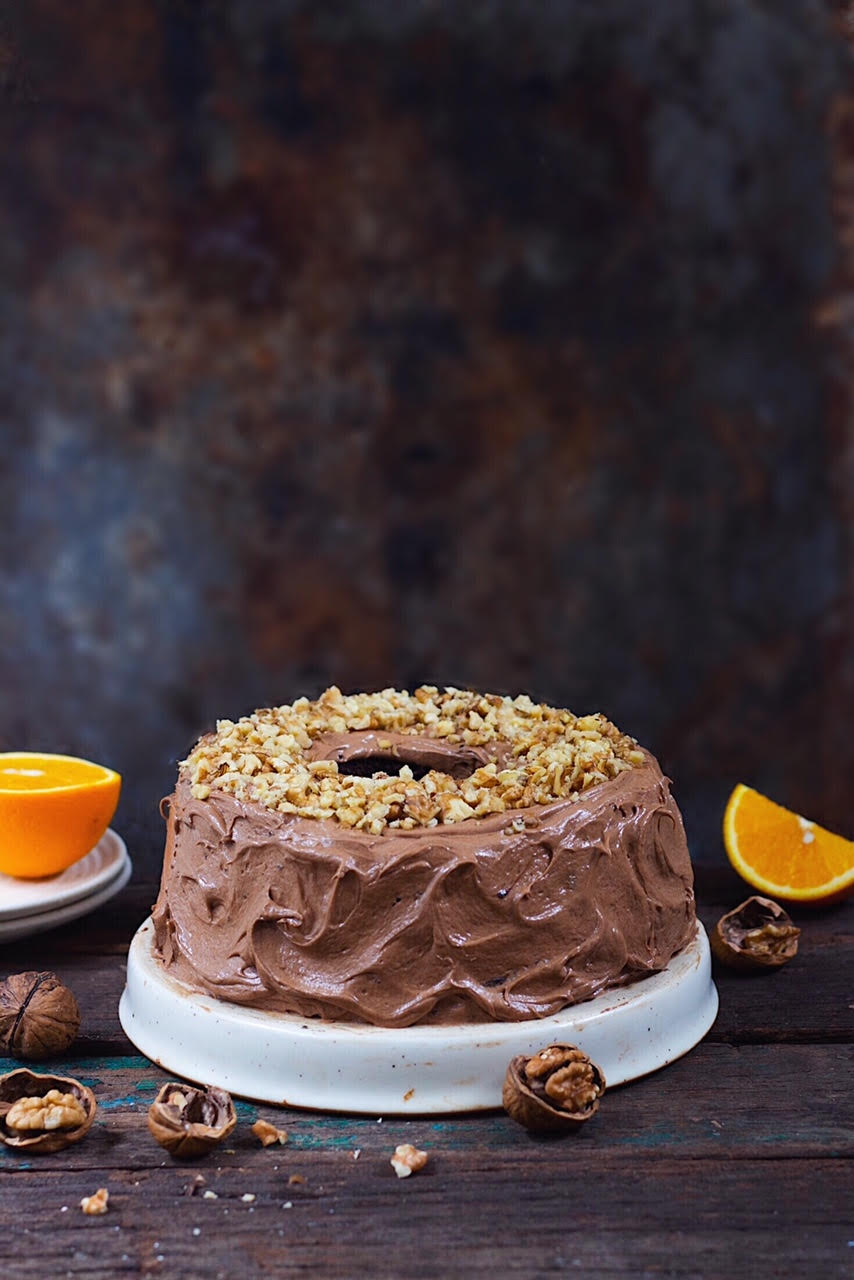
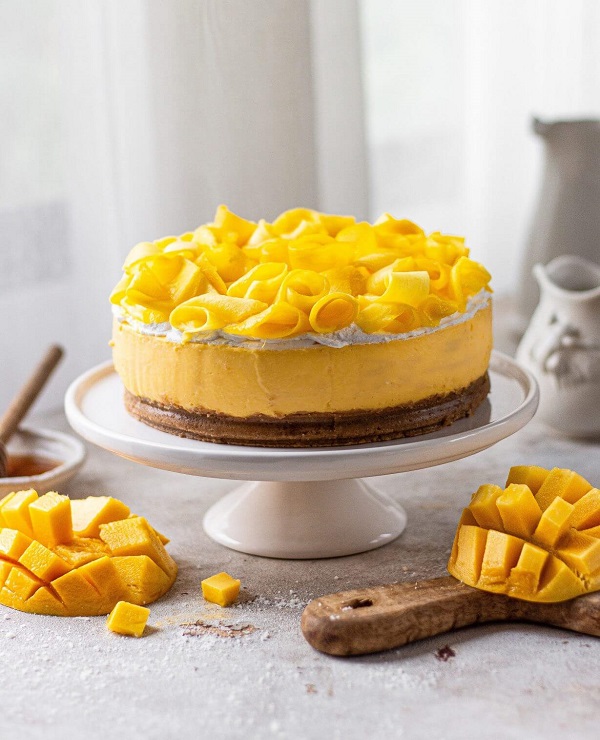
The mood of your image will depend on the food or the dessert you’re shooting. For example- If I’m shooting a mango cake, I would relate it to summer and give the image a very bright and vibrant look using a lot of light and colors. However, if you’re shooting something like chai or a choco lava cake, you’ll associate the image with warmth and most likely go with a darker, moody image.
If I’m shooting something that has to be bright, I’ll make sure that the backdrop, as well as the fabric and cutlery, are of lighter tones so that it fits with the mood and composition.
- Invest in backdrops
When we’re starting out with food photography, we often end up choose backdrops that are easily available, for example, tables at home or fabrics from the kitchen. But if you want to take good pictures, it’s time you invest in a good quality backdrop.
- Using natural backdrops – shoot on marble slabs, make backdrops by assembling pieces of wood, using rustic trays etc.
- Make your own DIY backdrop – take an MDF board, a sponge and dab two complimenting colors on the board. Once it dries up, rub it with sandpaper to give it a distressed look.
- Order backdrops online- My personal favorite for ordering backdrops is Madras Prop store.
- Add layers and height
If you look at your image and feel like something just isn’t right, it’s time to add layers and heights. What I do is, instead of placing my food directly on the backdrop, I like to add a layer of fabric or parchment paper or even a layer of newspaper. What this does is it elevates your food slightly and make it look more prominent.
If your composition is looking very flat, that’s probably because all the elements in your image are of the same height. To break this monotony, I like to place taller elements at the back of my frame and shorter ones towards the front to make my image look more interesting.
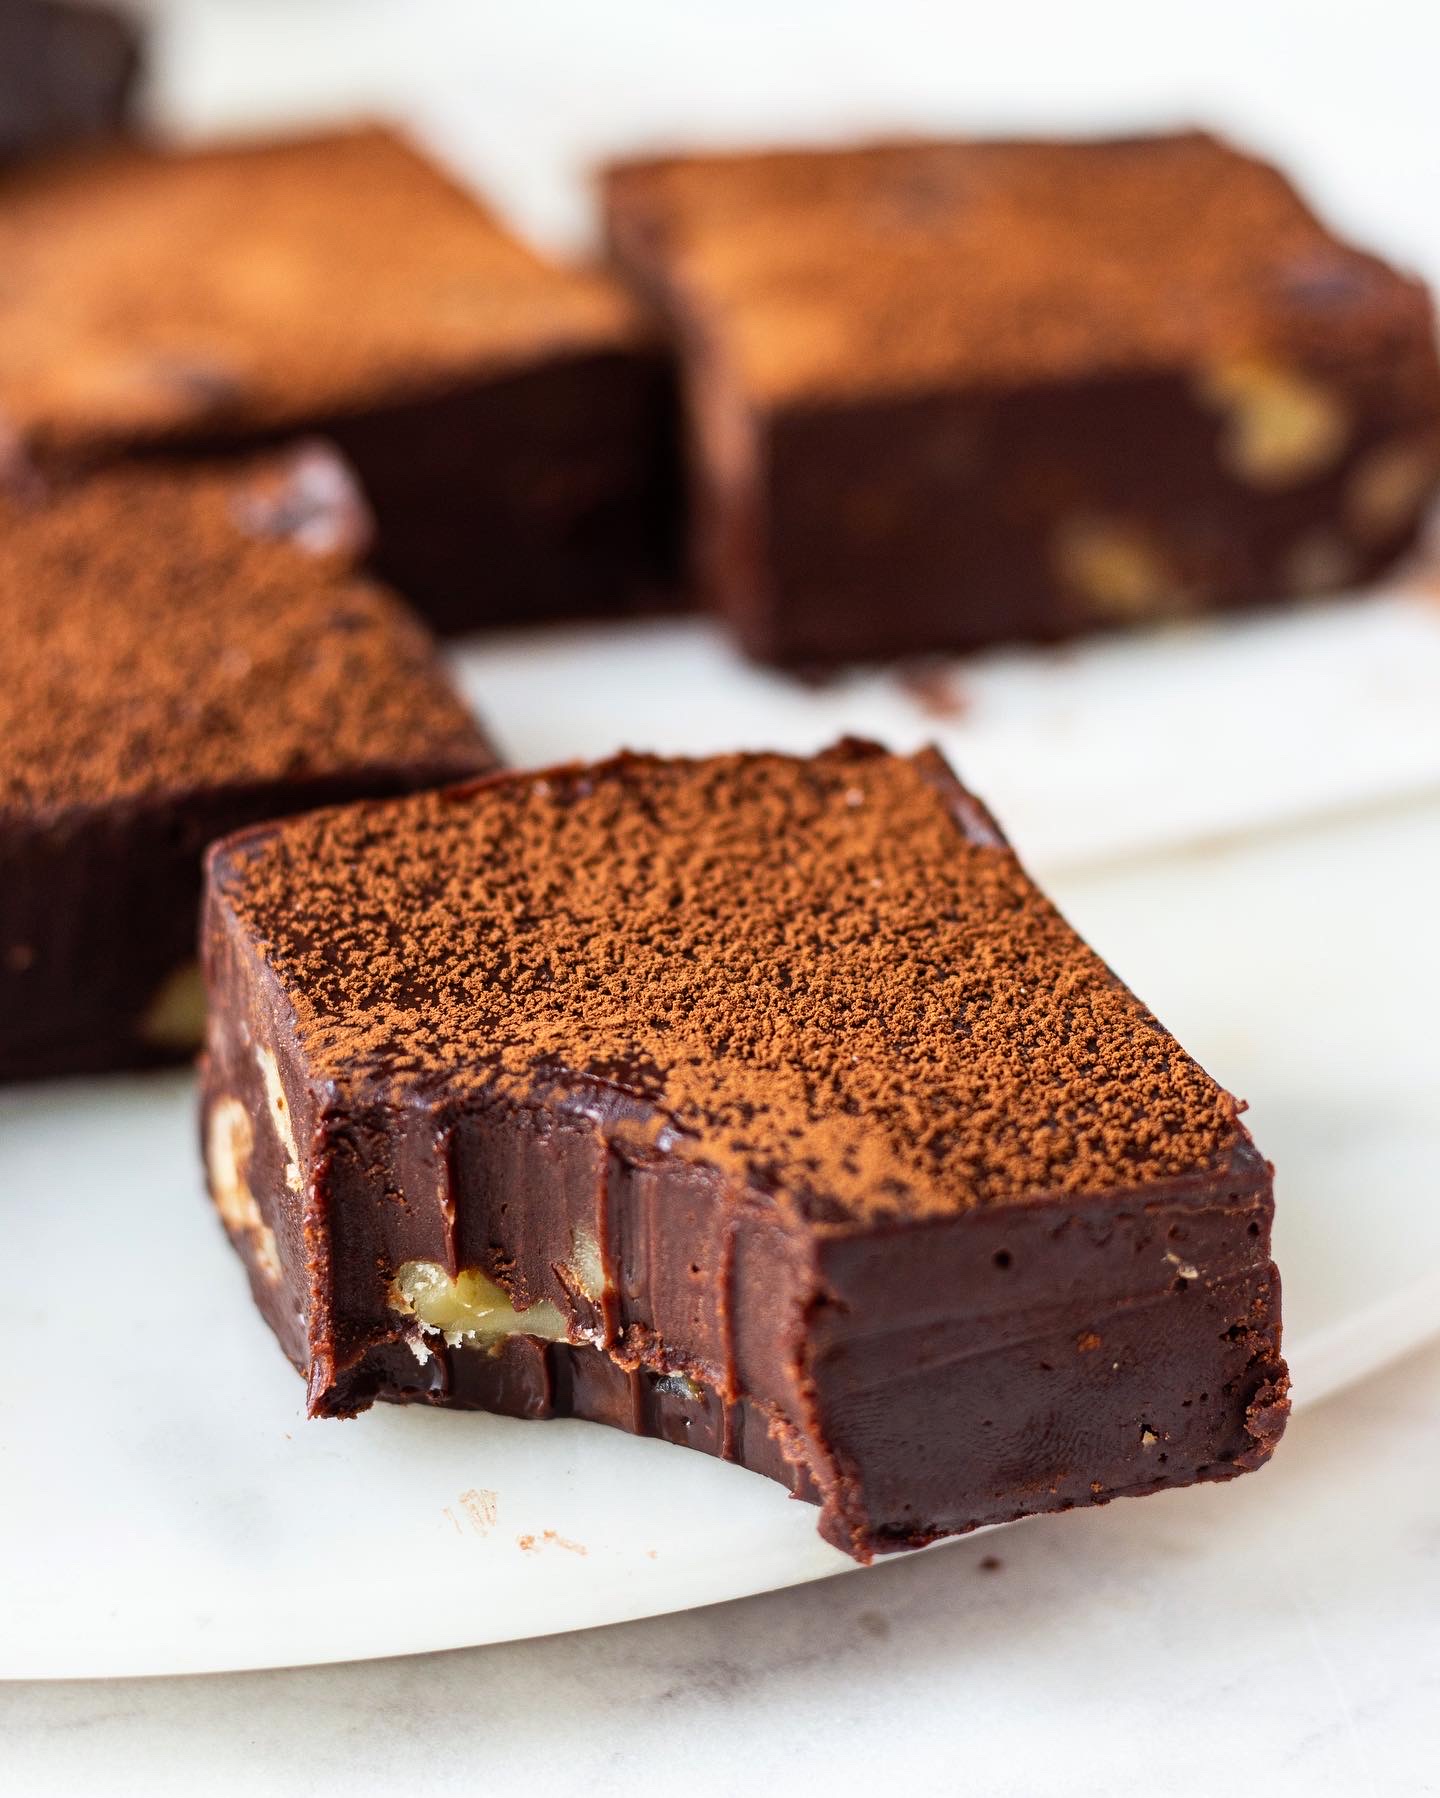
- Make your food look real
Personally, I don’t love food shots that are too manicured. I like keeping my images as real as possible and to do that, I make a mess! Yes, that’s right. I drop a few crumbs here and there or throw in some ingredients in the picture to make my food look more real and accessible. Another tip to make your food look real is to add cutlery to the frame. What this does is, it tells your viewer that you’re welcome to slice into this piece of cake and that’s always a good feeling!
Taking a bite of the food that you’ve styled is yet another way to make your food look real and expressive. Make sure you do this only after you have a few shots of the food untouched!
Now that you’re all caught up with some great food styling tips, the next step is to go take some beautiful pictures! Do check out my article on Food Photography Tips to make your photography job much easier!

The photos are so pretty! I have been following you for a while and I love your blog and channel so much! I myself have a cooking and baking blog but nothing fancy! But you kind of set an inspirational for me!?
hi sir great fan of your recipes n yours too actually i wanted to know how can i do my career in food blogging as i am a food n travel lover
please guide me for the same