Food photography is a skill, one that is constantly being more and more recognized all over the world. It is what is giving an edge to the entire restaurant and food industry and what, in my opinion, is also super easy to learn, if you practice regularly.
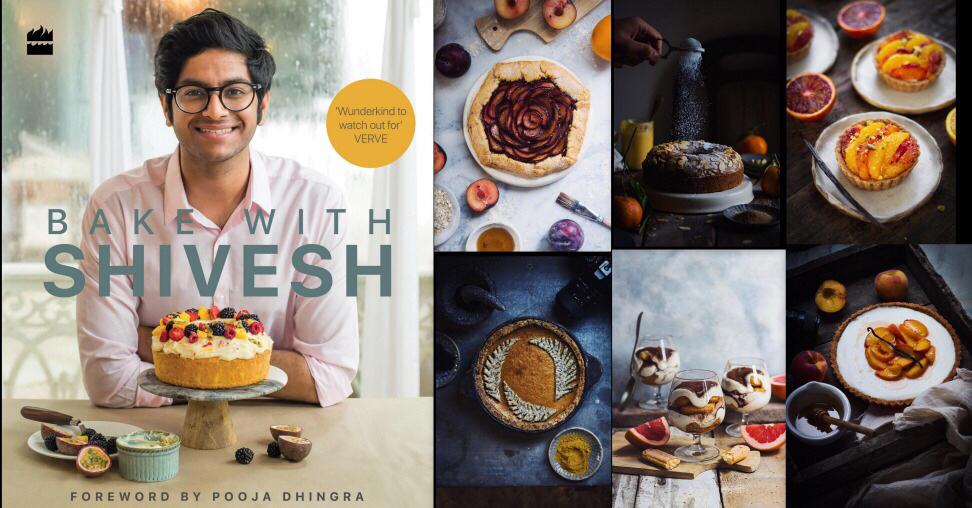
If you go through my Instagram, you will notice that the photographs of all my desserts are done in an innovative manner, with innovative props and designations of them. And today, I am going to share some tips with you guys, so you can understand that all of this is not rocket science! Most of these food photography tips have been selected from my book- Bake With Shivesh. The book has an elaborate section on food photography where I not only share some detailed tips but also help you understand technical concepts of ISO, shutter speed, depth of field, among others, that will make help you improve your food photography significantly.
Why I started focusing on Food Photography
When I started my journey as a baker-blogger at the age of 16, I, firstly was unaware that I would end up with such a huge family with beautiful people exactly like the person reading this blog, but I knew I wanted to be different and experimental. With a concise knowledge of baking, I started thinking about ways in which I could elevate whatever I am baking and trust me, even if your desserts look gorgeous, only good pictures with good props will do them justice and thus began my journey in Food Photography.
Although I now shoot with my Canon 700D and it allows me to achieve a lot of depth in my pictures, I started just fine with my iPad. If you are just starting out, don’t let the absence of particular equipment stop you from achieving what you wish for with your pictures. Take out your smartphone and get at it!
Reason Why Food Photography is important today
If we talk about Food Photography in depth, we will end up noticing how useful it is. If you think it only helps food bloggers, you’re highly mistaken. Food photography is one of the greatest benefits for a restaurant which invest in the same. It is the greatest aid when it comes to online marketing for most restaurants as well, it is generating more and more customers for its users every day. In a highly competitive world, food photography is going to be your sturdy boat through rough waters if you’re anywhere associated with the food business.
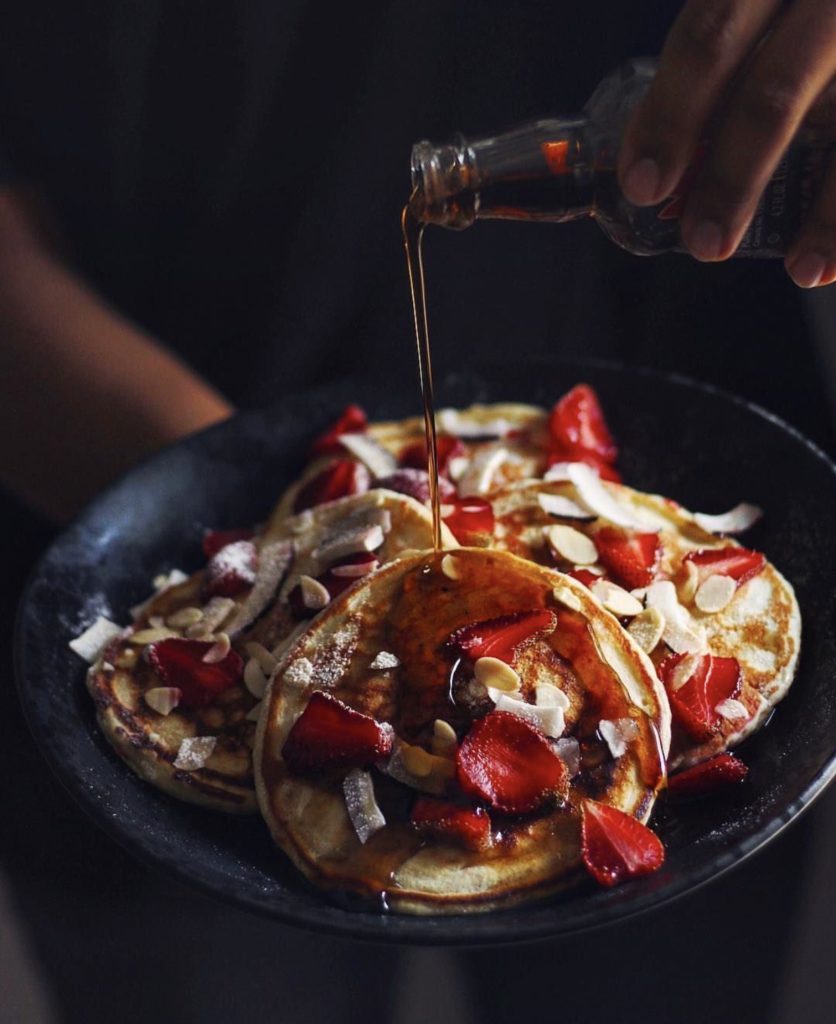
Here are some of my top food photography tips for beginners:
Start photographing with the camera you have
A lot of people tell me they don’t photograph their food yet because they don’t have a fancy camera. Food photography has become synonymous to rocket science for many who think that you can get great food photos only if you have expensive and elaborate equipment. Using a DSLR definitely gives you a great amount of control, however; if you can not or wish to not invest this much, you can always fling out your smartphone and trust me, with the technology of the 21st century, you can easily pass through all photography lessons with flying colors.
You do not have to wait to buy an expensive camera to start photographing. I know that I started off with photography with my iPad and then made a shift to a DSLR. Investing in a good camera is definitely very important but do it when you can. Until then, keep practicing on the best device available.
Don’t invest in a point and shoot
I made the mistake of buying a point and shoot camera when I was starting off. If you are investing in a camera, make sure you do your research and get the best DSLR you can afford. The biggest drawback of a point and shoot is that it has a fixed lens. DSLR has an interchangeable lens, which means you have endless possibilities to experiment and play around with photography. I use a Canon 700D with a 50mm lens for most of my food photography.
Consider Natural Light your Best-Friend
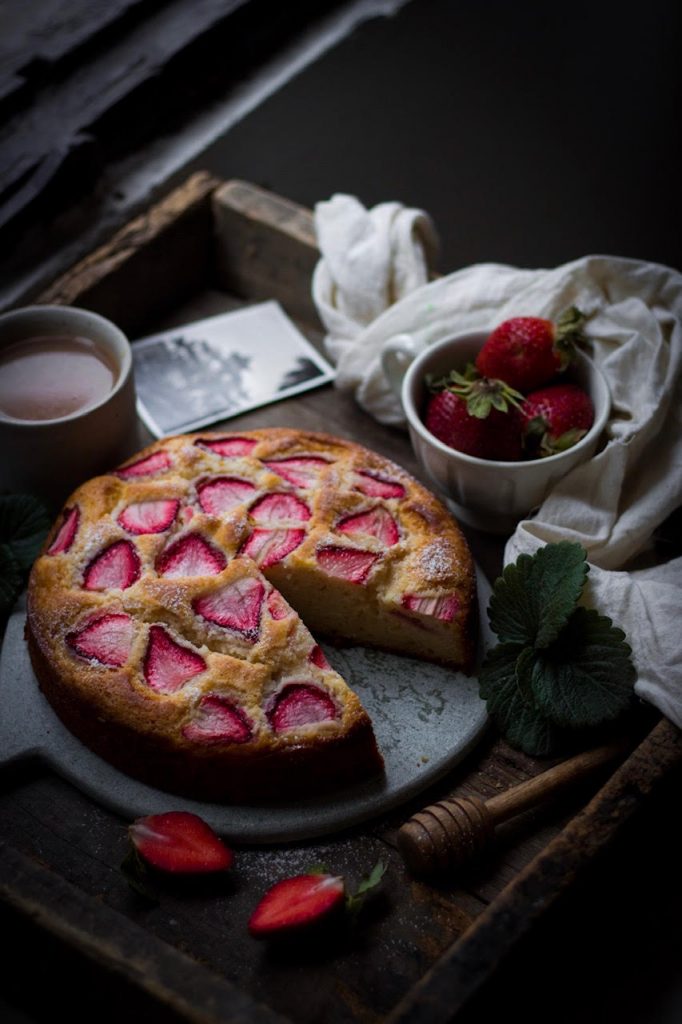
I believe that light is the secret ingredient that makes your photo shine bright and that light is the factor that differentiates a good image from a great image. I always shoot in natural light because using fluorescent light sources like bulbs or tube lights tends to spoil the colors and texture of the food you are photographing. It is great if you know how to manipulate that mode of light, otherwise, natural light is your best friend. To start with, just try to comprehend the relation your dish has with light, i.e., how much or how little does it require to come out just right.
Use a Tripod
I did not use a tripod for the longest time and still avoid setting it up at times. But the truth is, using the tripod will help you improve your pictures to a great extent. It helps you get stability and makes sure your camera does not shake at all while you are shooting. No matter how careful or sturdy you are, you may sometimes shake the camera which will result in a blurry picture. You may not notice this blur on your camera screen but once you view the image on a bigger screen, you will see it. Using a tripod will ensure you get a sharp and crisp image every time.
Select the right angle
You must have heard of terms like ‘top-shot’ or the ‘side-shot’. What exactly are these? These are nothing but simply the most preferred angles in which food shots are taken. While shooting, either with your smartphone or your camera, keep on moving around the dish and understand which angles compliment it best. Do not get to shooting with an adamant mind that a particular angle will highlight the dish better than all others. Try to be more flexible, play around with the zoom and different perspectives of the dish. The angle you choose, if it’s 45 or 60, is also heavily dependent on how your dish looks. Capturing a strawberry tart with a top angle rather than from a side angle and a three-tiered cake from a side angle rather than a top angle is always going to appear better and will have a more pleasing appearance.
Experiment with the Depth of the Field
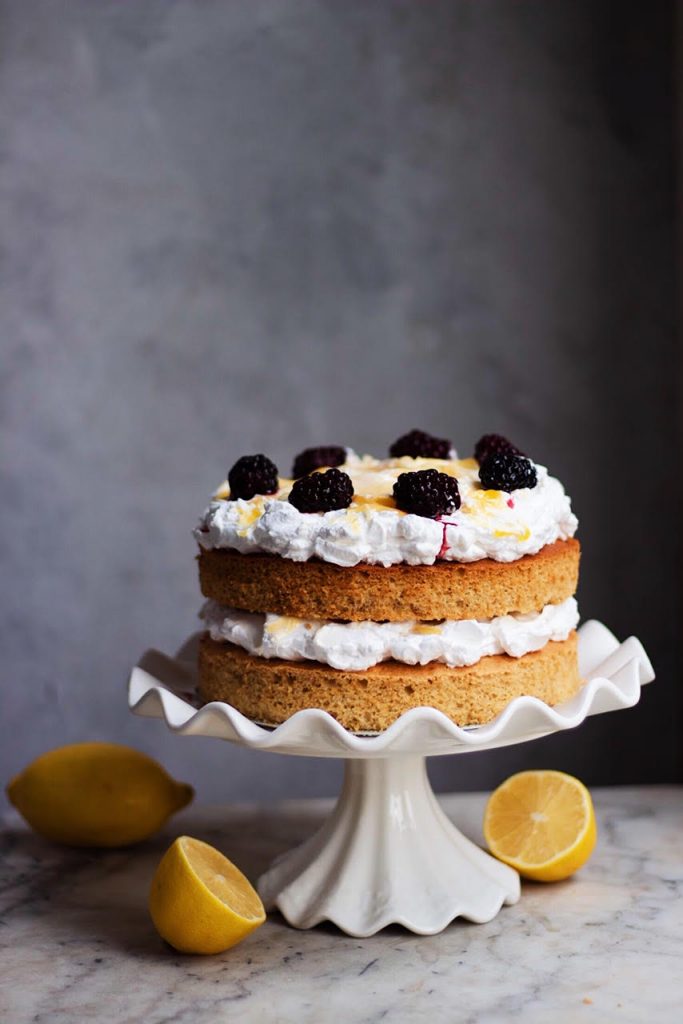
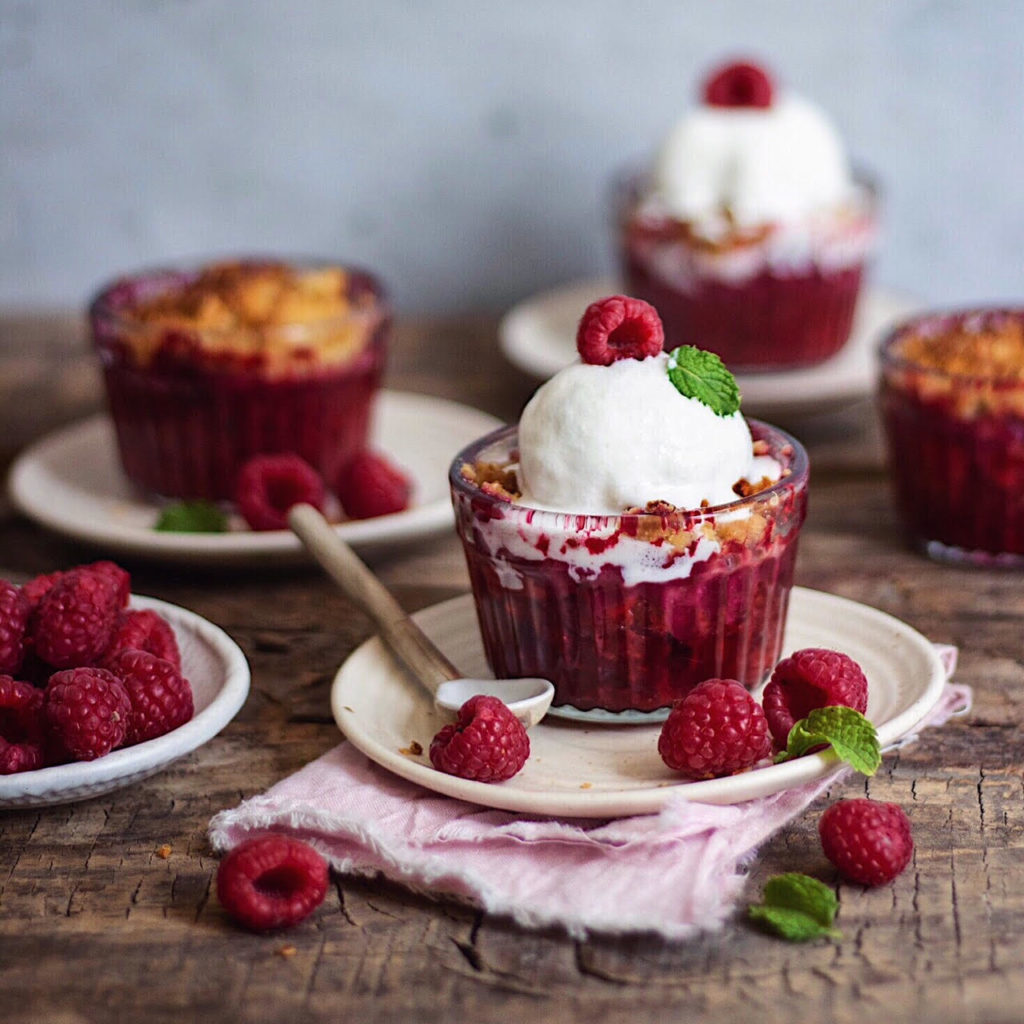
Experimenting with the depth of the field helps you focus on a single area. This creates an interesting depth in the picture and guides the viewer’s eyes to what you want them to see. This technique is particularly helpful when you don’t have anything exciting in the background. When everything in a said picture is equally in focus, it ends up looking slightly flat. A shallow depth of field focuses on a smaller area. I usually go for a shallow depth when I am taking a front-angle shot. For flat-lays or top-angle pictures, I usually go for a deeper depth of field and have everything in focus.
Understand Shadows
In my opinion, the usage of shadows in your photographs, either make them or break them. One needs to have a thorough understanding of how overpowering shadows can really be. Sometimes, shadows help in adding the depth you’d like to see in your pictures but sometimes, they end up influencing the dish in a negative and inhibiting manner. Bright sunlight will obviously always have strong shadows and even if the photograph ends up looking right and bright, it is, in general, a common fact that food photography should have a more subtle and smooth effect rather than a striking one, which, is being talked about in the case of direct sunlight. So I avoid shooting in very harsh sunlight that will cause very strong shadows in my photos.
Understand the Mood of the Dish
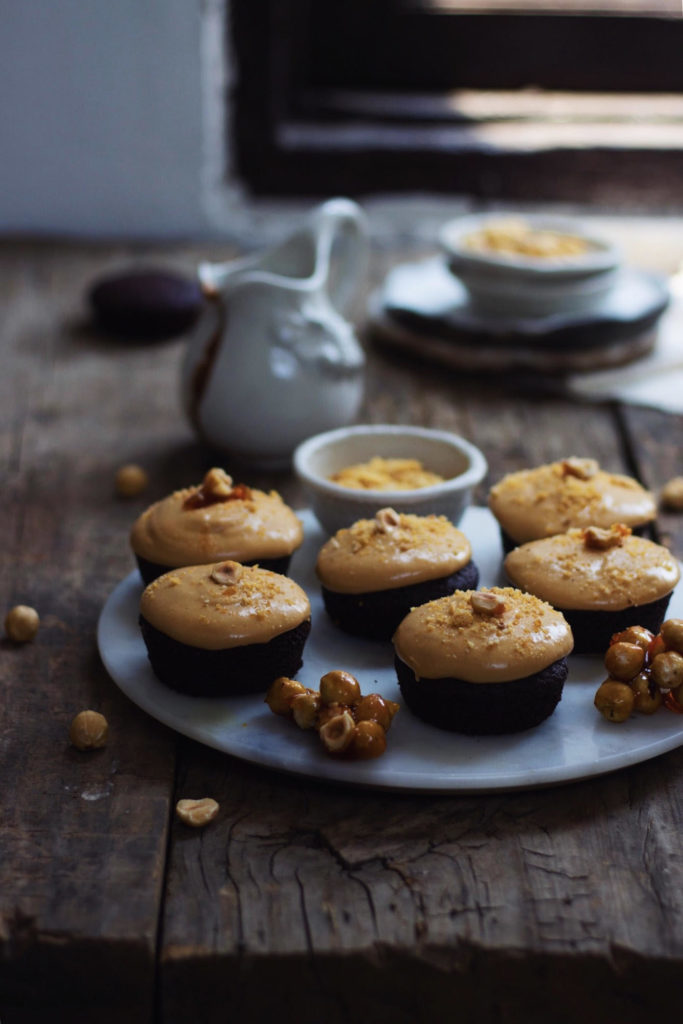
It is best if you pre-decide the kind of mood or the kind of look you want your consequent photograph to have. You can go with a dark mood with less lighting or a light mood with lots of sunlight, you can keep your setting straight and formal or you can keep it casual and messy. Understand the little things that affect the dish, for example, understanding the current season. If you give a summery look to your Hot Chocolate and wintery look to your Jaamun Punch, you probably will end up missing out the main point of the dish.
Keep Practicing
Food photography is not something you can learn overnight. If you seriously want to improve your photography, shoot something every single day. I’m not kidding! Pick up your camera and shoot something every single day. The more you shoot, the more you will understand your camera, the light, and the food. That is the best way to get better at food photography.
These were my top food photography tips for beginners. I hope it helps you improve your food photography and get better at it. I’m sure you’ll be able to get better pictures if you keep these simple photography tips in mind. And don’t forget to have some fun while you’re at it. That’s the most important! Also, I’ll be sharing my top food styling tips here next week- so stay tuned!

 Hello. I'm Shivesh Bhatia, a food blogger and food stylist from Delhi, India. Welcome to Bake With Shivesh, where I'll help you create magic in your kitchens with my simple recipes.
I preach these tips! Bake with Shivesh book is such a good start for beginners! I’m loving it ❤️
Lots of love @_thatcupcakelady_ ?
YAAAY! I’m SO happy to hear that. Thank you so much x
Heyy ! This is such a good inspiration to me
I too have a 700D with 50mm
Into food photography truly a beginner
Any particular mode or trick ..?
you’re images are just amazing!!