Love is in the air and even if you tried, you cannot escape it in the month of February! To be a part of the festivities, and the charm of this month, I wanted to share a very simple recipe for some beautiful red velvet cakesicles!
Cakesicles are all the rage right now and they are much easier to make than you might think. You can do any flavors you desire but since I am in my valentine’s zone, I have made some yum red velvet cakesicles.
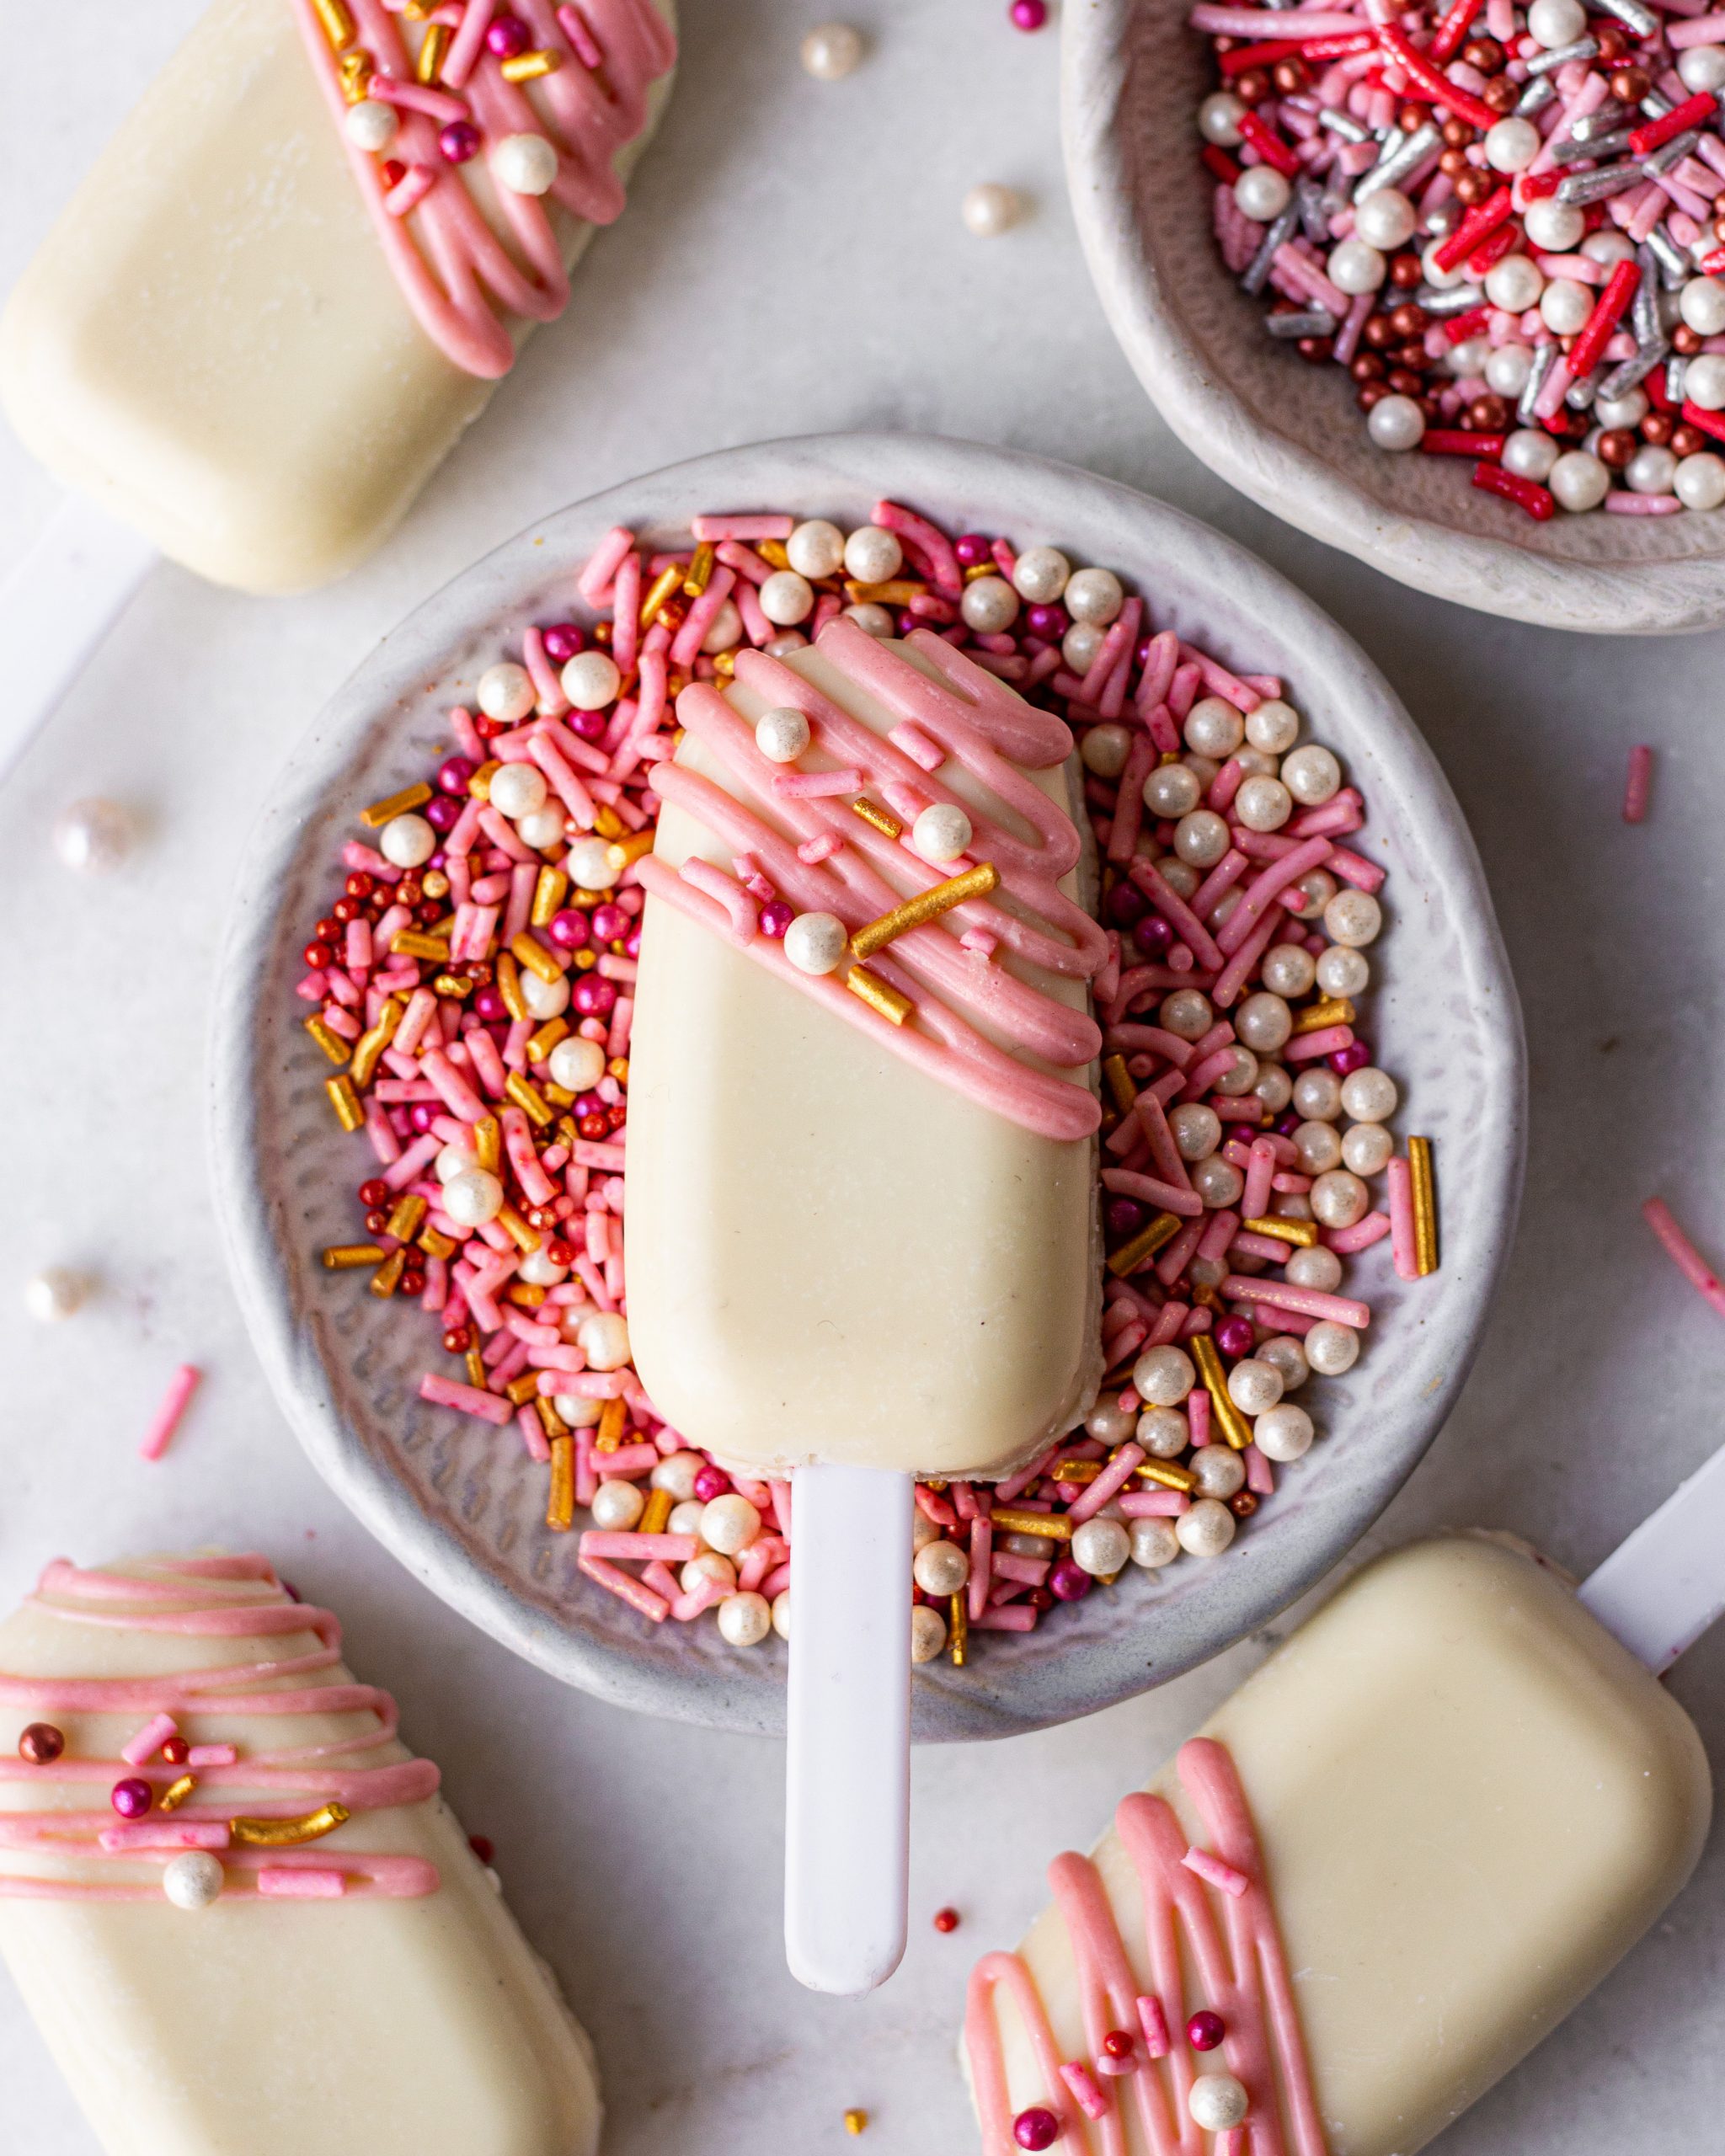
Things you need for red velvet cakesicles
Okay so the components and the process of this recipe is pretty basic. The main things that you need are listed below.
Cakesicle mould
This is a novel equipment that you will definitely need to make these cakesicles but worry not! They are very easily available on online shopping sites like amazon and flipkart and you will see the price range to vary from brand to brand. There are very affordable brands available as well so you can easily buy this mould and use it for special occasions.
The cakesicle mould is actually a silicone mould. Silicone moulds are very malleable and can be kept in the fridge and or the freezer. The cakesicle is stuffed with cake and then covered with chocolate. A silicone mould helps with easy demoulding of the same. It ensures that your cakesicle comes out without falling apart or cracking.
Ice cream sticks
Usually, these sticks come with the mould and are of the perfect size as the opening in the cakesicle mould. However, some brands do not sell both together and you will have to buy these separately. Make sure to but sticks that are of the same with as the stick opening that is there in the cakesicle mould.

Cake crumbs
A cakesicle as the name suggests, is stuffed with actual cake. You can use any cake you have and just crumble it up and use it for your cakesicles. You can either bake a fresh cake for this, or use extra bits from another cake, or simply buy local dry cakes available such as britannia.
Frosting
Another element you need is nice, luscious, yummy frosting. The cake crumbs alone cannot hold their shape together once stuffed in the mould. They need something sticky and moist to hold shape. You can easily make frosting at home and it can be any frosting you desire. You can choose to make a buttercream frosting, or a cream cheese frosting, or even a simple chocolate ganache.
Coating chocolate
This is very important as the chocolate you use will be at the base and at the top of your cakesicle. It will form the entire outer shell that your cakesicle will depend on. You need to make sure the mould is well covered with the chocolate and there are no uncovered edges.
Garnishes
This is the fun part. Once you have your cakesicles all set, you can decorate them on the top however you want. Some sprinkles, some chocolate shavings, some melted chocolate drizzle and so much more.
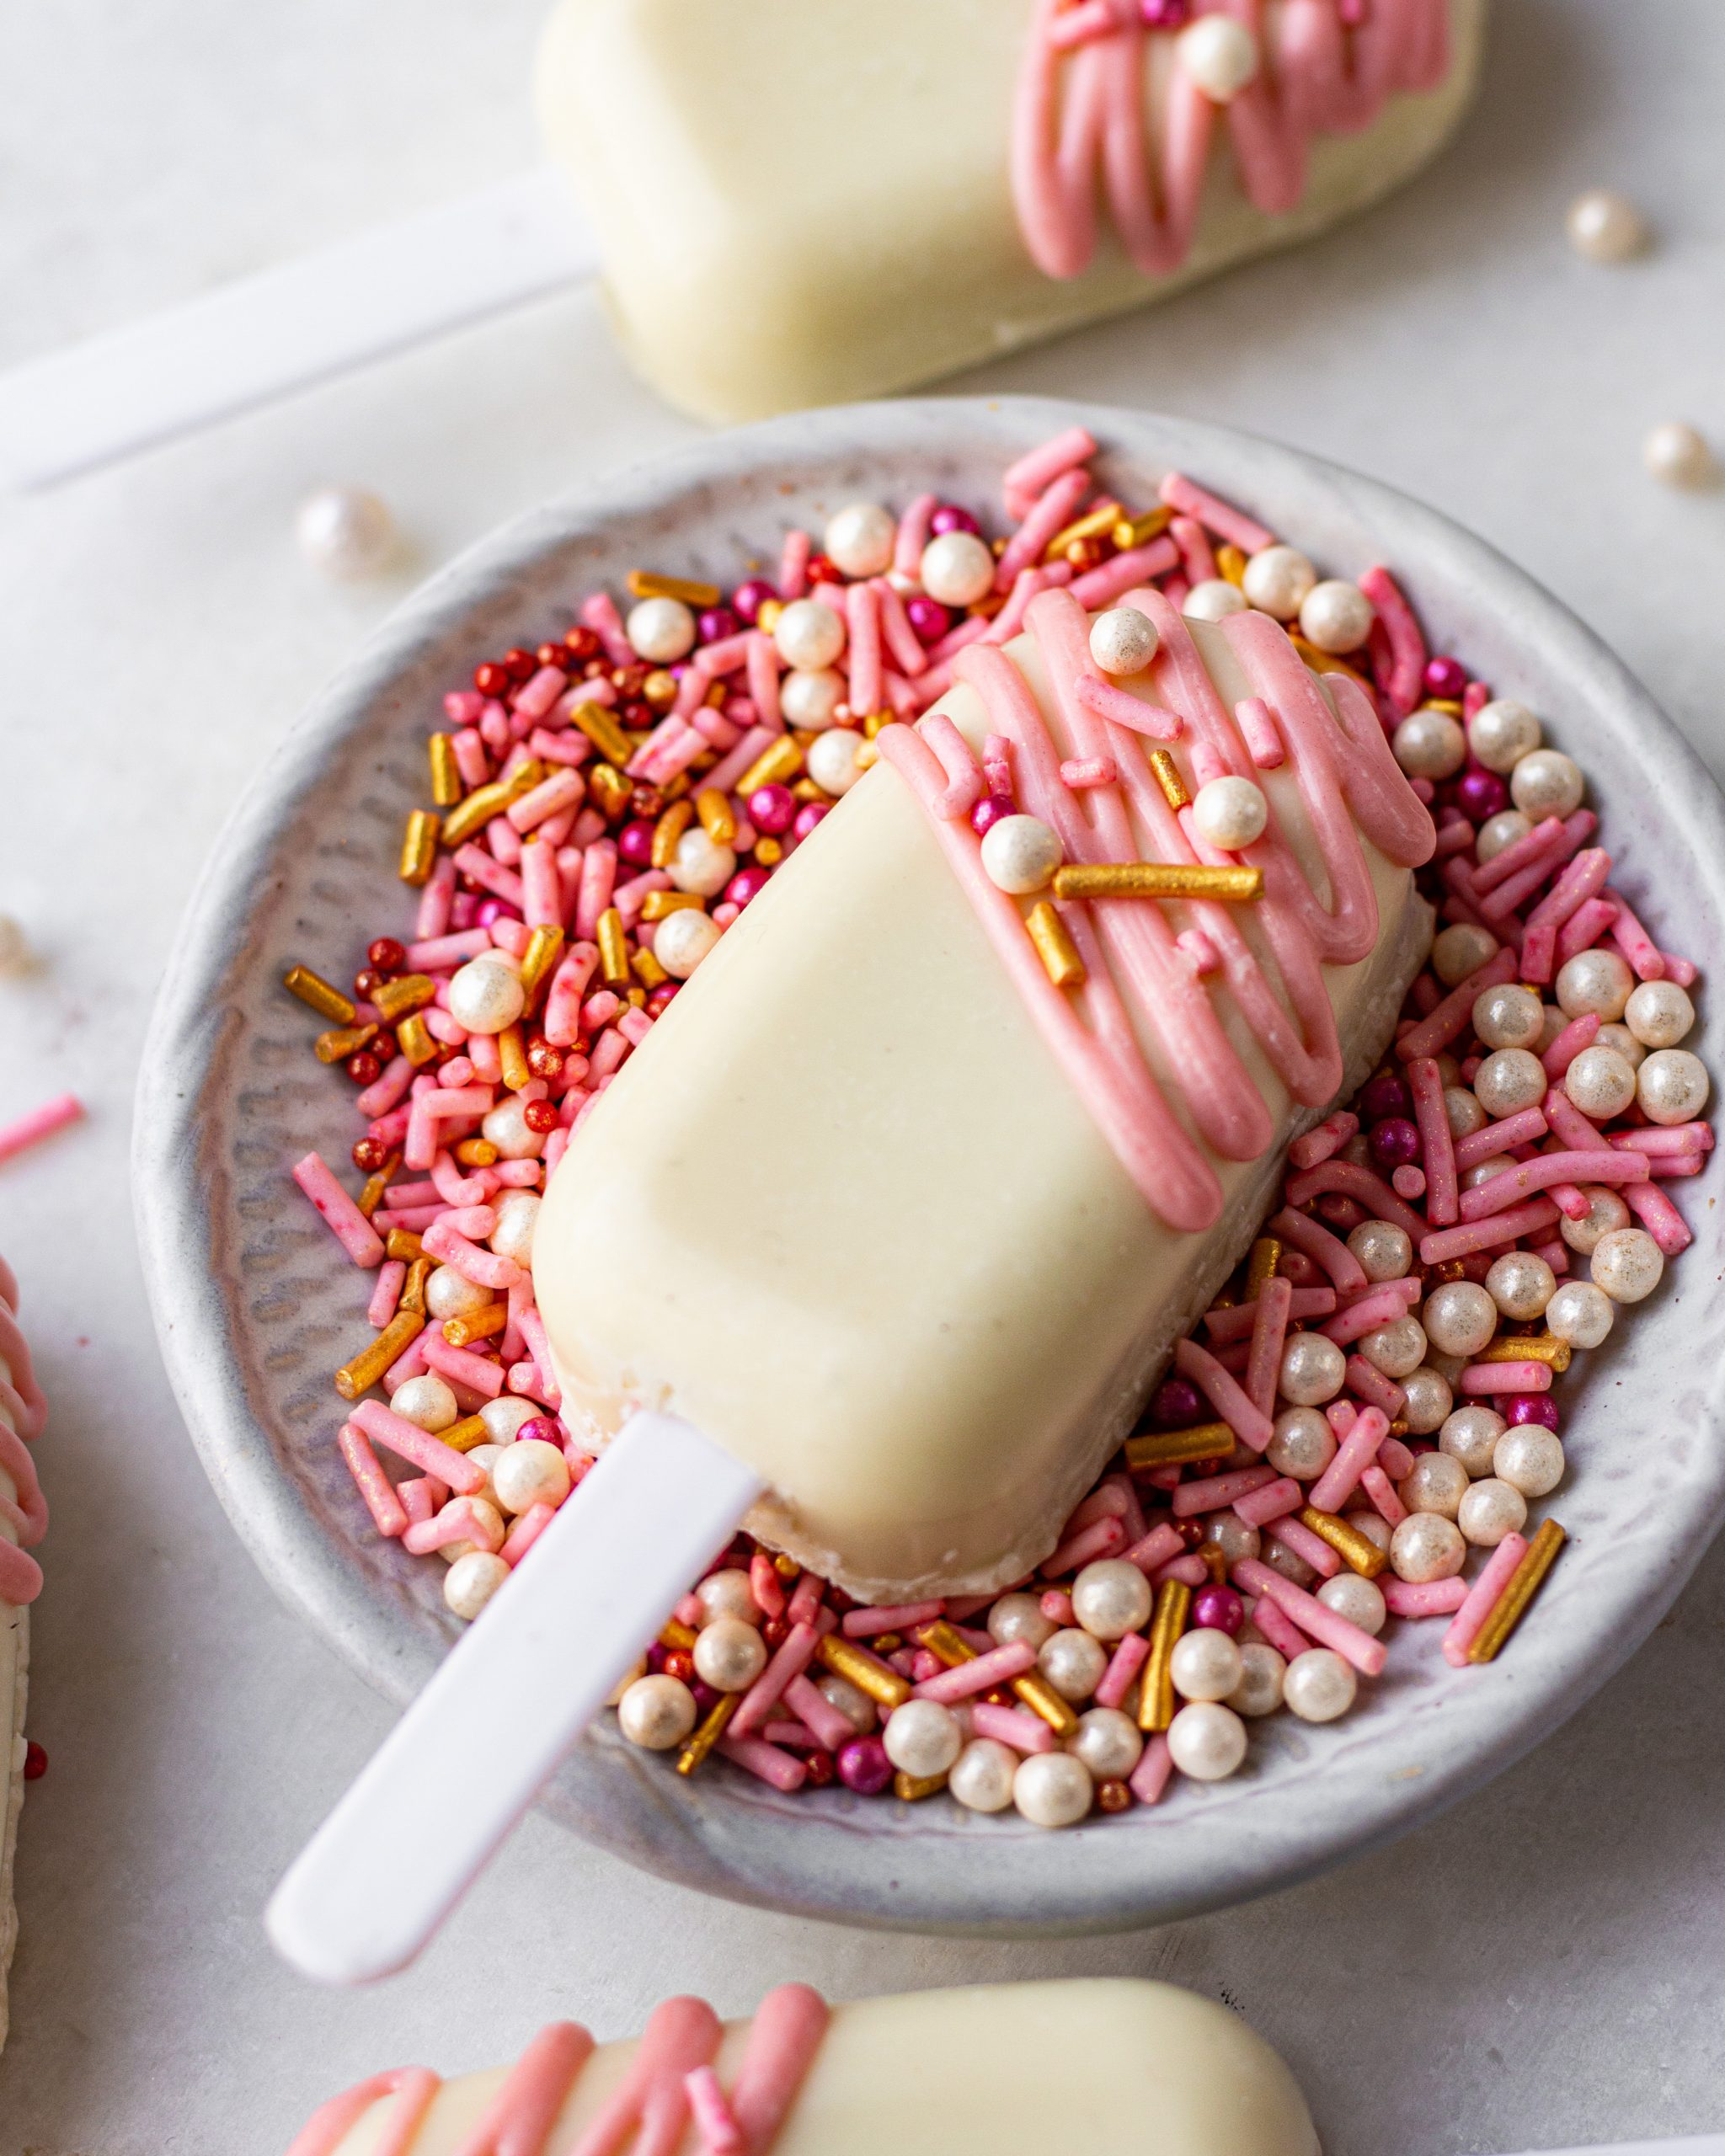
Which chocolate to use for cakesicles
Since the chocolate is the entire outer shell of your cakesicle, you need to make sure it sets and holds its shape and form completely. Usually for such tasks, one needs to temper chocolate to reach a stage where the chocolate is perfect for coating and retaining its shape.
However, I know that a lot of us do not have the patience to temper chocolate and it is rather an intimidating process. What you can do here is simply use compound instead of chocolate. Morde white chocolate compound is what I used and absolutely loved the results!
Compound is actually made with vegetable oil rather than cocoa butter. The vegetable oil helps it set and makes coating things very easy.
Flavor combinations for a cakesicle
Since the three main ingredients in a cakesicle are chocolate, cake crumbs, and frosting, you need to decide what flavors you love and what all will go great together in a cakesicle. I chose red velvet cake crumbs, with the obvious cream cheese frosting, and a white chocolate coating.
You could do other combinations like vanilla cake crumbs, milk chocolate ganache, and dark chocolate coating. Another great combination would be chocolate cake crumbs, espresso frosting, and milk chocolate coating.
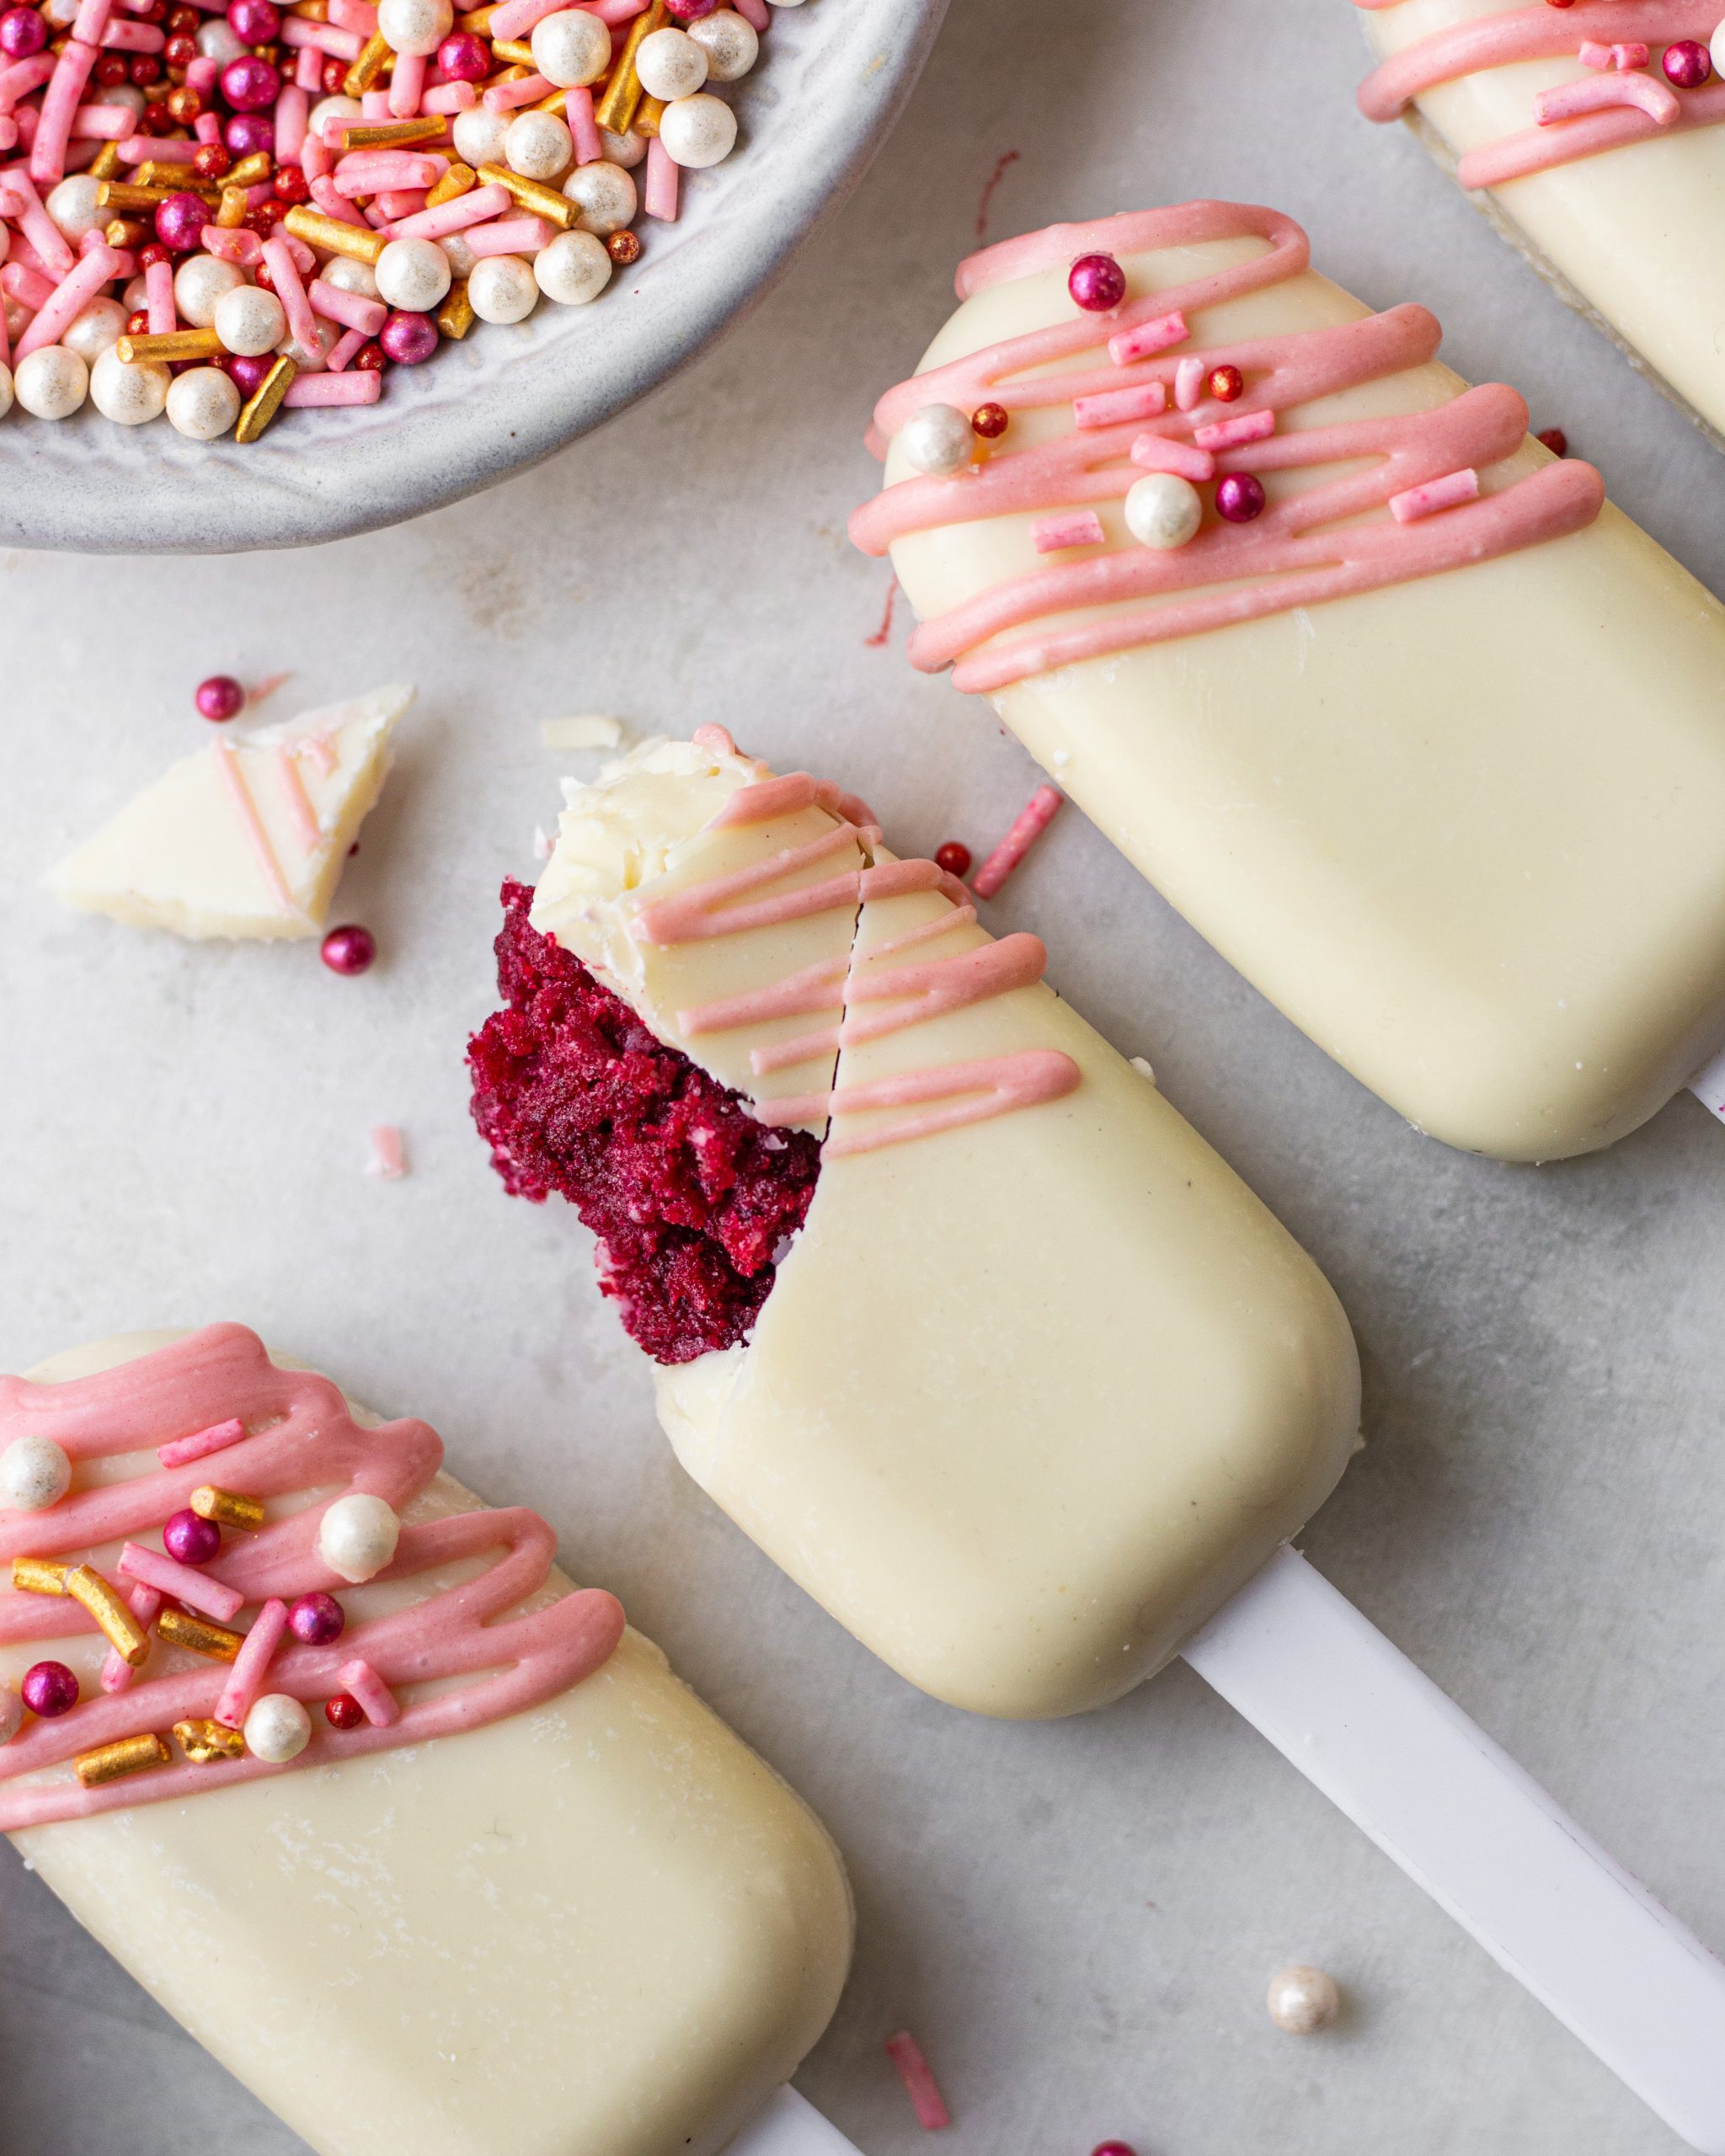
Tips to make perfect cakesicles
Melt your chocolate nicely
Please ensure to melt your chocolate evenly and nicely. If you use white compound like I did, keep in mind that the compound heats up fast and will seize if you overheat it. Chop it really nicely and then heat in the microwave for 20-30 seconds, in intervals.
If your compound seizes, or if you start to see random lumps in the melted chocolate, just use a whisk and keep whisking the chocolate slowly. This will help bring down the heat and you will see after 5-7 minutes, the lumps will themselves start to dissolve. You see, it is all about maintaining the right temperatures.
Use an offset spatula to coat
Cakesicle have round edges and it is possible that many edges are left uncovered. You can use the back of a spoon or a small offset spatula and maneuver the chocolate to the uncovered edges.
Let the chocolate set
Once a coating is done, let the chocolate set in the refrigerator for 10-15 minutes. Do not rush this process or else the entire cakesicle will fall apart.
Make the ice cream stick indent before
Once you have coated your mould with chocolate, you need to make indents for the ice cream stick using the stick and the opening in the mould. This needs to be done before you set the chocolate in the fridge since ofcourse the melted chocolate will cover the stick opening and harden up in the fridge. This will close the opening for the stick and you won’t be able to put it in later.
Stuff the cakesicles appropriately
Don’t go overboard with the cake filling but also don’t be too stingy. You want every bite of the cakesicle to have the lovely cake and frosting filling. While filling the mould, just leave enough space on top for the outer chocolate layer. This will seal in everything.
Don’t forget the ice cream stick
Once you have stuffed the mould, don’t forget to gently fit in the ice cream stick in the opening. You need to do this before you do the final chocolate coating.
Let it set again
Once filled and once the final chocolate coating is put, you want to let the chocolate and the filling set. Keep it in the refrigerator for another 15 minutes.
Be careful while demoulding
Be gentle and slow while demoulding the cakesicles from the mould. Take care of all edges and the holding stick area.
Keep all of these tips in mind and you will have a super cute cakesicle ready to enjoy! I hope you all will try this recipe and share your pictures with me on my Instagram @shivesh17. I always love seeing your creations. Check out my article on Best Valntine’s Desserts for some more ideas
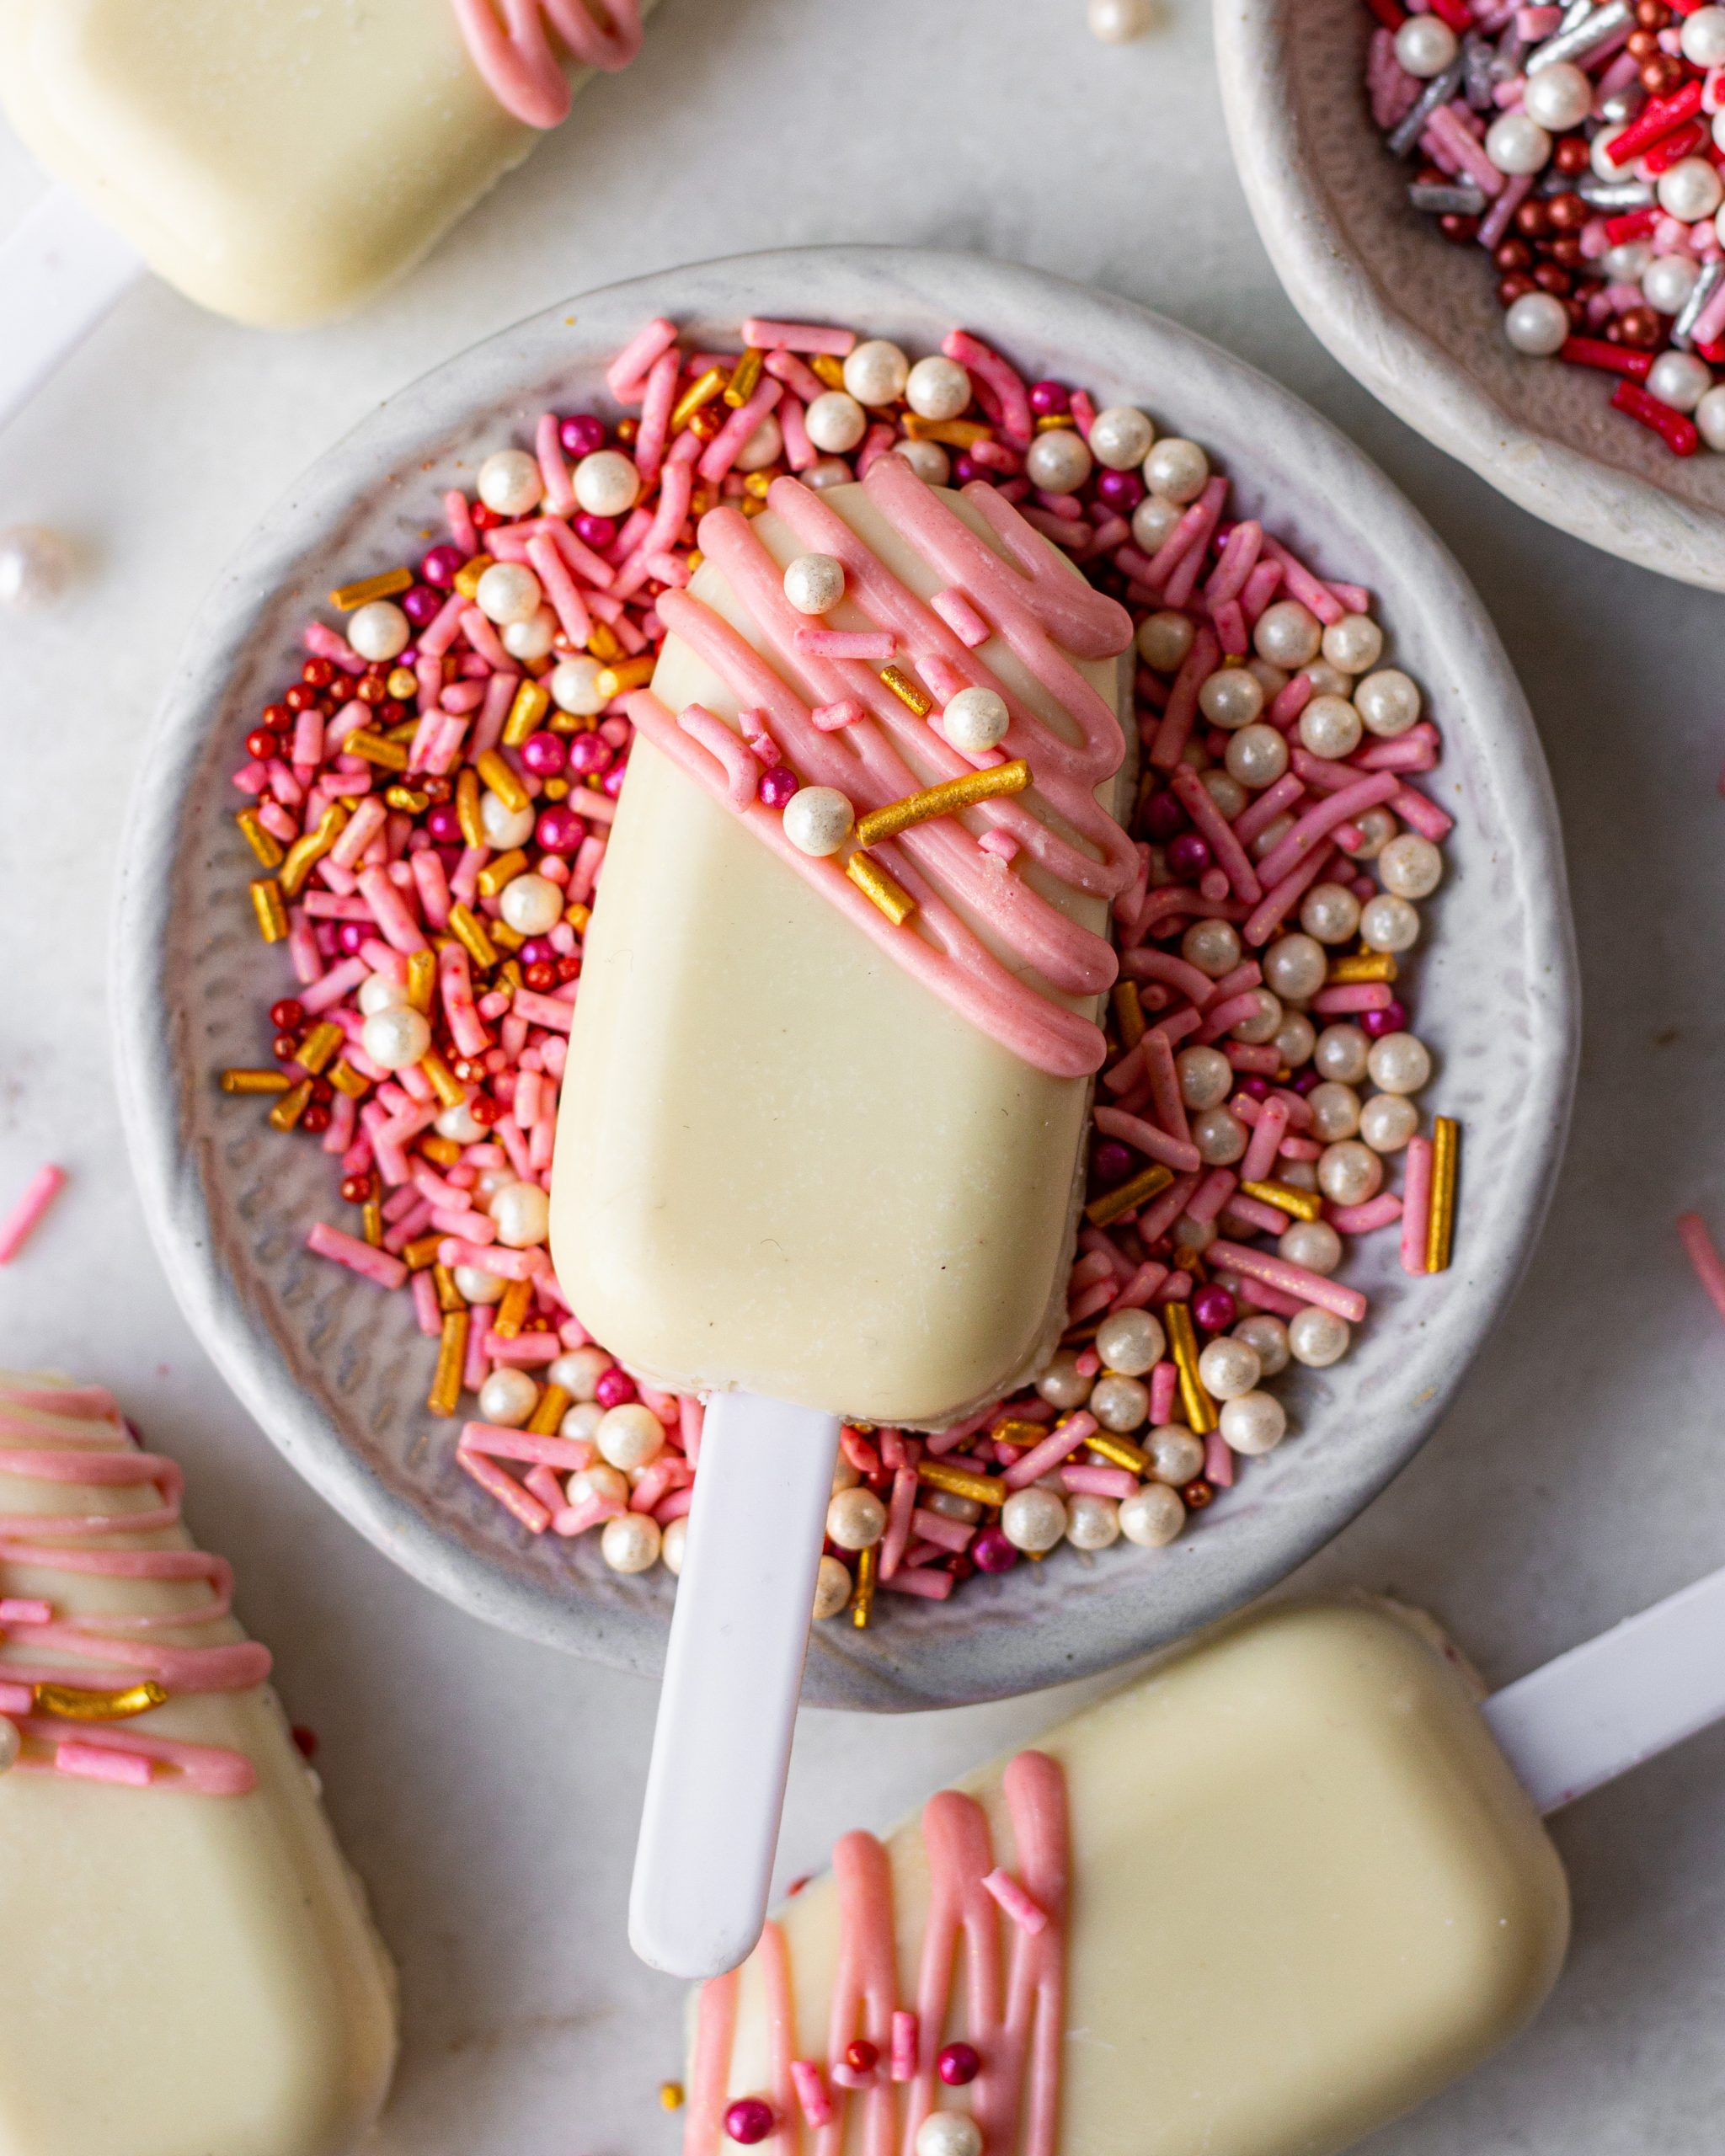
Happy baking!
- 1 pack (400gms) white compound
- ½ cup red velvet cake crumbs
- 3 tbsp cream cheese frosting
- Chop the white compound and melt it over a double boiler.
- In another bowl add in cake crumbs and the frosting. Using a spoon, combine both till all cake crumbs are well coated with the frosting. Set this aside.
- Place the cakesicle mould over a bigger tray and pour melted white compound in all the cakesicle cavities.
- Swirl the mould around to cover all edges with chocolate. Turn the mould upside down to get rid of any excess chocolate.
- Use an offset spatula to make sure all edges are covered.
- Push the ice cream stick in and out of the mould opening to make an indent. Do this for all cakesicle cavities.
- Store the mould in the refrigerator for 10 minutes or until set.
- After 10 minutes, repeat the coating process once more and set it in the fridge again for another 10 minutes.
- Bring out the mould and fill it with the cake and frosting filling. Make sure to push down the filling so that it is nicely packed. Insert the ice cream sticks in.
- Lastly, pour one last coating of white compound on your mould and using an offset spatula, get rid of the excess on the top and make clean edges.
- Let this set in the fridge again for another `10-15 minutes.
- Gently demould each cakesicle and decorate as you wish.
- Enjoy!

 Hello. I'm Shivesh Bhatia, a food blogger and food stylist from Delhi, India. Welcome to Bake With Shivesh, where I'll help you create magic in your kitchens with my simple recipes.
Amazing recipe! Have tried few of your recipes and they turned out really well. I have been following your blog and channel religiously. My other recipes have always failed, but you are my savour. A small request if you could possibly make a blog/ video or can you please suggest what is the correct quantity to be taken for half and one kg chocolate and vanilla sponge cakes.
Nice recipe.
Your popsicles looking so yummy.