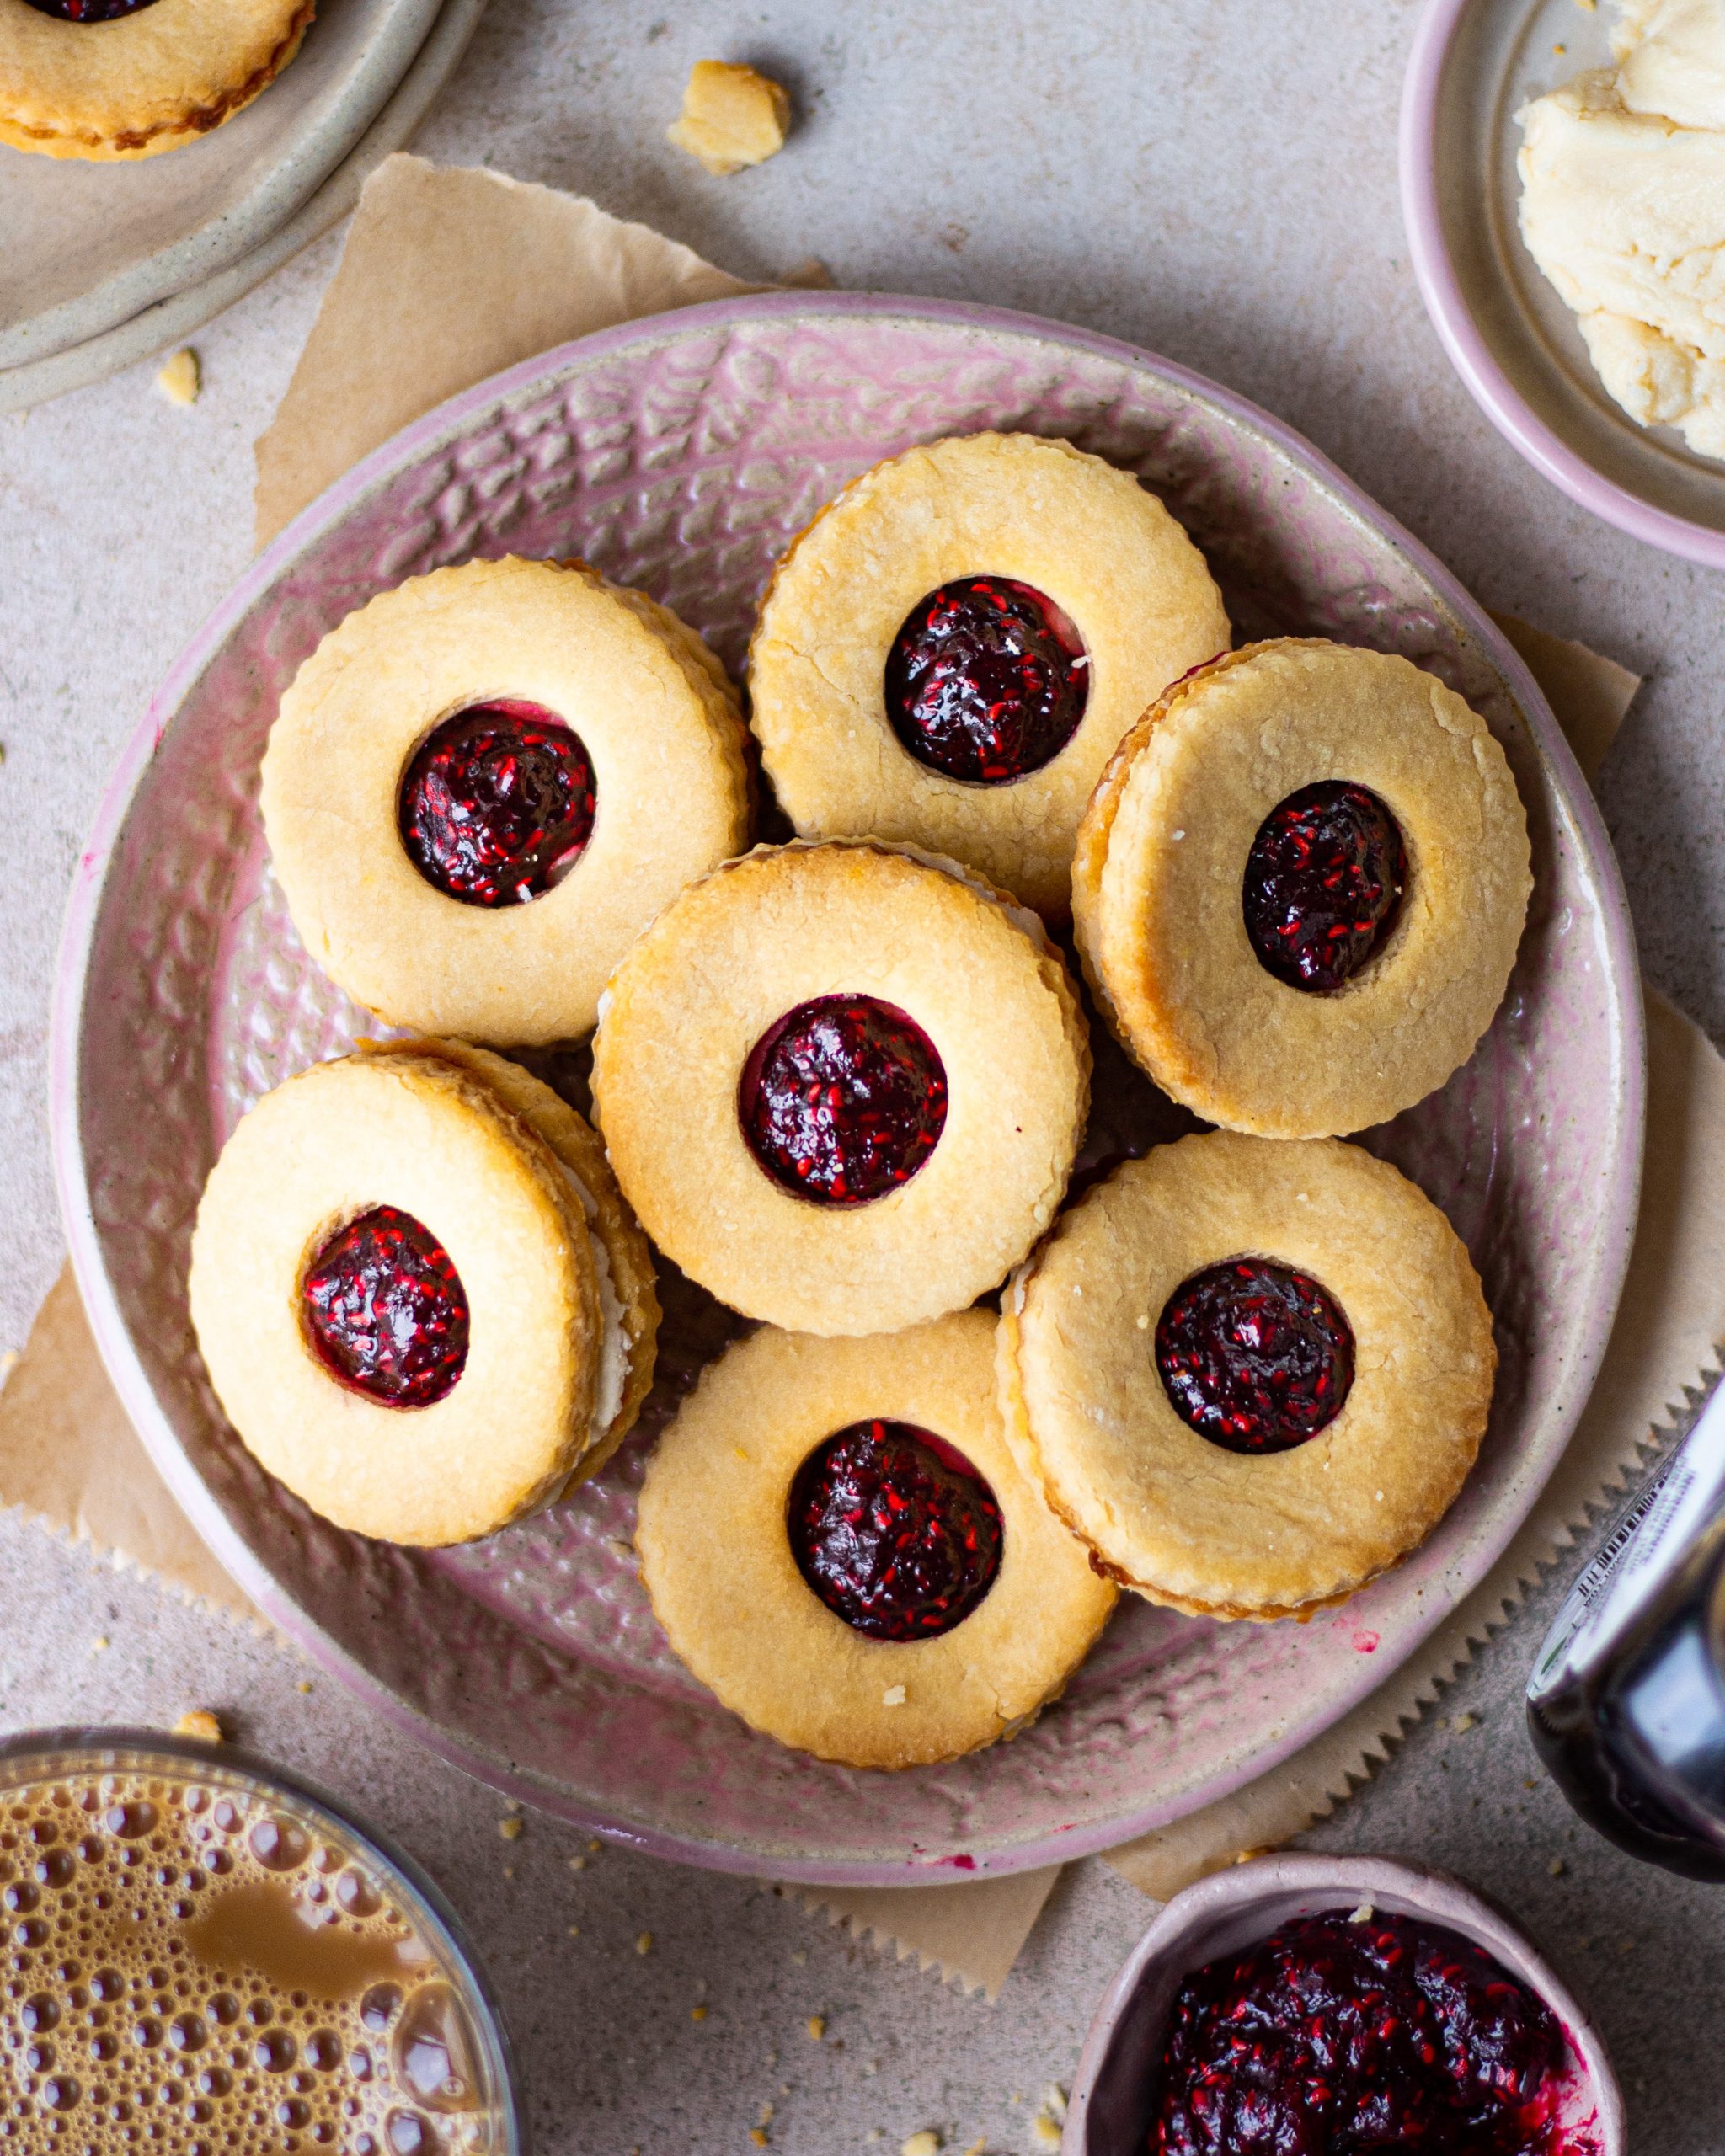
Okay I have four words for you – homemade, jim jam, biscuits! Honestly tell me how many of you were OBSESSED with jim jam biscuits when you were in school? I know I totally was and would munch on them on most days. Carrying a small pack of biscuits as a travel snack or for hunger emergencies was always comforting.
I absolutely love the combination of the sweet biscuit, the creamy filling, and oh my god my favorite part- the strawberry jam. I am so stoked to be sharing this recipe with you and showing you how to make homemade jim jam biscuits. It is a lot easier than you think and it tastes just like the real deal, if not better.
Reasons to make homemade jim jam biscuits
This recipe is so easy. Yes it has three different elements but do not let that stop you from making these. To prepare all of these elements is child’s play and the end result is just so worth it. Let me take you through each element and break it down for you so you can see for yourself how easy it is to put these homemade jim jam biscuits together!
The biscuit
It requires only three ingredients! Yep, literally just three ingredients that give you the perfectly soft and slightly crisp biscuit. For this all you need is some flour, sweetened condensed milk, and butter.
The cream filling
Such a no fuss, basic cream filling is required for this delicious biscuits. You just need some cold butter, icing sugar, vanilla and milk. Then it is all about mixing these together and voila!
The jam filling
Again, the jam is also just three ingredients. Typically jim jams have a strawberry jam filling but I wanted to make a raspberry filling for mine so i used frozen raspberries, water, and some sugar. Making the jam is just reducing all of these on a stove top till the mixture becomes thick. If you want to make your jam even more thick, you can add about a teaspoon of cornflour and cook that with the rest of the ingredients.

Things to keep in mind while making homemade jim jam biscuits
Okay some things that you need to be careful about that can make or break your end result is:
Use cold butter where mentioned
Please don’t skip on the instructions about the consistency of butter that is needed. If a recipe calls for cold butter, make sure to use just that. In these jim jam biscuits you need cold butter for both, the biscuit dough, as well as the cream filling. If you end up using softened or melted butter, your dough will not firm up like it is supposed to and your cream filling will be extremely runny. Cold butter is important for the structure and texture of the different biscuit elements.
Icing sugar is important
For the cream filling, you specifically need icing sugar. The powdered form of icing sugar will make sure it is well incorporated with the butter and give you a smooth silky filling. If you cannot get your hands on icing sugar, just blitz granulated or caster sugar into powder and add some cornflour to it.
Make sure to rest your dough
Your dough only has three ingredients and the main binding ingredient is the condensed milk and butter. Make sure to chill your dough so that the fat in the dough can firm up a bit and give a much more structured dough to work with.
Consistency of the jam
Be careful about the consistency of the jam. It needs to be thick and hold its shape otherwise your biscuits will be very messy to assemble and to eat. Adding cornflour will get your jam to a beautiful consistency.
Rolling out the biscuit dough
The best way to prevent any sticking is to roll out the dough in between two parchment sheets. Also, roll out the dough to about half an inch thick. I think this is the perfect thickness for the biscuits to hold in the cream and jam.
Cutting out individual biscuits
I used circular cookie cutters for cutting out the biscuits and the back of a piping tip to cut out the circular opening for the jam. You can use anything you might have at home and you can even make these in a different shape of your preference.
Let your biscuits cool down before assembling
Before you start to actually assemble, let your biscuits cool down completely and have all your other elements ready. If you start assembling while the biscuits are still warm, your cream will just melt and seap from the edges, your jam won’t stay put either and it will all just be a big mess.
Just keep these points in mind and you will have your favorite childhood treat, ready for you to munch on, fresh from the oven! I had too much fun making these and I am sure you will love recreating them for yourself and your family.
If you make these, don’t forget to share your images with me by tagging me on Instagram using @shivesh17. Happy baking!
- 1½ cup maida
- 5 tbsp cold butter
- ½ cup condensed milk
- 1 cup powdered sugar
- ¼ cup cold butter
- 1 tsp vanilla
- Few drops of milk
- ¾ frozen raspberries
- 1 tbsp sugar
- 2 tbsp water
- To make the biscuit dough, combine cold butter and flour in a bowl. Using your fingers, break down butter cubes into the flour and keep doing it till you reach a sandy consistency.
- Add in condensed milk in batches and bring the dough together. Once combined, cover the bowl and chill it in the refrigerator.
- For the cream filling, combine cold butter and icing sugar in a bowl. Mix the two till you reach a sandy consistency. Add in vanilla and milk to bring everything together. Set aside.
- To make the raspberry jam, in a saucepan over medium heat add in frozen raspberries, sugar, and water. Cook this down till you reach a thick consistency. You can also add in cornflour to make the jam thick and let it cook for another minute or so. Set it aside.
- Once the biscuit dough has chilled, start preheating your oven at 180 degree Celsius.
- Take out the biscuit dough and using a rolling pin, roll it to about half an inch thick, in between two parchment sheets.
- Once rolled out, using a cookie cutter, cut out individual biscuits and keep the excess dough aside.
- Now using the back of a piping tip, cut out a small center from half of the biscuits. These will be the top biscuits of our jim jams and will allow space for the jam filling.
- You can re roll the excess dough and repeat this process till all you dough has been used.
- Bake these for 10-12 minutes or until golden brown on the edges.
- Let them cool down completely.
- For assembling, take one biscuit that will be the base of the jim jams. Using the back of a spoon or an offset spatula, smear the cream filling all over the base.
- Transfer the jam filling in a piping bag and pipe a generous dollop in the center of the base biscuit.
- Then, simply cover it with the top biscuit shell, the one with the center cut out. Keep repeating these steps till all your biscuits are ready.
- Enjoy!


 Hello. I'm Shivesh Bhatia, a food blogger and food stylist from Delhi, India. Welcome to Bake With Shivesh, where I'll help you create magic in your kitchens with my simple recipes.
Made these biscuits, looked cute and taste yumm…..
hi i made this cookies my cookies became very hard plse can you tell me why this happened