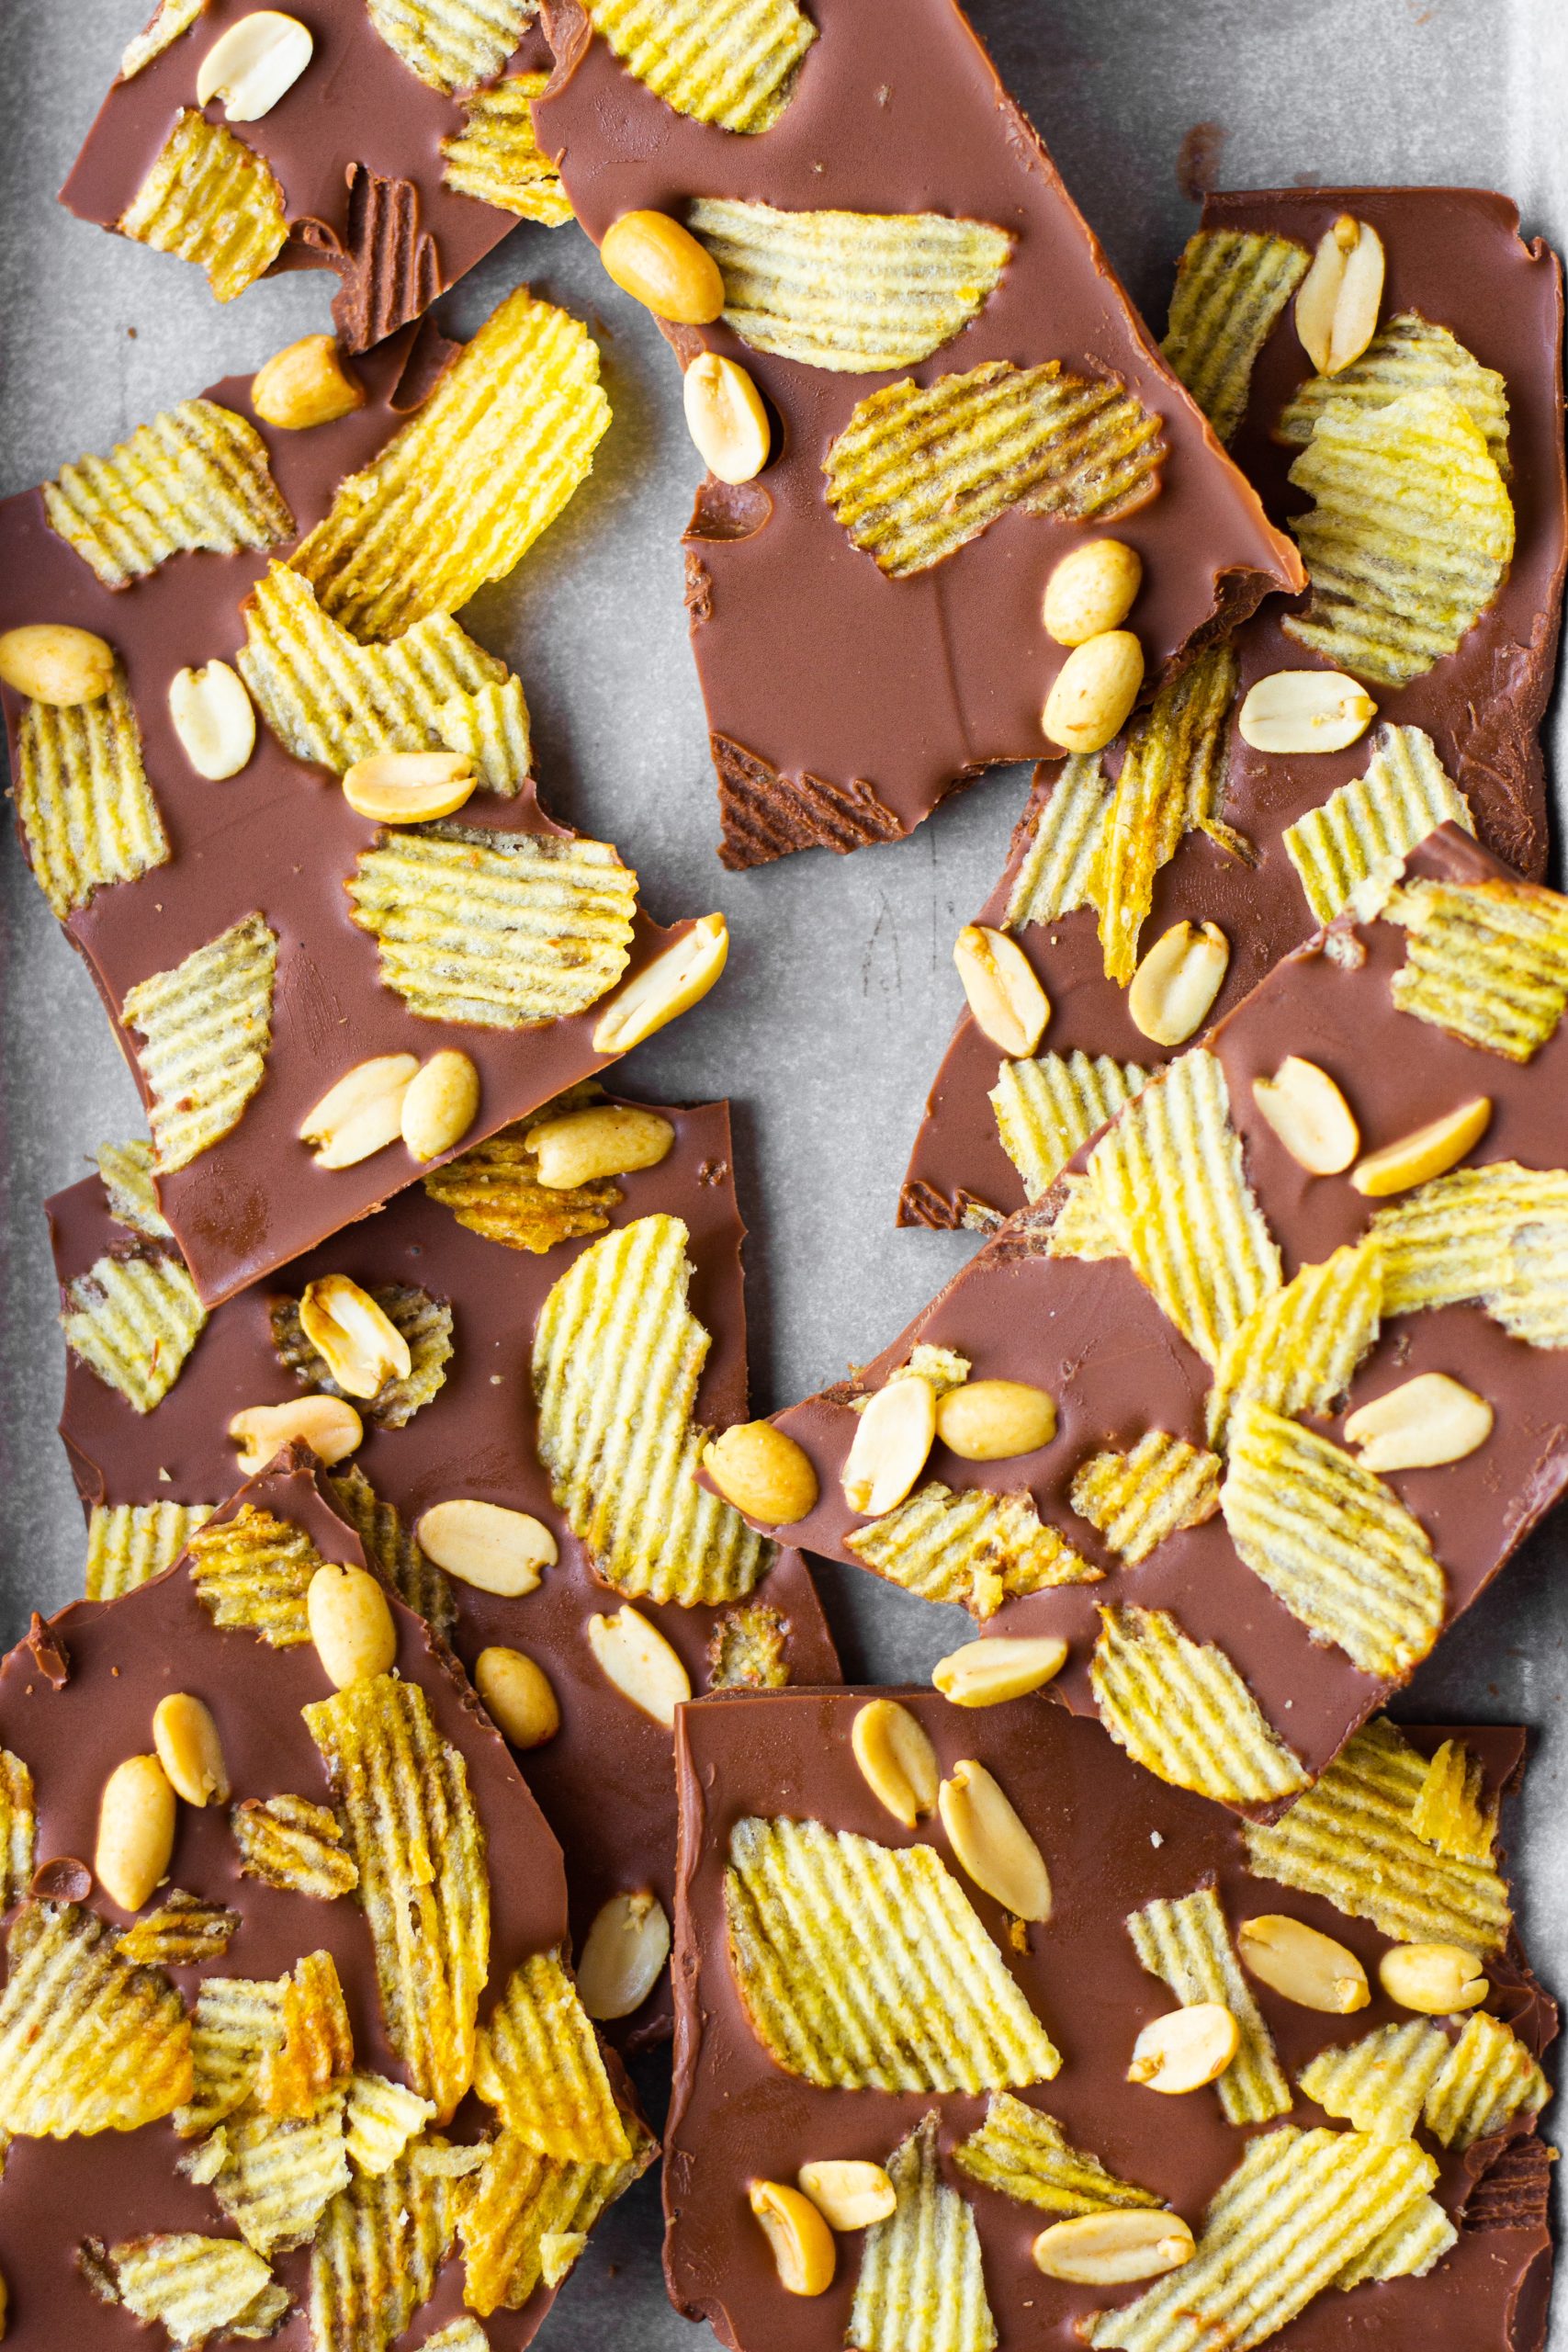
If you are looking for a last-minute quick dessert or something with contrasting flavours and texture of both sweet and salty, this chocolate snack bark will be your new go-to! It’s snappy, it’s crunchy, so easily customizable and equally easy to put together. Ready to serve in just 20 minutes and just 3 ingredients, this might just be the quickest and craziest sweet-salty snack you can make. Before getting to the process of making the best ever chocolate snack bark, let’s get to know the ingredients we will need.

INGREDIENTS NEEDED FOR CHOCOLATE SNACK BARK
MILK CHOCOLATE
I love how the sweetness of milk chocolate compliments the saltiness of potato chips and salted peanuts in this chocolate snack bark. The idea here is to combine your favourite chocolate and snack. You could absolutely substitute milk chocolate with dark in this recipe. Personally, I think white chocolate would be too sweet for it but if that’s what you like, go ahead and use that.
POTATO CHIPS
When it comes to snack, my go-to have always been salted potato chips. I literally have zero control over them. The salted chips and sweet chocolate compliments each other so well in this chocolate snack bark, it’s crazy. But like I said before, you are free to use whichever is your favourite snack. Could be any anything salty you like to munch on.
SALTED PEANUTS
My another favourite go-to snack is salted peanuts. I can snack on them at any time of the day quite literally. When paired with the sweet milk chocolate it brings out just the perfect contrast. Trust me, you won’t be able to stop at one bite of this chocolate snack bark. Feel free to swap salted peanuts with any other roasted salted nuts of your choice. It could be almonds, walnuts, cashews, pistachios just any nut you like.
PROCESS TO MAKE THE CHOCOLATE SNACK BARK
The process is fairly simple and quick. Carefully melt the milk chocolate in a microwave or double boiler, whatever works for you. Transfer it onto a parchment lined tray and spread it evenly. Top it with your favourite salty snacks. If you are using chips like I did, break a few of them and keep some whole. Spread them out evenly throughout the bark. Add roasted salted nut of your choice. Although the snacks would stick to the melted chocolate by themselves, but if you feel some of it are not, push them in a little. Let it set in the fridge for 15 minutes and done. Easy-peasy! Your chocolate snack bark is ready.
QUICK TIPS TO MAKE THE PERFECT CHOCOLATE SNACK BARK
MELTING THE CHOCOLATE
To melt the chocolate for this chocolate snack bark, you can either use a double boiler or microwave. Either of the methods work here. Just make sure you do microwave it in batches and keep stirring to ensure it doesn’t burn from the bottom. Once the milk chocolate is almost melted, take it out of the microwave and just stir really well so that the remaining chocolate is melted because of the heat itself.
ADDING THE TOPPING
While this is quite an easy step, a tip here is to push the chips and peanuts a bit in the chocolate while topping. Just a slight push would ensure none of it falls off when the chocolate snack bark is set.
LETTING THE BARK SET
The chocolate snack bark would set in the fridge in just 15 minutes or 20 tops. Do not keep it for longer than that as condensation would happen and it’ll ruin your perfect bark. If it doesn’t set that quickly, keep it in the freezer for a few minutes and you would be good to go!
And if you try this recipe and like it, do try other snackable recipes from the blog. I am sure you are going to love them too!
OTHER RECIPES ON THE BLOG
- 2 cups milk chocolate
- handful of salted potato chips
- handful of salted peanuts
- Line a pan with parchment paper.
- Melt the milk chocolate in a microwave in intervals and keep stirring.
- Pour the melted chocolate over the parchment paper.
- Spread it out evenly.
- Top it with chips and peanuts.
- Let it set in the fridge for 15 minutes.
If you like my chocolate snack bark recipe and happen to make it in your kitchen, do tag me on Instagram and share pictures with me using #Bakewithshivesh. Happy Baking!

 Hello. I'm Shivesh Bhatia, a food blogger and food stylist from Delhi, India. Welcome to Bake With Shivesh, where I'll help you create magic in your kitchens with my simple recipes.
Leave a Reply