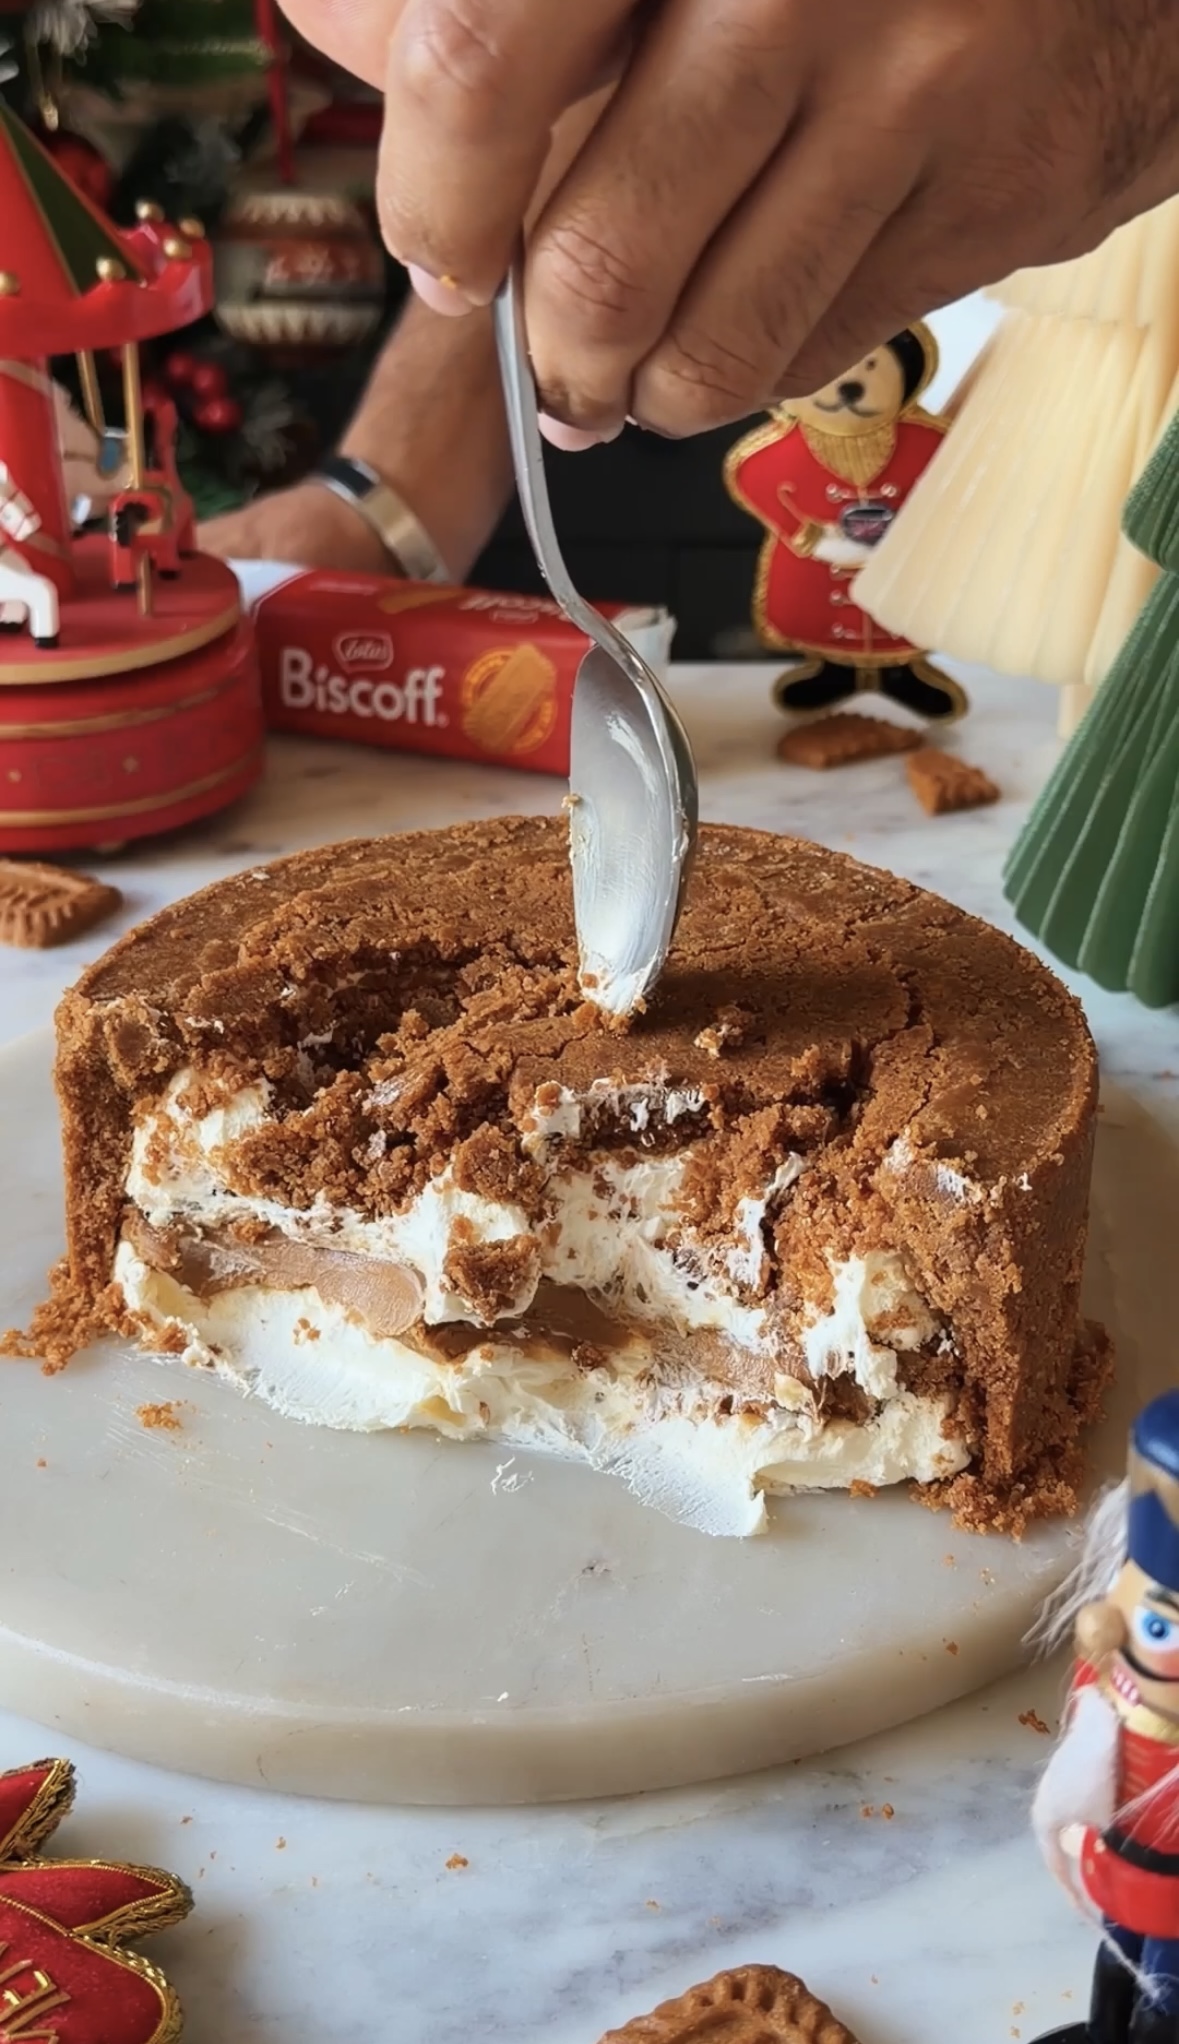
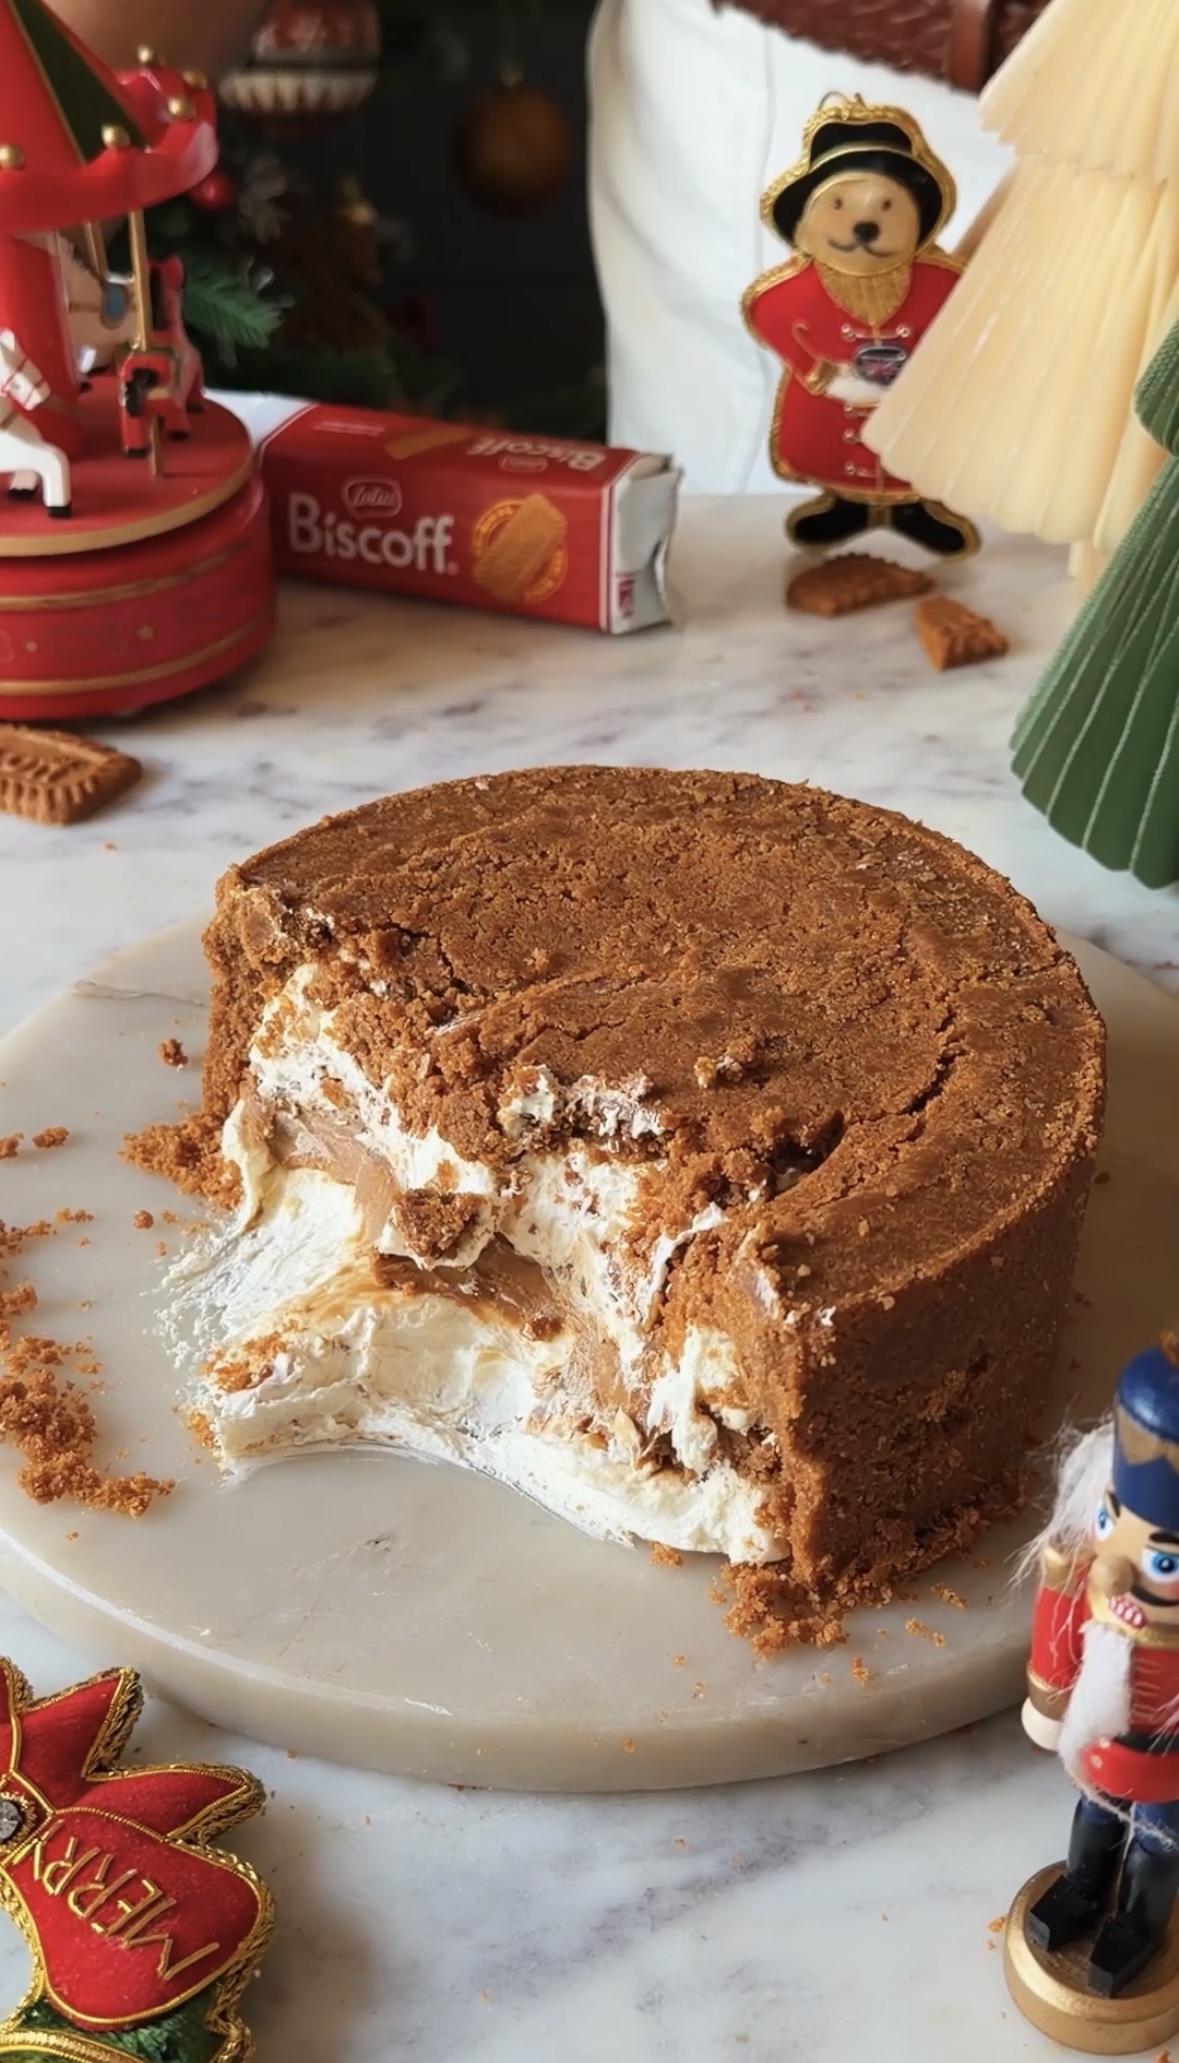
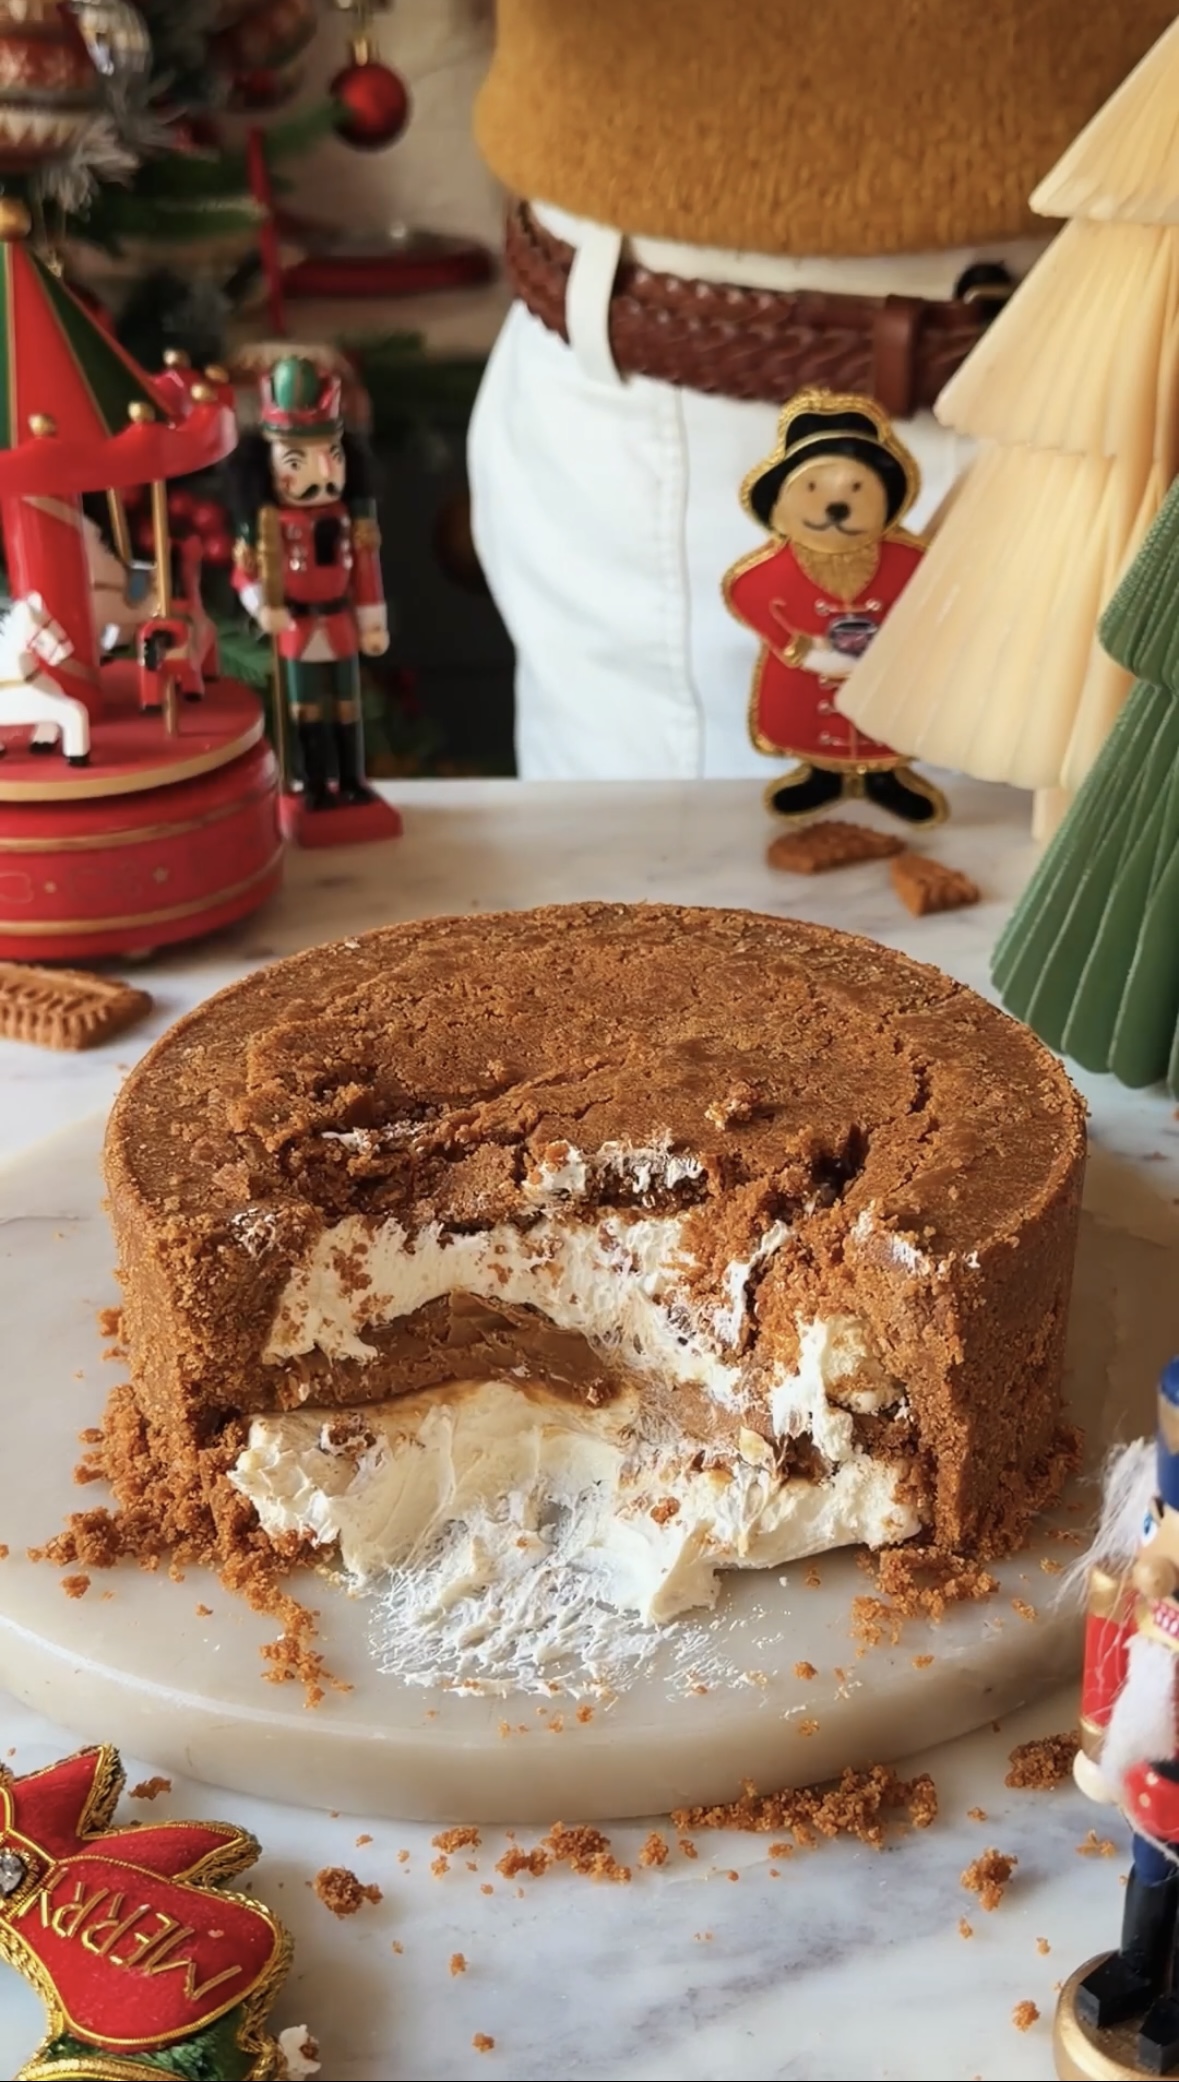
This Biscoff Upside-Down Cheesecake is all about that dramatic indulgence. Built on a buttery Biscoff biscuit base, layered with a light, creamy cheesecake filling and finished with a generous swirl of Biscoff spread, it’s a dessert that feels both familiar and exciting. The upside-down twist isn’t just for looks — it gives you that perfect first bite of caramelised crunch followed by smooth, melt-in-the-mouth creaminess. No baking, no complicated steps, just a little patience while it sets and a lot of reward when you slice into it. If you love desserts that feel comforting yet special, this one deserves a spot on your table.
INGREDIENTS USED IN UPSIDE DOWN BISCOFF CHEESECAKE
-
BISCOFF BISCUITS
Biscoff biscuits form the structural foundation of the cheesecake, creating a firm and stable base that supports the creamy layers above. Their natural caramelised sweetness eliminates the need for additional sugar in the crust. When combined with melted butter, the fine crumbs bind together to give a sliceable yet crunchy texture. The biscuits also line the sides of the pan, helping the cheesecake hold its shape when unmoulded and flipped. Their slightly spiced flavour adds depth and warmth, balancing the richness of the cream cheese. Once chilled, the base sets firmly, making it ideal for an upside-down presentation. The crunch of the biscuit layer provides a textural contrast to the smooth filling. It also prevents the cheesecake from tasting overly soft or monotonous.
-
BUTTER
Since this is a no-bake cheesecake, the base doesn’t get heat to firm it up like in baked versions. Butter acts as the setting agent — it hardens when chilled, which helps the crust become firm and sliceable after refrigeration.
Melted butter moistens the crumbs just enough to make them easier to press evenly into the base and up the sides of the pan, creating a clean, compact crust that won’t fall apart.
Without butter, the base would be too loose and might crumble when slicing or unmolding the cheesecake. Butter ensures a clean, sturdy crust that supports the soft, creamy filling.
-
CREAM CHEESE
Cream cheese is thick, dense, and smooth, which helps the cheesecake hold its shape without baking. When whipped with other ingredients, it forms a stable base that sets beautifully once chilled.
It gives the filling that luxurious, velvety mouthfeel we associate with cheesecakes. When softened and whipped well, it blends seamlessly with the whipped cream and chocolate, resulting in a smooth and airy consistency.
Cream cheese brings a slight tang and sharpness that balances out the sweetness from white chocolate. I have used D’lecta cream cheese to make this recipe, but you can use any cream cheese of your choice.
-
WHITE CHOCOLATE
White chocolate adds rich, creamy sweetness to the cheesecake filling, helping reduce the need for too much added sugar. Its sweetness is mellow and blends well with cream cheese, making the dessert feel balanced rather than overpowering.
Because it solidifies when chilled, white chocolate helps stabilize the cheesecake.
-
WHIPPED CREAM
Whipping cream increases its volume significantly. When folded into the base, it helps bulk up the cheesecake filling without weighing it down, allowing the dessert to set tall and fluffy.
In no-bake recipes, you often need something to help the filling hold its shape. Whipped cream does exactly that. When chilled, it stays firm and works alongside white chocolate and cream cheese to create a stable set — no gelatin required.
-
BISCOFF SPREAD
Biscoff spread acts as the flavour hero and visual highlight of the cheesecake. Its smooth, creamy consistency creates a distinct middle layer that adds richness without overpowering the filling. The spread brings intense caramelised notes that complement the mild cream cheese and white chocolate. It also adds moisture, ensuring the cheesecake remains luscious rather than dry. When slightly warmed, it spreads evenly and sets neatly upon chilling, helping maintain clean layers. In an upside-down cheesecake, it enhances the dramatic reveal by creating a glossy, indulgent centre. The spread also bridges the biscuit base and cheesecake filling, tying all elements together.
EQUIPMENTS USED IN MAKING UPSIDE DOWN BISCOFF CHEESECAKE
A few kitchen staples that should always be there in the kitchen are mentioned below.
Measuring Cups and Measuring Spoons are the first thing that anybody who in cooking or baking needs. The right quantities will help in the desired outcome so these two things are a must.
You require a whisk to make the cheesecake lump free and mix well. You also need spatulasto do the mixing. Finally, a 6-inch round springform pan to set the cheesecake is also needed.
RELATED RECIPES FROM THE BLOG
TIPS AND TRICKS WHILE MAKING THIS RECIPE
1. Butter should be fully melted but not hot—hot butter can make the base greasy.
2. Use the bottom of a glass for an even, compact layer.
3. Ensure cream cheese is completely softened (room temperature) to avoid lumps.
4. Warm the Biscoff spread slightly (5–10 seconds in microwave) for smooth spreading.
5. If the base sticks slightly, warm the bottom with a hot towel for 10 seconds.
- For the base
- 35-37 biscoff biscuits
- ½ cup butter (113g), melted
- For the filling
- 1 + ¼ cup cream cheese (240g)
- 4 tbsp white chocolate, melted
- 1 cup whipped cream
- For the layer
- ¾ cup biscoff spread
- Grind the biscuits into fine crumbs and mix it with melted butter until it resembles wet sand.
- Press the biscuit mixture into the bottom of a 7-inch round springform pan. Cover the sides also evenly with the biscuit base. Place it in the refrigerator to set while you prepare the filling.
- In a mixing bowl, whisk together softened cream cheese, melted white chocolate and whipped cream until it's smooth and creamy.
- Pour half of the cheesecake filling over the set biscuit crust and spread out into an even layer.
- Now add the biscoff spread evenly over the cheesecake layer and pour the remaining cheesecake feeling. Tap the pan a few times to even out the cheesecake layer.
- Refrigerate the cheesecake for at least 4 hours or until it's firm.
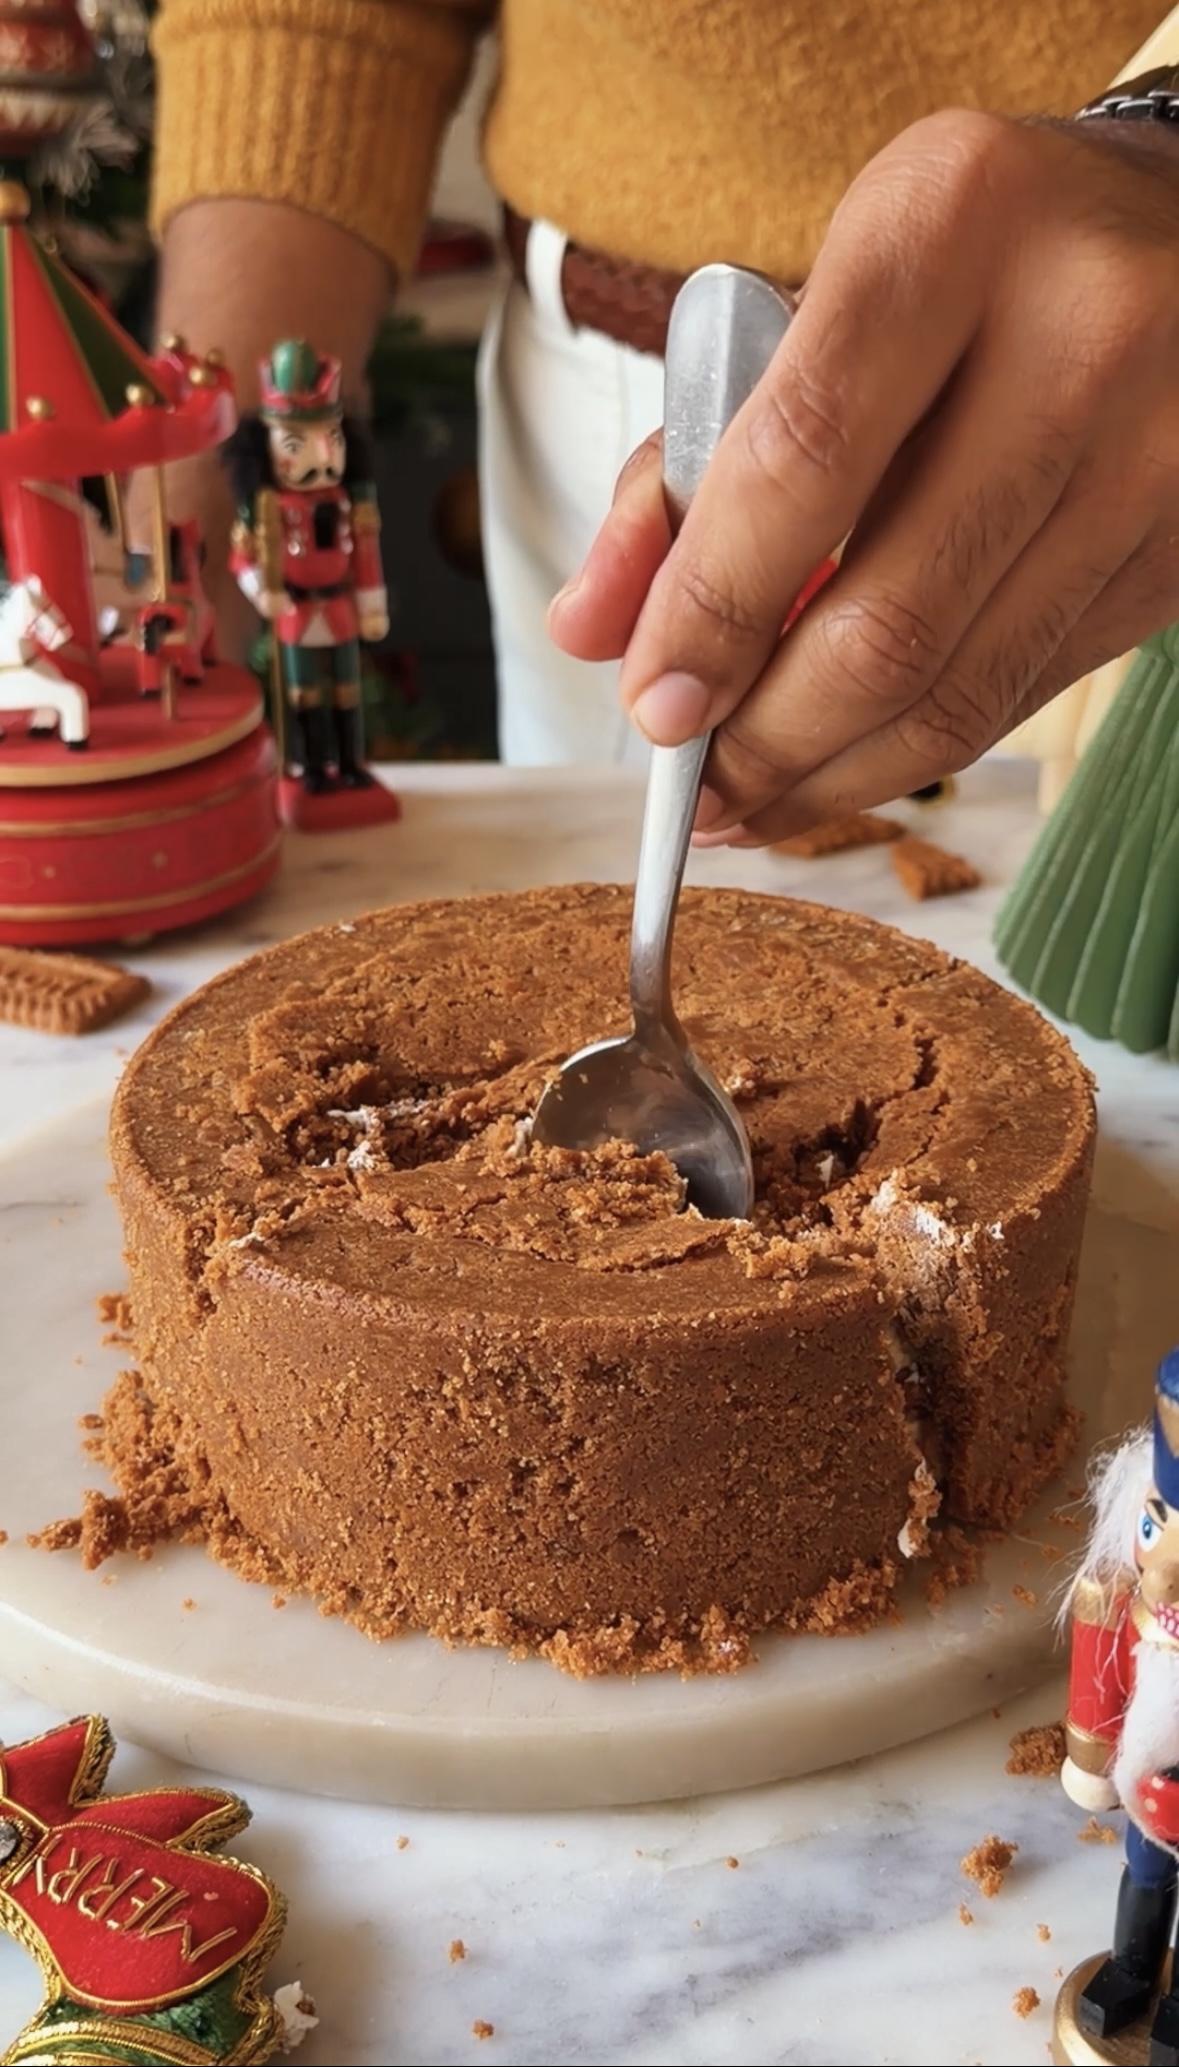
- Flip the pan upside down on a plate and then open the springform pan. Serve the cheesecake in an upside-down form with the biscuit layer on top and filling at the bottom.
If you like my Upside Down Biscoff Cheesecake and happen to make them in your kitchen, do tag me on Instagram and share pictures with me using #Bakewithshivesh. Happy Baking!
 Hello. I'm Shivesh Bhatia, a food blogger and food stylist from Delhi, India. Welcome to Bake With Shivesh, where I'll help you create magic in your kitchens with my simple recipes.