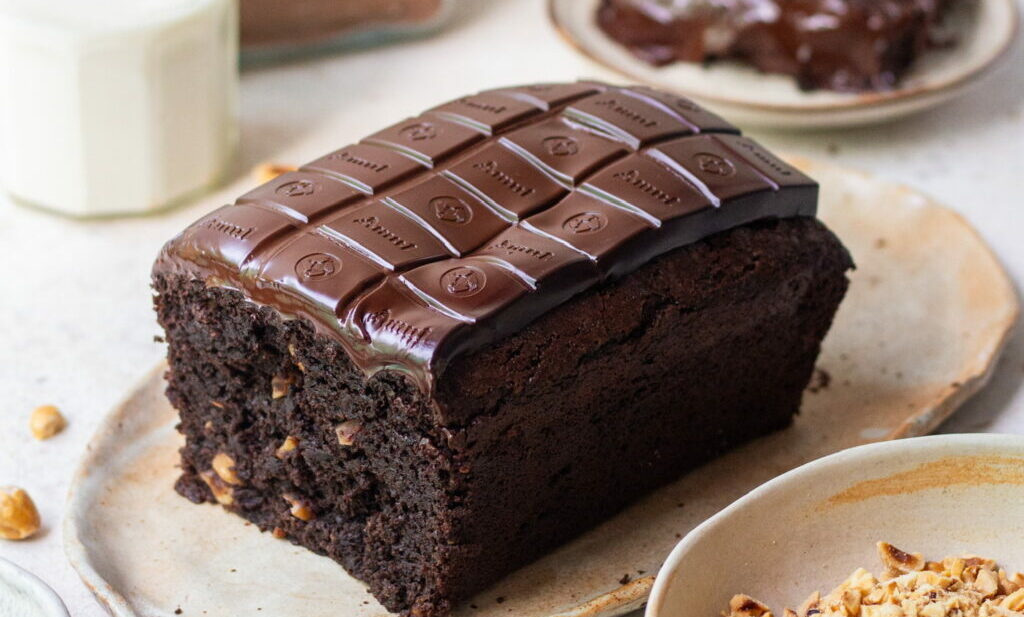
What if I told you that you could have a rich, indulgent chocolate cake with a molten chocolate bar topping—all made in just five minutes? Yes, it’s possible! This Chocolate Bar Cake in the Microwave is every chocolate lover’s dream. It combines the best of both worlds: a soft, moist chocolate cake base and a gooey, melted dark chocolate bar on top. No oven, no fancy equipment—just a quick mix, a microwave, and your chocolate cravings are satisfied in minutes.
This recipe is perfect for those late-night dessert cravings, last-minute guests, or when you simply want to treat yourself to something decadent without spending hours in the kitchen. The beauty of this cake lies in its simplicity. The cake batter comes together in a single bowl, using pantry-friendly ingredients. Once mixed, it’s poured into a microwave-safe dish, and here’s where the magic happens—a whole dark chocolate bar is placed on top.
Unlike store-bought microwave cakes, which often turn out dry or spongy, this one remains incredibly soft and rich, thanks to the perfect balance of moisture and fat in the batter. Whether you enjoy it warm with a scoop of ice cream or simply dig in with a spoon straight from the dish, this cake is guaranteed to be one of the easiest, most indulgent microwave desserts you’ll ever make.
Let’s dive into the recipe and satisfy those chocolate cravings in just five minutes
WHAT YOU’LL LOVE ABOUT THIS
- Super Quick & Easy
- Gooey Chocolate Bar Topping
- No Oven Needed
- Customisable
- Eggless
- Perfect Texture
INGREDIENTS USED IN MAKING CHOCOLATE BAR CAKE IN MICROWAVE
-
YOGURT
Yogurt plays an important role in a cake, adding moisture, tenderness, and a slight tang that balances the sweetness. The acidity in curd reacts with the baking soda or baking powder, helping the cake rise and contributing to a soft, light texture. It also helps to keep the cake moist, preventing it from drying out during baking.
-
BAKING SODA
In this recipe, the yogurt is acidic, and the baking soda helps neutralise some of that acidity. This balancing act helps enhance the flavor and overall texture of the cake. The CO₂ released by baking soda also helps tenderise the batter by breaking down gluten strands. This leads to a softer crumb and less dense structure, which is particularly beneficial when using whole wheat flour.
-
CASTOR SUGAR
Sugar is essential for adding sweetness, moisture, and enhancing the chocolate flavour. It balances the richness of the chocolate, making each bite perfectly sweet and satisfying. Sugar also keeps the cake soft and moist by holding onto water, ensuring the cake stays tender even after you microwave it. This moisture gives each slice a smooth, velvety texture that pairs beautifully with the chocolate.
-
ALL PURPOSE FLOUR
Flour is what helps the cake hold its shape and gives it a soft texture. It’s the main ingredient in the cake base, creating a light, tender crumb that balances the rich chocolate flavour. Forms the structure of the cake. You can also use whole wheat flour for a slightly denser but wholesome version.
-
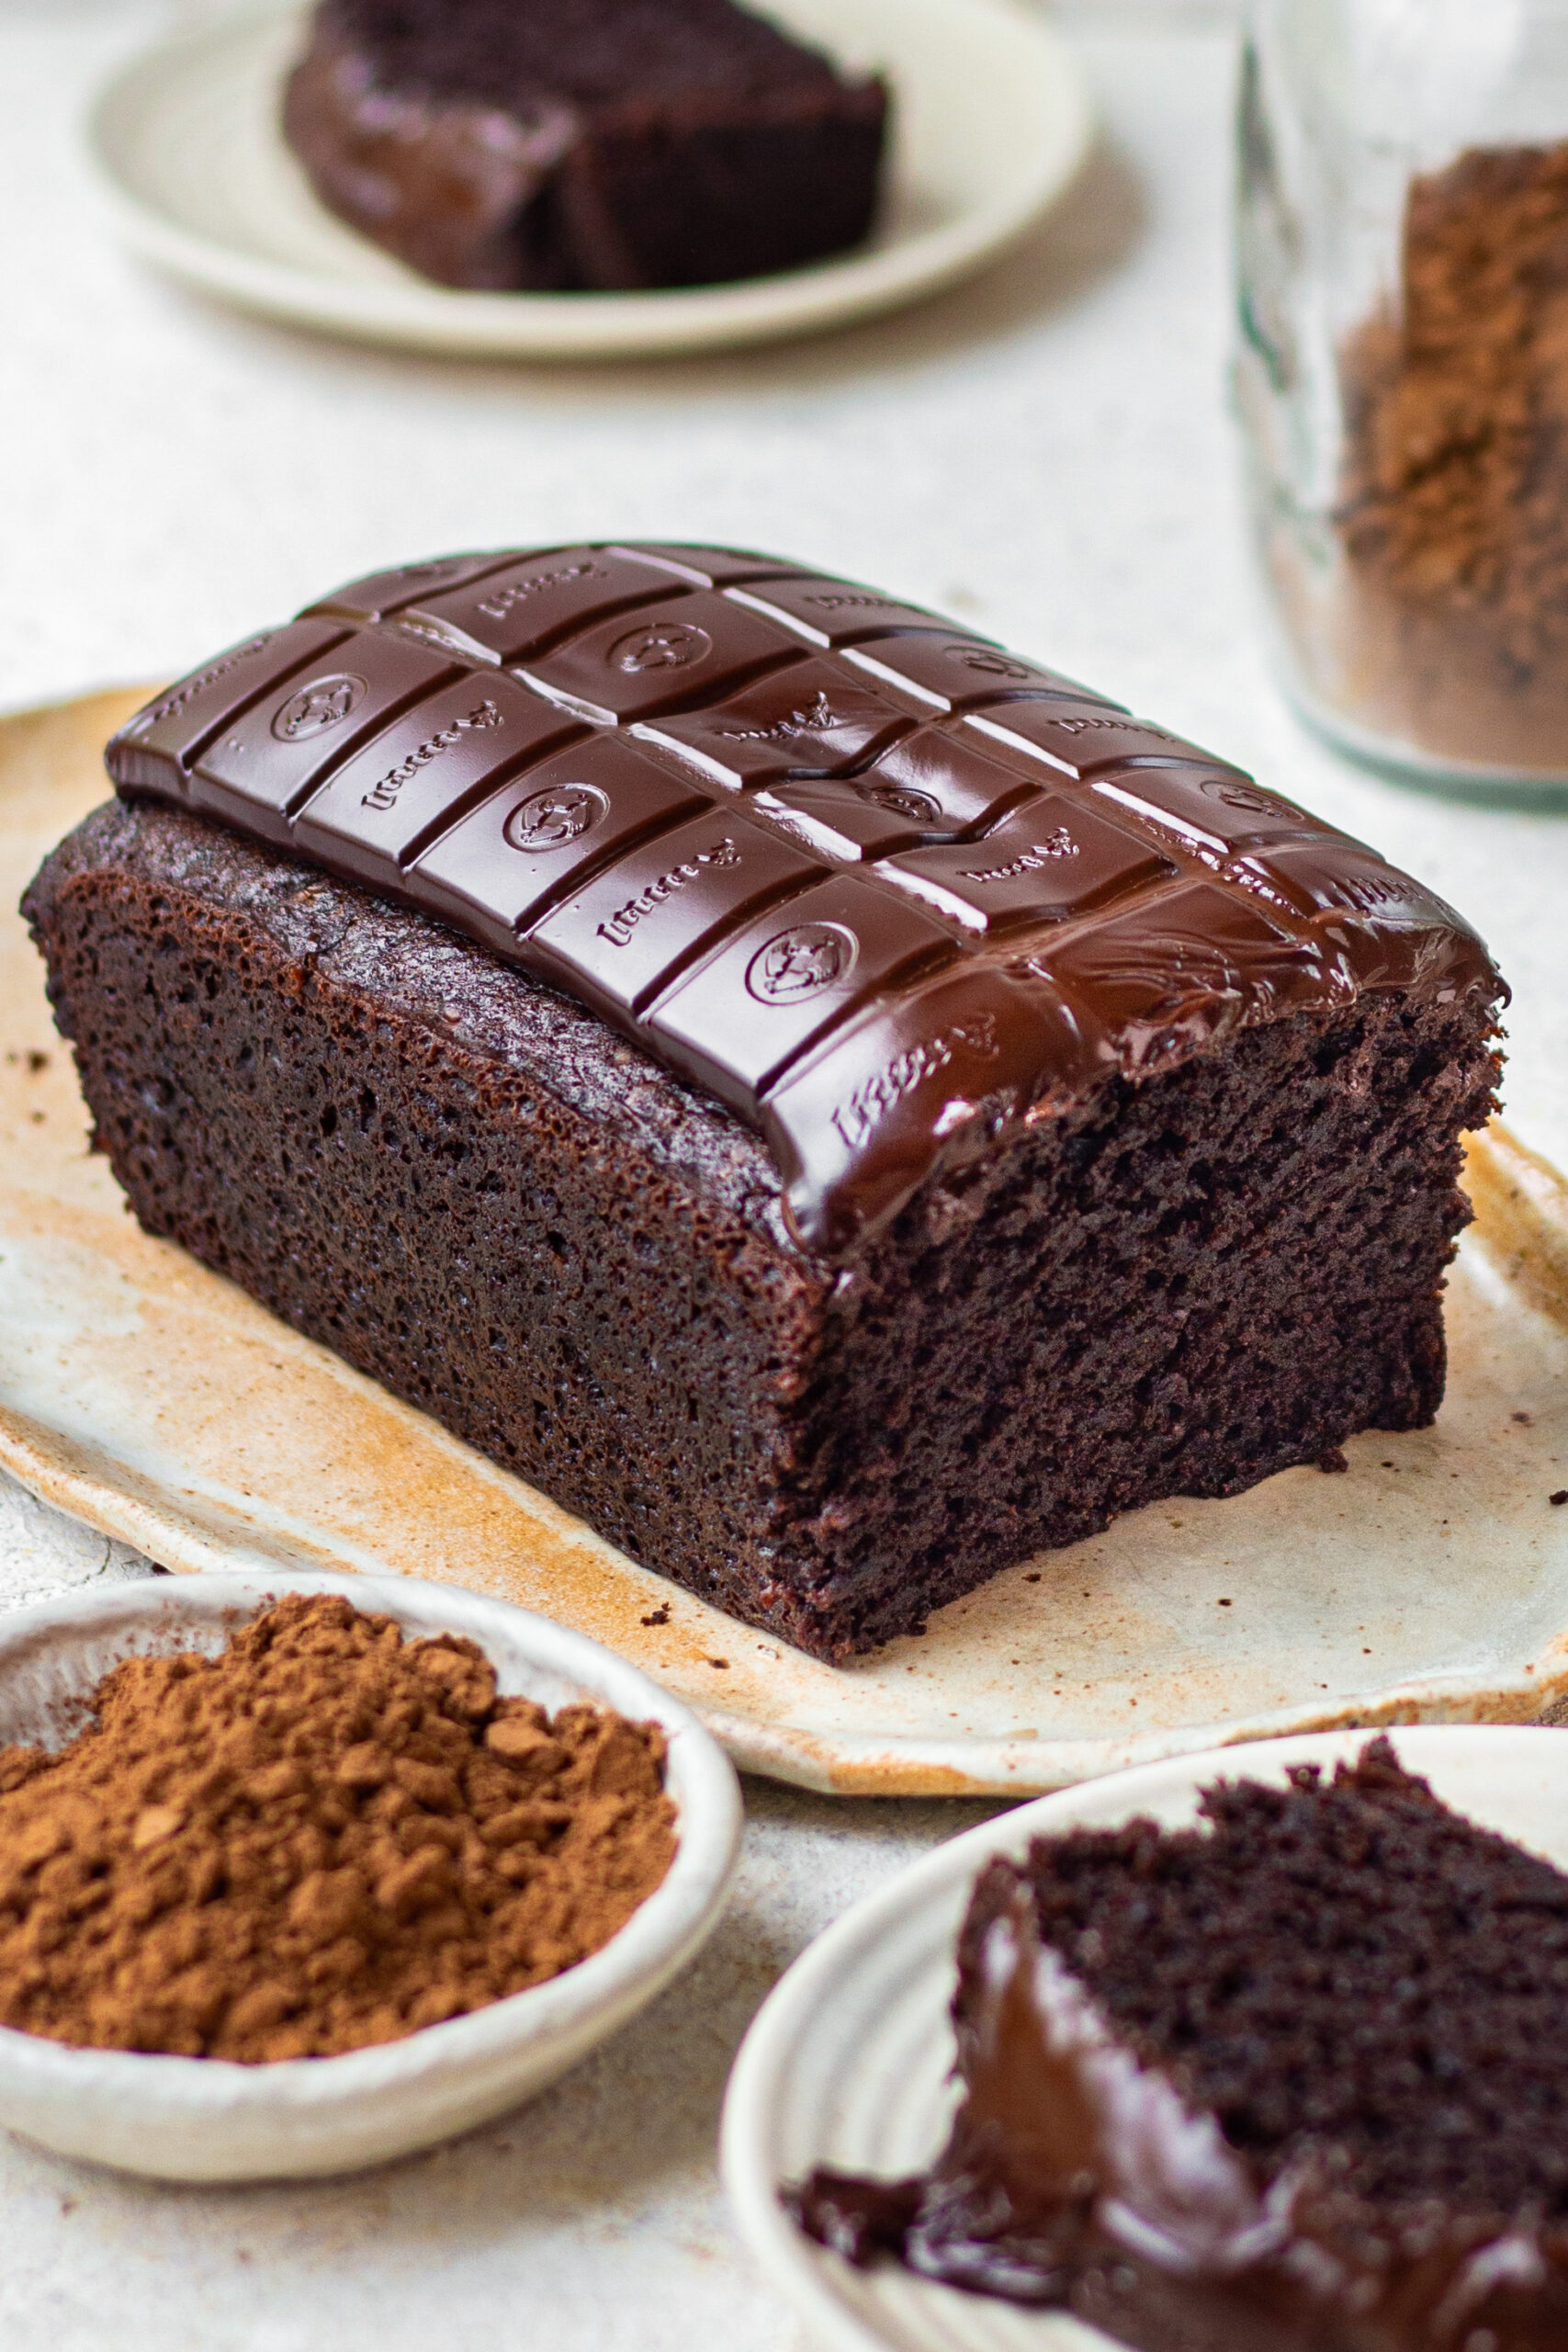
COCOA POWDER
Cocoa powder is essential for giving the cake its rich chocolate flavor, deep color, and light texture. It’s the ingredient that brings out the cake’s intense chocolate taste, balancing perfectly with the sweetness of the sugar for a full, satisfying flavor in every bite. Cocoa powder also gives the cake its signature dark color, making it look rich and tempting.
-
MILK
Milk, in this recipe is the main wet ingredient. It acts as a great egg replacer and still adds protein to the dish. You can replace it with any nut milk and make it vegan too. The milk is what gets absorbed by the atta and adds keeps the whole thing moist. I have used Nestle toned milk for this recipe.
The proteins in milk contribute to the structure and stability of the cake. They help bind the ingredients, creating a tender crumb while preventing the cake from being too crumbly or dry. In this recipe, milk helps activate the baking powder (which needs moisture to start the reaction) and supports the leavening action of baking soda, resulting in a better rise and lighter texture.
EQUIPMENT USED FOR MAKING CHOCOLATE BAR CAKE IN MICROWAVE
Measuring Cups and Measuring Spoons. are an integral part of any baker’s kitchen and it’s very important to measure ingredients with precision. Mixing bowls are required to make the batter.
To mix all my ingredients in, I’m using Borosil’s 100% Borosilicate Glass Bowl which is microwave and oven-safe, plus the bowls are super easy to clean and handle, which makes my baking process hassle-free!
I have used this microwave to bake this cake.
OTHER RELATED RECIPES FROM THE BLOG
TIPS TO MAKE CHOCOLATE BAR CAKE IN MICROWAVE
- Ensure the yogurt, milk, and oil are at room temperature. This helps everything mix evenly and gives the cake a smooth texture.
- Overmixing can make the cake dense. Stir just until the ingredients are combined for a soft and fluffy texture.
- Let the yogurt and baking soda sit for a minute after mixing. This helps activate the leavening and makes the cake light.
- This cake is best eaten fresh while the chocolate bar is still gooey. Pair it with a scoop of ice cream.
- 6 tbsp curd/yogurt
- ⅛ baking soda
- ½ cup castor sugar
- ¼ cup sunflower oil
- 3 tbsp milk
- ½ cup all purpose flour
- ¼ cup cocoa powder
- ¼ tsp baking powder
- In a bowl, combine yogurt/dahi and baking soda. Let it rest for a minute and you’ll see that the mixture will become voluminous.
- Now add in the sugar, sunflower oil and milk in the same bowl and whisk until combined.
- Sift in the dry ingredients- all purpose flour, cocoa powder and baking powder. Mix everything together to form a lump free batter. Do not overmix at this stage.
- Transfer the batter into a 5.5 X 3.5 inch rectangular mould and bake in microwave at regular heating mode for 3 minutes.
- Once the cake is out of the microwave, place an entire bar of dark chocolate on top of the cake and heat in a microwave at regular settings for about 2 mins, till the chocolate just begins to melt.
If you like my Chocolate Bar Cake in the Microwave recipe and happen to make them in your kitchen, do tag me on Instagram and share pictures with me using #Bakewithshivesh. Happy Baking!
 Hello. I'm Shivesh Bhatia, a food blogger and food stylist from Delhi, India. Welcome to Bake With Shivesh, where I'll help you create magic in your kitchens with my simple recipes.
Leave a Reply