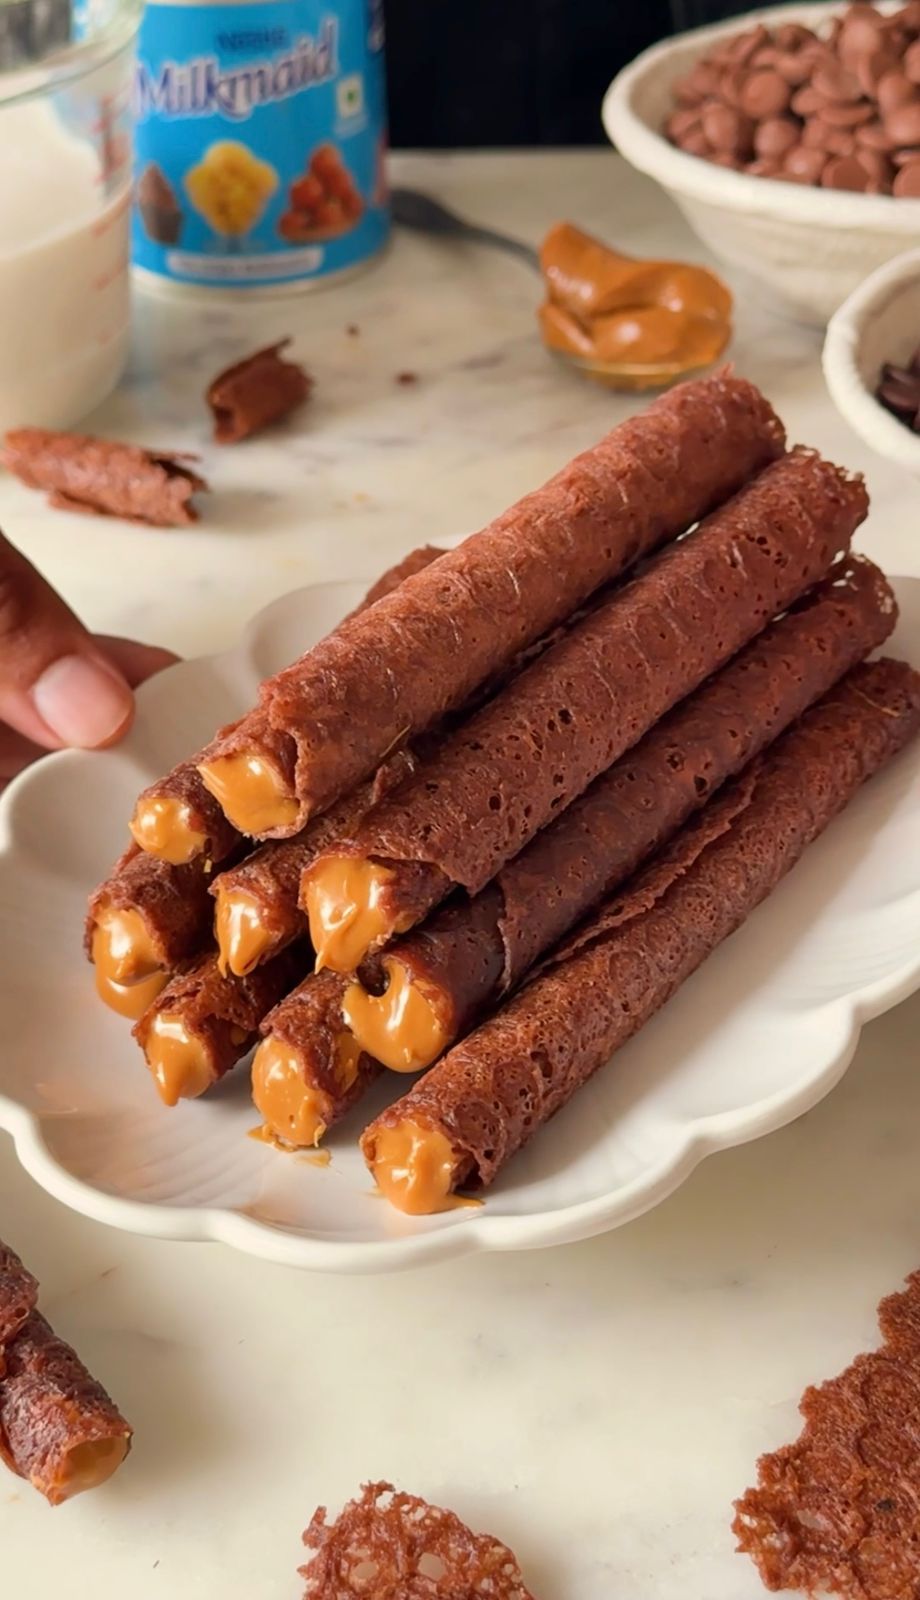
There’s something quietly comforting about chocolate wafer rolls with dulce filling—no drama, no layers, just pure joy in every bite. The outer shell is light and crisp, rich with cocoa but never overwhelming. Then comes the filling—silky, golden dulce de leche that melts smoothly on your tongue, sweet with just a hint of caramel warmth. It’s that perfect contrast: the snap of the wafer with the creaminess inside. Not too fancy, not trying too hard—just one of those little pleasures you keep coming back to. Familiar, delicious, and always your kind of treat.
WHAT YOU’LL LOVE ABOUT THIS RECIPE
- Easy to make
- Customisable
- Visually appealing
- Eggless
- No-oven
INGREDIENTS USED IN CHOCOLATE WAFER ROLLS
COCOA POWDER
Cocoa powder is essential in chocolate wafer rolls—it’s what gives the wafer its deep chocolate flavor and beautiful dark color. Blended into the batter or dough, it adds richness without making the roll too heavy or sweet. Since wafer rolls are meant to be light and crisp, unsweetened cocoa powder is ideal—it gives that clean chocolate taste while letting the creamy dulce filling shine through.
SUGAR
Sugar in chocolate wafer rolls plays a subtle but important role. It sweetens the cocoa-based batter just enough to balance the bitterness of the cocoa powder, without overpowering the delicate crunch of the wafer. It also contributes to the texture—helping the wafers crisp up beautifully during baking or cooking. Since the dulce filling is rich and sweet on its own, the sugar in the wafer is usually kept minimal, just enough to round out the chocolate flavor and let the filling take the spotlight.
MILK
Milk in chocolate wafer rolls adds moisture, tenderness, and a slight creaminess to the batter. It helps create a smooth consistency that’s easy to spread into thin layers, which is key for getting that delicate, crisp texture once baked. Milk also balances the cocoa powder’s bitterness, softening the flavor and adding a subtle richness.
BUTTER
Butter contributes to the wafer rolls’ signature crispy texture by adding fat to the batter. As the butter melts during cooking, it creates steam, which helps the batter spread and crisp up in the waffle cone maker. By coating the flour proteins, butter inhibits gluten development, ensuring the rolls remain delicate and crisp rather than tough or chewy.
ALL PURPOSE FLOUR
The proteins in all-purpose flour (mainly gluten) form the structural backbone of the wafer rolls. When combined with liquid and worked, the gluten network develops, giving the rolls their shape and stability. While the rolls are meant to be thin and crispy, the flour provides enough strength to ensure they don’t crumble apart during shaping or filling.
DULCE FILLING
Dulce de leche is the heart of the chocolate wafer roll—it’s what turns a simple crisp bite into a melt-in-your-mouth experience. Thick, creamy, and deeply caramelized, it brings a luxurious sweetness that contrasts beautifully with the light, cocoa-rich shell. Its smooth texture fills the center without making the roll soggy, and its warm, toffee-like notes add depth to every bite. It’s that soft, rich surprise tucked inside the crunch—sweet, familiar, and always the reason you reach for just one more.

EQUIPMENTS USED IN MAKING CHOCOLATE WAFER ROLLS
The kind of equipment you use when you’re baking makes a huge difference to the end result! I would recommend you to use good quality mixing bowls and other equipment so that the end result is as good as process.
Not a single day goes in my kitchen when I don’t use a spatula and a whisk. Same goes for my set of Measuring Cups and Measuring Spoons.
One main thing that you’ll need to make these coffee wafer rolls is a waffle cone maker.
OTHER RELATED RECIPE FROM THE BLOG
TIPS TO MAKE CHOCOLATE WAFER ROLLS
- Thin and even batter:Spread the chocolate batter very thin and evenly on a silicone mat or baking sheet to ensure the wafers turn out crisp and delicate. An offset spatula helps with precision.
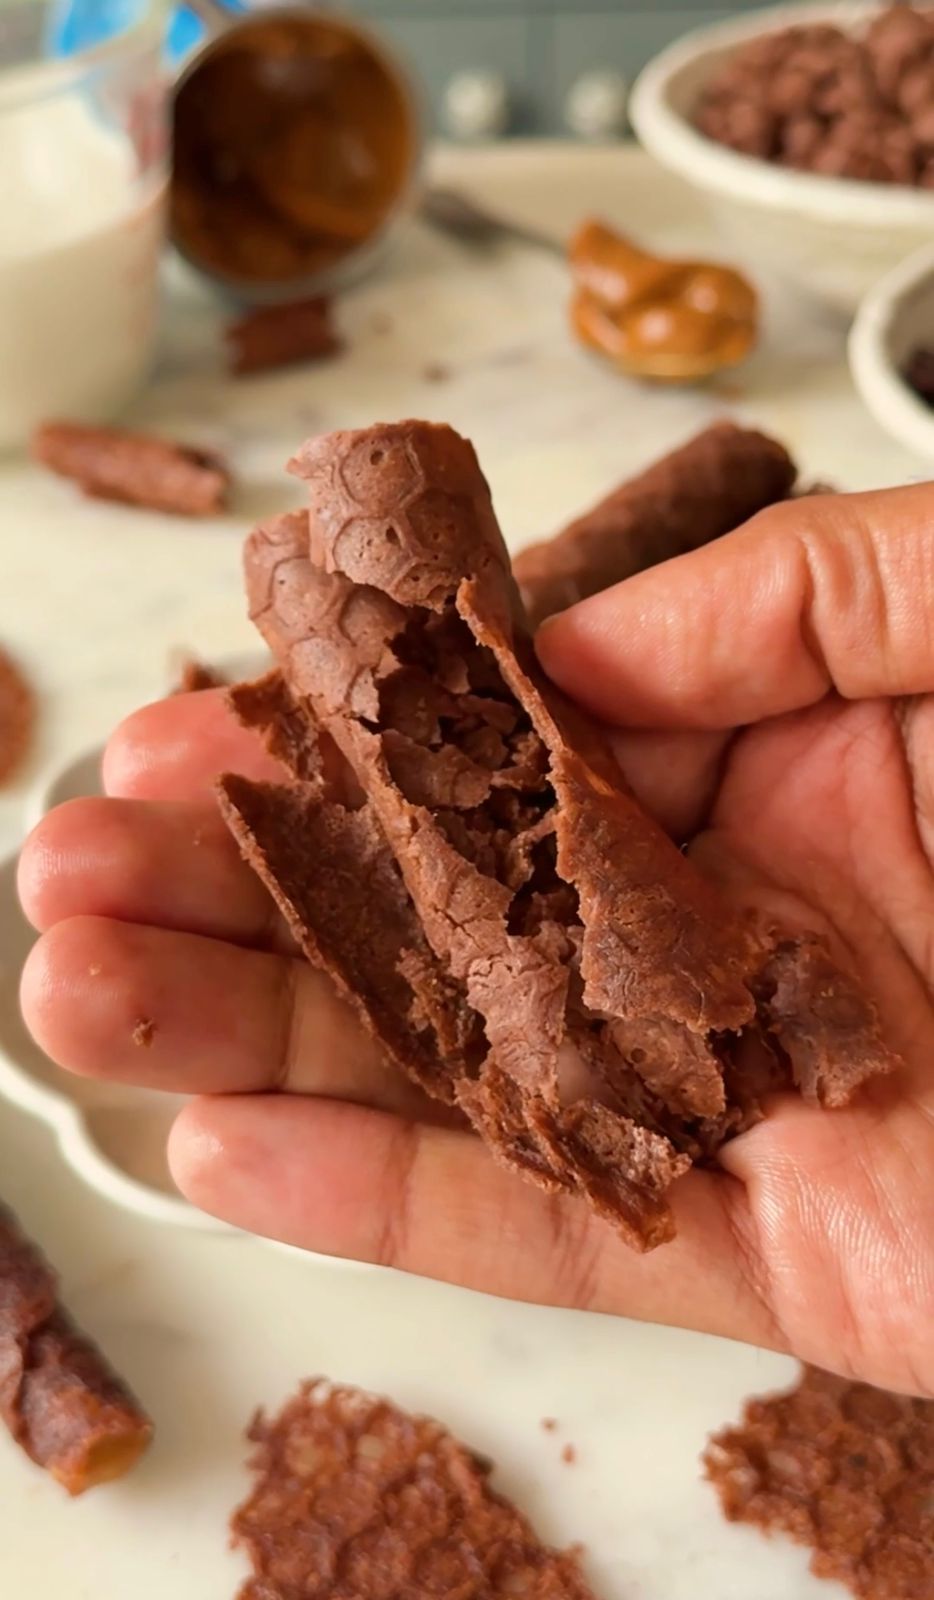
- Work quickly while warm:Roll the wafers immediately after baking while they’re still warm and pliable. Once they cool, they’ll become brittle and can crack while rolling.
- Use unsweetened cocoa powderOpt for a good-quality unsweetened cocoa powder for a rich chocolate flavor without overpowering sweetness.
- Don’t over-sweeten the wafer:Since dulce de leche is already sweet, keep the wafer batter lightly sweetened to create a balanced bite.
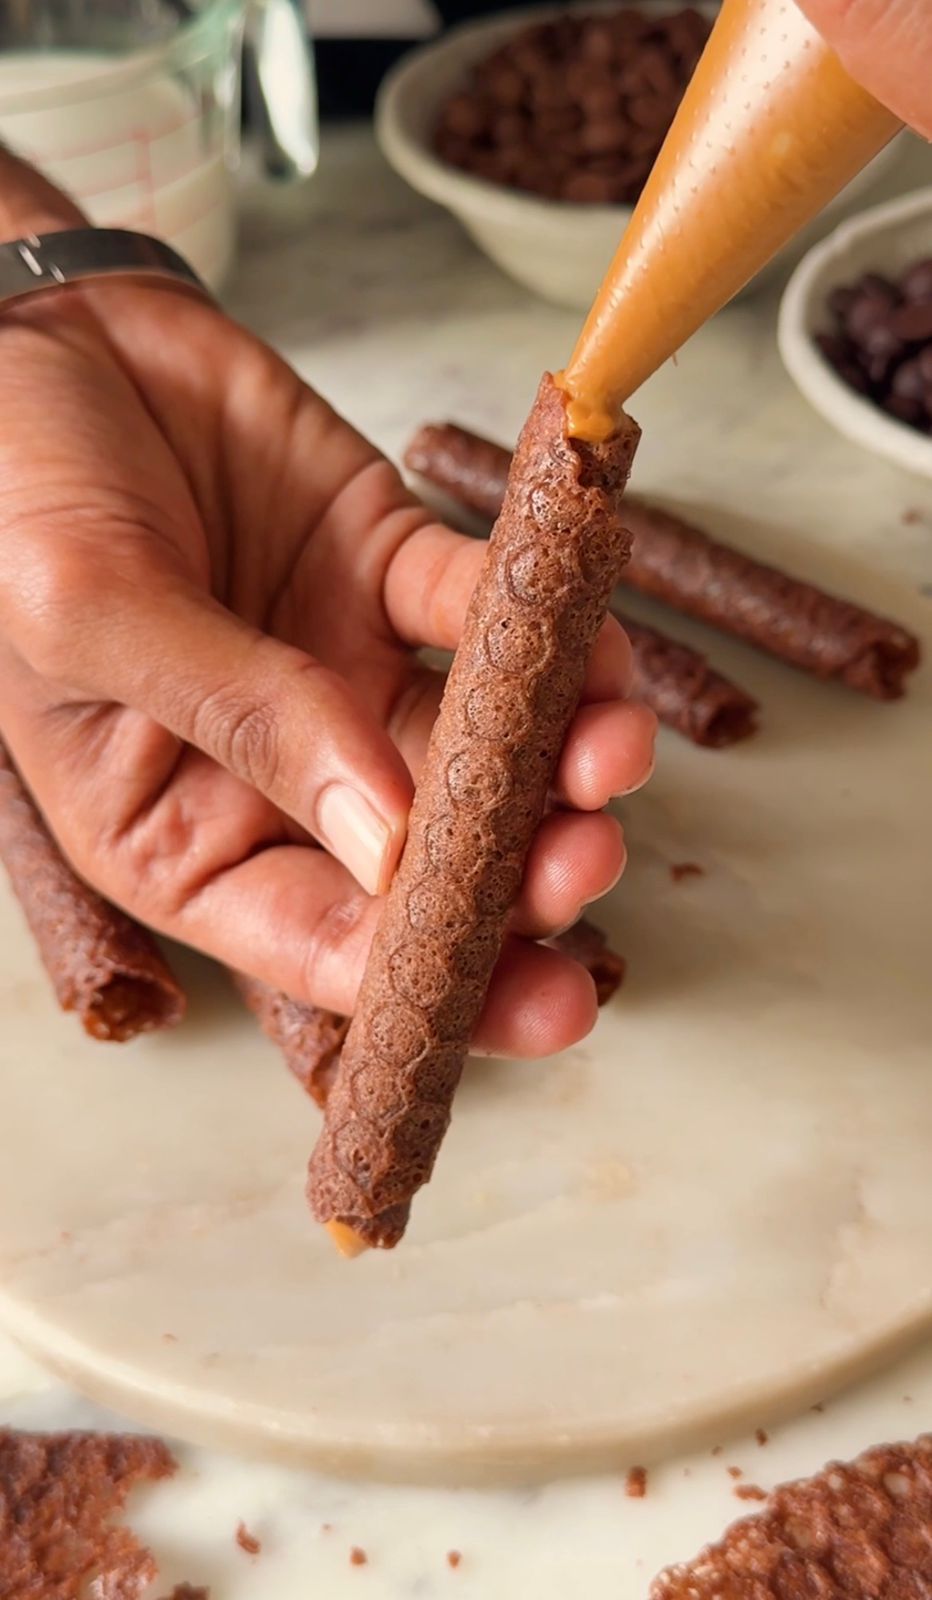
- Chill the dulce filling slightly:If your dulce is too runny, chill it a bit before piping. It should be thick but pipeable, so it holds inside the roll without spilling out.
- Use a piping bag:Pipe the filling into both ends of the wafer roll for an even, clean finish. A small piping tip works best.
- ½ cup milk
- 1 tbsp cocoa powder
- ¼ cup butter
- ¼ cup sugar
- ½ cup all purpose flour
- 1 can Nestlé MILKMAID
- 2 tbsp cream cheese
- Fill a pressure cooker with water and submerge the can of Nestlé MILKMAID in it. Cook it ok medium heat till one whistle and then simmer it on low for the next 15 minutes.
- Let the pressure release naturally and carefully take out the can and keep aside.
- For the wafer batter, add warm milk and cocoa powder in a bowl and whisk till no lumps remain.
- Add melted butter, sugar and all purpose flour and whisk again to form a smooth batter.
- Now, heat a waffle cone maker on medium-low heat and pour a tablespoon of the batter. Close the cone maker and cook on both the sides for 2 minutes.
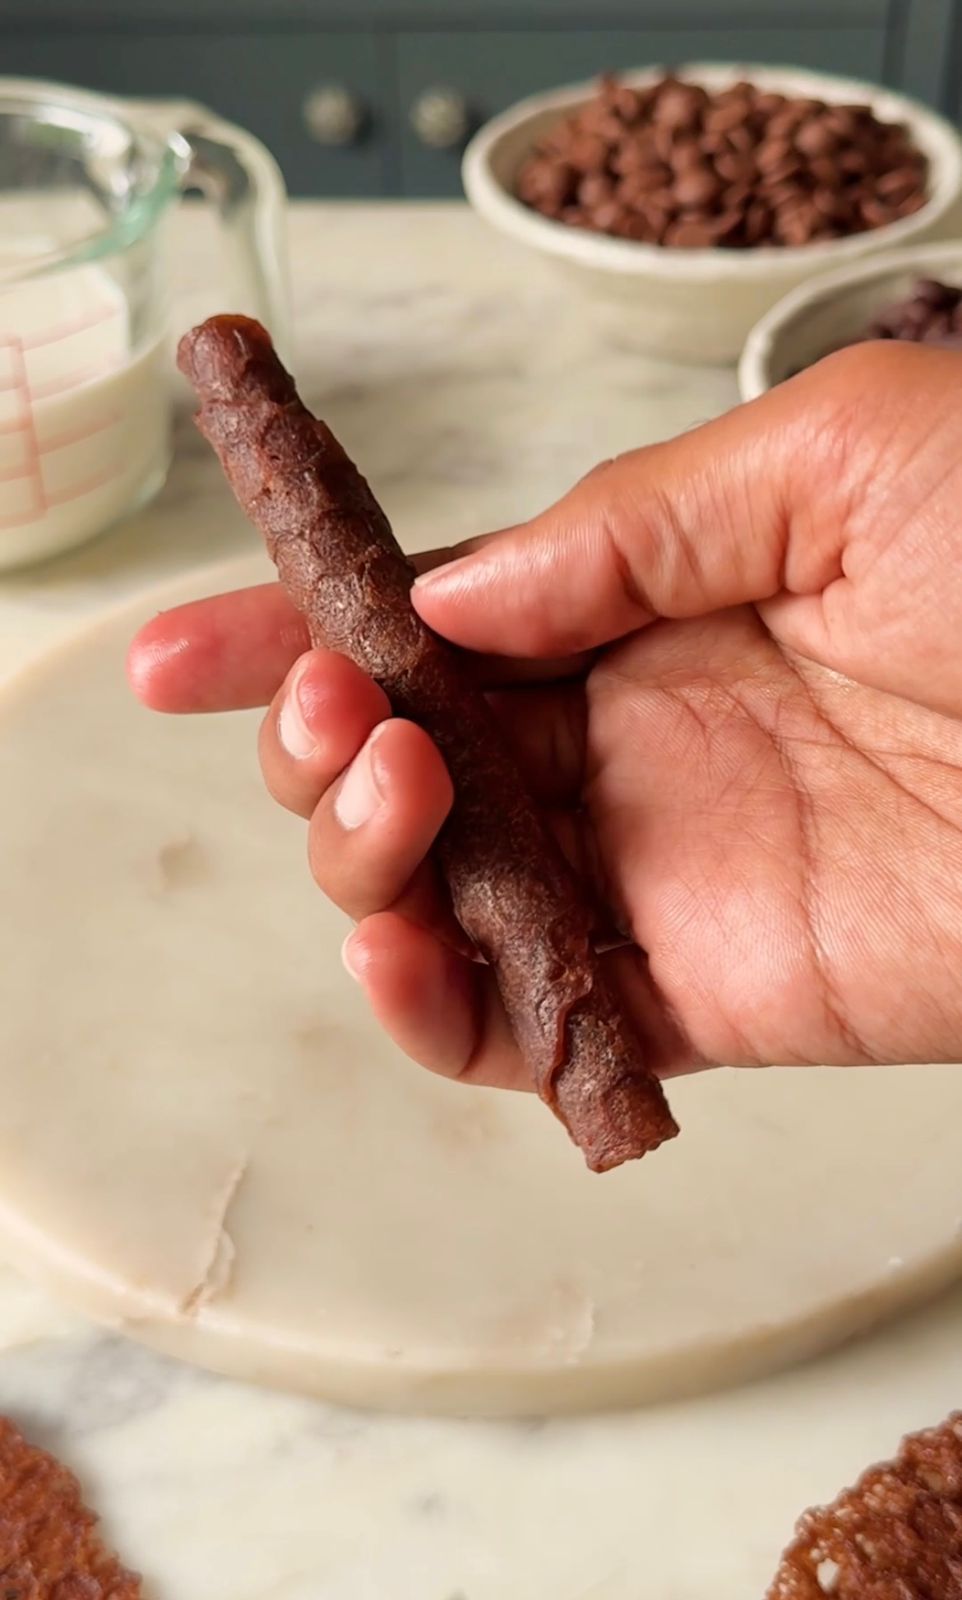
- Take the wafer out carefully using tongs, and roll it using a straw. Be very careful at this stage because the wafer is extremely hot.
- Let the wafer come to room temperature and become crispy.
- Combine ¼ cup of cooked MILKMAID (dulce de leche) with cream cheese to make the the filling.
- Pipe the filling into the wafer rolls and consume immediately.
If you like my Eggless Chocolate Wafer Rolls recipe and happen to make them in your kitchen, do tag me on Instagram and share pictures with me using #Bakewithshivesh. Happy Baking!

Leave a Reply