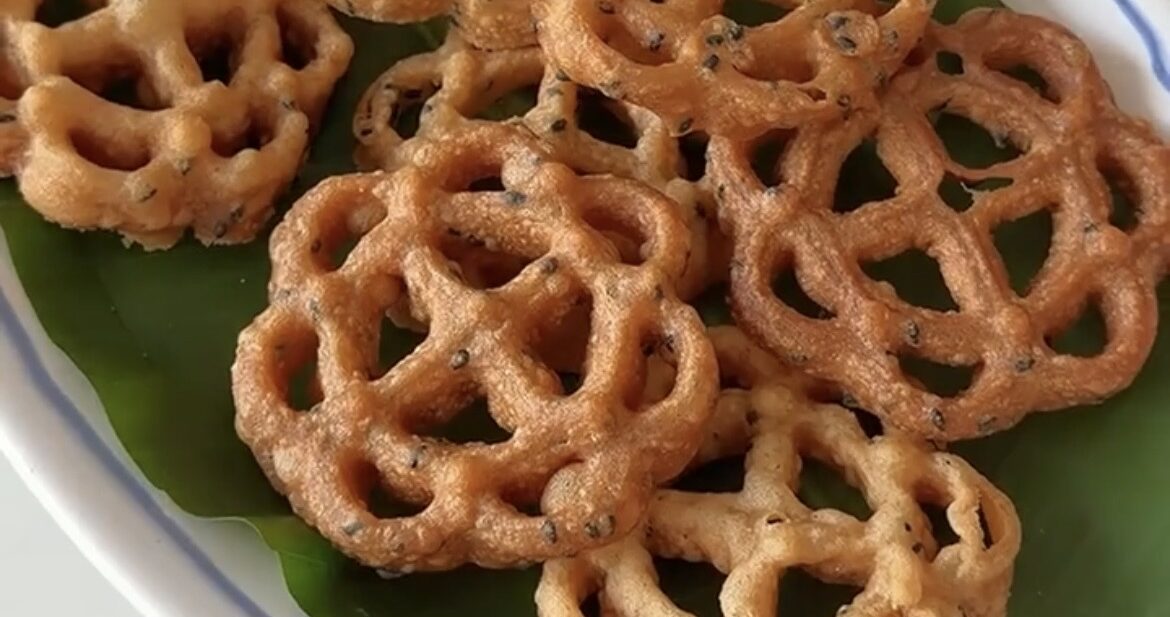
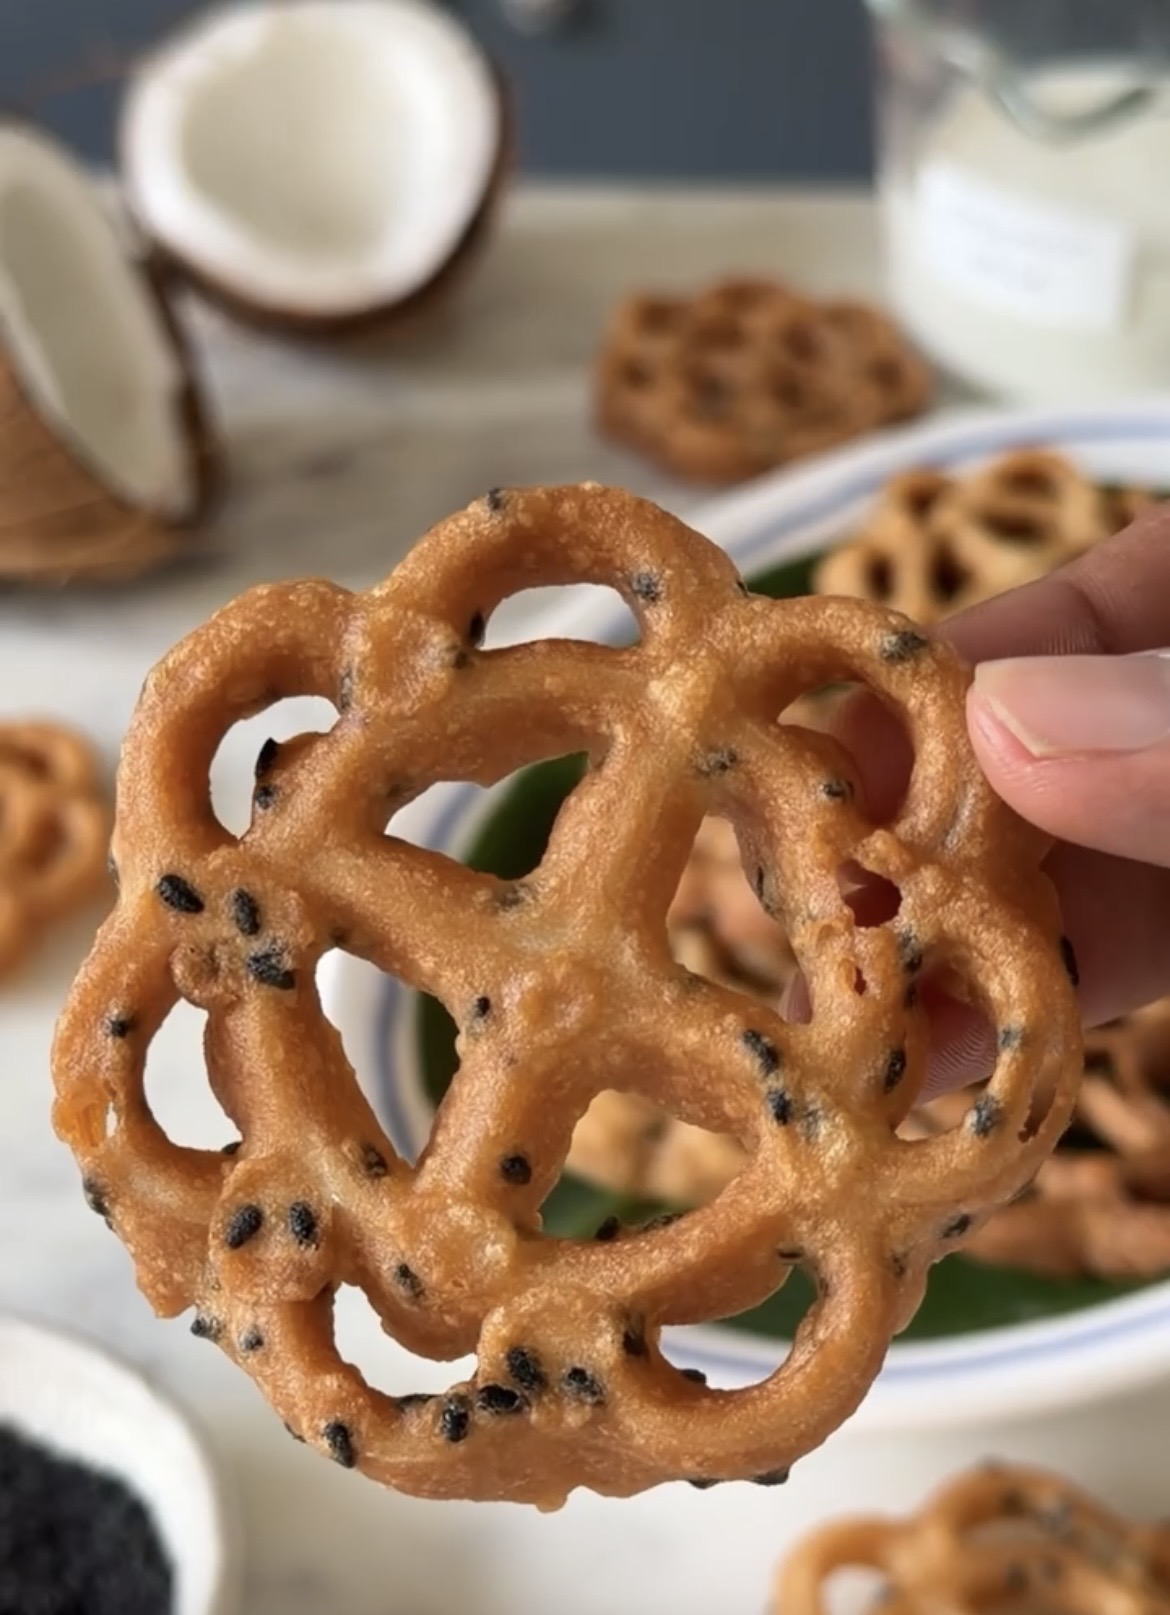
Achappam, also known as the beautiful rose cookie of Kerala, is one of those traditional snacks that instantly brings back festive memories. Light, crisp, and delicately patterned, these cookies are made using a special mould that gives them their iconic flower-like shape. The batter is simple — made with rice flour, coconut milk, egg, and sugar — but when fried, it transforms into something wonderfully crunchy and aromatic.
What makes achappam truly special is its subtle flavour. The richness of coconut milk paired with the nutty crunch of black sesame seeds creates a delicate balance of sweetness and texture. Each cookie fries into a golden, lace-like crisp that is incredibly satisfying to bite into.
Traditionally, achappam is prepared during celebrations and festive occasions in Kerala, especially Christmas and weddings, where trays of these crispy cookies are shared with family and guests. Despite its elegant appearance, the process is quite simple once you understand the technique of heating the mould and dipping it into the batter.
Freshly fried achappam is wonderfully crisp, and it becomes even crunchier as it cools. These cookies store well for days, making them perfect for gifting or enjoying slowly with a cup of tea or coffee.
Simple ingredients, a beautiful mould, and a bit of patience — that’s all it takes to create these delicate, golden cookies that carry the warmth of tradition in every bite.
WHAT YOU’LL LOVE ABOUT THIS
- No oven required
- Pretty and delicious
- Fun to make
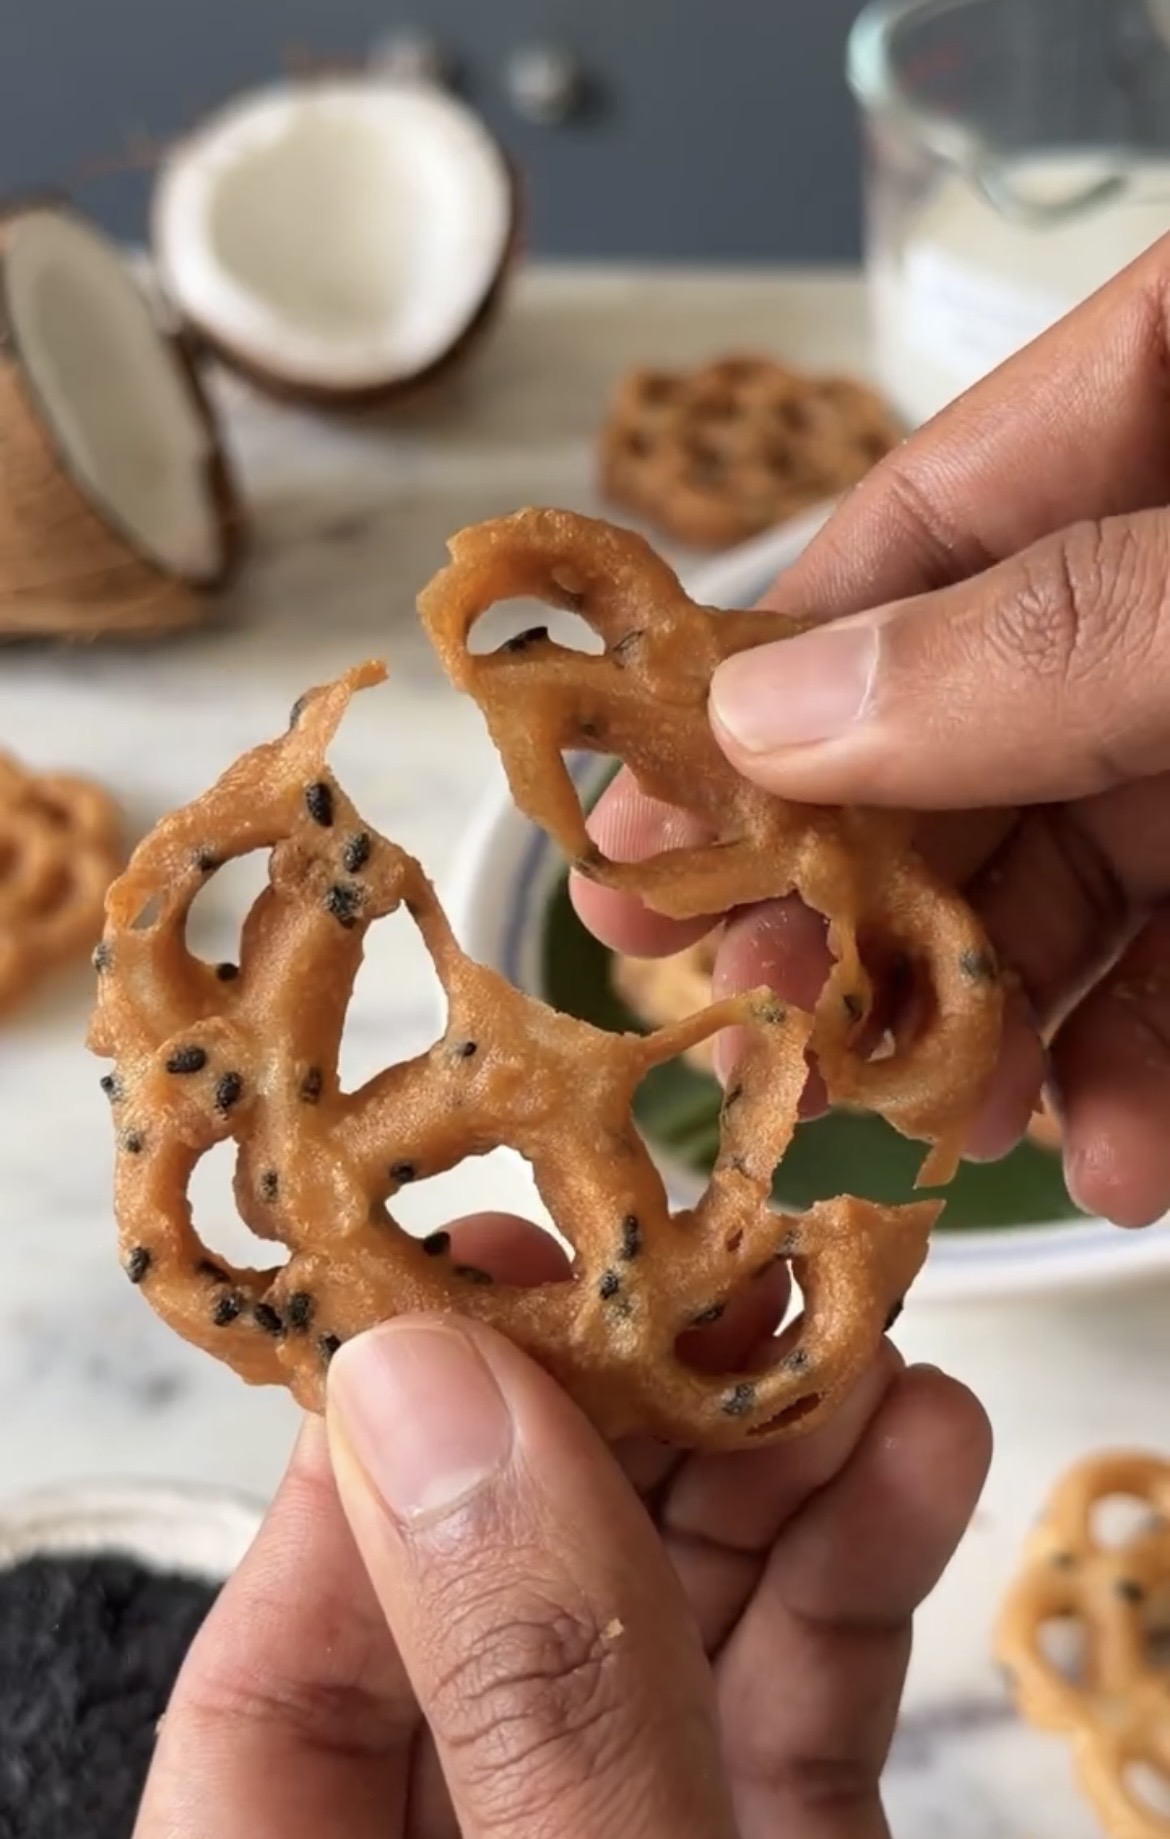
INGREDIENTS USED TO MAKE ACHAPPAM
-
Egg
Egg acts as a binding and structure-building ingredient in the batter. It helps hold the rice flour mixture together and gives the cookie enough strength so it releases easily from the mould without breaking. Egg also contributes to the light crispness and golden colour when fried.
-
Sugar
Sugar adds a subtle sweetness to the achappam, balancing the neutral taste of rice flour. During frying, sugar also helps with light caramelization, which gives the cookies their beautiful golden colour and delicate crispness.
-
Salt
A small pinch of salt enhances the overall flavor. Even though achappam is a sweet snack, salt balances the sweetness and highlights the coconut and sesame flavors, making the taste more rounded.
-
Rice Flour
Rice flour is the main structural ingredient in achappam. Unlike wheat flour, it contains no gluten, which is why achappam turns out light, thin, and crisp rather than chewy. It also helps the batter coat the mould evenly to create the delicate patterned shape.
-
Black Sesame Seeds
Black sesame seeds add a nutty aroma and mild crunch to the cookie. They also create small speckles throughout the achappam, making it visually appealing. The slight toasted flavor of sesame complements the sweetness of the batter beautifully.
-
Coconut Milk
Coconut milk brings richness and traditional flavor to the batter. It adds a mild coconut aroma and a creamy texture, which helps the achappam fry evenly while keeping the flavor authentic to Kerala-style preparation.
-
Water
Water is used to adjust the consistency of the batter. Achappam batter needs to be thin enough to coat the mould evenly but thick enough to hold its shape when fried. Adding water gradually ensures the batter reaches the perfect flowing consistency.
-
Oil (for frying)
Hot oil is essential for creating the crisp texture and golden color. The heated mould dipped in oil helps the batter set instantly, forming the delicate cookie shape. Properly heated oil ensures the achappam fries evenly and becomes light and crunchy instead of oily.
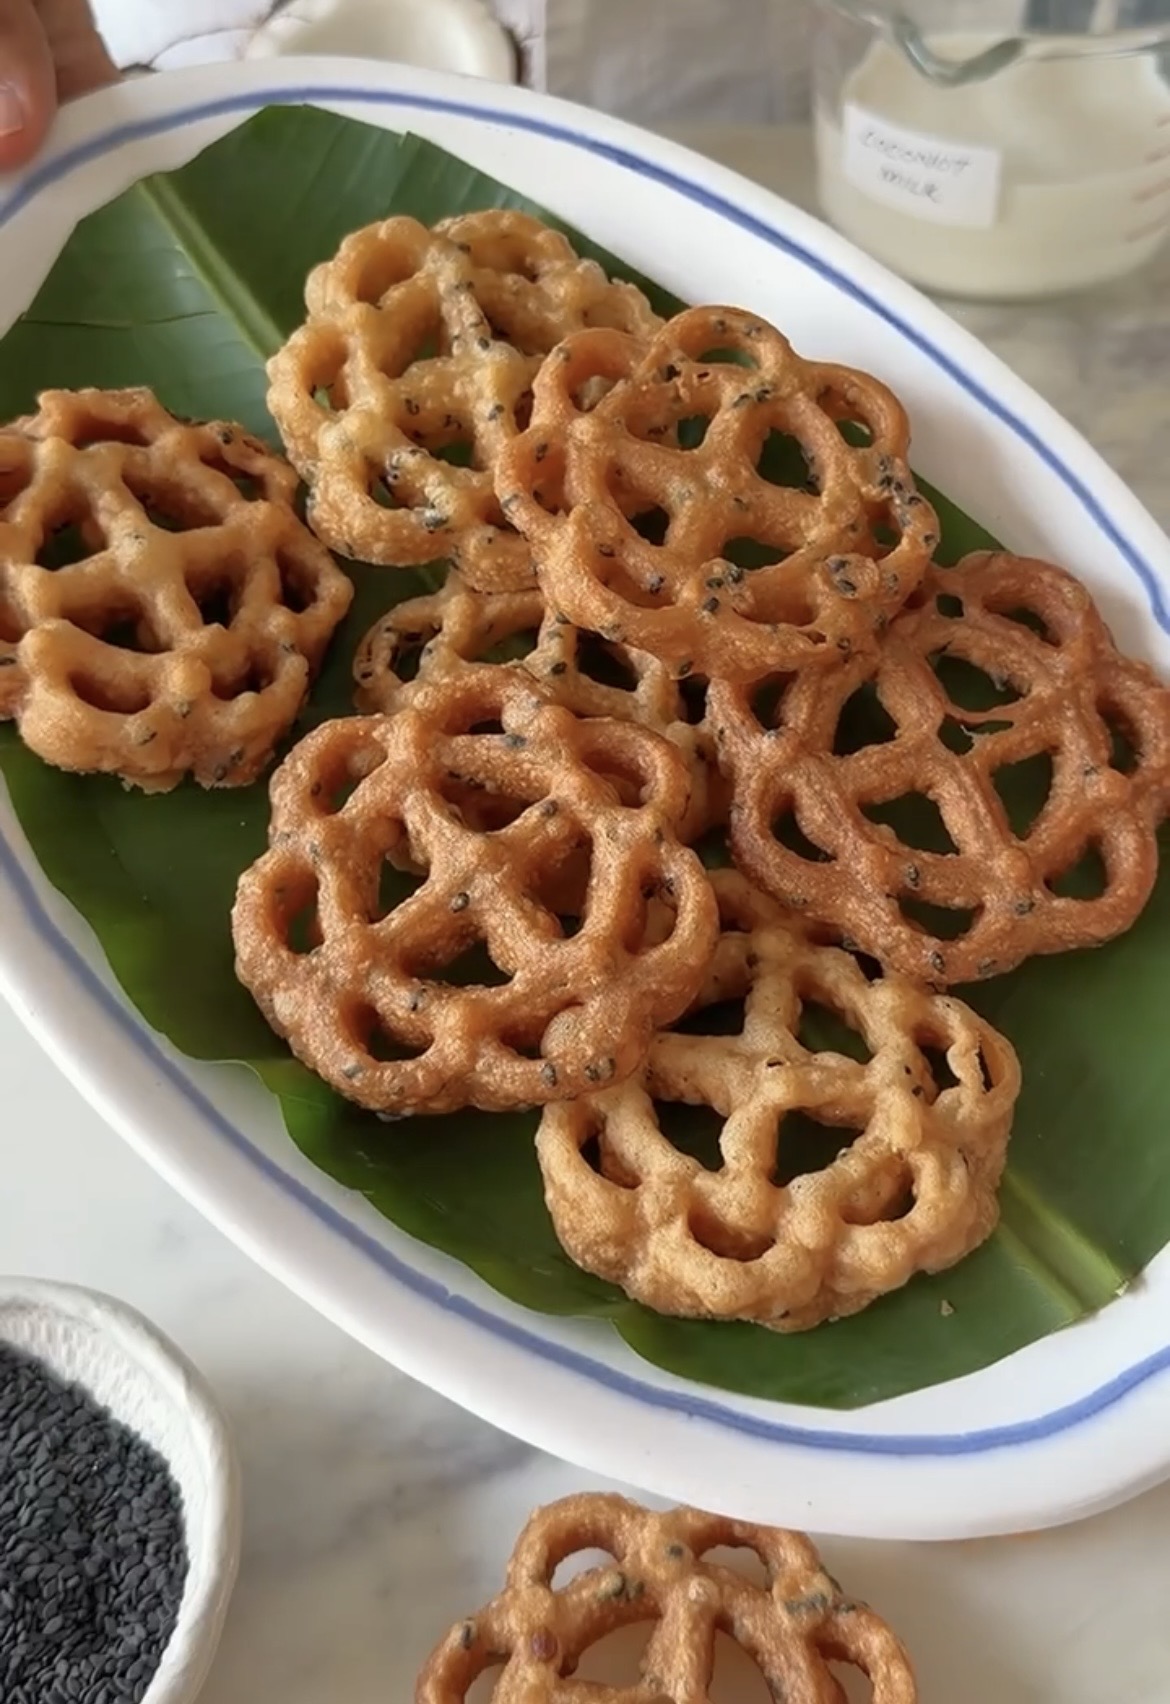
EQUIPMENTS USED IN ACHAPPAM
Measuring Cups and Measuring Spoons are the first thing that anybody who is cooking or baking needs. The right quantities will help in the desired outcome, so these two things are a must.
You also need a few mixing bowls to combine the dough and spatulas to do the mixing.
Achappam mould to make the cookies.
RELATED RECIPES FROM THE BLOG
TIPS TO MAKE ACHAPPAM
1.Use a smooth, lump-free batter
Make sure the batter is well whisked and completely smooth. Lumps can prevent the batter from coating the mould evenly and may cause the achappam to break while frying.
2. Maintain the right batter consistency
The batter should be slightly thin and flowing, similar to pancake batter. If it is too thick, the cookies will turn heavy; if too thin, the batter will not stick properly to the mould.
3. Always heat the mould in oil before dipping in batter
A hot mould helps the batter stick immediately and release easily while frying. If the mould is not hot enough, the batter may not form the cookie shape.
4. Do not dip the mould completely in batter
Dip only ¾ of the mould into the batter, leaving the top edge uncovered. This allows the achappam to release easily from the mould while frying.
5. Fry on medium heat
Oil that is too hot can brown the achappam too quickly without crisping it properly, while low heat can make it absorb excess oil. Medium heat ensures an even golden color and crisp texture.
6. Allow the cookie to release naturally
Once placed in oil, the achappam will slowly release from the mould. If needed, gently nudge it with a skewer or fork, but avoid forcing it too early.
7. Reheat the mould each time
Before making the next cookie, dip the mould back into the hot oil again. This helps maintain the correct temperature for the batter to stick and form the shape.
8. Drain properly after frying
Place the fried achappam on paper towels to remove excess oil. This helps keep them light and crisp.
9. Let them cool completely
Achappam becomes even crispier as it cools, so allow them to cool fully before storing.
10. Store in an airtight container
Once cooled, store them in an airtight container to keep them crisp for several days.
- 1 egg
- 3 tbsp sugar
- Pinch of salt
- 1+ ½ cups rice flour
- 1 tbsp black sesame
- ¾ cup coconut milk
- ½ cup water
- Oil,for frying
- In a bowl, add the egg, sugar, and a pinch of salt. Whisk well until the sugar dissolves and the mixture becomes slightly frothy.
- Add the rice flour and black sesame seeds. Mix well.
- Pour in the coconut milk and water, then whisk everything together to form a smooth, lump-free batter.
- The batter should be slightly thin and flowing. If it feels too thick, add 1 tablespoon water at a time until the right consistency is reached.
- Heat enough oil in a kadhai on medium heat for deep frying and place the achappam mould inside the hot oil.
- Carefully remove the mould from the oil and dip it into the batter, making sure the batter coats the mould only up to ¾ of its height (do not cover the top edge).
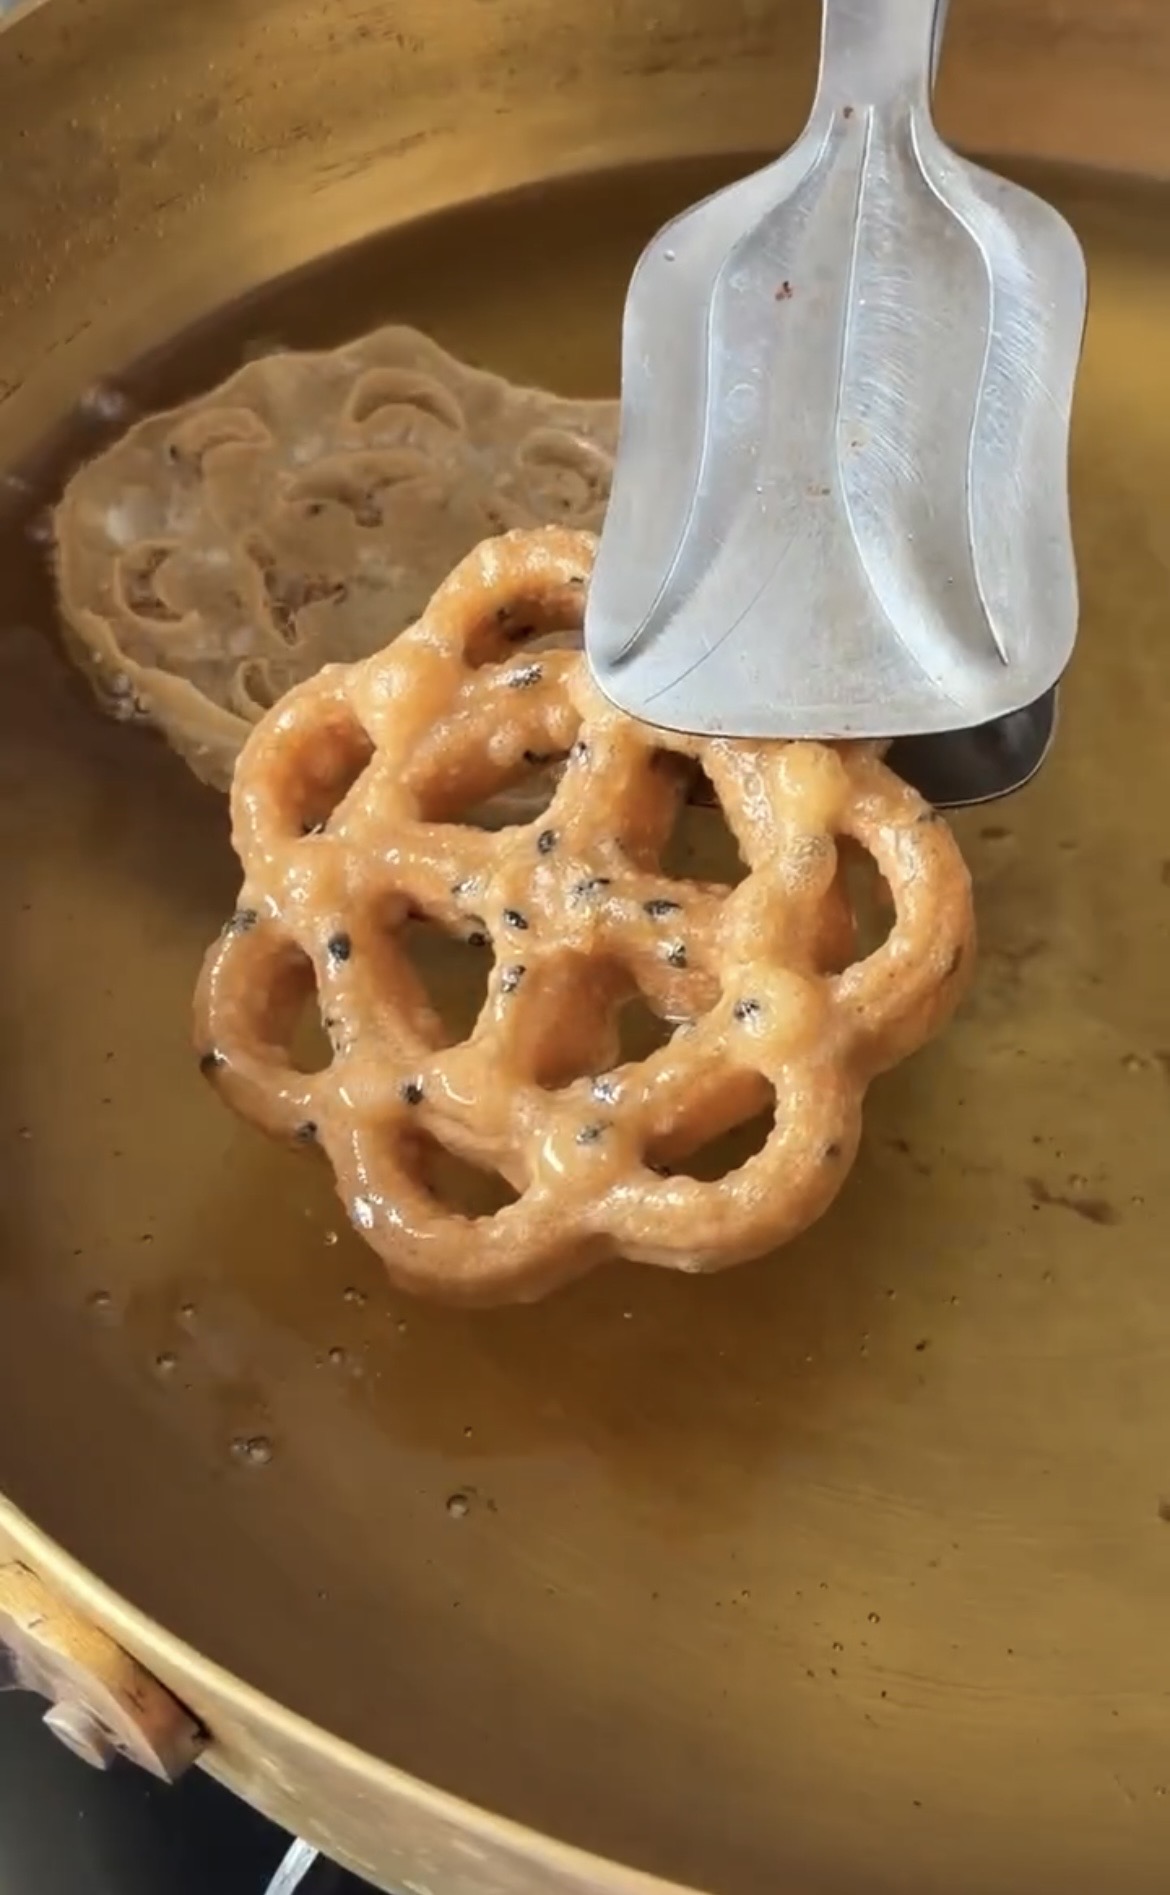
- Immediately place the mould back into the hot oil. The batter will begin to cook and the achappam will release from the mould after a few seconds.
- If it doesn’t release easily, gently shake the mould or use a skewer to help it slide off.
- Fry until golden brown and crisp, flipping if needed for even cooking.
- Remove from the oil and place on paper towels to drain excess oil.
- Repeat the process, reheating the mould in the oil before dipping it back into the batter.
- Allow the achappam to cool completely; it will become extra crisp as it cools.
 Hello. I'm Shivesh Bhatia, a food blogger and food stylist from Delhi, India. Welcome to Bake With Shivesh, where I'll help you create magic in your kitchens with my simple recipes.