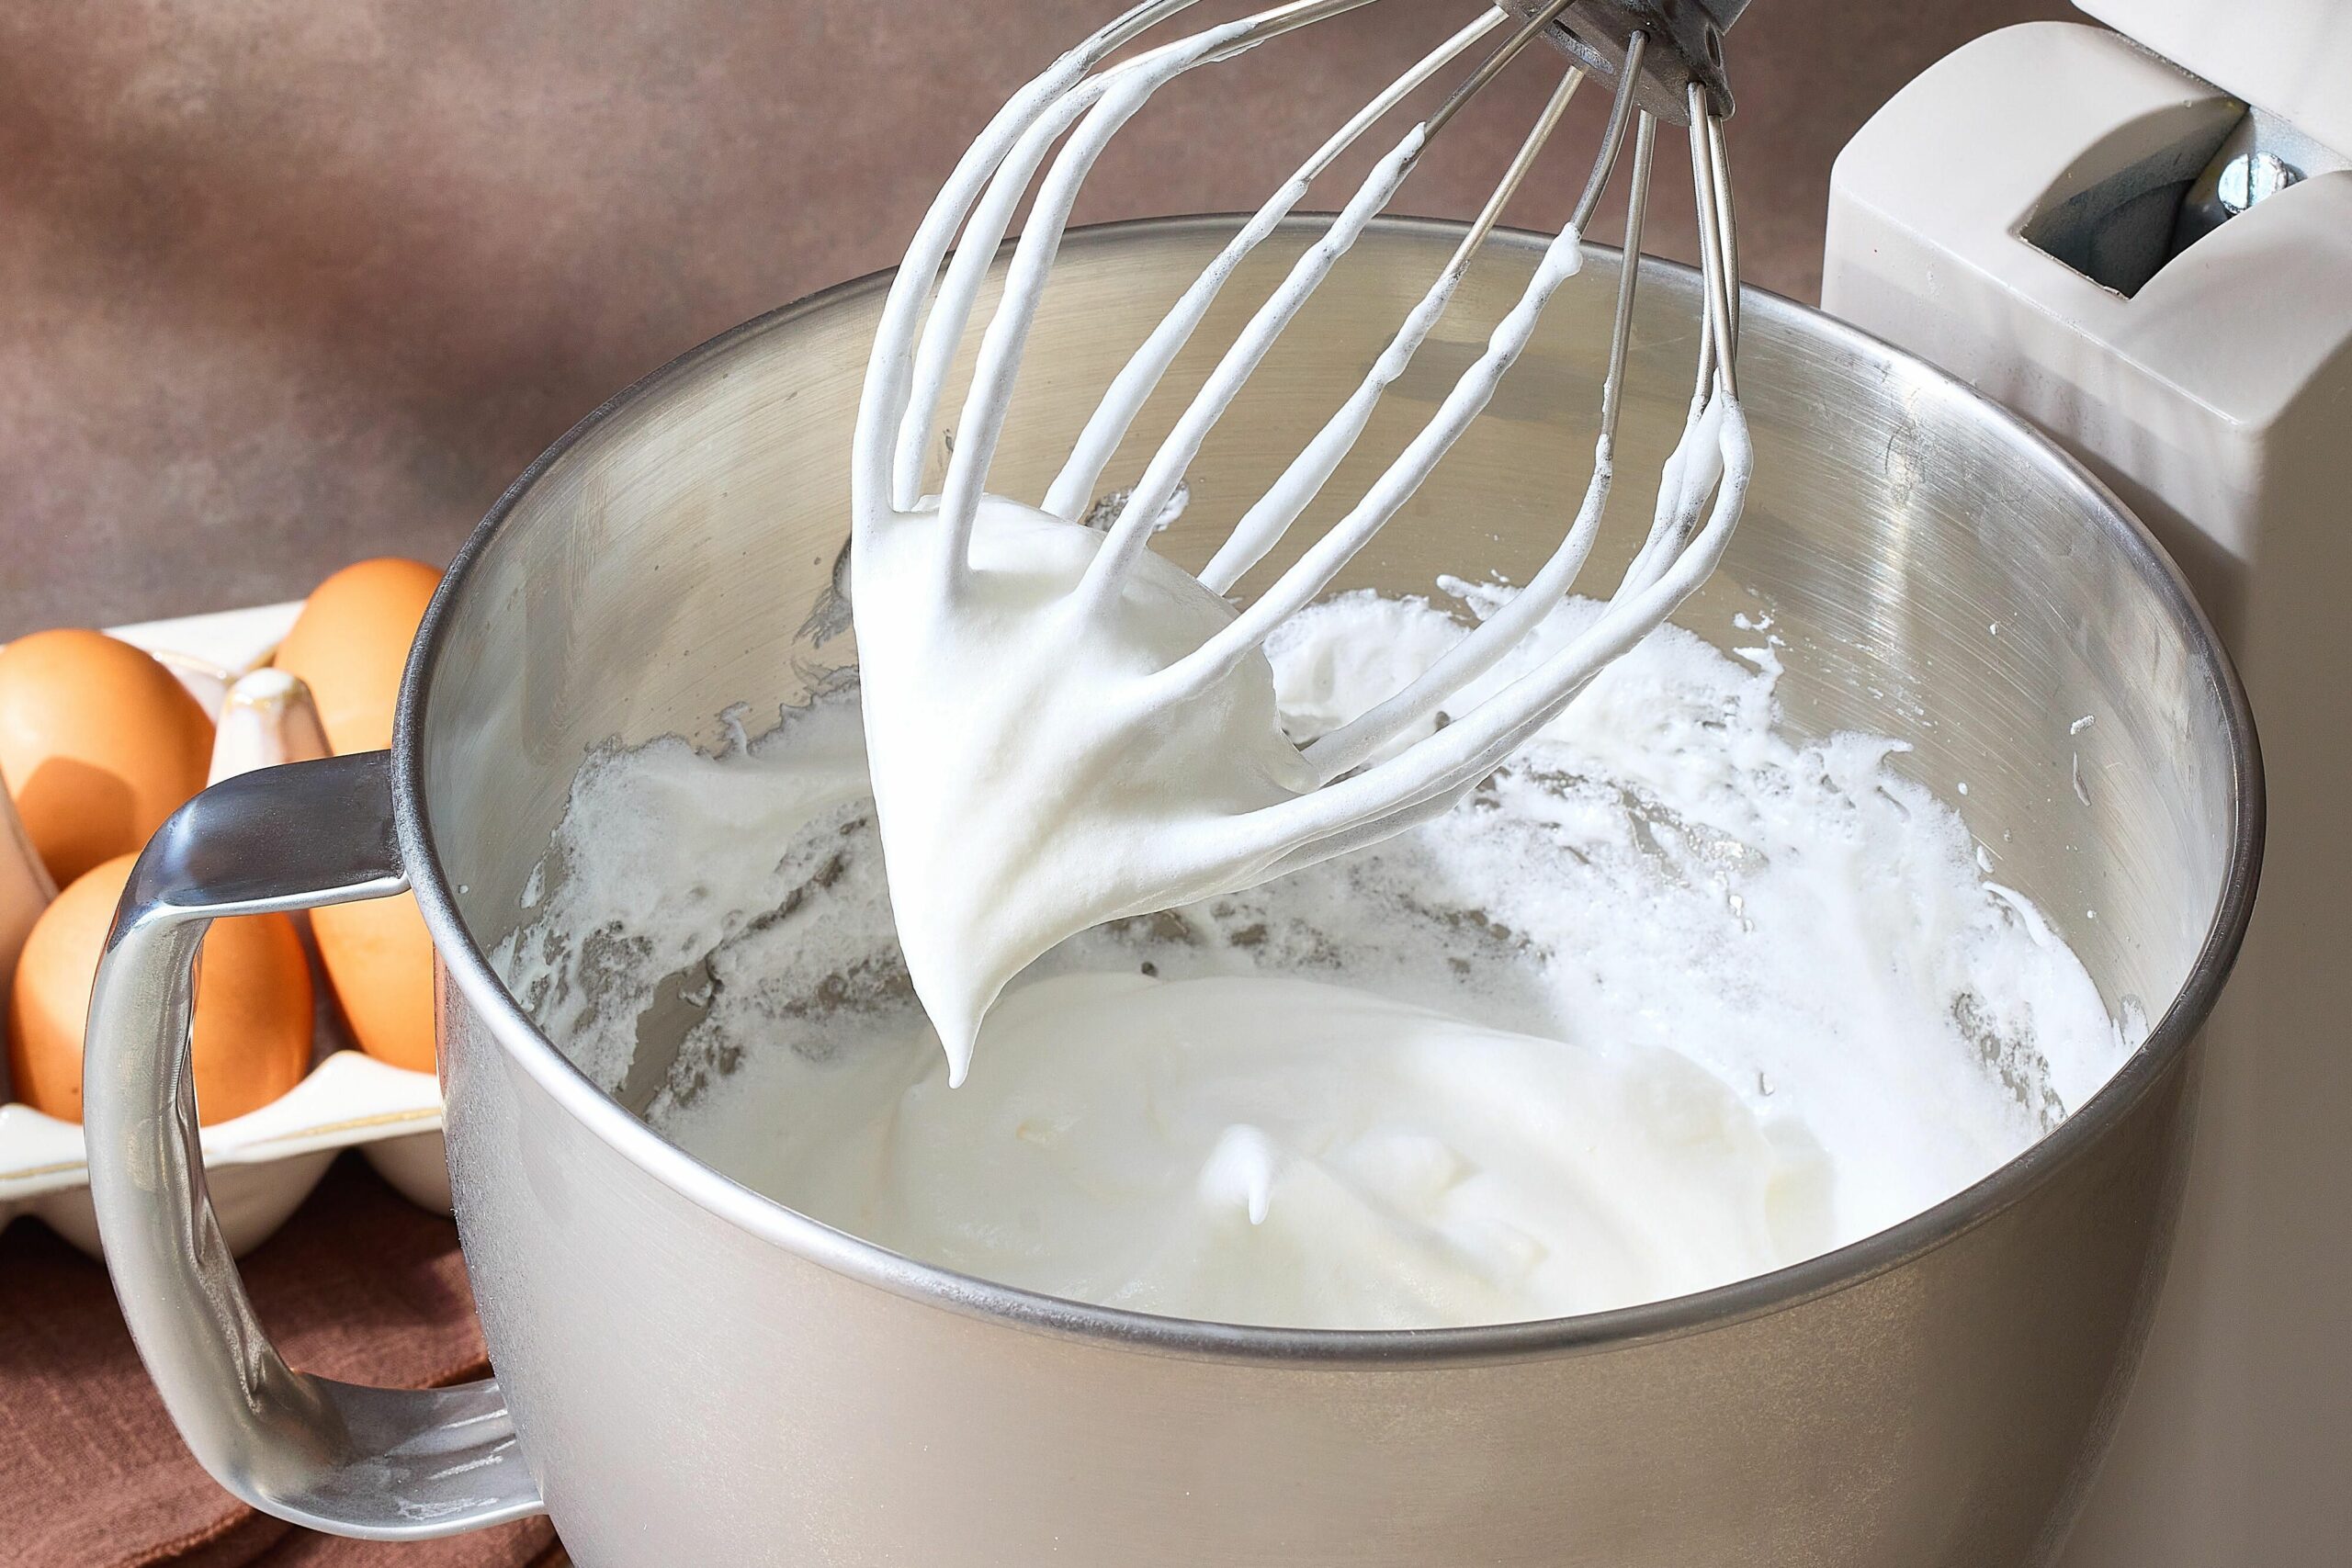
Whipped cream can transform any dessert into something truly special. Whether you’re topping a cake, folding it into mousse, or simply spooning it over fruit, getting that perfect cloud-like texture is essential. But whipping cream can be tricky—too little and it won’t hold, too much and it turns grainy or even splits. Here’s everything you need to know on how to whip cream perfectly like a pro.
What You Need Before You Start
- Chilled whipping cream (30–36% fat) or heavy cream (36%+ fat). Lower fat cream (like fresh cream) won’t whip properly.
- A chilled bowl – Preferably stainless steel or glass. Place it in the freezer for 15–20 minutes before whipping.
- Chilled whisk/beaters – Cold tools keep the cream stable.
- Electric whisk/stand mixer – Hand-whisking works, but an electric whisk makes the process faster and more consistent.
- Sugar & flavorings (optional) – Add icing sugar, vanilla extract, or even cocoa powder for flavor.
Pro Tip: Cold is key! Warm cream won’t hold air, so always keep everything chilled.
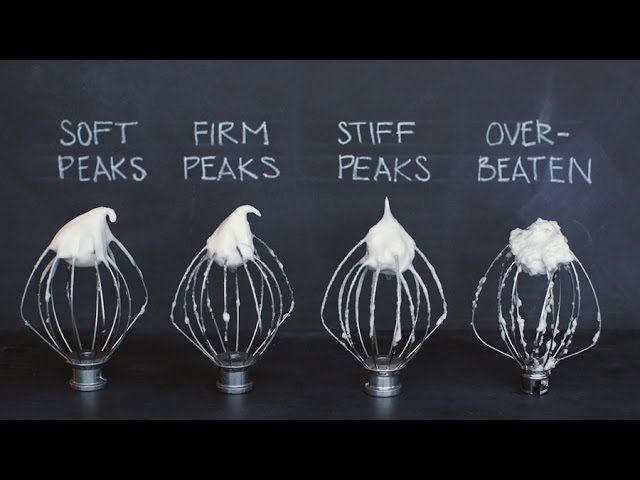
Stages of Whipped Cream
Whipping cream goes through different stages depending on how long you whisk.
1. Soft Peaks
- After 2–3 minutes of whisking, the cream thickens.
- If you lift your whisk, the peaks will form but flop down softly.
- Use for: Mousse, trifles, or gently folding into batters. It gives desserts a light and airy texture.
2. Medium Peaks
- The cream is thicker, and peaks hold their shape better but still have a slight curve at the tip.
- Use for: Topping pies, ice cream sundaes, or layering cakes where you want cream to hold but stay fluffy.
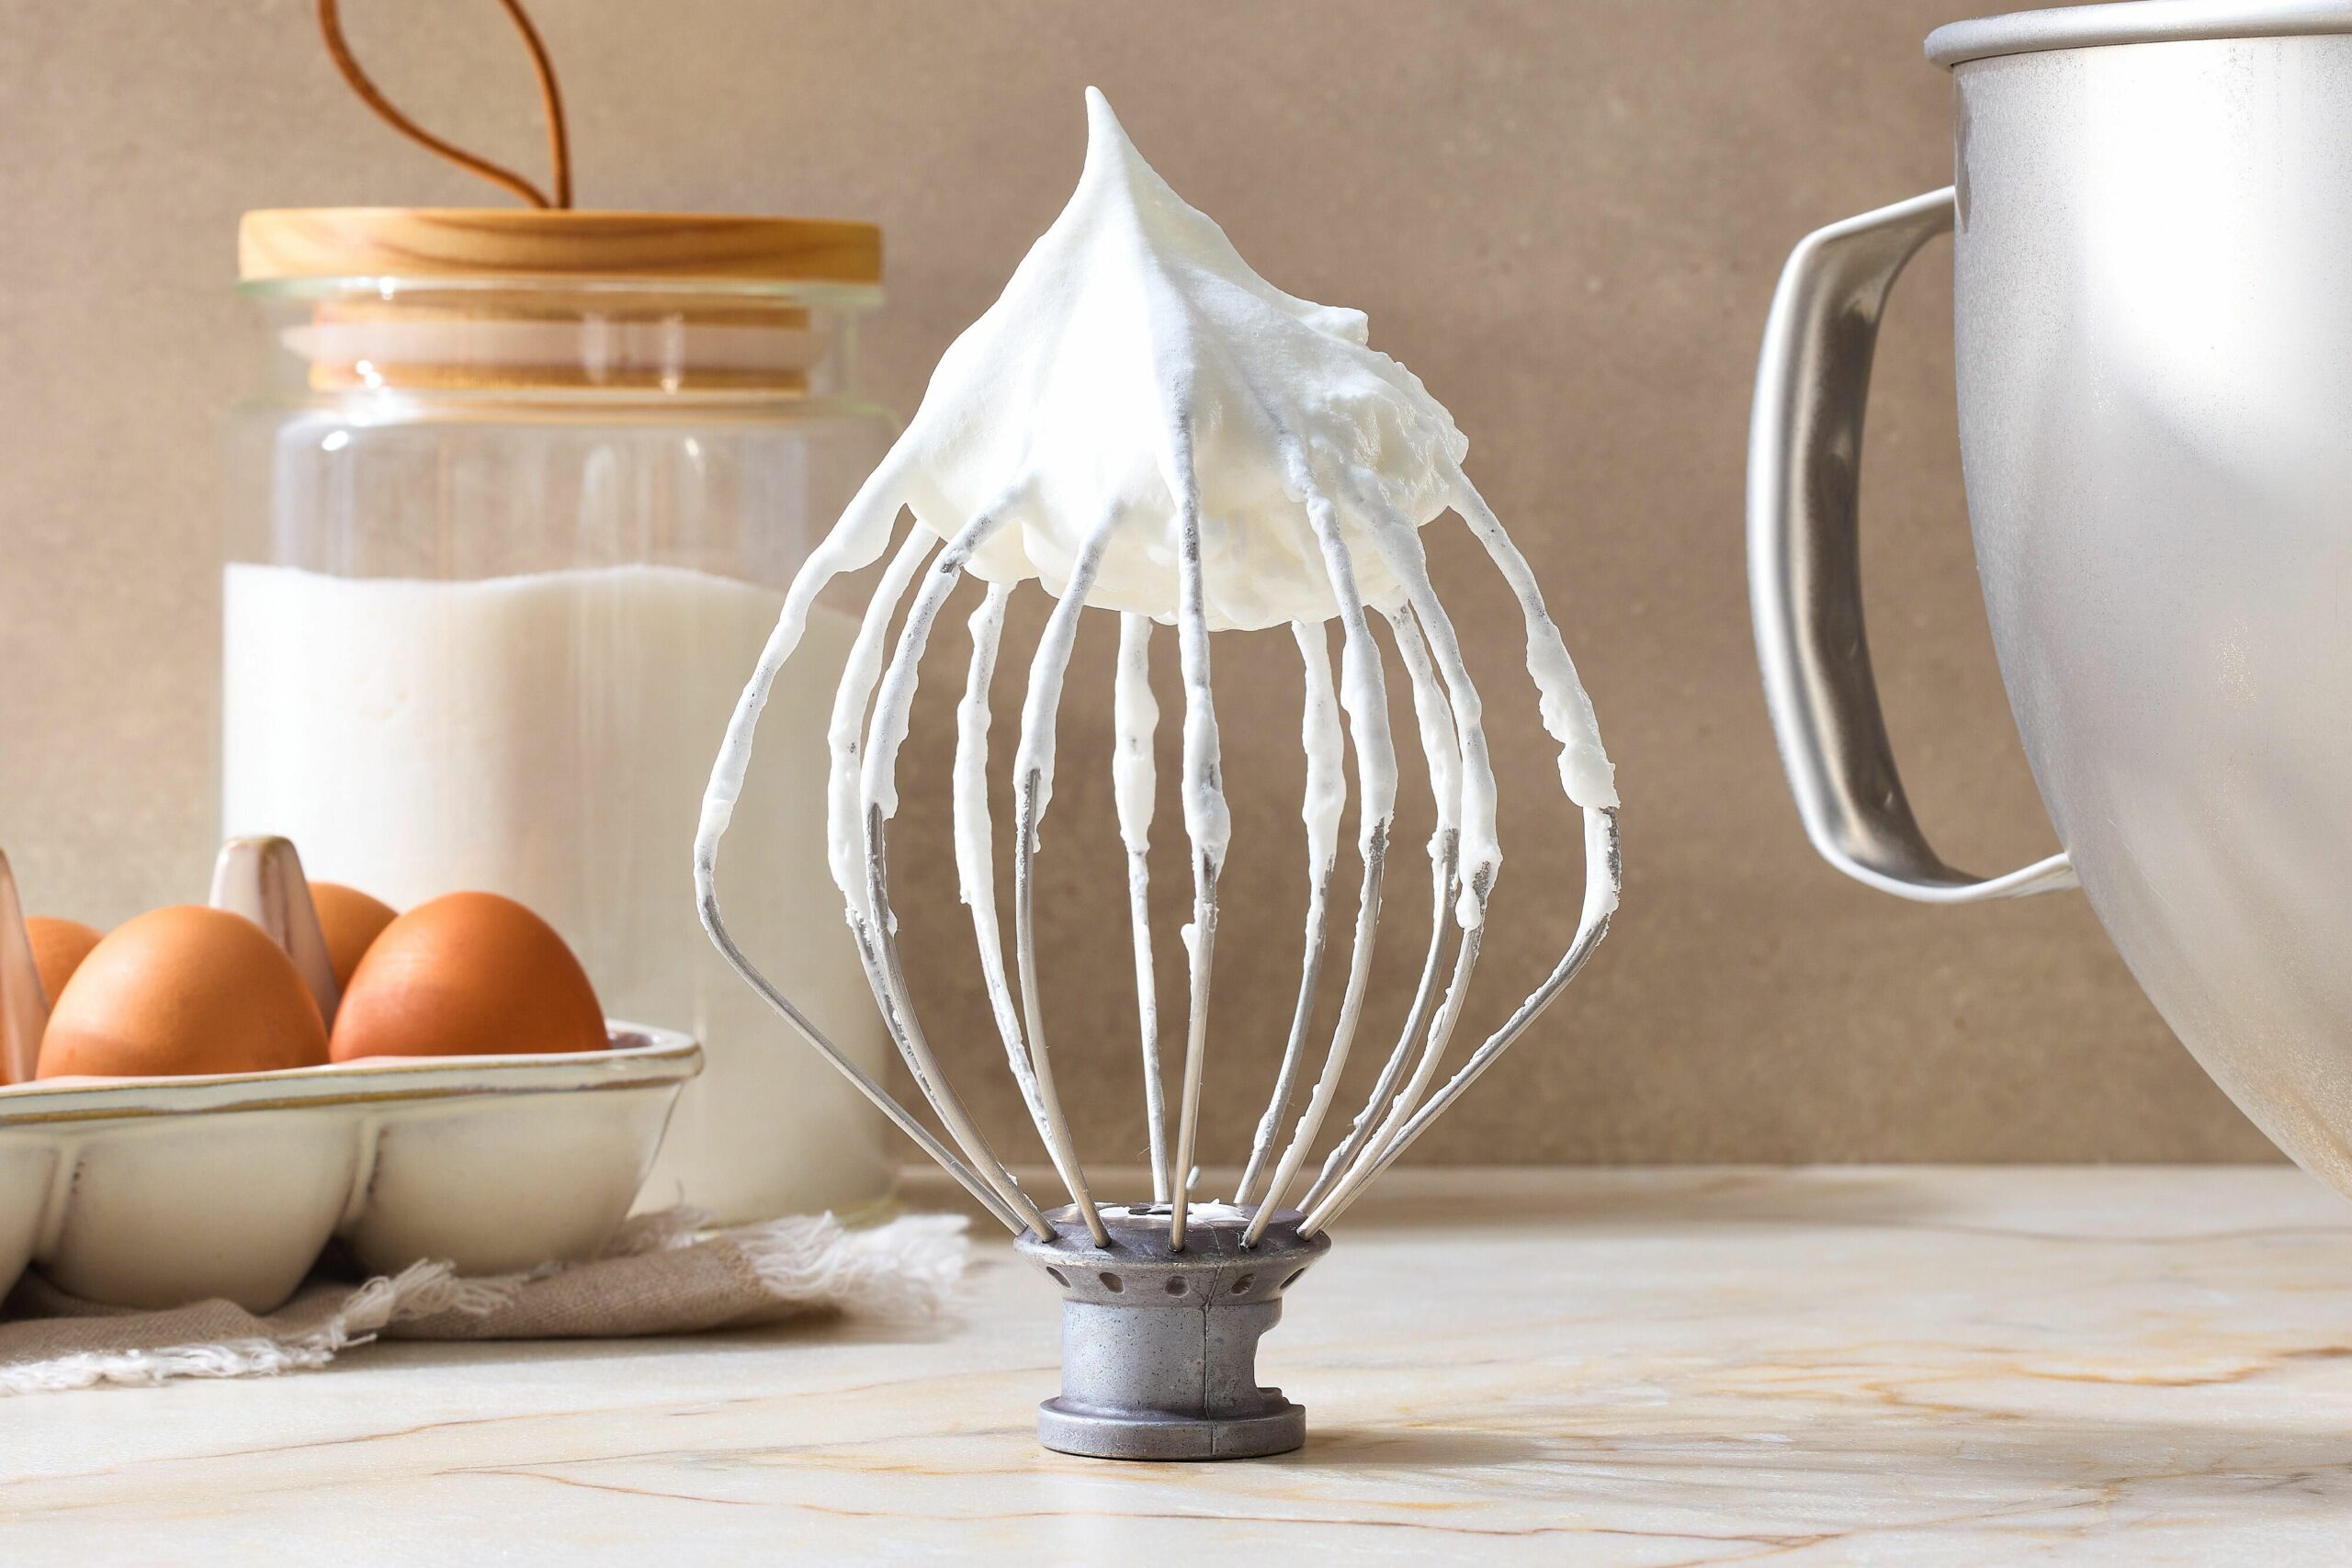
3. Stiff Peaks
- Peaks stand tall and firm when the whisk is lifted.
- The cream looks glossy and can hold its shape well for piping and decorating.
- Use for: Cake frosting, piping swirls, or desserts that need structure.
Overbeaten Cream – What It Looks Like
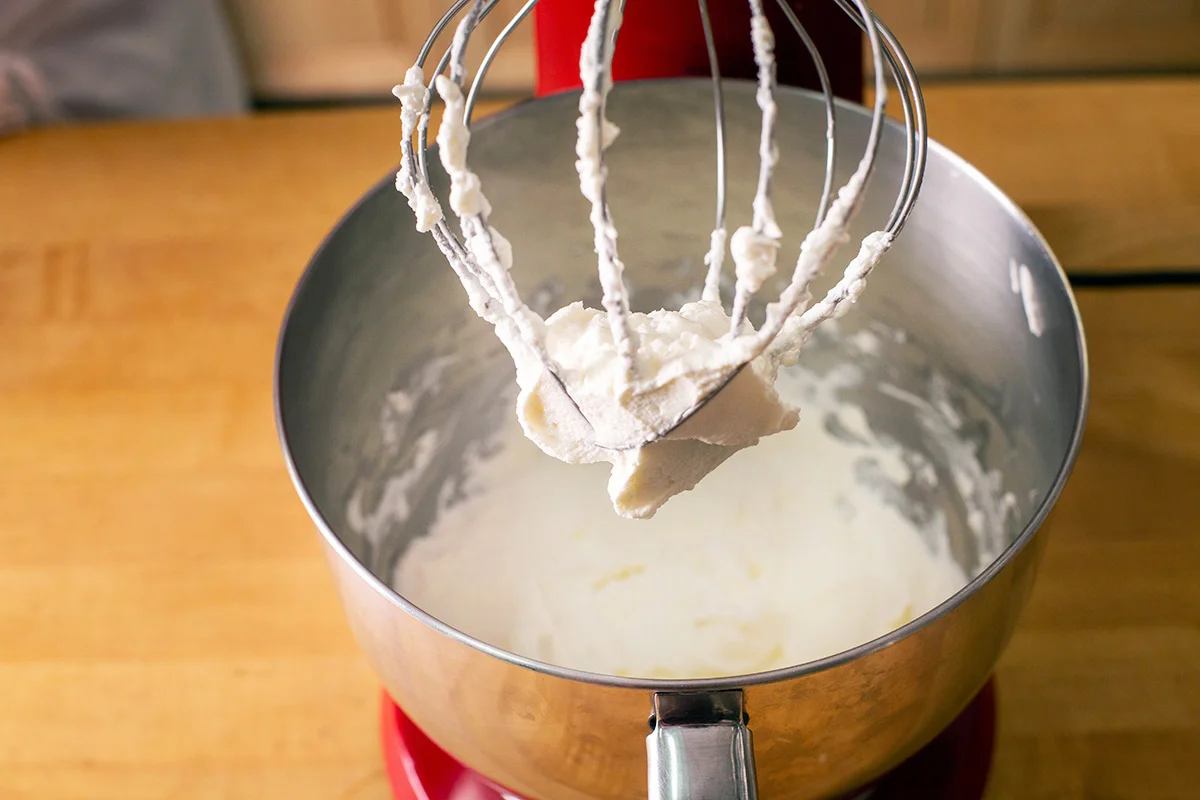
- If you go too far, the cream turns grainy, loses shine, and starts clumping.
- Keep whisking and it will separate into butter and buttermilk.
How to Fix It:
- If only slightly overbeaten, add 1–2 tablespoons of fresh cream and gently whisk it in by hand.
- If it has already turned into butter, you can’t use it as whipped cream—but hey, you just made homemade butter!
Extra Tips for Perfect Whipped Cream
- Start whisking at low to medium speed, then gradually increase.
- Stop whisking as soon as you reach the peak stage you want.
- Always add sugar or flavoring once the cream begins to thicken (not at the very beginning).
- For extra stability, add a spoon of cornstarch, milk powder, or mascarpone while whipping—this helps whipped cream hold longer, especially in warm weather.
Whipping cream perfectly is all about temperature, timing, and paying attention. The difference between soft, medium, and stiff peaks is just a matter of seconds, so keep an eye on it. Once you get the hang of it, you’ll never have to rely on store-bought whipped cream again.
For more visuals and better understanding, you can also check out the reel here.
 Hello. I'm Shivesh Bhatia, a food blogger and food stylist from Delhi, India. Welcome to Bake With Shivesh, where I'll help you create magic in your kitchens with my simple recipes.