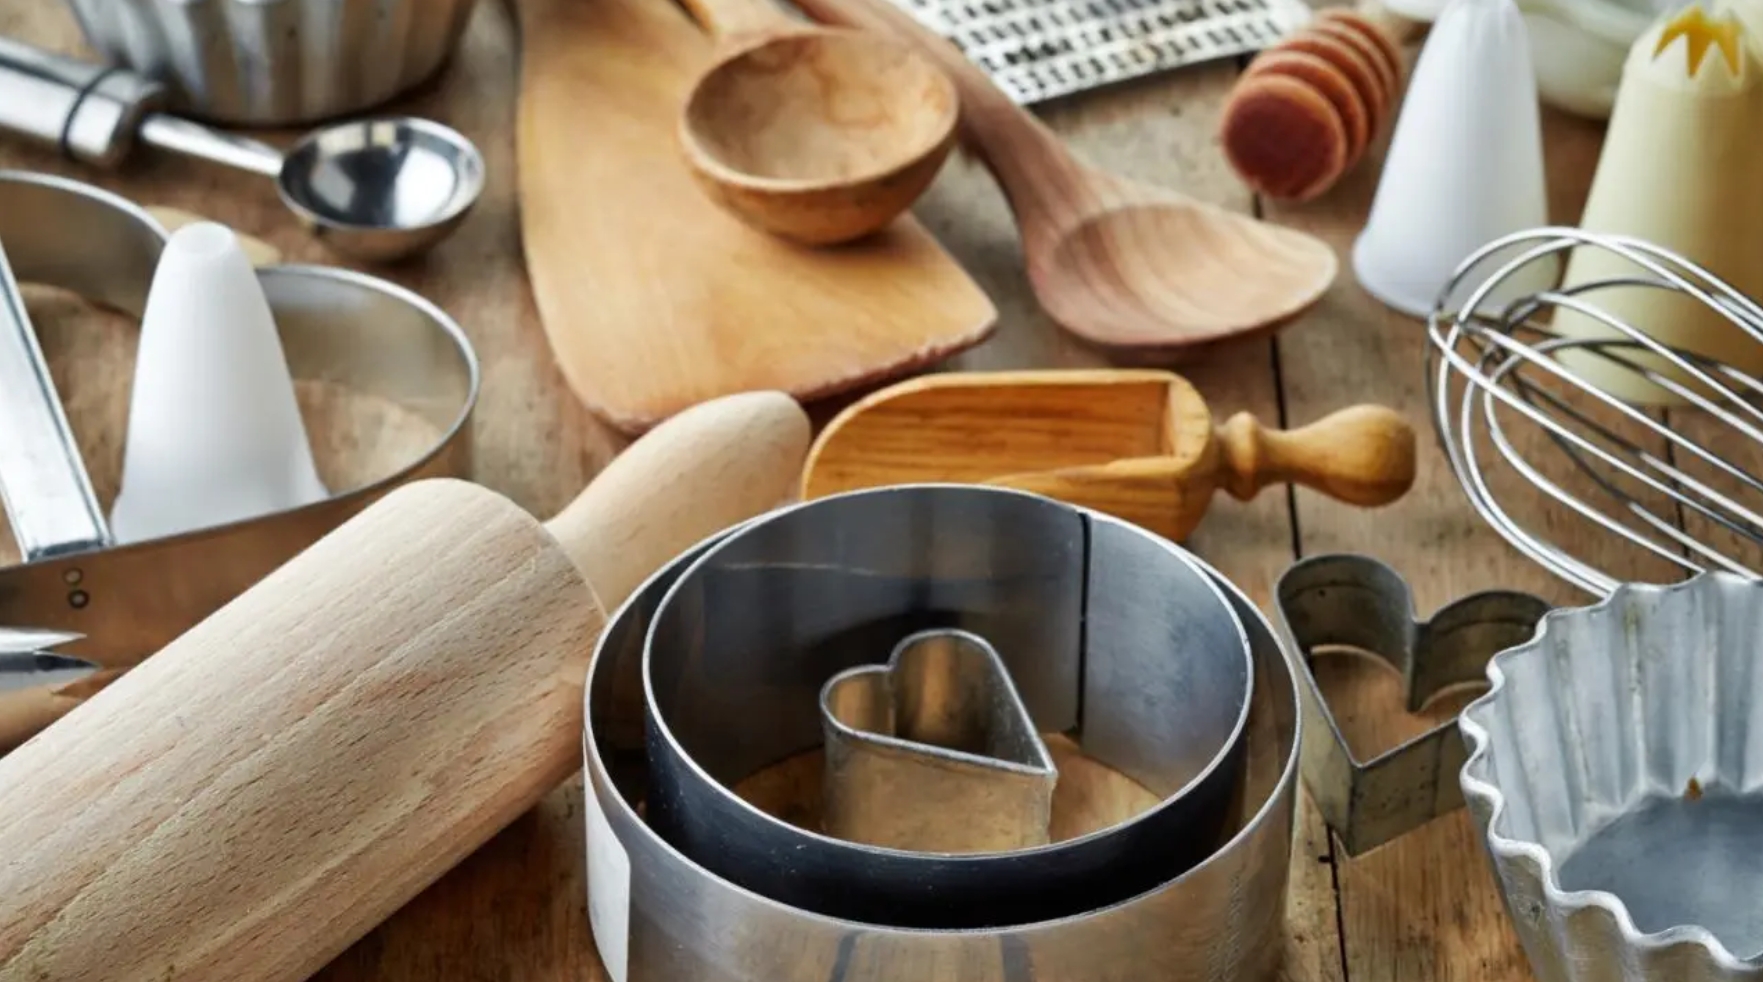
Whether you’re a weekend baker or a full-time pastry pro, your baking tools are your most valuable kitchen companions. Clean, well-maintained tools not only make baking more enjoyable but also ensure consistent results and food safety. Clean tools make for clean flavors. A few extra minutes spent caring for your baking equipment can save you hours of frustration later and help every cake, cookie and loaf come out just right. When you treat your tools with respect, they’ll return the favor for years to come.
While regular cleaning is important, what can do wonders to preserve your baking tools is to deep clean them once monthly to prevent buildup of oil, dirt, grime and sometimes even rust. So, the next time you pull out your tools to bake yourself some delicious goods, take a moment to thank your tools and equipment that make your life in the kitchen so much easier and give them the love and care they deserve.
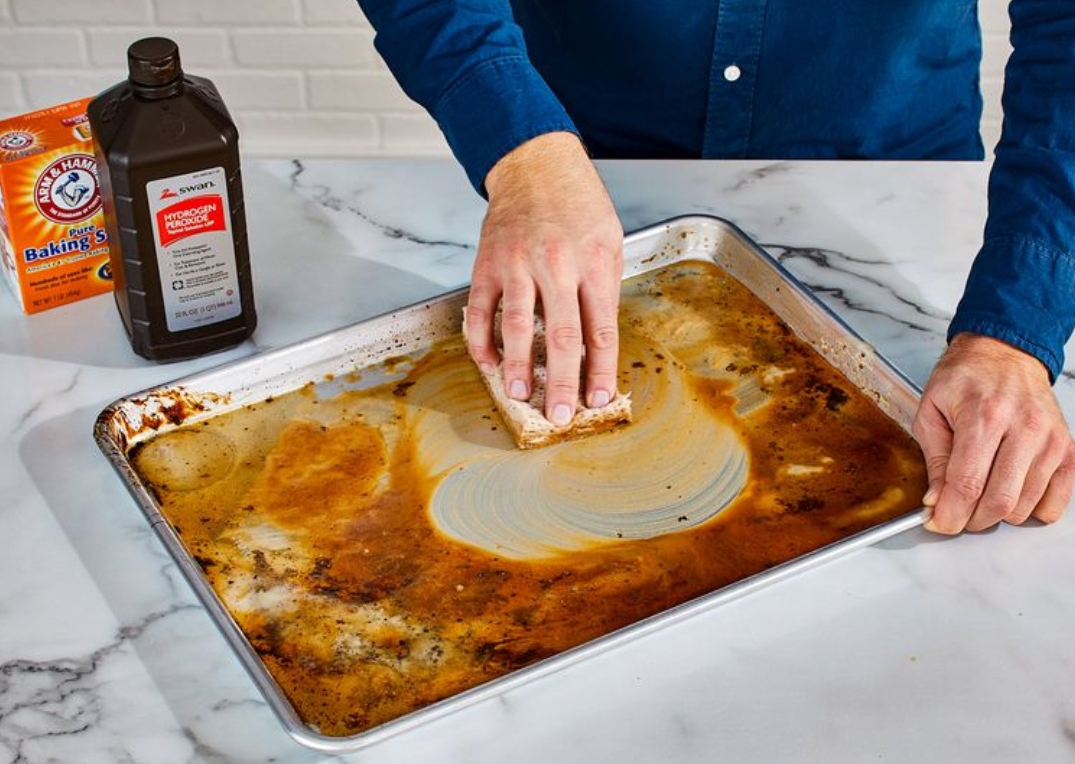
WHY CLEANING AND MAINTENANCE MATTER
-
FLAVOUR INTEGRITY
Residue from old batter, oils, or spices can affect the taste of new recipes.
-
HYGIENE
Flour, butter and eggs are bacteria magnets. Keeping your tools spotless prevents cross-contamination.
-
LONGEVITY
Proper care keeps your expensive tools like stand mixers and bakeware working perfectly for years.
-
BETTER RESULTS
A well-oiled rolling pin or properly seasoned pan ensures even baking and perfect textures.
BAKING TOOLS AND HOW TO CLEAN THEM
1. MIXING BOWLS (GLASS, METAL, PLASTIC)
- Rinse off any batter or dough immediately after use to prevent hardening.
- Wash with warm water and mild dish soap using a non-abrasive sponge.
- Avoid steel wool, which can scratch the surface. Use an absorbent sponge or a microfiber towel.
- For greasy residue, especially from butter, oil or ghee, use warm water and add a teaspoon of white vinegar to it.
- For plastic bowls that retain odors, soak in a baking soda and water solution for 15–20 minutes and then clean as usual.
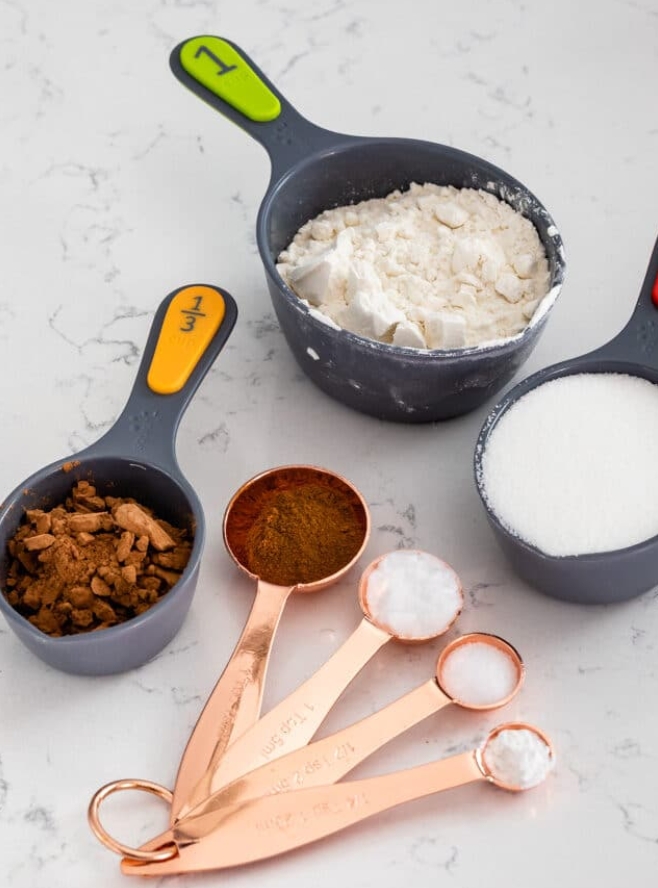
2. MEASURING CUPS AND SPOONS
- Metal and plastic cups and spoons can usually go in the dishwasher. If you want your metal cups and spoons to have a shine to them, throw in a crumpled piece of aluminum foil in the dishwasher during your cleaning cycle.
- Wash immediately after use, especially when measuring sticky ingredients like honey or molasses.
- Soak the measuring cups and spoons in hot water to loosen the grease from the oil and butter.
3. WHISKS AND SPATULAS
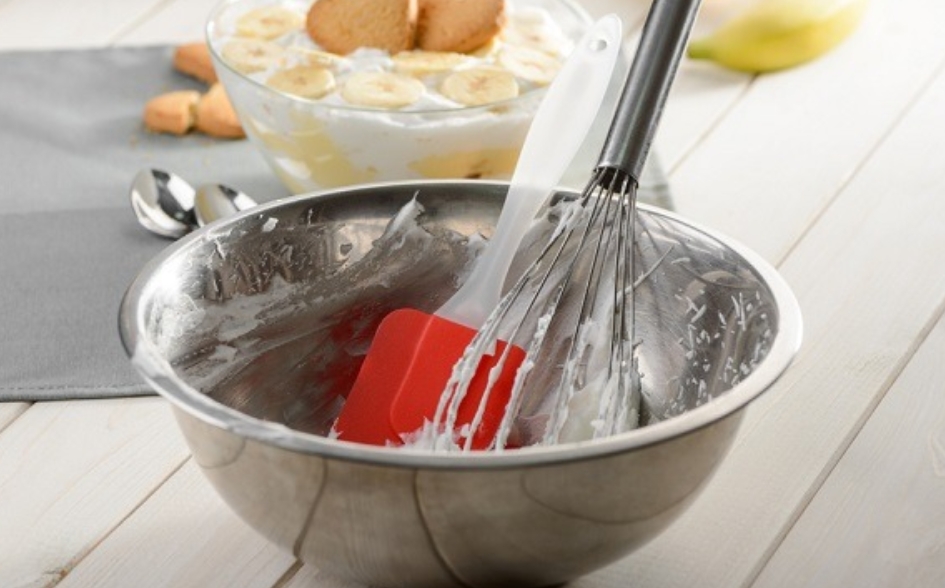
- Silicone spatulas are dishwasher-safe. In case they get stained, it is best to clean them with hydrogen peroxide mixed in water or scrub them with a lemon half sprinkled generously with salt.
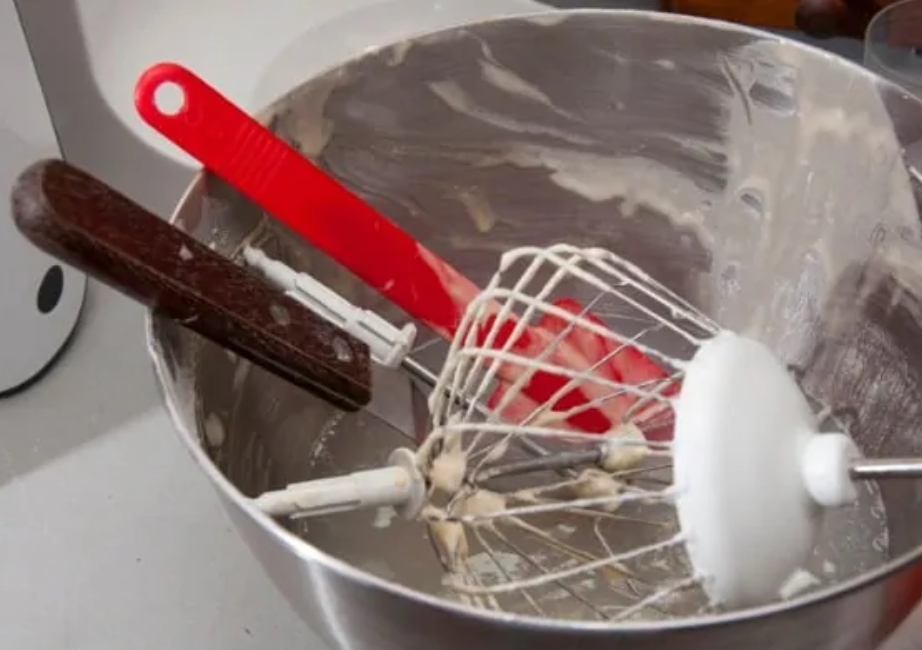
- For whisks, soak in warm, soapy water for 5–10 minutes to loosen the batter and then rinse thoroughly to remove the trapped batter.
4. BAKING PANS, MOULDS AND SKILLETS
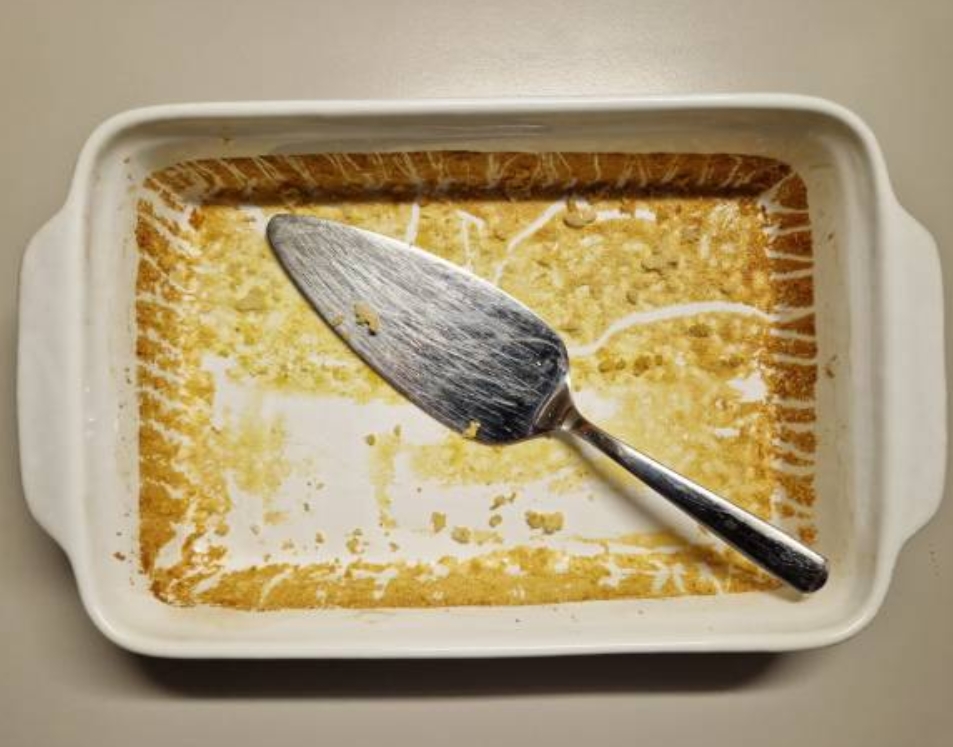
- Never use metal scrubbers on nonstick bakeware. Instead, soak them in warm, soapy water for 30 minutes to remove any stubborn residues.
- Avoid acidic cleaners like lemon or vinegar, which can dull the surface.
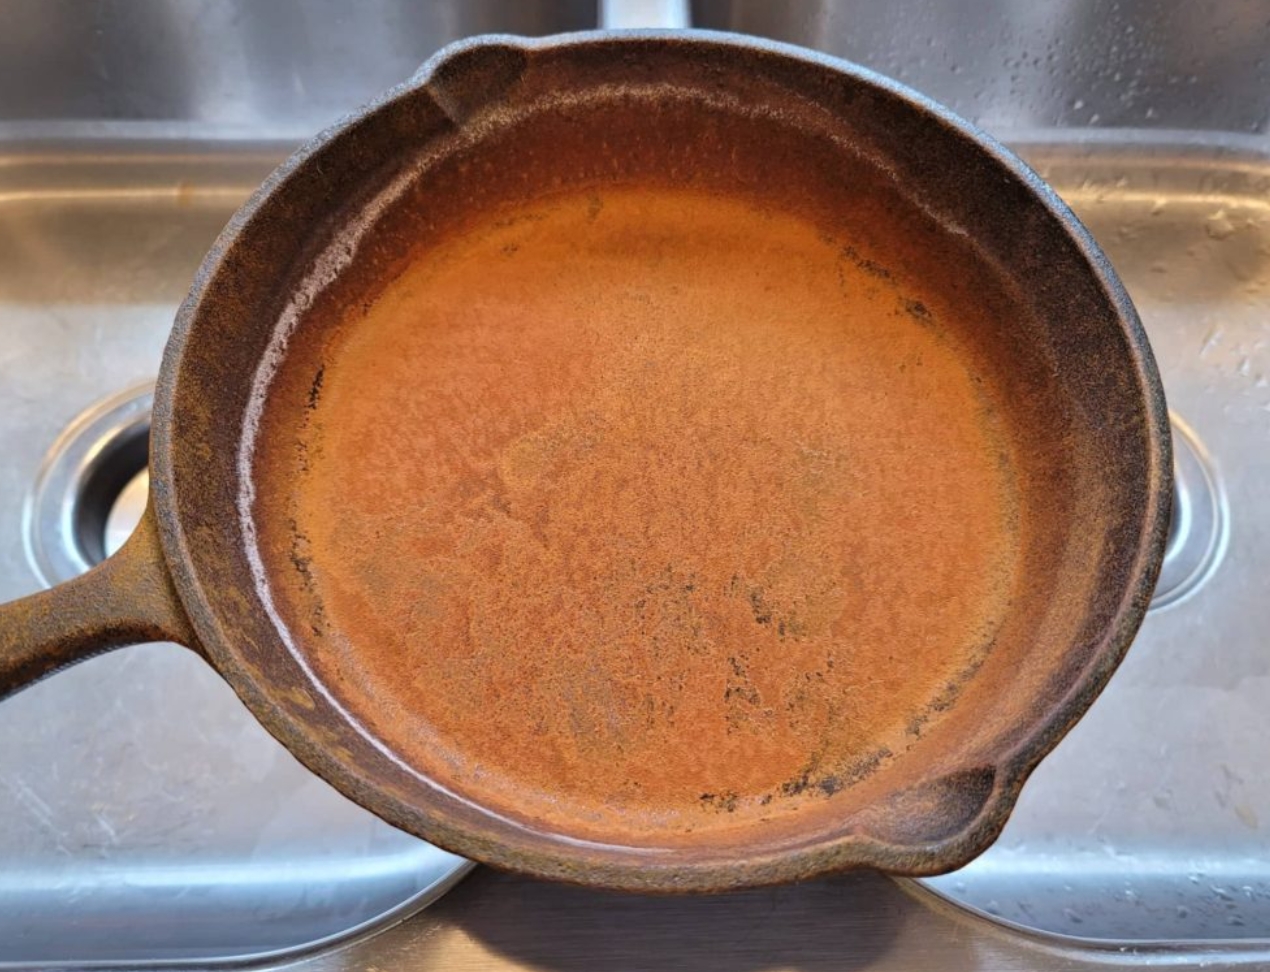
- Clean with warm water and a stiff brush and no soap. Dry thoroughly and season lightly with oil, especially for cast iron bakeware and skillets.
5. ROLLING PINS
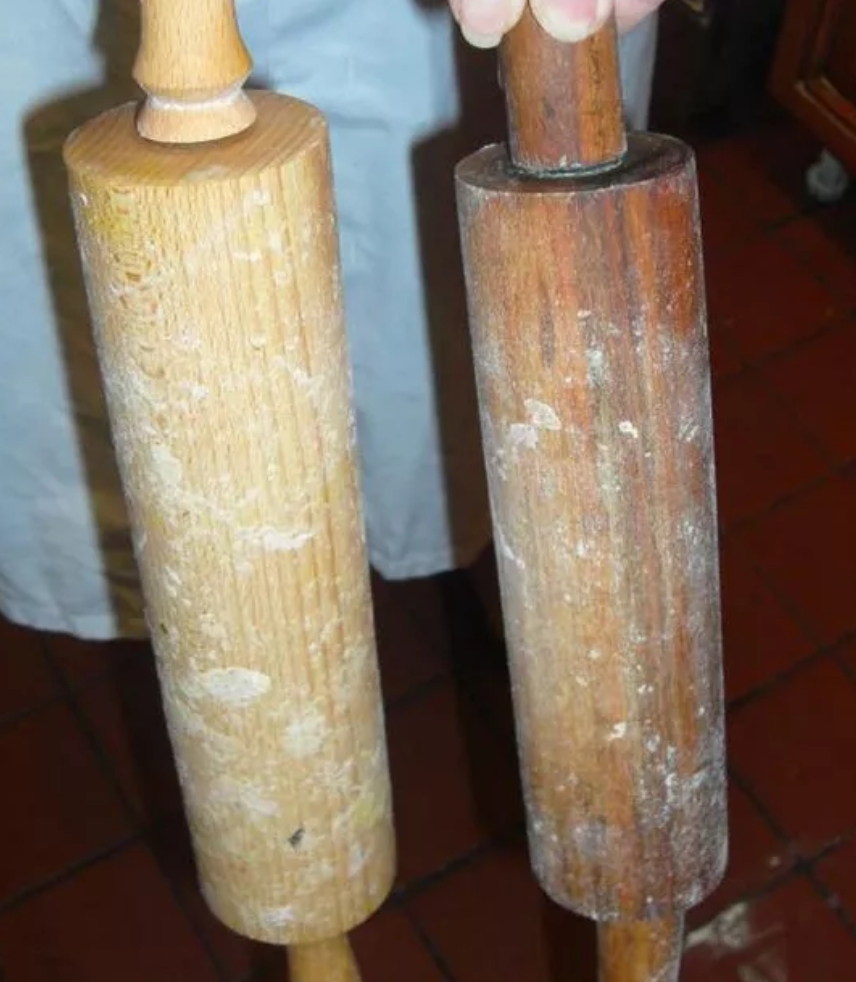
- Never soak wooden rolling pins in water; it can cause warping or cracking.
- Wipe clean with a damp cloth and dry immediately.
- Occasionally rub with mineral oil to keep the wood from drying out.
- Store horizontally in a dry, cool place away from direct sunlight.
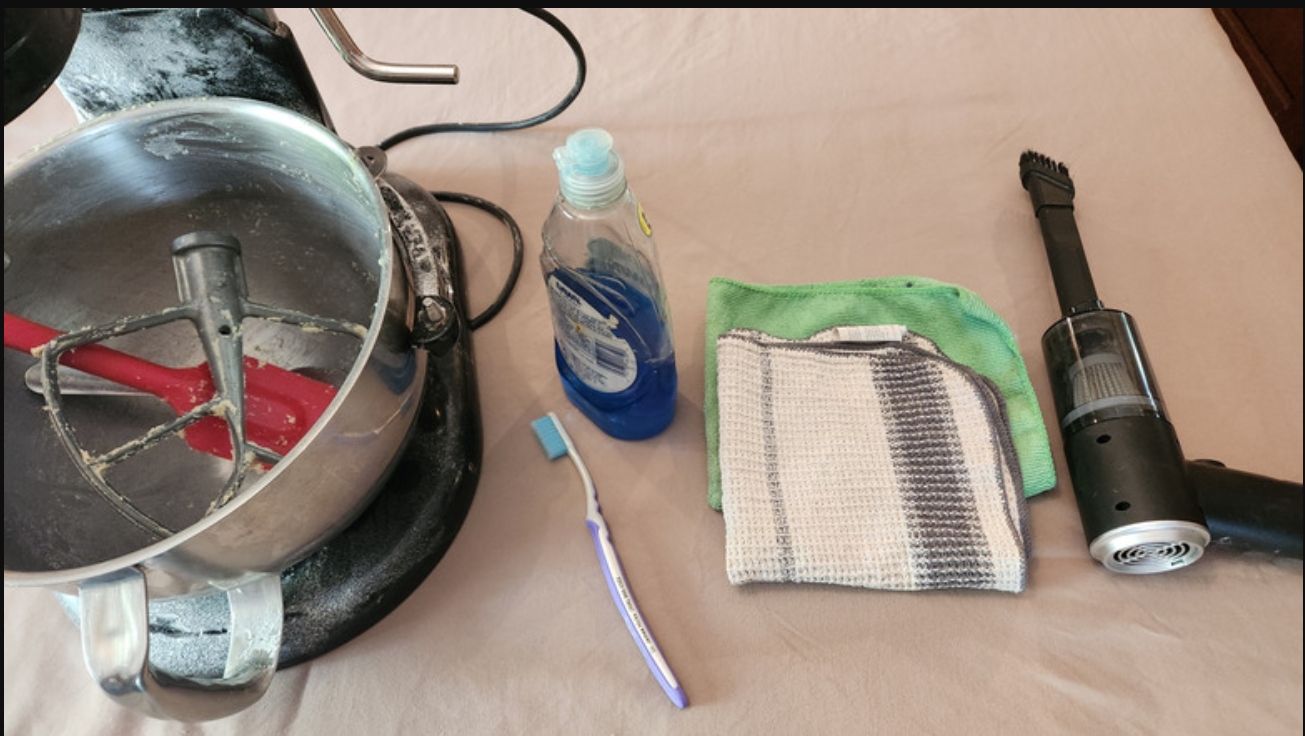
6. STAND MIXERS AND ATTACHMENTS
- Detach all removable parts like the bowl, whisk, paddle, dough hook and wash in warm, soapy water or the dishwasher.
- Wipe the base with a damp cloth; never submerge it in water.
- Use a toothpick or small brush to clean crevices around the speed control and bowl locks.
- Check the cord regularly for fraying and keep the motor vents dust-free.
7. PIPING BAGS AND TIPS
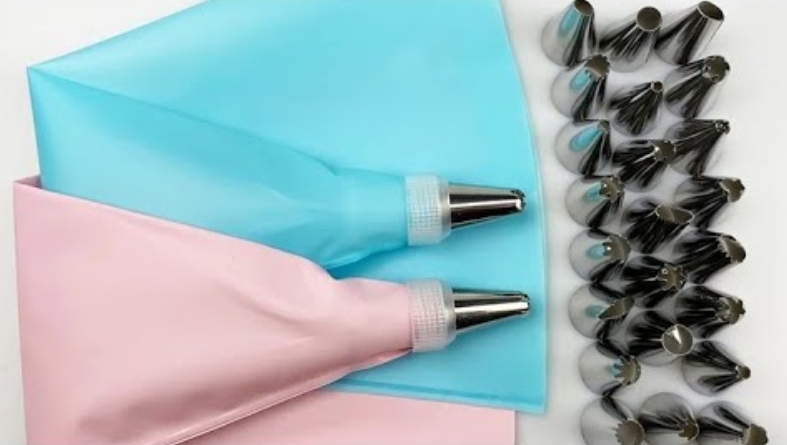
- For reusable bags, rinse with warm soapy water immediately after use and hang to dry. Do not leave in harsh sunlight once dried, as this may damage the coating inside the piping bag.
- For piping tips, use a small brush or a toothbrush to clean inside narrow openings.
- Store piping tips in a small container with labeled compartments to prevent loss and mix-ups.
8. SIFTERS AND SIEVES
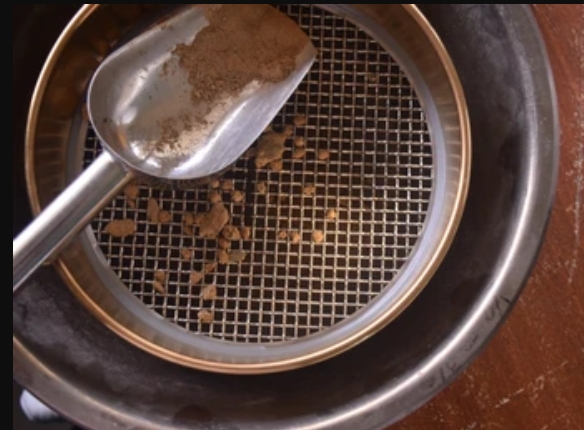
- Tap out excess flour after each use.
- Rinse gently under running water immediately after use and air dry completely to prevent rust.
- For stuck-on bits, use a dry pastry brush before washing.
9. PASTRY BRUSHES
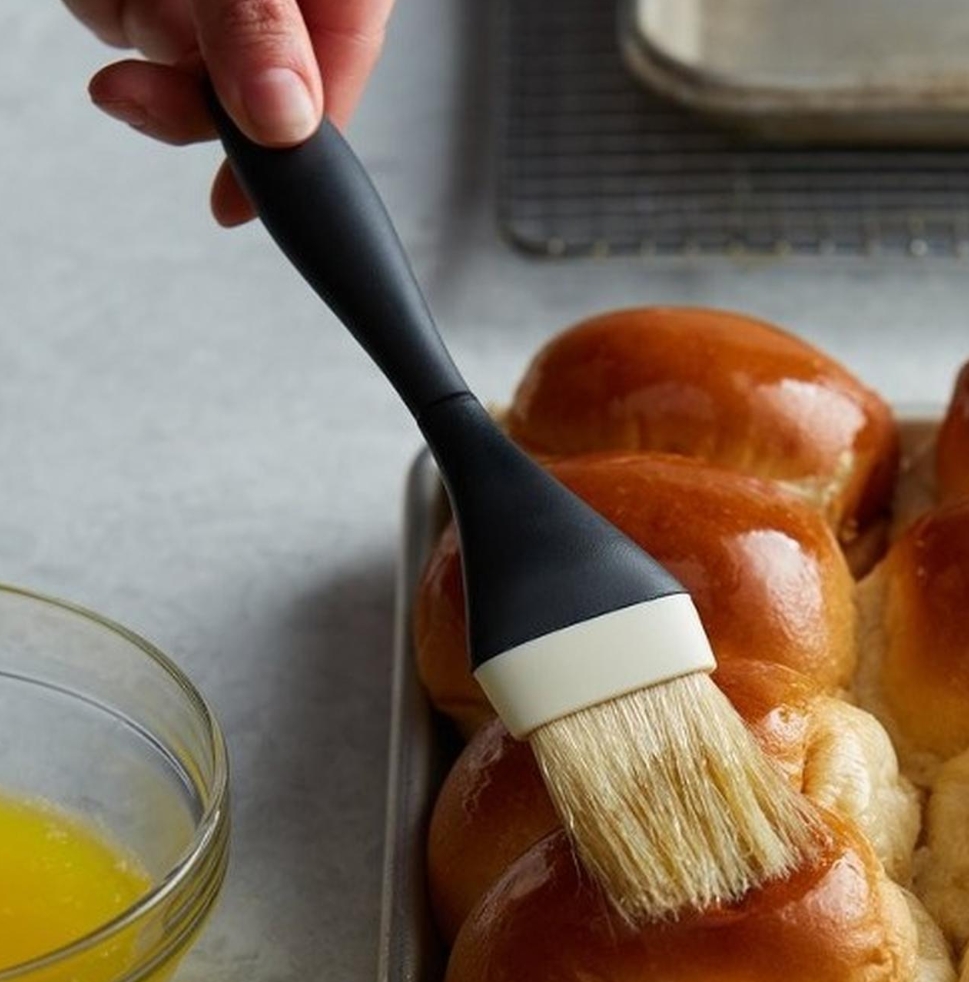
- Silicone brushes can go in the dishwasher. Soak them in a solution of vinegar, baking soda and warm water to get rid of excess oil.
- Natural bristle brushes should be hand washed gently with mild soap and water, then reshaped and dried flat.
- Keep separate brushes for buttering pans and for glazing pastries to avoid flavor transfer.
HOW TO DEEP CLEAN YOUR BAKING TOOLS
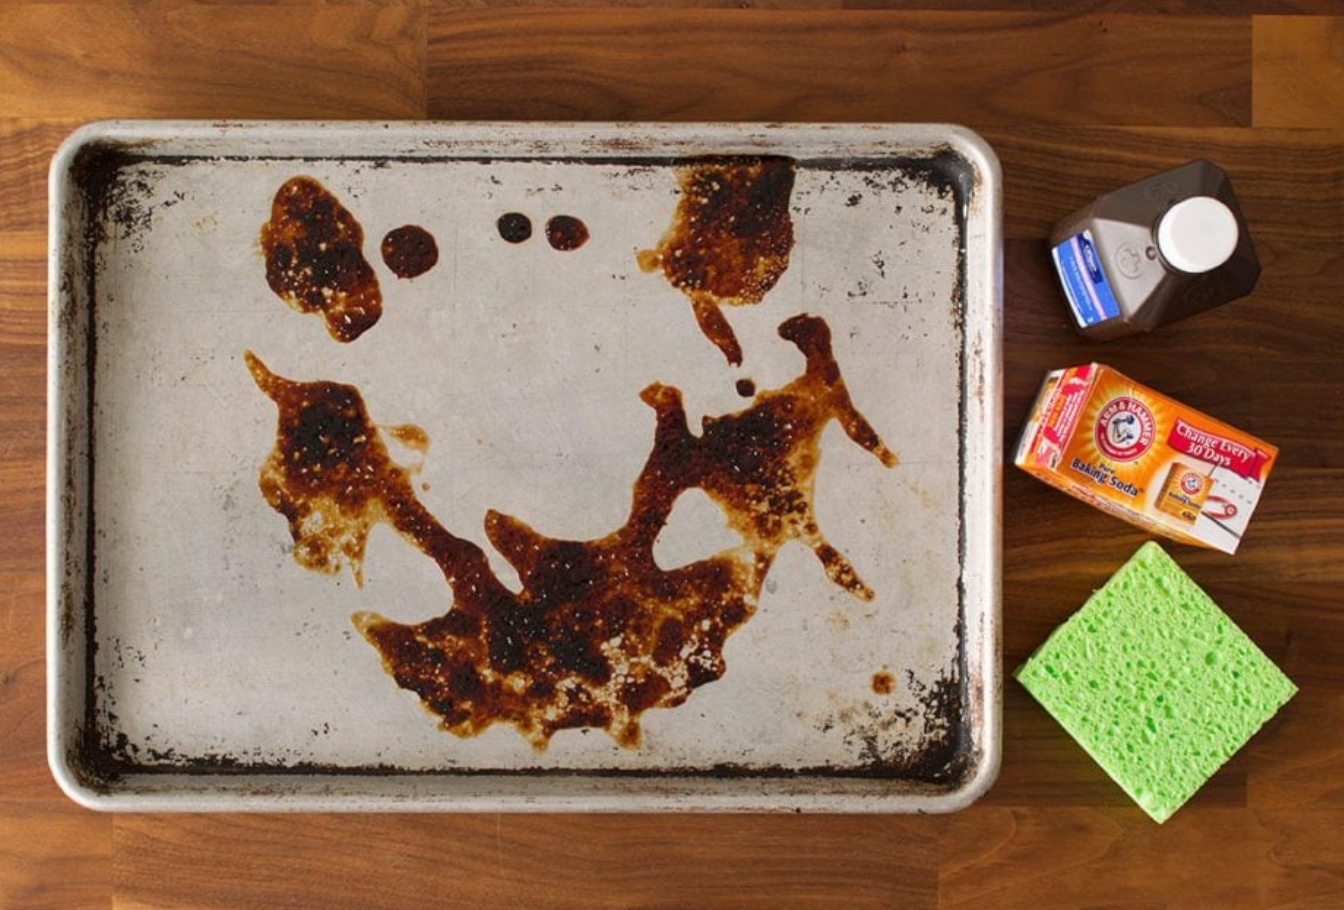
It is recommended to deep clean your tools as per your usage at least once a month. Soak tools in a solution of 1 tablespoon baking soda + 1 tablespoon vinegar in 1 cup of water to remove stains and odors. Scrub gently, rinse well, and air dry completely. Check for cracks, rust, or buildup and replace the tools as needed. Swap harsh chemical cleaners for natural alternatives such as baking soda, vinegar and lemon juice. Use reusable cloths instead of disposable paper towels and choose biodegradable dish soap that’s gentle on your hands and tools as well as the planet.
PROPER STORAGE TIPS FOR YOUR TOOLS
-
Store tools dry. Moisture leads to mold, rust and warping.
-
Use drawer dividers or pegboards to keep utensils organized.
-
Keep bakeware stacked with liners like paper towels or felt pads between pans to prevent scratches.
-
Label containers for piping tips, cookie cutters and small items to avoid misplacing them.
-
Avoid direct sunlight for wooden tools as it dries them out and soaking them in water for long periods as it might cause cracks.
I hope this article was helpful to you and gave you an insight on how to clean, maintain and store your baking tools. Keep baking and don’t forget to share your images with me on my Instagram @shivesh17
 Hello. I'm Shivesh Bhatia, a food blogger and food stylist from Delhi, India. Welcome to Bake With Shivesh, where I'll help you create magic in your kitchens with my simple recipes.