Some desserts aren’t meant to be rushed — they demand a little patience and in return, they reward you with every perfect spoonful. This chocolate pudding is one of those desserts. It’s not the kind you can whip up and eat instantly, but that’s exactly what makes it so special. The anticipation, the slow setting process and finally, that moment when you flip it onto a plate and see the smooth, glossy pudding hold its shape — it’s all part of the charm. However, when it comes to prep time – you only need 3 minutes in the microwave and your pudding mixture is ready.
For me, this pudding brings back memories of special occasions at home when my mom would prepare a make-ahead dessert the night before. I’d peek into the fridge way too many times, impatiently waiting for it to set, but knowing that the wait would be worth it. This chocolate pudding has the same timeless appeal. It’s simple, made with basic ingredients, yet its texture and flavor feel luxurious.
If you love desserts that are rich but not overly heavy, and if you believe that good things are worth waiting for, then this chocolate pudding deserves a place in your kitchen. Whether you’re making it for a weekend treat or to impress your family after dinner, this recipe is sure to become a keeper.

WHAT YOU’LL LOVE ABOUT THIS RECIPE
- Less than 5 minutes
- Eggless
- No-bake
- 4-ingredient
INGREDIENTS USED IN CHOCOLATE PUDDING
Milk
Milk is the base for any pudding, mousse or set cold dessert. Milk is heated along with a few other ingredients and is then refrigerated overnight to let it set. It gives structure and creaminess to the whole pudding. I have used Nestle milk but you can use any of your choice.
Cornflour
Cornflour is the setting agent in this recipe. They help thicken the mixture when heated and brings all the other ingredients together. It absorbs water and gives the final texture to the dessert. It also makes the pudding wobbly and jiggly.
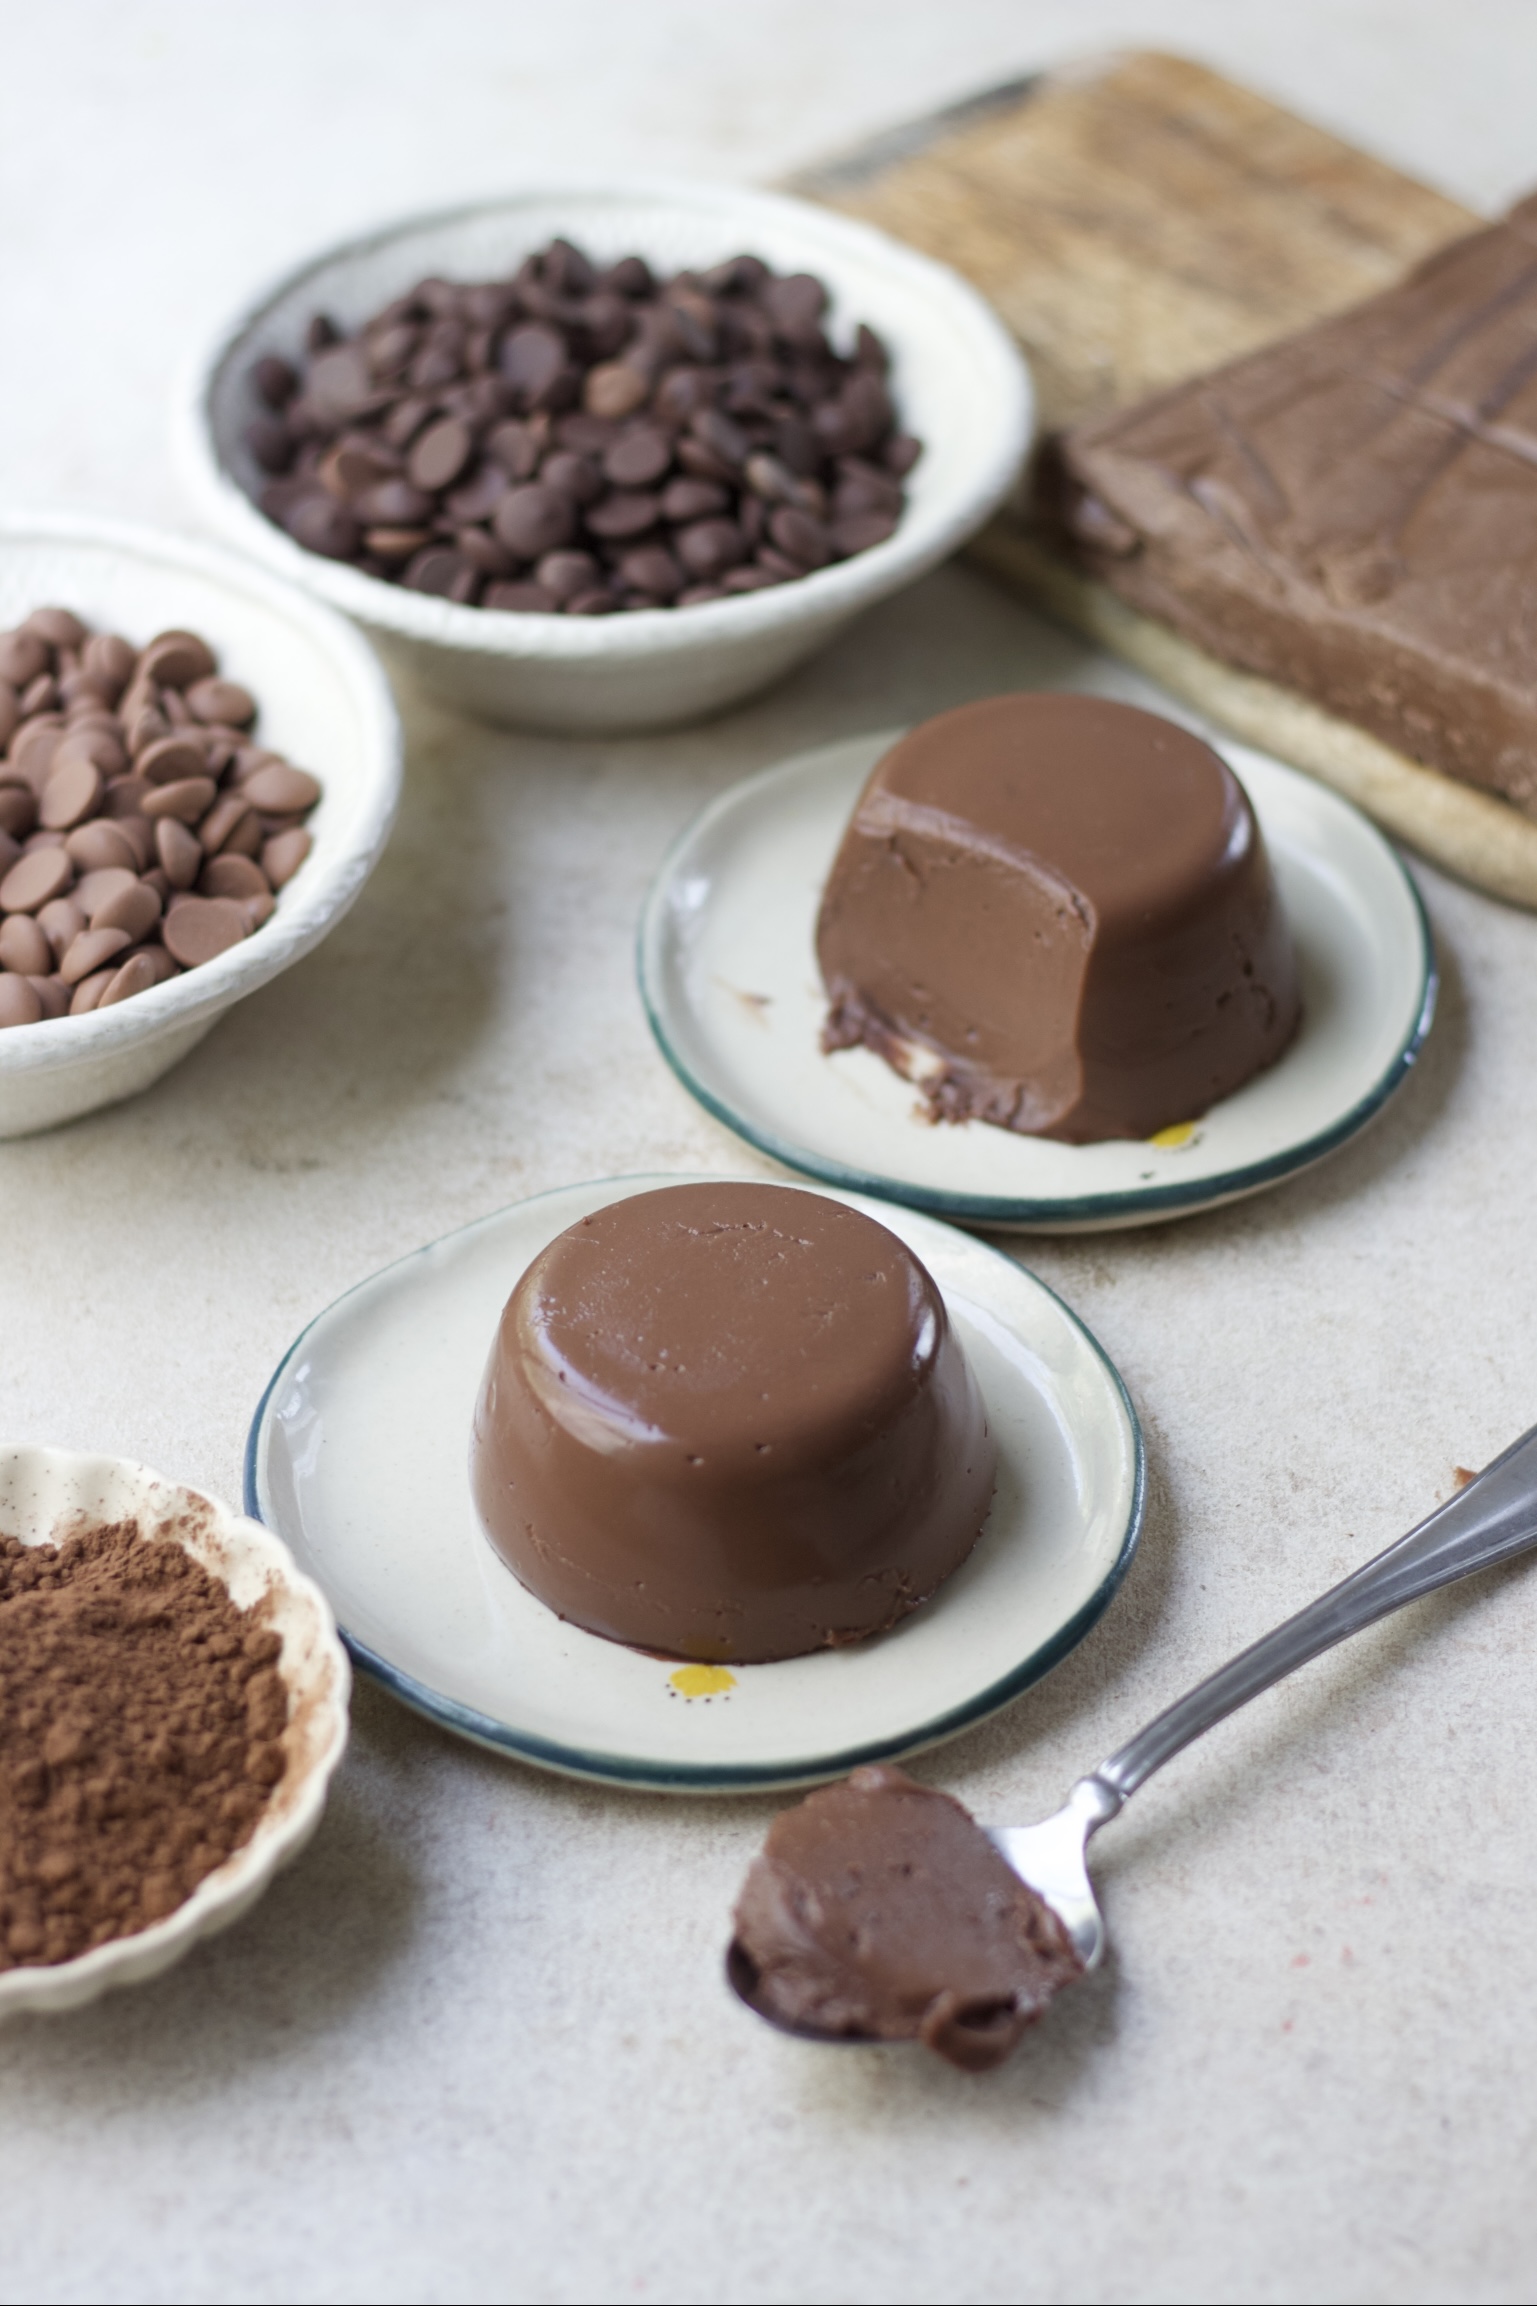
Cocoa powder
Adding an element of chocolate to this pudding recipe by adding cocoa powder. It gives a richer colour to the dessert and a richer flavour too. Cocoa powder is also a thickening agent and helps give texture to the pudding, I use Hersheys cocoa powder but you can use any cocoa powder that is easily available to you.
Sugar
Castor sugar is added to the chocolate pudding to impart the right amount of sweetness to this dessert.
EQUIPMENTS USED IN MAKING CHOCOLATE PUDDING
It’s an easy recipe so it doesn’t require a lot of equipment.
My set of Measuring Cups and Measuring Spoons always come in handy and are the most important part of any recipe.
Apart from this, a good heavy bottomed saucepan to combine everything is necessary. You also need a microwave to heat the mixture and a set of mixing bowls and whisks to combine all the ingredients.
For the mould to set in the mousse cake, I use glass ramekins which is so easy to use and to clean.
RELATED RECIPES FROM THE BLOG
TIPS TO MAKE THIS CHOCOLATE PUDDING
- A full fat milk will give better texture and flavour so preferably use that.
- Sifting the cocoa powder and cornflour before mixing into the milk helps avoid stubborn lumps in the pudding.
- The pudding mixture can bubble up while heating, so use a large enough bowl to prevent overflow. This also gives you space to whisk properly.
- Microwave the mixture in short bursts (30 seconds initially, then 15 seconds as it thickens) to maintain control. This prevents overheating or cooking unevenly, which can lead to grainy texture.
- Sieve the final mixture as a precautionary step to have a smooth final texture of the chocolate pudding.
- While cocoa gives it a deep chocolate flavour, you can also add a touch of vanilla extract, coffee powder (for mocha flavour) or a pinch of sea salt to elevate the taste further.
- 1+1/2 cup milk
- ¼ cup sugar
- ¼ cup cornflour
- 2 tbsp cocoa powder
- In a large microwave-safe bowl, whisk together milk, sugar, cornflour, and cocoa powder. Make sure there are no dry pockets of flour or cocoa powder — a smooth mixture will give you the best texture.
- Place the bowl in the microwave and heat on high power for 3 minutes. Take it out, give it a good whisk, after every 30 seconds making sure to scrape the sides and bottom well to prevent lumps.
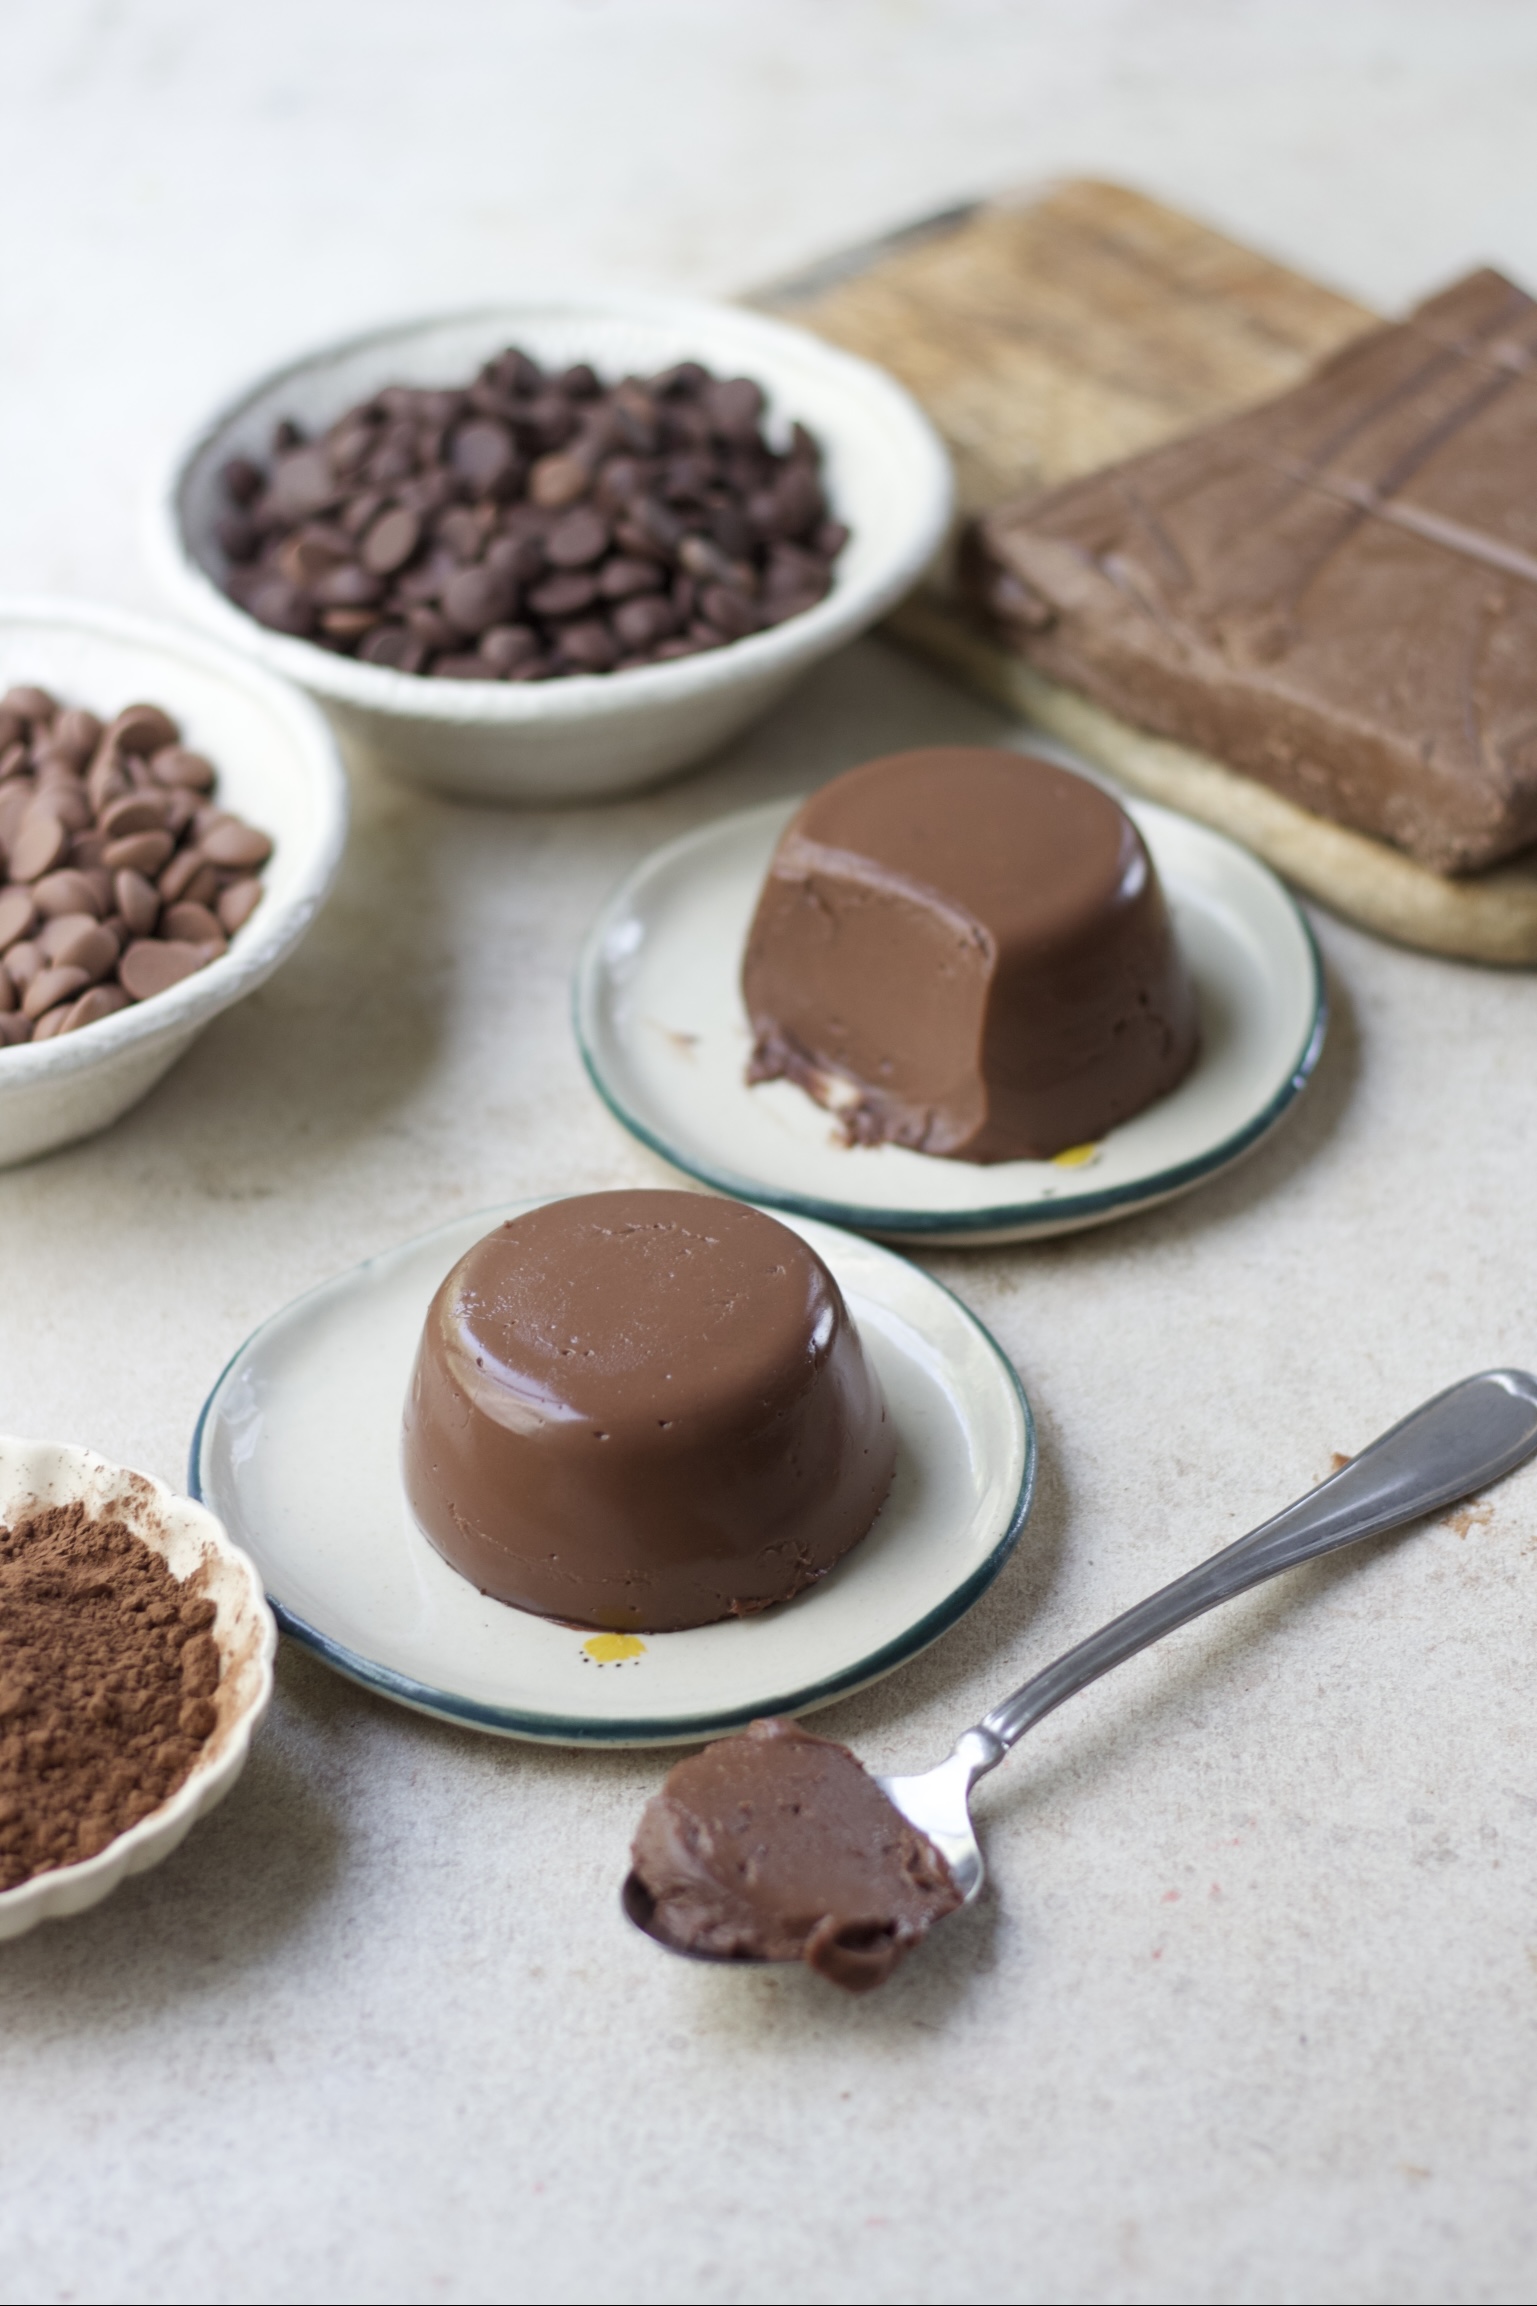
- The mixture should thicken into a smooth, custard-like consistency that coats the back of a spoon. If it’s still too runny, continue microwaving in 15-second bursts until you reach the right thickness.
- Immediately pour the hot pudding into greased ramekins or small bowls. Tap gently to remove any air bubbles and smooth out the top if needed.
- Refrigerate for at least 4 hours, or preferably overnight, until fully set.
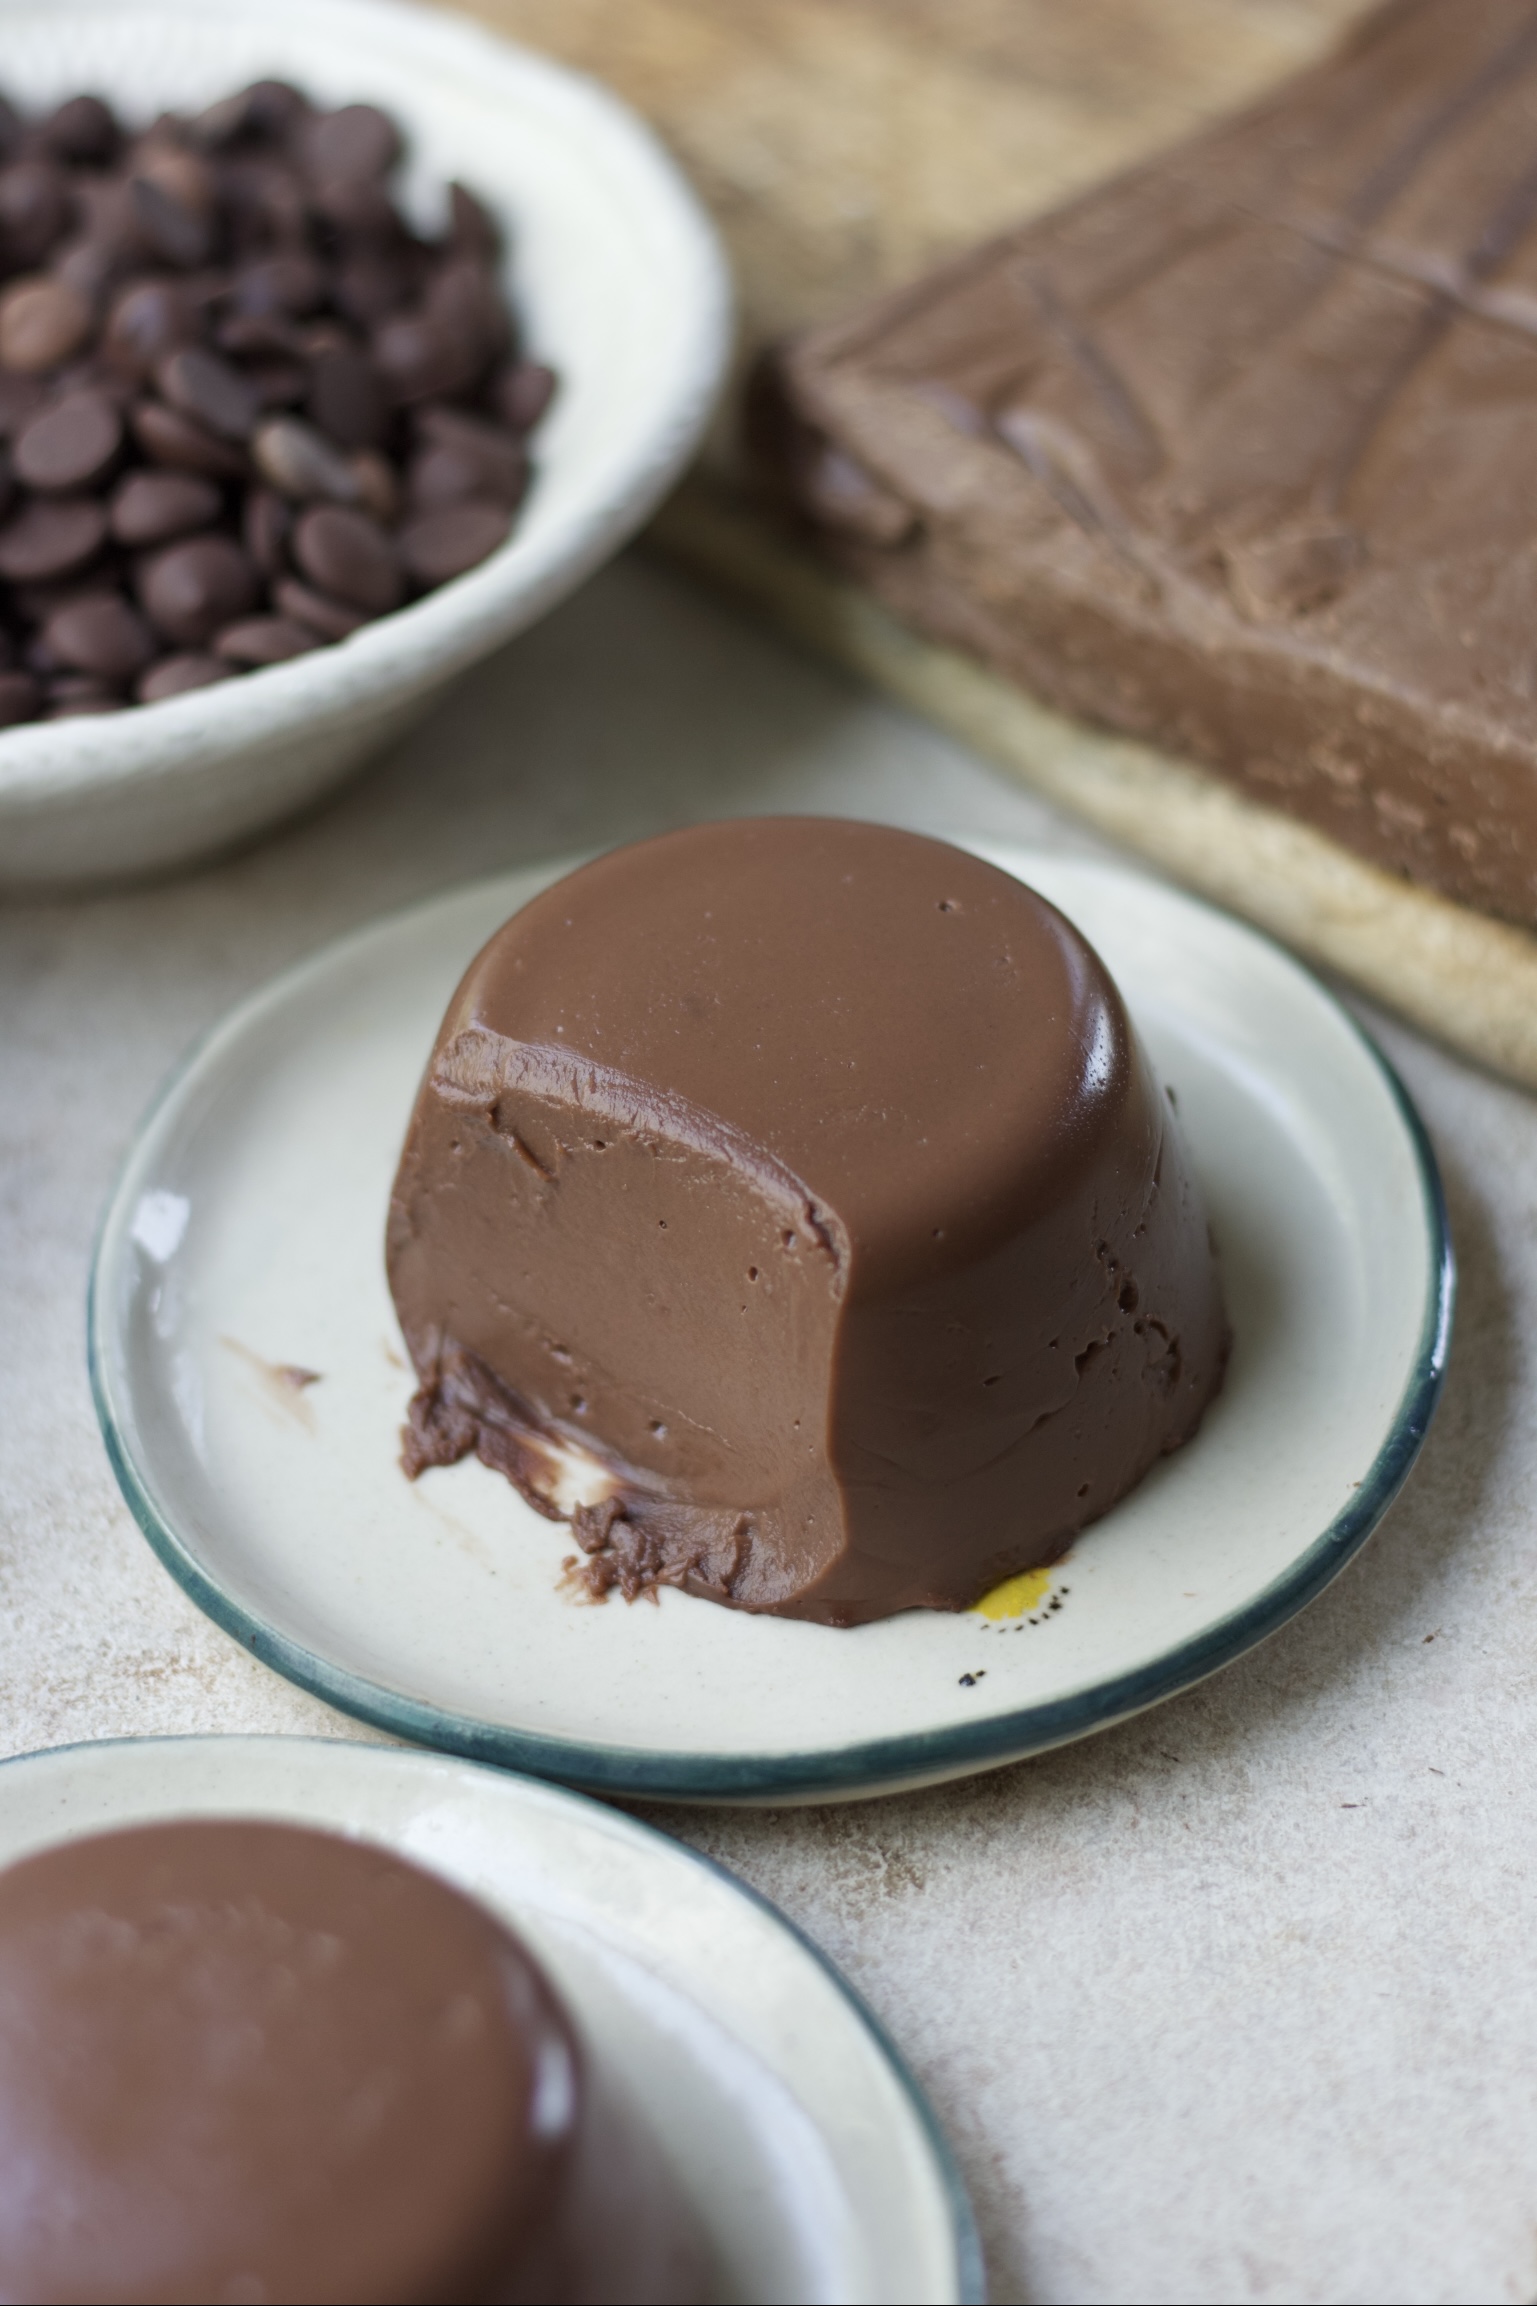
- Once set, run a knife gently around the edges and invert onto a plate. If you prefer, you can skip unmoulding and serve directly in the ramekins.
If you like my Chocolate Pudding recipe and happen to make them in your kitchen, do tag me on Instagram and share pictures with me using #Bakewithshivesh. Happy Baking!

Leave a Reply