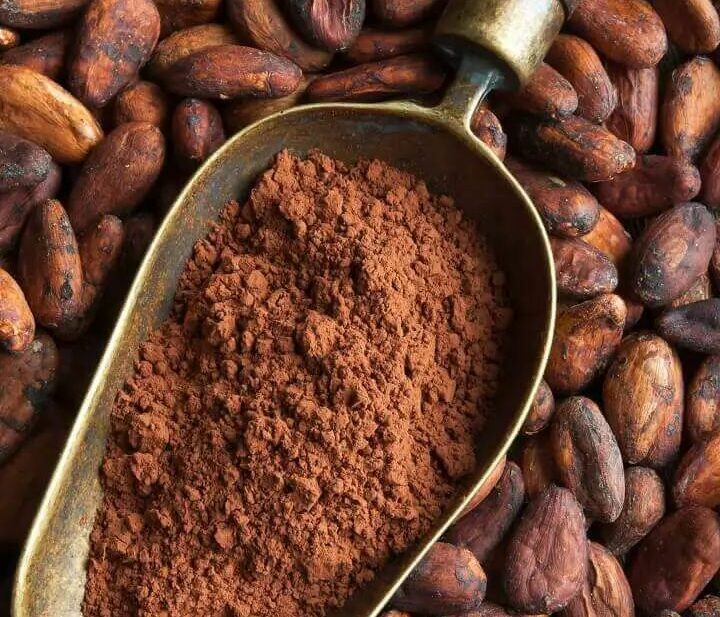
If you’ve ever stood in the baking aisle wondering which cocoa powder to choose, you’re not alone. Natural cocoa powder and Dutch-processed cocoa powder may look similar, but they have distinct differences that can impact the taste, texture and chemistry of your baked goods. Understanding how each type works—and when to use them—can take your baking from good to exceptional.
What Is Cocoa Powder?
Cocoa powder is made by fermenting, drying, roasting and grinding cocoa beans, then removing most of the fat (cocoa butter). What’s left behind is a dry, flavorful powder that gives chocolate desserts their rich taste.
But how that powder is processed determines whether it ends up as natural cocoa or Dutch-processed cocoa—and that difference matters more than you might think.
Natural Cocoa Powder
Natural cocoa powder is exactly what it sounds like: cocoa in its most natural, unaltered form.
Characteristics:
- Color: Light to medium brown
- Flavor: Sharp, bitter, with fruity or citrusy undertones
- pH Level: Acidic (typically around 5–6)
- Leavening Reaction: Reacts with baking soda (a base)
Because of its acidity, natural cocoa powder is often paired with baking soda, which requires an acid to activate and produce carbon dioxide bubbles that help baked goods rise. This chemical reaction is a critical part of recipes like classic chocolate cakes, muffins and cookies.
Dutch-Processed Cocoa Powder
Also known as alkalized cocoa or European-style cocoa, Dutch-processed cocoa powder undergoes an additional step: it’s treated with an alkali (usually potassium carbonate) to neutralize its natural acidity.
Characteristics:
- Color: Deep brown to almost black
- Flavor: Milder, smoother, less bitter, more earthy
- pH Level: Neutral (around 7)
- Leavening Reaction: Does not react with baking soda
Since the alkalization process removes the acidity, Dutch-processed cocoa doesn’t activate baking soda. Instead, recipes using Dutch cocoa typically call for baking powder, which contains its own acid and base for leavening.
Why the Difference Matters in Baking
Baking is chemistry. Each ingredient plays a specific role, and the wrong substitution can lead to unexpected results.
When to Use Natural Cocoa:
- When the recipe calls for baking soda
- When you want a brighter, fruitier chocolate flavor
- In recipes like chocolate chip cookies, American-style brownies and Devil’s food cake
When to Use Dutch-Processed Cocoa:
- When the recipe calls for baking powder
- When you want a deeper color and a more mellow flavor
- In European cakes, dark chocolate cookies and gourmet desserts
Can You Substitute One for the Other?
In some recipes—yes. But with caution.
You can substitute if:
- The recipe uses both baking soda and baking powder: The acid and base are balanced, so the cocoa type may not drastically change the chemistry.
- The recipe doesn’t rely on leavening (like chocolate pudding, sauce, frosting or hot chocolate): In these cases, flavor is the primary concern, so choose the one you prefer.
Avoid substituting if:
- The recipe relies on a specific acid-base reaction (e.g., a recipe using only baking soda + natural cocoa): Using Dutch-processed here might result in dense, flat or dry baked goods.
- You’re baking a cake or muffin where rise and crumb texture are critical.
Storage and Shelf Life
Both types of cocoa powder should be stored in a cool, dark, dry place in an airtight container. They can last up to 2–3 years if stored properly, though their potency will slowly decline over time.
Final Thoughts
Natural and Dutch-processed cocoa powders each bring their own strengths to the kitchen. Once you understand their differences, you can confidently choose the right cocoa for every recipe—or even tweak recipes to suit your flavor and texture preferences.
 Hello. I'm Shivesh Bhatia, a food blogger and food stylist from Delhi, India. Welcome to Bake With Shivesh, where I'll help you create magic in your kitchens with my simple recipes.