This No-Bake Upside Down Oreo Cheesecake is one of those quietly brilliant recipes that turns the most basic ingredients into something that looks and tastes like a showstopper. It’s what I reach for when I want something indulgent but low-effort that never, ever fails to deliver joy with every bite.
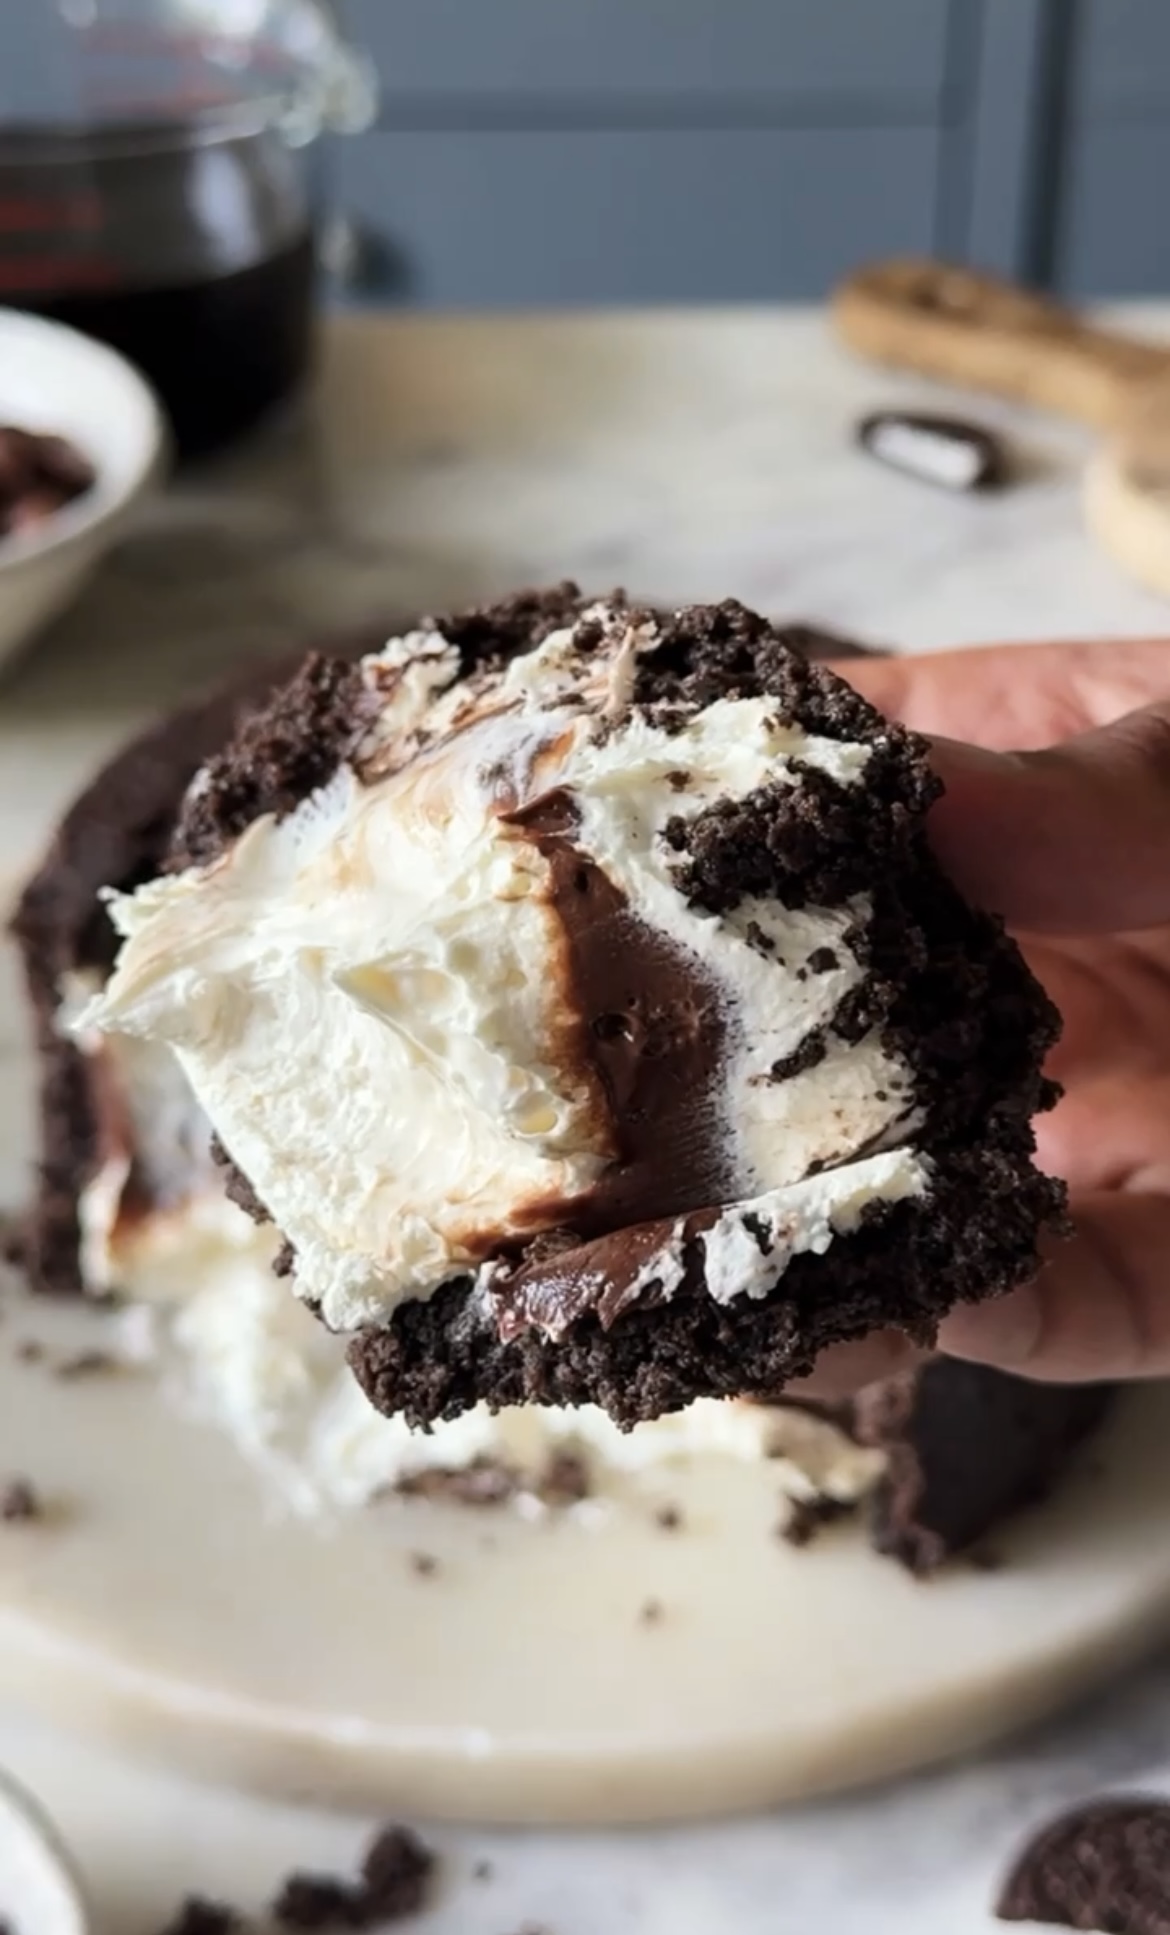
This recipe is the ultimate lazy genius move — no baking, no eggs, no complicated techniques and yet what you get is a cheesecake that’s decadent, smooth, chocolatey and full of texture. The Oreo crust is buttery and bold, the filling is creamy and perfectly sweet (thanks to the white chocolate) and the ganache layer adds that extra little drama — rich, dark and melty, just how we like it.
I have made 2 versions of this before – one with mango layer and one with mixed berry compote layer. I wanted to do a chocolate version since so long and now finally, I’ve conceptualised this recipe. So, whether you’re a seasoned home baker or someone who just wants to try something easy and delicious — this no-bake Oreo cheesecake is your sign.
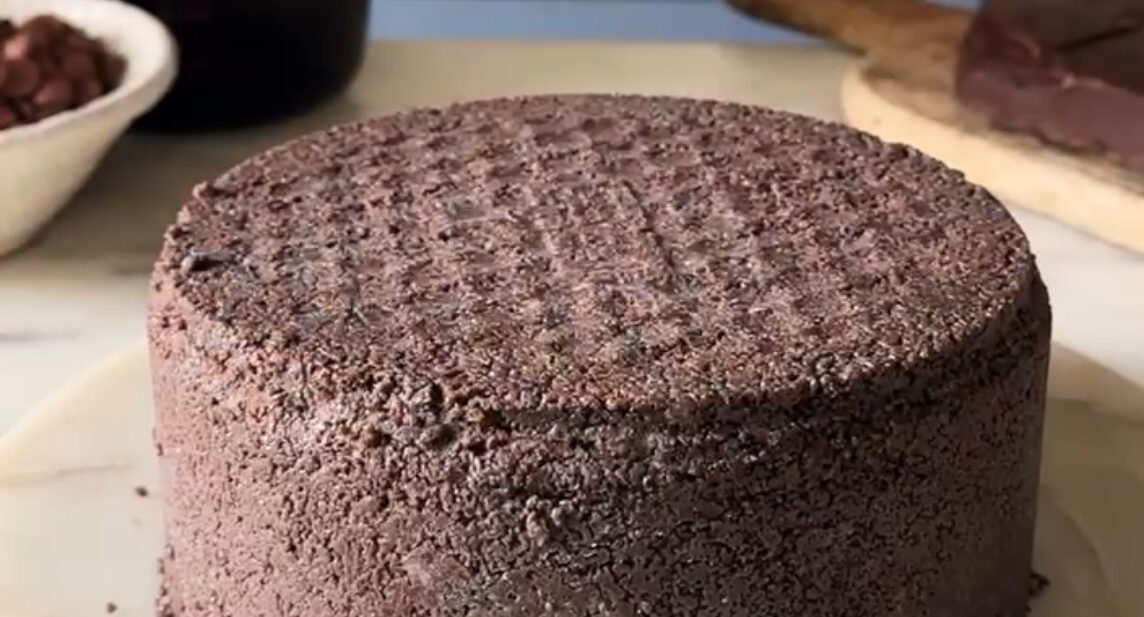
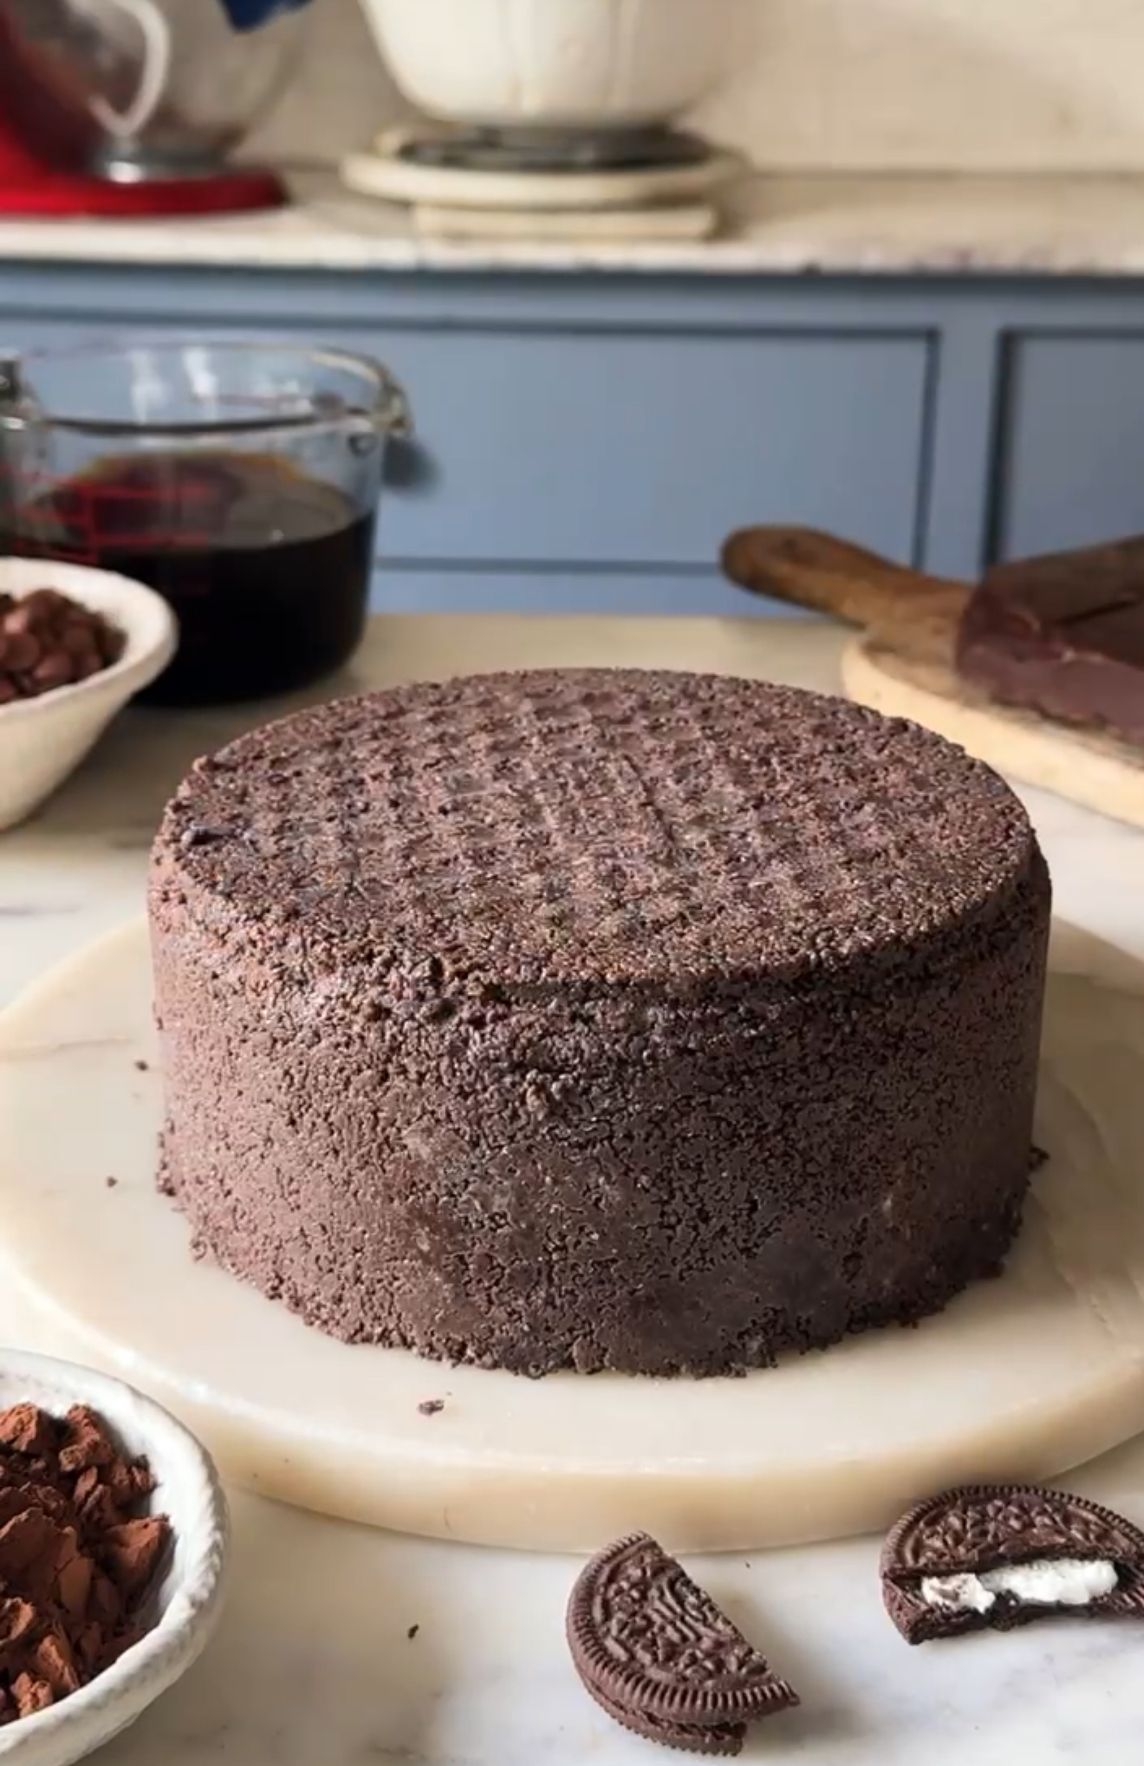
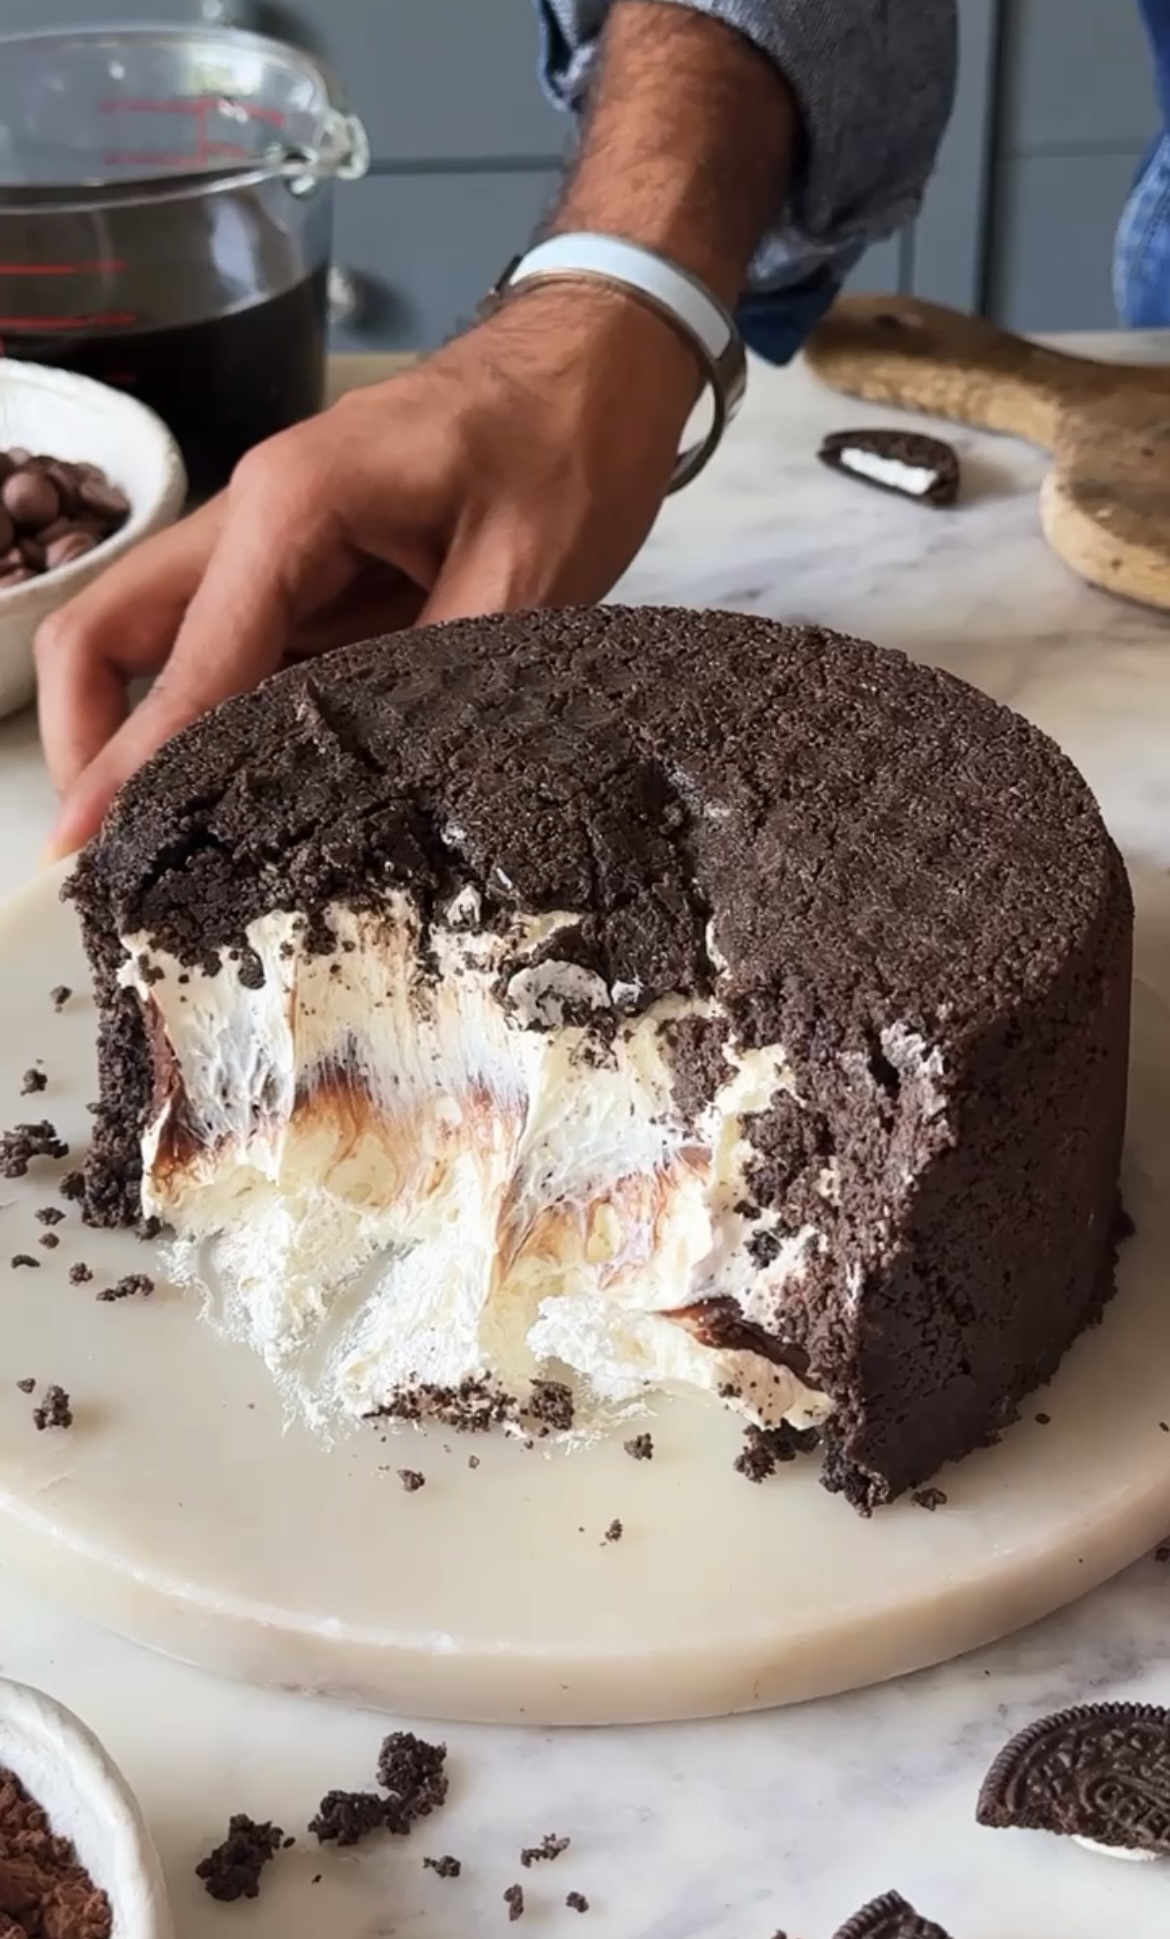
And here’s the fun part: I flip this cheesecake upside down before serving. Yep — the biscuit base ends up on top, which not only makes it stand out but also gives it this cool “reverse crumble” moment. It’s the kind of thing people don’t expect but will totally remember. Plus, it gives you a reason to explain why your cheesecake is different. And who doesn’t love a dessert with a personality?
INGREDIENTS USED IN NO-BAKE UPSIDE DOWN OREO CHEESECAKE
OREO BISCUITS
Oreos, when crushed and combined with melted butter, create a firm and cohesive crust. This acts as the foundation of your cheesecake, holding everything in place once it sets.
Oreos bring a familiar, chocolatey taste that complements both the creamy filling and the dark chocolate ganache. Their slight saltiness also balances the sweetness in the white chocolate and cream cheese filling.
In your upside-down version, the Oreo layer ends up on top when served, creating a striking visual contrast against the pale cheesecake layer below. It looks indulgent and instantly signals the flavor theme.
BUTTER
Since this is a no-bake cheesecake, the base doesn’t get heat to firm it up like in baked versions. Butter acts as the setting agent — it hardens when chilled, which helps the crust become firm and sliceable after refrigeration.
Melted butter moistens the crumbs just enough to make them easier to press evenly into the base and up the sides of the pan, creating a clean, compact crust that won’t fall apart.
Without butter, the base would be too loose and might crumble when slicing or unmolding the cheesecake. Butter ensures a clean, sturdy crust that supports the soft, creamy filling.
CREAM CHEESE
Cream cheese is thick, dense, and smooth, which helps the cheesecake hold its shape without baking. When whipped with other ingredients, it forms a stable base that sets beautifully once chilled.
It gives the filling that luxurious, velvety mouthfeel we associate with cheesecakes. When softened and whipped well, it blends seamlessly with the whipped cream and chocolate, resulting in a smooth and airy consistency.
Cream cheese brings a slight tang and sharpness that balances out the sweetness from white chocolate and icing sugar. I have used D’lecta cream cheese to make this recipe, but you can use any cream cheese of your choice.
WHITE CHOCOLATE
White chocolate adds rich, creamy sweetness to the cheesecake filling, helping reduce the need for too much added sugar. Its sweetness is mellow and blends well with cream cheese, making the dessert feel balanced rather than overpowering.
Because it solidifies when chilled, white chocolate helps stabilize the cheesecake.
WHIPPED CREAM
Whipping cream increases its volume significantly. When folded into the base, it helps bulk up the cheesecake filling without weighing it down, allowing the dessert to set tall and fluffy.
In no-bake recipes, you often need something to help the filling hold its shape. Whipped cream does exactly that. When chilled, it stays firm and works alongside white chocolate and cream cheese to create a stable set — no gelatin required.
CONDENSED MILK
Condensed milk brings in a rich, creamy sweetness that balances the slight tang of cream cheese and complements the flavor beautifully. Since it’s already thick and sugary, you don’t need to add extra sugar to the filling. Always taste your filling before layering so you can slightly reduce or increase the condensed milk to suit your preference.
EQUIPMENTS USED IN MAKING NO-BAKE UPSIDE DOWN OREO CHEESECAKE
A few kitchen staples that should always be there in the kitchen are mentioned below.
Measuring Cups and Measuring Spoons are the first thing that anybody who in cooking or baking needs. The right quantities will help in the desired outcome so these two things are a must.
You require a whisk to make the cheesecake lump free and mix well. You also need spatulas to do the mixing. Finally, a 6-inch round springform pan to set the cheesecake is also needed.
RELATED RECIPES FROM THE BLOG
TIPS AND TRICKS WHILE MAKING THIS RECIPE
1. Use room temperature cream cheese. This makes blending much easier and ensures a smooth, lump-free filling.
2. For extra texture, add chopped oreos into the filling or on top before chilling.
3. Use the back of a spoon or a flat-bottomed glass to press the crust firmly into the pan for a stable base.
4. Flip quickly but gently in one swift motion to avoid breakage.
- FOR THE BASE
- 35 oreo biscuits
- 7 tbsp butter, melted (98g)
- FOR THE FILLING
- 1 cup cream cheese (225g)
- ¼ cup white chocolate, melted
- ⅓ cup condensed milk
- 1 cup whipped cream (1/2 cup whipping cream whipped to stiff peaks)
- FOR THE GANACHE
- 6 tbsp fresh cream
- ½ cup dark chocolate
- Grind the biscuits into fine crumbs and mix it with melted butter until it resembles wet sand.
- Press the biscuit mixture into the bottom of a 7-inch round springform pan. Cover the sides also evenly with the biscuit base. Place it in the refrigerator to set while you prepare the filling.
- In a mixing bowl, whisk together softened cream cheese, melted white chocolate, condensed milk and whipped cream until it's smooth and creamy.
- To make the ganache, take dark chocolate and fresh cream in a microwave safe bowl and heat at 30 second intervals till the chocolate melts completely and a smooth ganache is achieved.
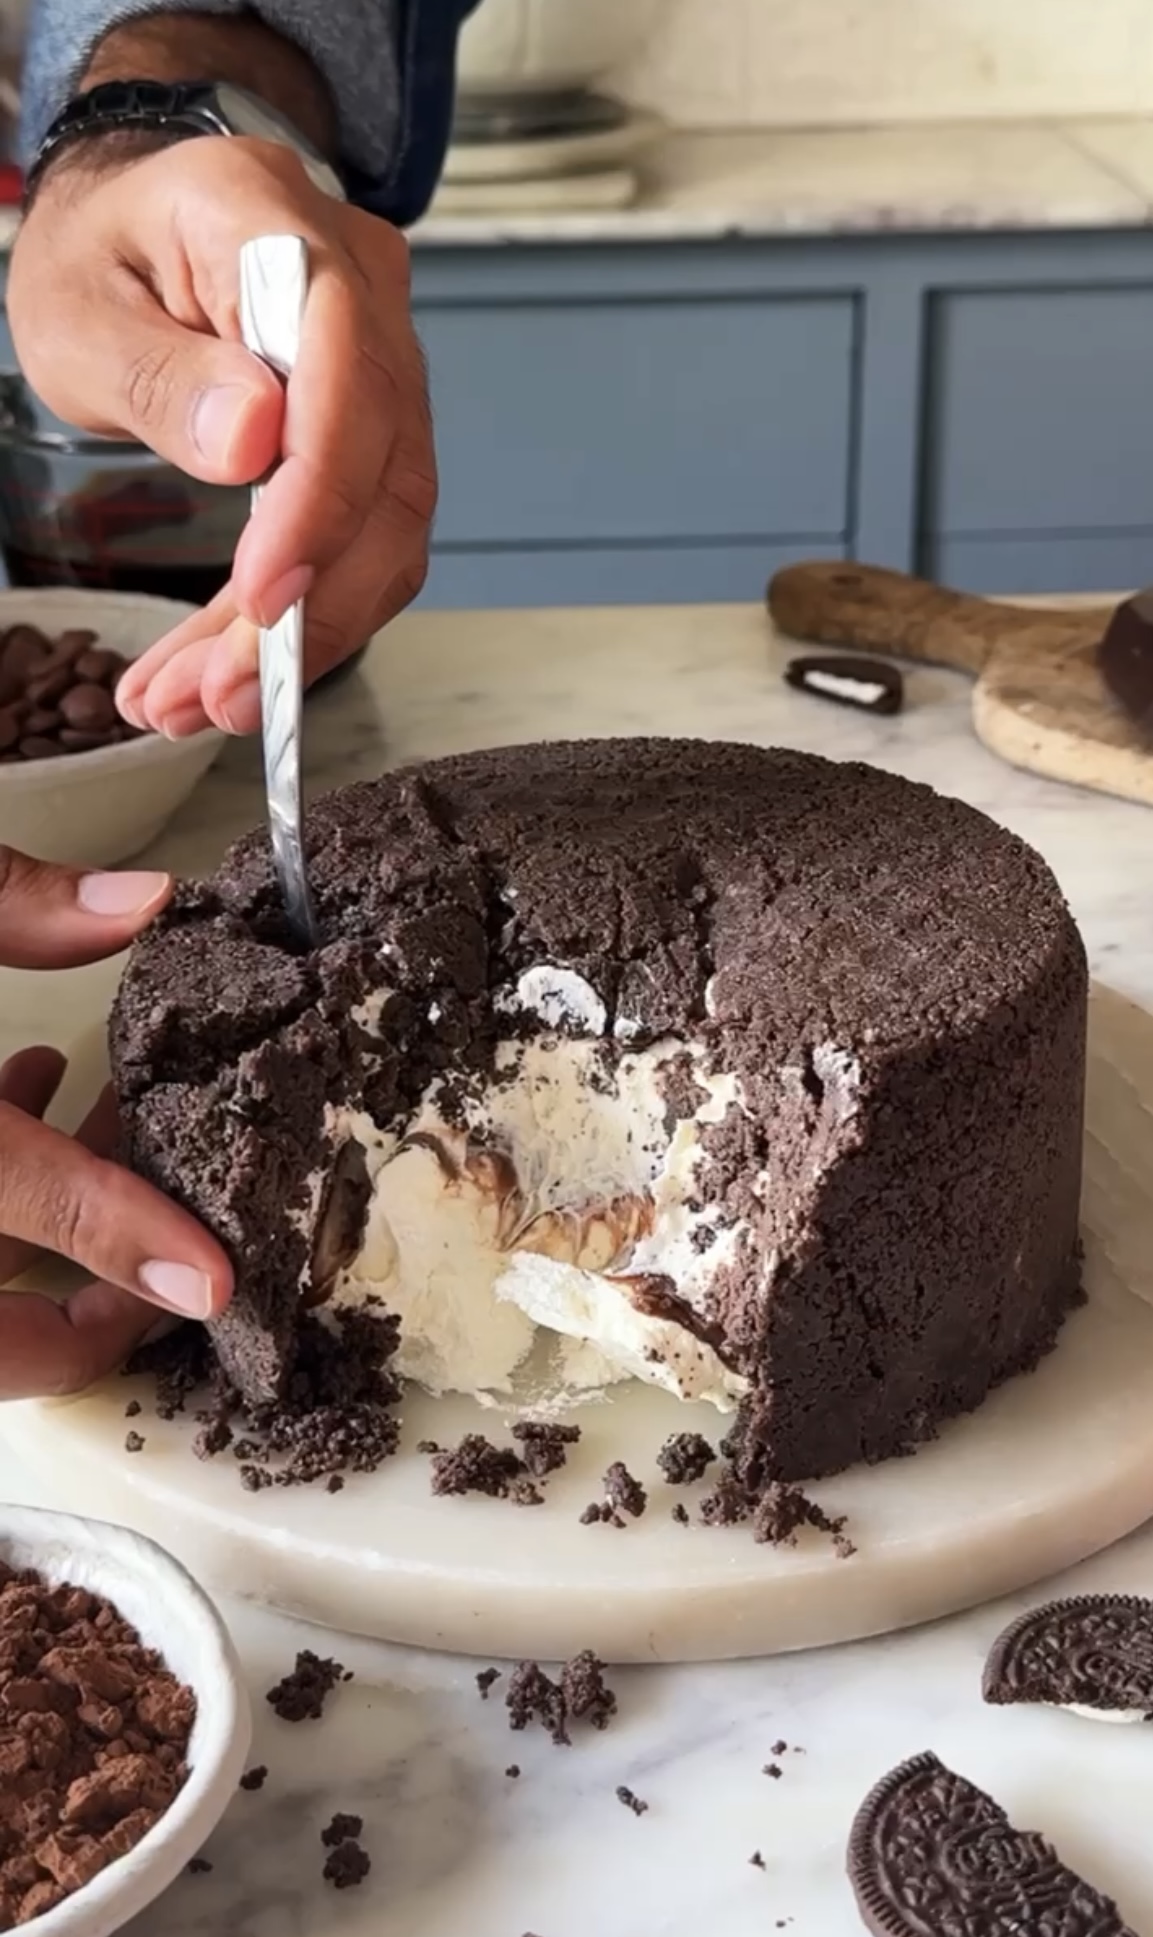
- Pour half of the cheesecake filling over the set biscuit crust and spread out into an even layer.
- Now add the chocolate ganache and spread evenly over the cheesecake layer and pour the remaining cheesecake feeling. Tap the pan a few times to even out the cheesecake layer.
- Refrigerate the cheesecake for at least 4 hours or until it's firm.
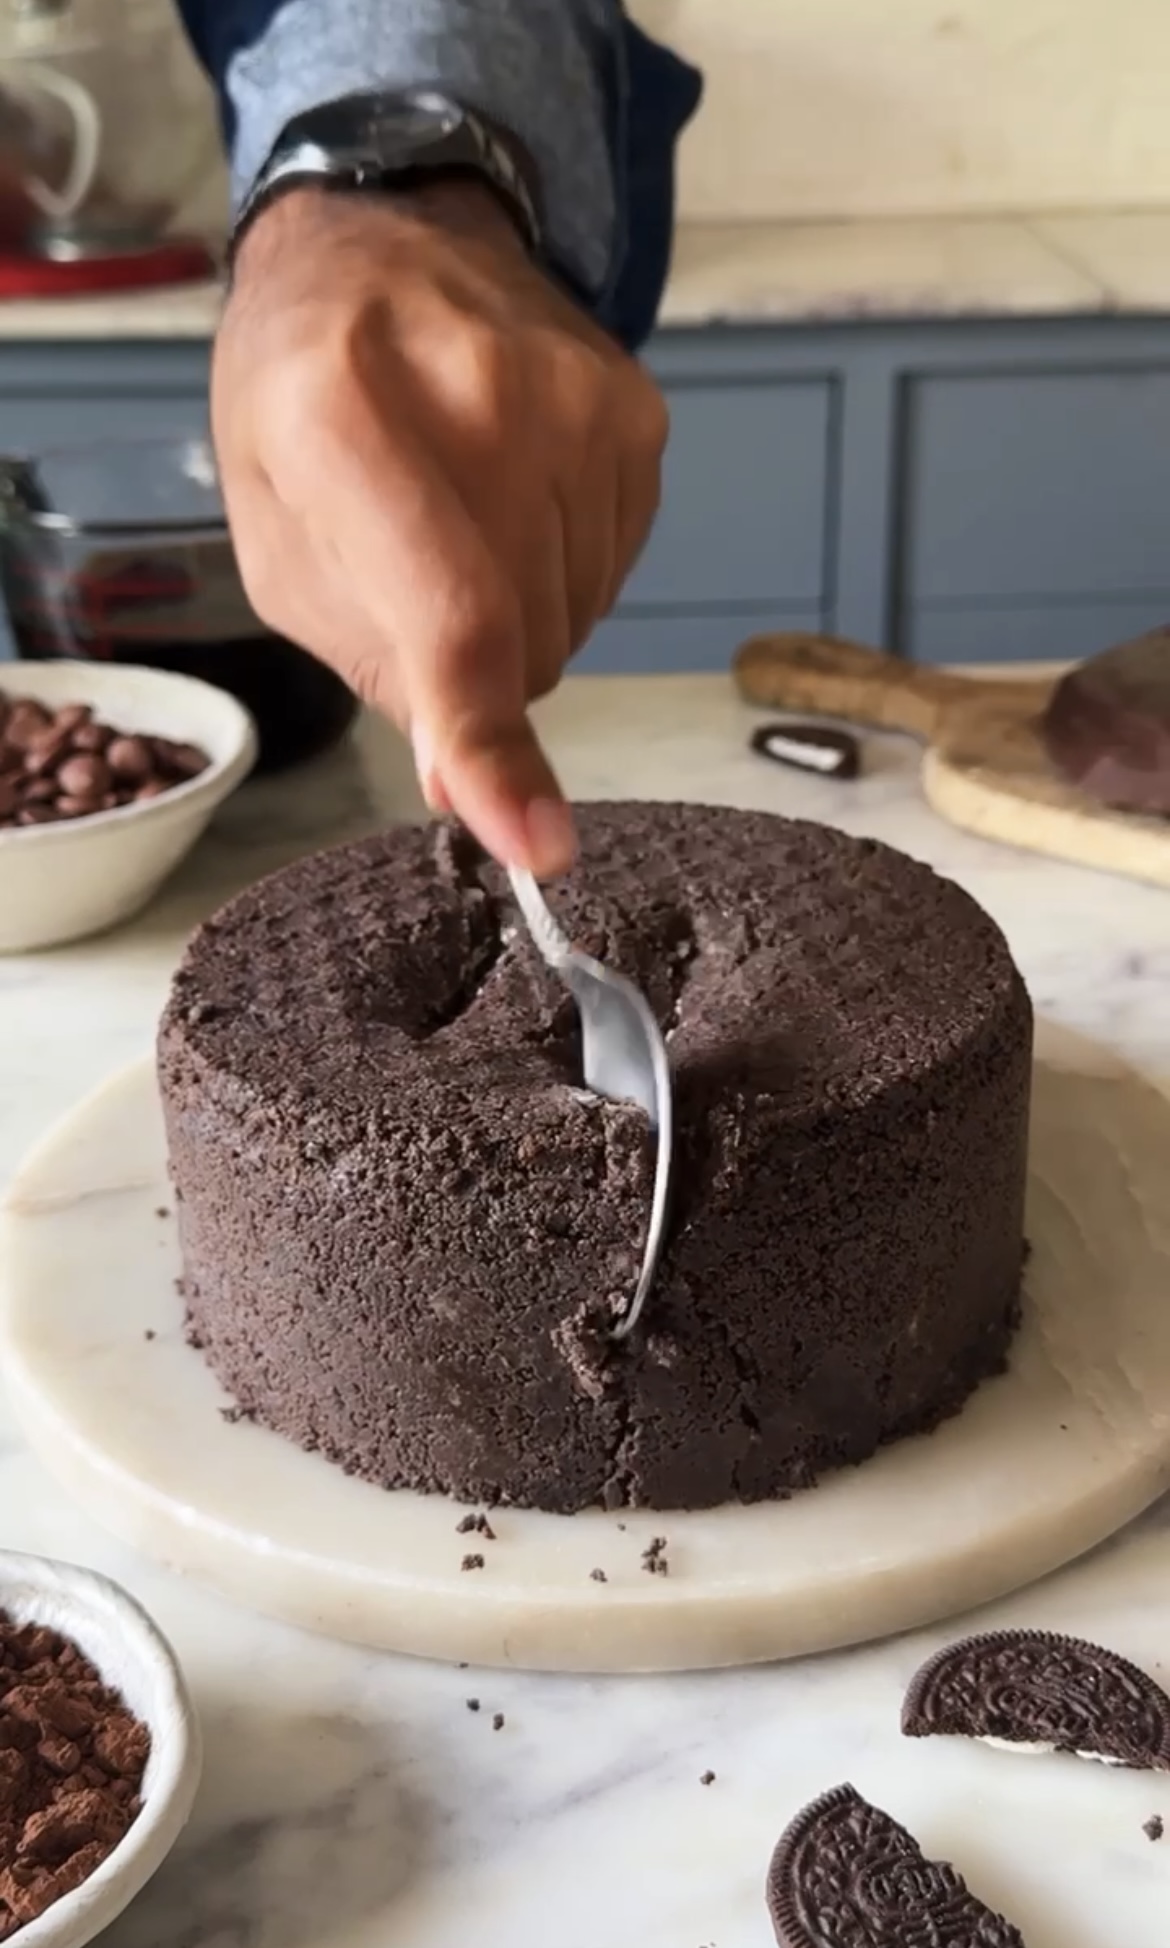
- Flip the pan upside down on a plate and then open the springform pan. Serve the cheesecake in an upside-down form with the biscuit layer on top and filling at the bottom.
If you like my No-bake Upside Down Oreo Cheesecake and happen to make them in your kitchen, do tag me on Instagram and share pictures with me using #Bakewithshivesh. Happy Baking!

Leave a Reply