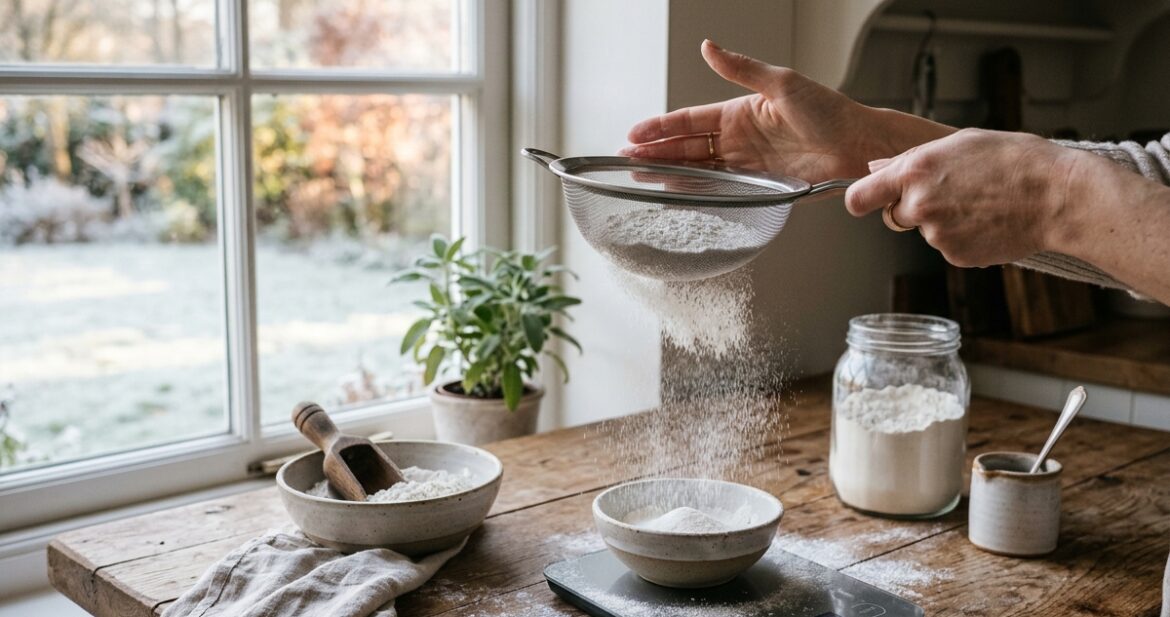
There is something absolutely magical about baking when the temperature dips. The kitchen becomes the warmest, single coziest spot in the house, filled with the scent of cinnamon and melting chocolate.
But have you ever noticed that your go-to cake recipe suddenly feels a bit dense in December? Or maybe your yeast dough takes forever to rise, turning your morning cinnamon rolls into an afternoon project?
It is not your imagination! Baking is basically delicious chemistry, and ambient temperature is one of its biggest variables. In winter, your kitchen and ingredients behave differently. Understanding the science of what is happening in the cold is the key to getting that perfect, fluffy, bakery-style result every single time. Here are my essential tips for mastering winter baking.
1. The Room Temp Myth: Your Butter Is Colder Than You Think
image_0.png
Most recipes, including nearly all of mine, will call for “room temperature butter and eggs.” But here is the catch: in baking science, room temperature is actually defined as 18°C to 21°C (65°F to 70°F).
In winter, unless you are blasting the heat, your kitchen counter is probably closer to a chilly 12°C.
Why this matters: When you “cream” butter and sugar together, the sugar crystals cut tiny air pockets into the butter, creating lift. Cold butter won’t trap air; it just smears. This leads to a dense cake or cookies that spread way too much. Cold eggs will also cause your beautiful creamed butter to seize and curdle.
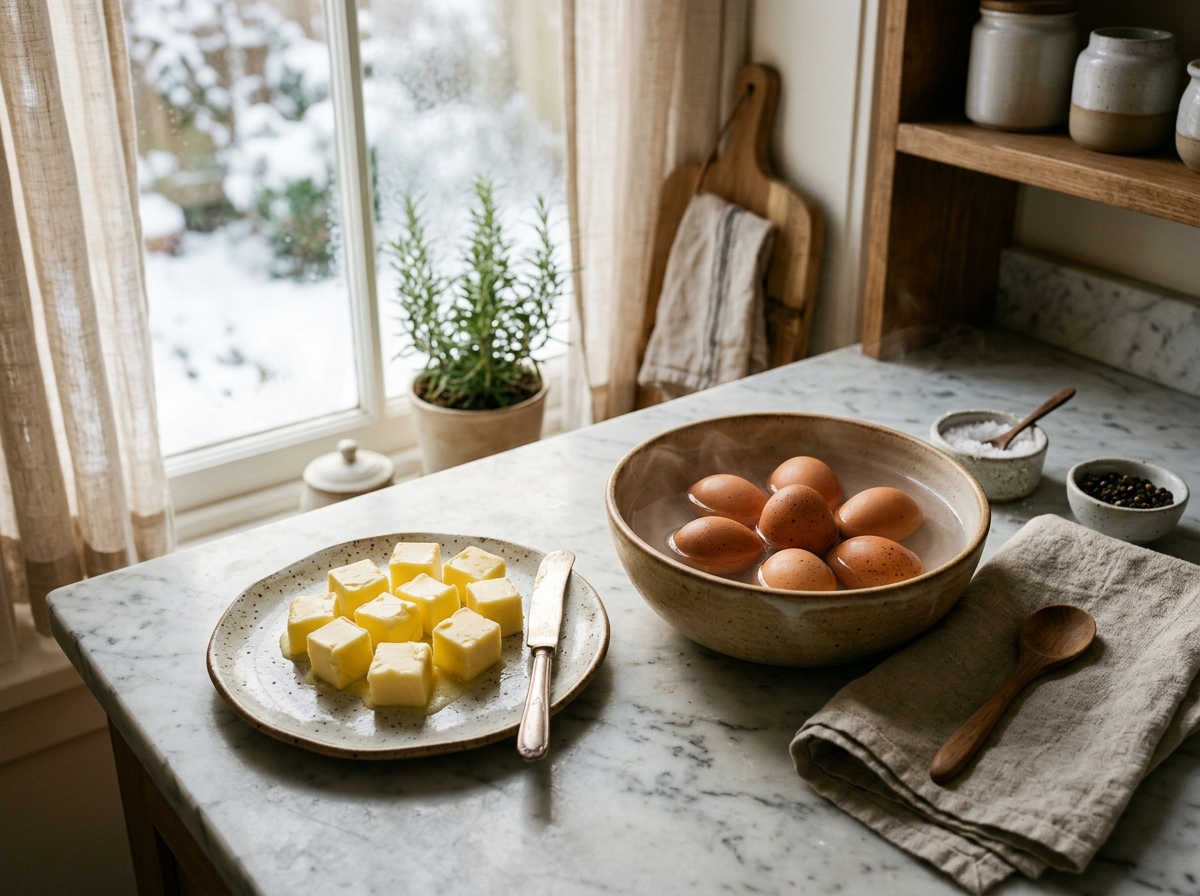
How to Fix: Don’t just leave your butter out for an hour; it won’t be enough. Cut the butter into small cubes and let it sit for at least 90 minutes. For eggs, pop them (in their shells) into a bowl of warm tap water for 10 minutes before using. You’ll see the difference immediately!
2. Yeast Operates on a Winter Schedule (Slow Down!)
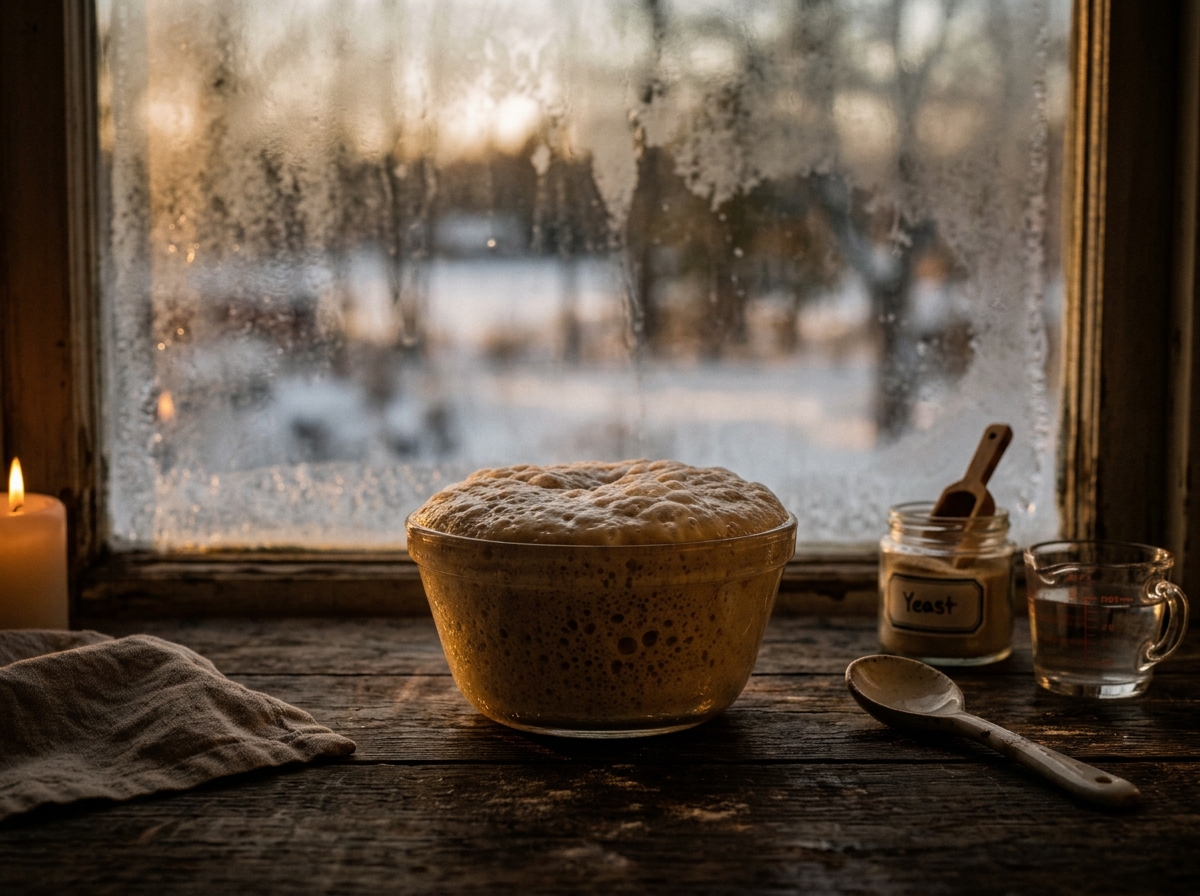
image_1.png (A serene, slightly moody shot capturing yeast activation: a clear glass bowl showing warm, frothy, activated yeast mixture, set against a frosted windowpane background. The lighting is soft and warm, highlighting the texture.)
Ah, yeast. The magical ingredient that makes everything from artisanal sourdough to morning brioche possible. But yeast is a living organism, and like most of us in winter, it just wants to move a little slower.
Why this matters: Yeast thrives in warmth (ideally 24°C to 27°C / 75°F to 80°F). In a cold kitchen, it enters a dormant state. The logic is simple: a slow rise develops deep, complex flavor, but a too slow rise means your dough can become overproofed or collapse before it even hits the oven.
How to Fix: Give your yeast a cozy home! Use a thermometer to check your liquid (milk or water); it must be 38°C–43°C (100°F–110°F). Then, try my absolute favorite trick: Create a DIY Proofing Box. Turn your oven on to its lowest setting for exactly 60 seconds, then turn it OFF. Place your covered bowl of dough inside, close the door, and let the light bulb provide gentle, draft-free warmth.
3. The Desert Effect: Dry Air Meets Thirsty Flour
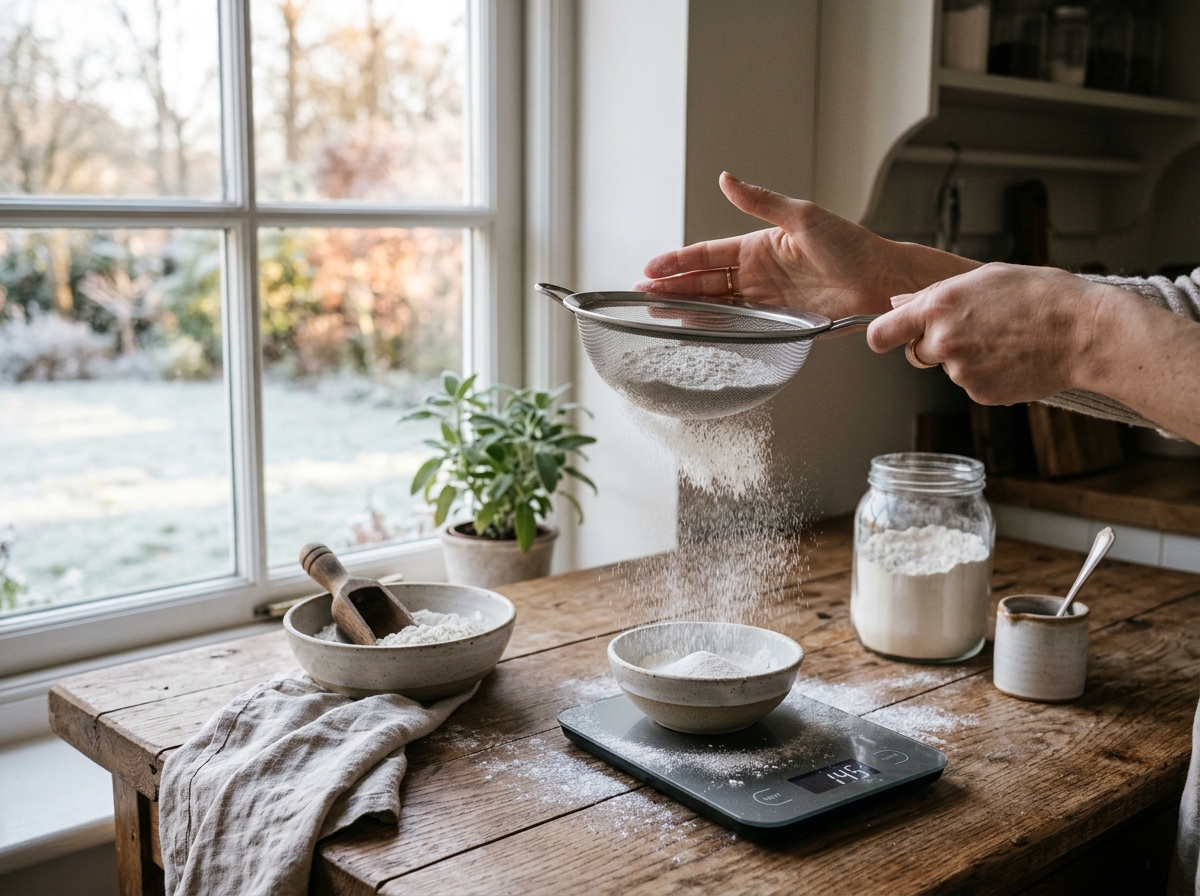
image_2.png (A high-key, elegant photograph of Shivesh’s hands holding a sieve, gently dusting white flour onto a rustic wooden surface. Natural, diffused lighting from a winter morning highlights the fine texture of the falling flour.)
Winter air is famously dry, holding very little moisture. To make things worse, indoor heating sucks out whatever humidity is left. What you might not realize is that your flour is incredibly thirsty.
Why this matters: Flour is hygroscopic, meaning it absorbs and loses moisture based on its environment. In winter, your flour is drier than usual, which means it will absorb more liquid when you are mixing. This is often why cookie dough feels crumbly or cake batter looks unusually thick in cold weather.
How to Fix: First, always measure your flour by weight with a scale; dry flour packs down much tighter in a cup. If a dough feels overly stiff, resist adding more liquid immediately. Mix it, let it rest for 10 minutes, and only then add a teaspoon of milk or water if it’s still necessary. Your bakes will thank you for it!
4. Melting Minutes: Chocolate & Glazes Set Faster
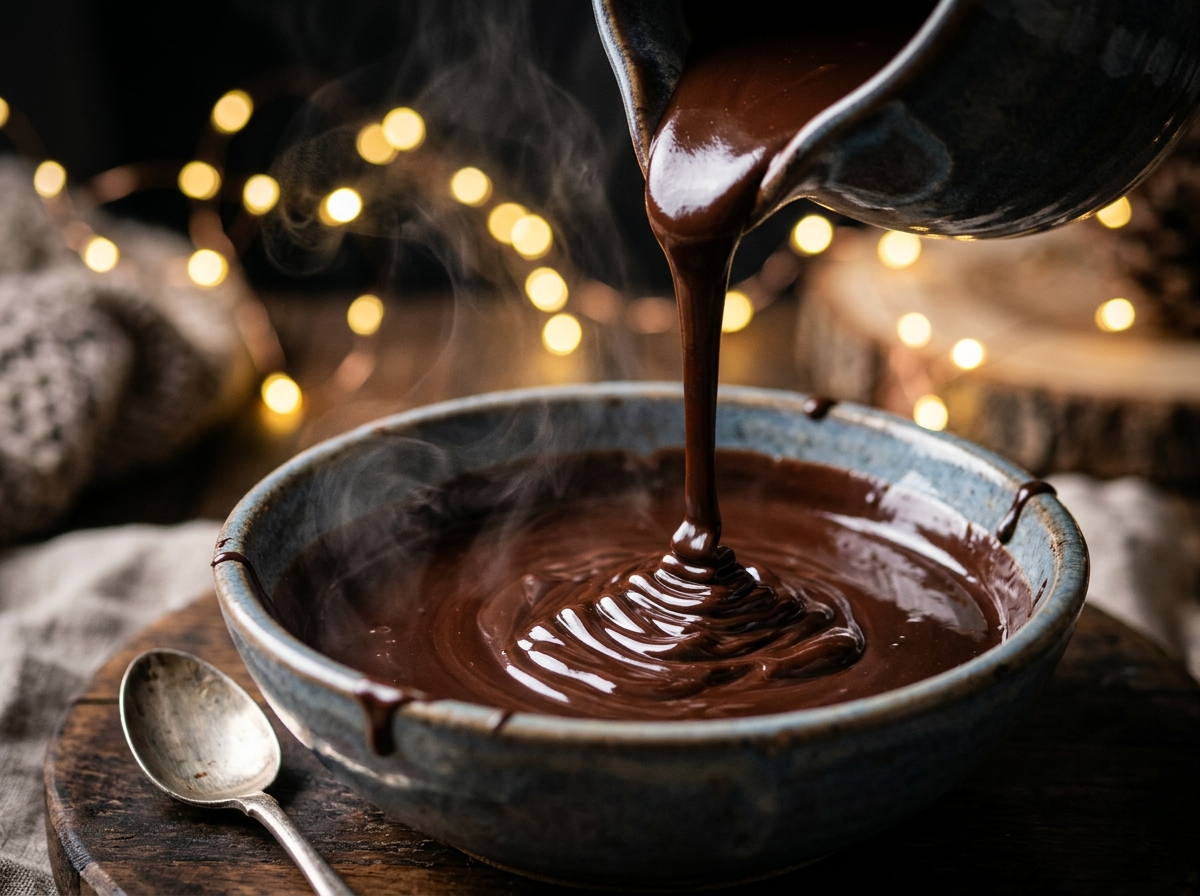
image_3.png (A close-up photograph capturing thick, rich, dark melted chocolate being poured from a spout, forming glossy ribbons. The steam gently rises, suggesting warmth. The background is a soft-focus bokeh of festive lights in Shivesh’s kitchen.)
This is the season of ganache, hot fudge sauce, and beautiful chocolate-dipped cookies. But working with chocolate in winter is a race against the clock.
Why this matters: When you pour beautifully tempered, glossy melted chocolate onto a cookie sheet or into a mixing bowl that is freezing cold, it pulls the heat out instantly. The chocolate can seize, becoming thick, grainy, and difficult to work with.
How to Fix: You have to pre-warm everything! Rinse your glass or ceramic bowls with hot water and dry them completely before adding melted chocolate. It buys you valuable extra working time. The same rule applies to your baking trays—make sure they aren’t sitting on a freezing cold pantry floor before you spread out that delicate ganache.
5. Trust the Thermometer, Not the Oven Light
image_4.png (A warm, inviting shot from inside an oven (oven-safe camera). A golden-brown bundt cake is perfectly rising. The focus is on a small, rustic oven thermometer hanging clearly from the rack. Soft glow from the oven light illuminates the scene.)
Finally, let’s talk about the oven itself. In winter, when you open the door to peek, you are letting in a rush of significantly colder air than in summer, causing the internal temperature to drop sharply.
Why this matters: Your oven might be lying to you! It might beep that it’s preheated, but the actual walls and racks are still cold, leading to uneven baking.
How to Fix: I cannot emphasize this enough: Buy an independent oven thermometer. It’s a game-changer. Hang it inside and never assume the temperature matches what the dial says. In winter, give your oven an extra 10 minutes of preheating after it “beeps” to make sure it is truly saturated with even heat.
There you have it—the essential guide to why your kitchen feels different in the cold and the simple tweaks that keep your bakes perfect. Happy winter baking, everyone!
 Hello. I'm Shivesh Bhatia, a food blogger and food stylist from Delhi, India. Welcome to Bake With Shivesh, where I'll help you create magic in your kitchens with my simple recipes.
Leave a Reply